
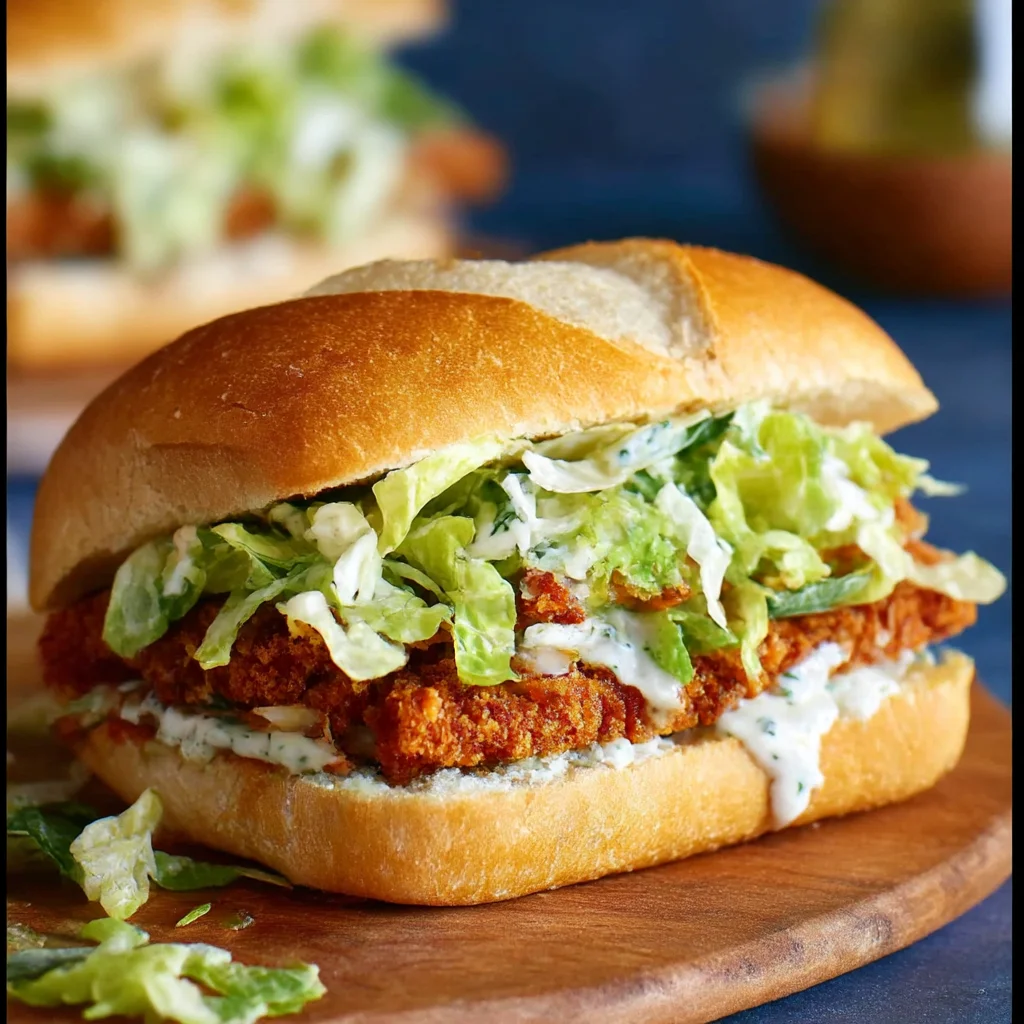
This quick and easy dinner recipe features crunchy chicken, crisp romaine lettuce, and a creamy Caesar dressing on crusty bread. Perfect for easy weeknight dinners or a simple family meal…
Ingredients
Instructions
Start by preparing your chicken. Place one chicken breast at a time between two sheets of plastic wrap or parchment paper. Using a meat mallet or the bottom of a heavy skillet, gently pound the chicken to an even thickness of about 1/2 inch (1.25 cm). This ensures that the chicken cooks evenly and stays juicy—thinner pieces cook faster and are less likely to dry out. If you prefer, you can slice the breasts horizontally into cutlets instead. Once pounded, pat the chicken dry with paper towels to remove excess moisture; this helps the breading adhere better. Season both sides lightly with a pinch of salt and pepper.
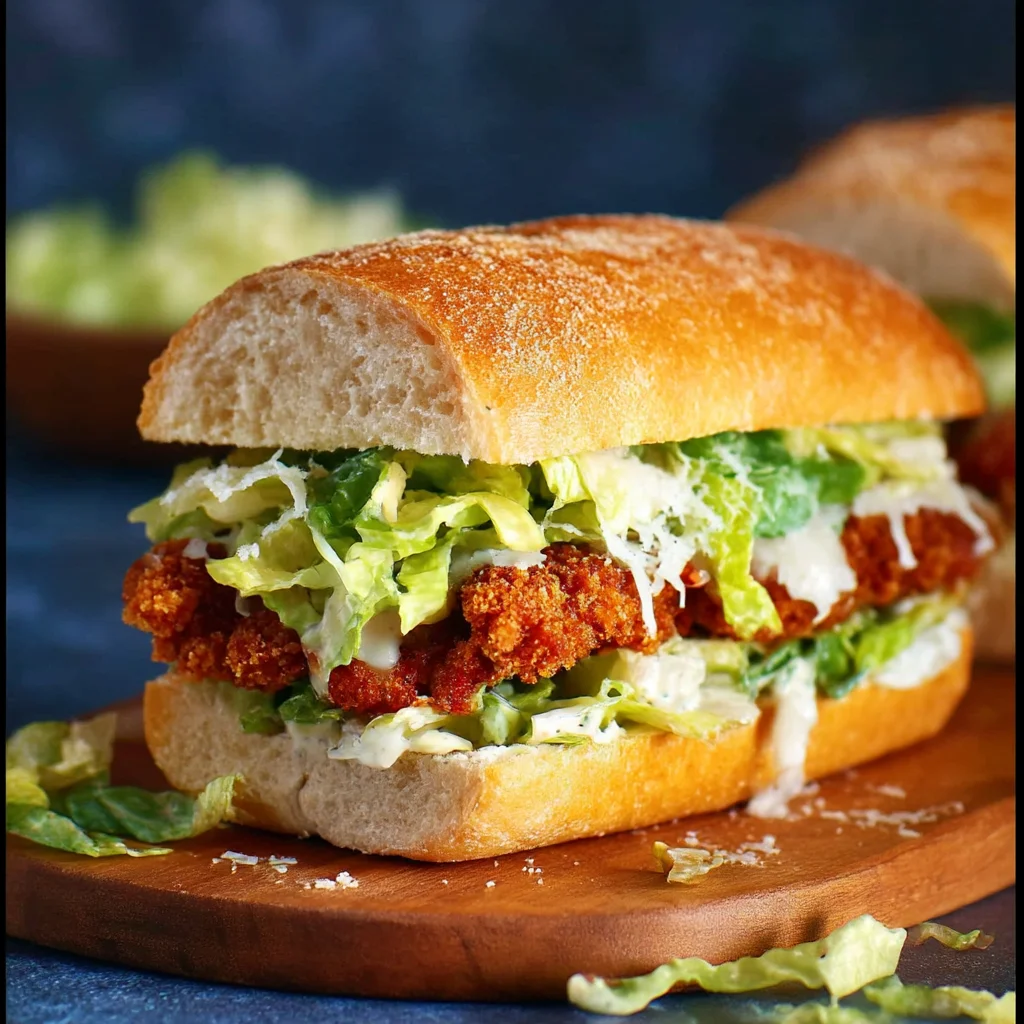
Set up your breading station. In a shallow bowl, combine the panko breadcrumbs, grated Parmesan cheese, garlic powder, onion powder, 1/2 teaspoon salt, and 1/4 teaspoon black pepper. Mix well with a fork until the Parmesan is evenly distributed. In a separate shallow bowl, beat the eggs until frothy. The key to a super crispy crust is using panko—its large, flaky texture creates more surface area for crunch. The Parmesan adds a savory umami note that complements the Caesar dressing later.

Dredge each chicken piece first in the beaten eggs, allowing any excess to drip off, then coat thoroughly in the panko mixture. Press the breadcrumbs firmly onto both sides to ensure an even, thick coating. For extra crunch, you can double-dip: egg wash, panko, egg wash, panko again. Place the breaded chicken on a plate or wire rack. Let them rest for 5 minutes—this helps the coating set and reduces the chance of it falling off during cooking.
Now, cook the chicken. For pan-frying: Heat 2 tablespoons olive oil in a large non-stick skillet over medium-high heat until shimmering. Carefully place the chicken pieces in the skillet, ensuring not to overcrowd (cook in batches if needed). Cook for 3-4 minutes per side, until golden brown and the internal temperature reaches 165°F (74°C). The crust should be deep golden and crispy to the touch. Transfer to a paper towel-lined plate to drain excess oil. For air fryer: Preheat to 400°F (200°C). Lightly spray the breaded chicken with cooking spray. Place in a single layer in the air fryer basket and cook for 10-12 minutes, flipping halfway, until golden and cooked through. The air fryer yields a lighter, equally crispy result with less oil.
While the chicken cooks, prepare the bread and lettuce. Split the sandwich rolls in half and toast them lightly in a toaster or under the broiler for 1-2 minutes until golden. Toasting prevents sogginess and adds a pleasant crunch. Chop the romaine lettuce into bite-sized pieces; you want it fine enough to fit neatly in the sandwich but still provide a crisp bite. If you like, you can toss the lettuce with a tablespoon of Caesar dressing for extra flavor.
Assemble the sandwiches. Spread a generous layer of creamy Caesar dressing on both cut sides of each toasted roll. On the bottom half, pile a handful of chopped romaine. Place a piece of crispy chicken on top of the lettuce. For an extra touch, add a few shavings of Parmesan or a squeeze of lemon juice. Close the sandwich with the top half of the roll. Serve immediately while the chicken is still hot and crunchy. The contrast of warm, crispy chicken with cool, crisp lettuce and creamy dressing is what makes this sandwich irresistible.
For best results
- For the ultimate crunchy chicken, use panko breadcrumbs instead of regular breadcrumbs. Panko's larger, flakier texture creates more air pockets during frying, resulting in a lighter, crispier coating that stays crunchy longer. If you want an even thicker crust, try a double breading: dip the chicken in egg wash, then panko, then back into egg wash, and again into panko. This extra layer ensures a shatteringly crispy exterior that won't soften under the dressing.
- To achieve perfect doneness without overcooking, use an instant-read thermometer. Chicken breasts are safe to eat at 165°F (74°C). Insert the thermometer into the thickest part of the breast. If you don't have a thermometer, cut into the thickest part; the juices should run clear and the meat should be opaque throughout. Overcooking leads to dry, tough chicken, so keep a close eye on the cooking time.
- Let the breaded chicken rest for 5-10 minutes before cooking. This step is crucial because it allows the breading to hydrate and adhere firmly to the chicken. If you fry immediately, the coating is more likely to slide off. Resting also helps the chicken come closer to room temperature, promoting even cooking.
- If you're using an air fryer, do not overcrowd the basket. Leave space between each piece of chicken so that hot air can circulate freely. Overcrowding steams the chicken rather than crisping it. Cook in batches if necessary. Also, lightly spray the breaded chicken with oil—this helps achieve that golden-brown color and crunch.
- Choose the right bread. Crusty rolls like ciabatta, sourdough, or a good French baguette are ideal because they hold up to the juicy chicken and dressing without becoming soggy. Avoid soft sandwich bread; it will disintegrate. Toasting the bread is non-negotiable—it adds a textural contrast and a barrier against moisture.
- For the best Caesar dressing, consider making your own. A classic Caesar dressing combines anchovy paste, garlic, lemon juice, Dijon mustard, egg yolk, olive oil, and Parmesan. It takes just 5 minutes and tastes far superior to most store-bought versions. However, a high-quality store-bought dressing works perfectly for a quick meal.
Variations
- **Air Fryer Version**: For a lighter, oil-free option, cook the breaded chicken in an air fryer preheated to 400°F (200°C). Lightly spray the chicken with cooking spray and cook for 10-12 minutes, flipping halfway. The air fryer yields an exceptionally crispy crust with about 70% less fat than deep-frying. You can also toast the buns in the air fryer for the last 2 minutes.
- **Grilled Chicken Caesar Sandwich**: For a healthier twist, skip the breading altogether. Season boneless chicken breasts with salt, pepper, and a little olive oil. Grill over medium-high heat for 5-6 minutes per side until charred and cooked through. Slice and serve on toasted ciabatta with romaine, Caesar dressing, and shaved Parmesan. This version is lower in carbs and calories but still packed with flavor.
- **Vegetarian/Plant-Based Option**: Replace the chicken with crispy breaded tofu or store-bought plant-based chicken patties. For tofu, press extra-firm tofu for 30 minutes, slice into cutlets, then bread and cook as you would the chicken. Alternatively, use thick slices of grilled portobello mushrooms for a meaty, umami-rich alternative. The Caesar dressing can be made vegan using cashew cream or a store-bought vegan Caesar.
- **Spicy Buffalo Caesar Sandwich**: Add 2 tablespoons of hot sauce (like Frank's RedHot) to the egg wash for a spicy kick. Or, after cooking, toss the crispy chicken in buffalo sauce. Assemble with romaine, Caesar dressing, and blue cheese crumbles instead of Parmesan. This combines the best of a buffalo chicken sandwich with the creamy tang of Caesar.
- **Low-Carb/Keto Version**: Skip the bread and serve the crispy chicken over a bed of romaine lettuce as a salad, or use large lettuce leaves as wraps. For the breading, substitute panko with crushed pork rinds or almond flour mixed with Parmesan. This keeps the crunch while drastically reducing carbs. Use a keto-friendly Caesar dressing (watch for added sugars).
Nutrition
- Calories485 kcal
- Total Fat22g
- Saturated Fat6g
- Cholesterol145mg
- Sodium890mg
- Total Carbohydrates38g
- Dietary Fiber2g
- Sugars3g
- Protein35g