The “Blender Batter” technique is a culinary method that uses a high-speed blender to pulverize rolled oats into flour and aerate ingredients in one vessel. This process eliminates the need for multiple mixing bowls and stand mixers, allowing for a single-dish preparation of nutrient-dense, fiber-rich breakfast muffins.
The Nightmare of Baking Cleanup
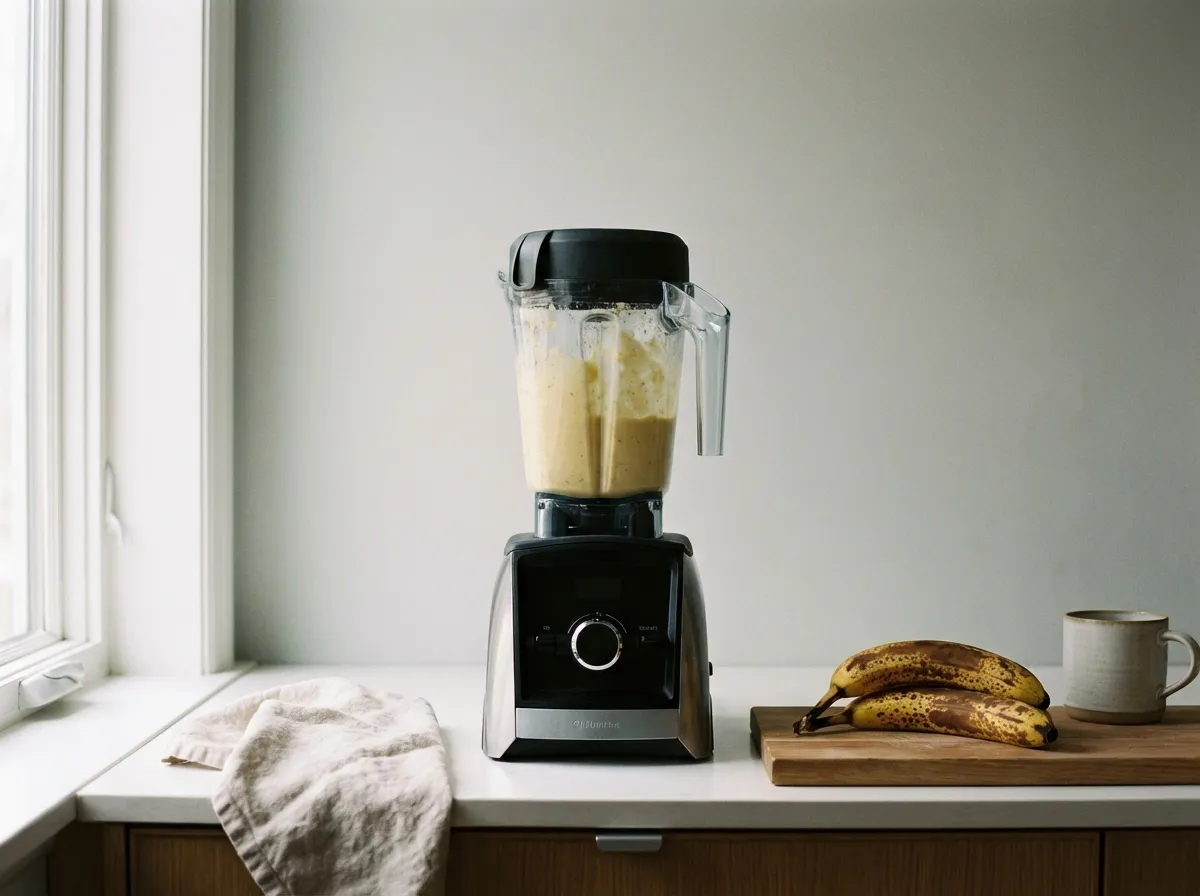
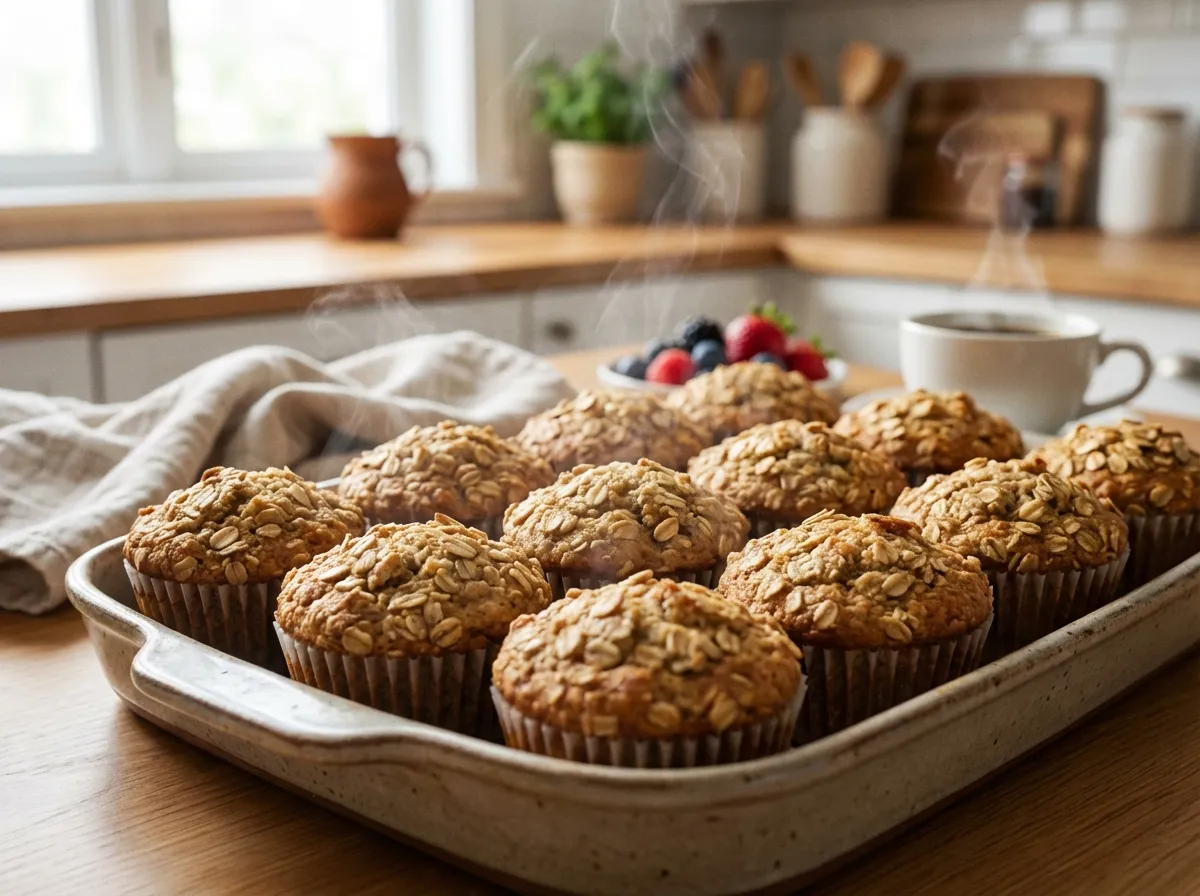
One blender, zero flour clouds: the secret to a mess-free Sunday prep.
Traditional baking creates extensive cleanup by requiring separate bowls for wet and dry ingredients and manual folding of flour. The “Blender Batter” technique solves this by utilizing the blender pitcher as both the mixing bowl and pouring vessel, reducing the entire cleanup process to rinsing one container under the sink.
The Muffin Arbitrage
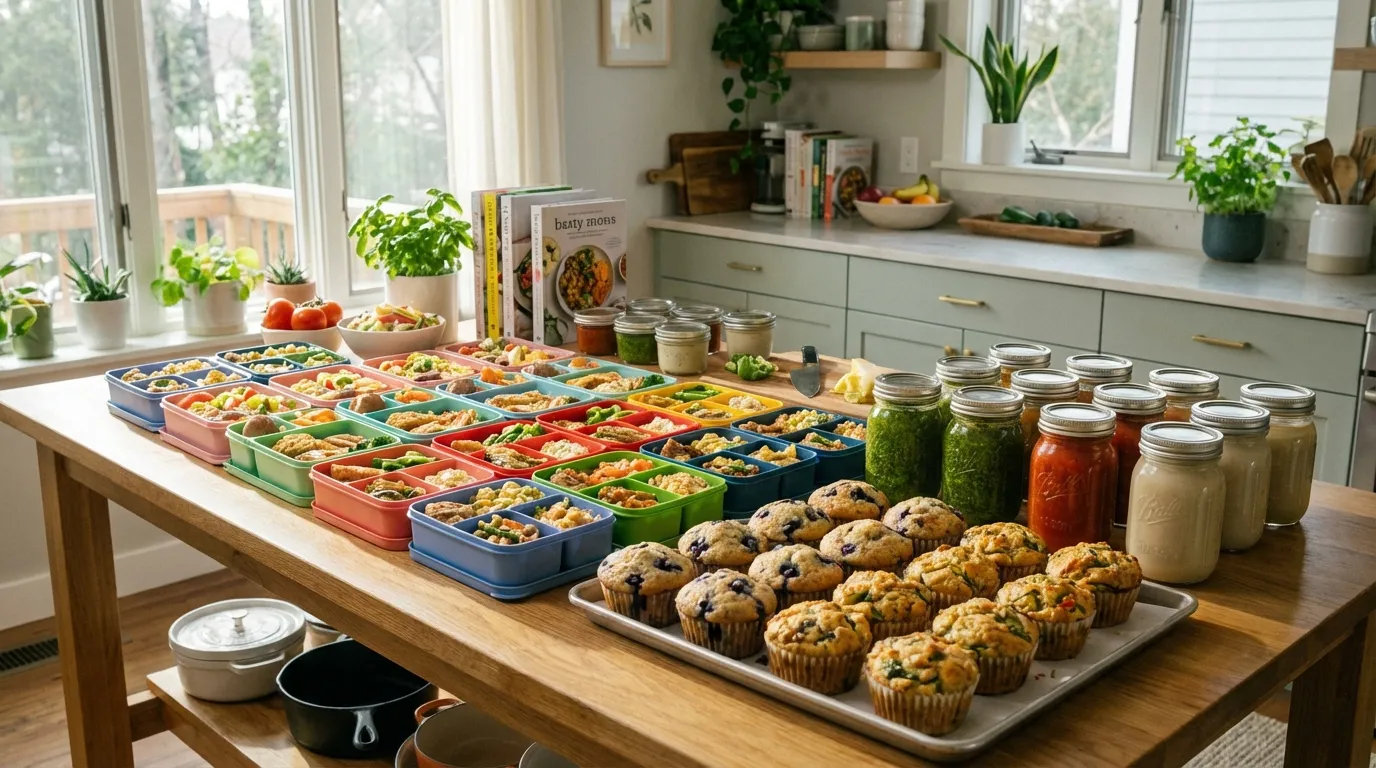
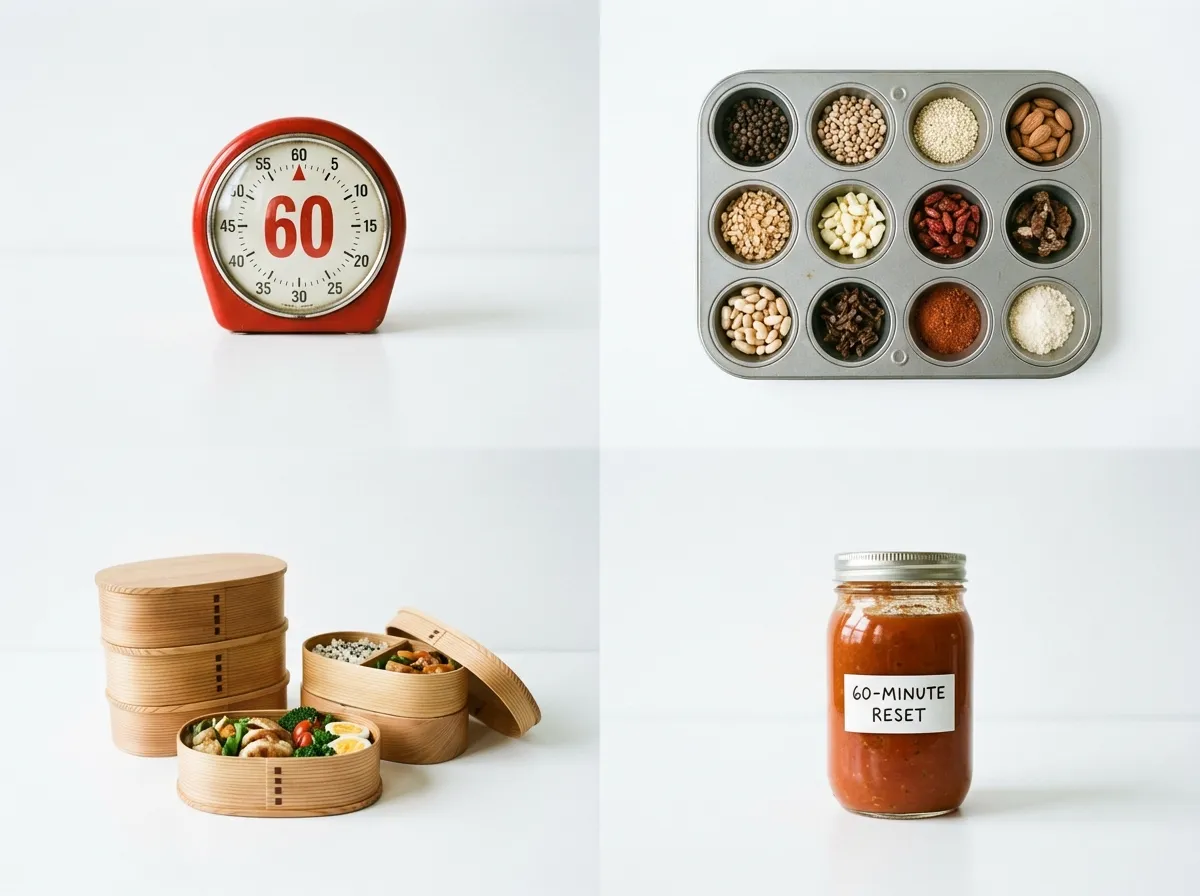
Adopting a consistent Sunday kitchen prep routine allows you to bypass expensive, low-nutrient alternatives in favor of high-ROI options like those shown below.
| Breakfast Source | Processed Sugar | 9:30 AM Crash | Cost Per Muffin | Chef Verdict |
|---|---|---|---|---|
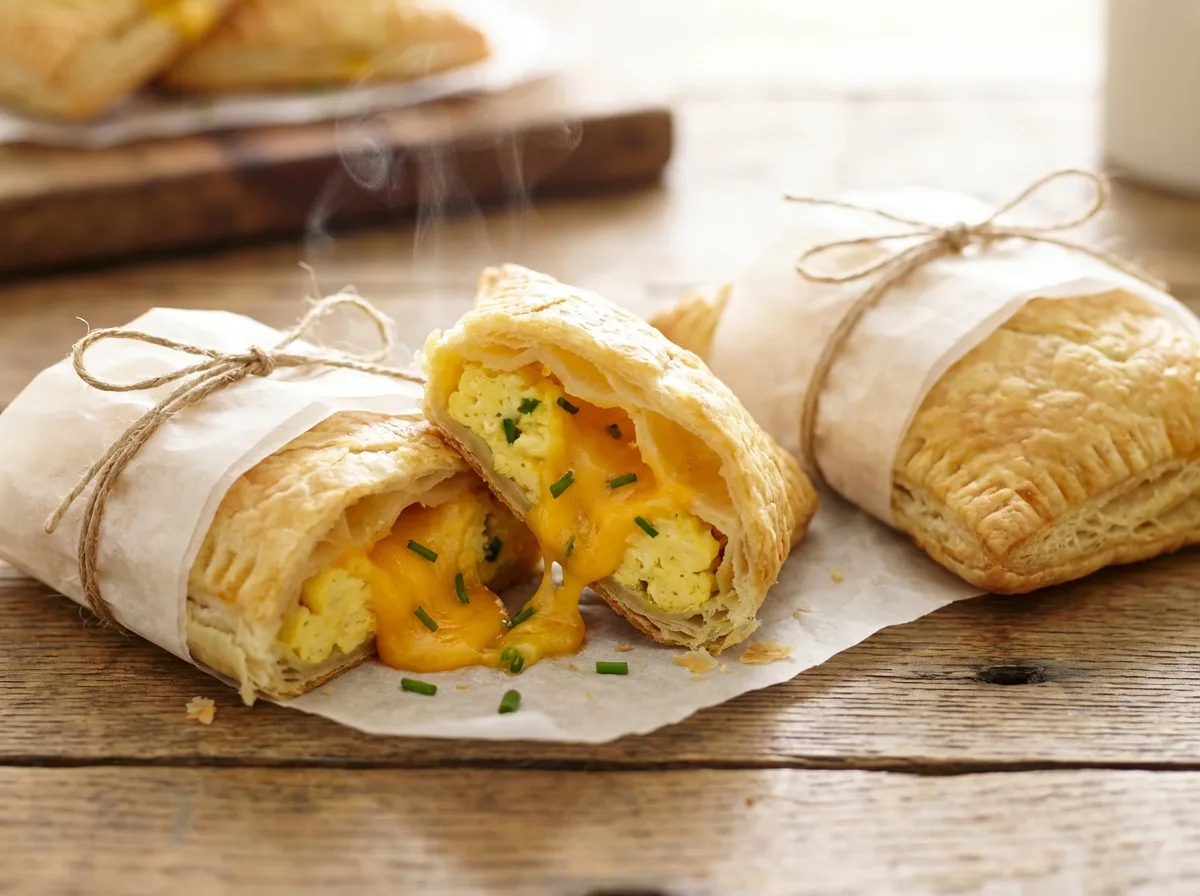
| Coffee Shop Pastry | 30g+ | Severe | $4.50 | ❌ Destroys focus and wallets |
| Grocery Store Box | High | High | $1.50 | ❌ Nutritional void |
| Sunday Blender Batch | Zero | Zero | $0.35 | ✅ The ultimate morning ROI |
Physiology: Oats vs. White Flour (The 9:30 AM Energy Crash)
Oats are a complex carbohydrate source that provide sustained energy through high dietary fiber content, preventing the insulin spikes caused by refined white flour. While standard muffins trigger a blood glucose crash by 9:30 AM, the slow-digesting fiber in rolled oats stabilizes energy levels and improves cognitive focus throughout the morning.
Culinary Science: Using “Trash” Bananas
“Trash” bananas are overripe fruits with blackened skins that have undergone enzymatic conversion of starches into liquid fructose. This natural ripening process provides intense sweetness and moisture, allowing the recipe to eliminate processed white cane sugar while maintaining a dessert-like flavor profile suitable for children.
The Blender Baking Hardware Toolkit
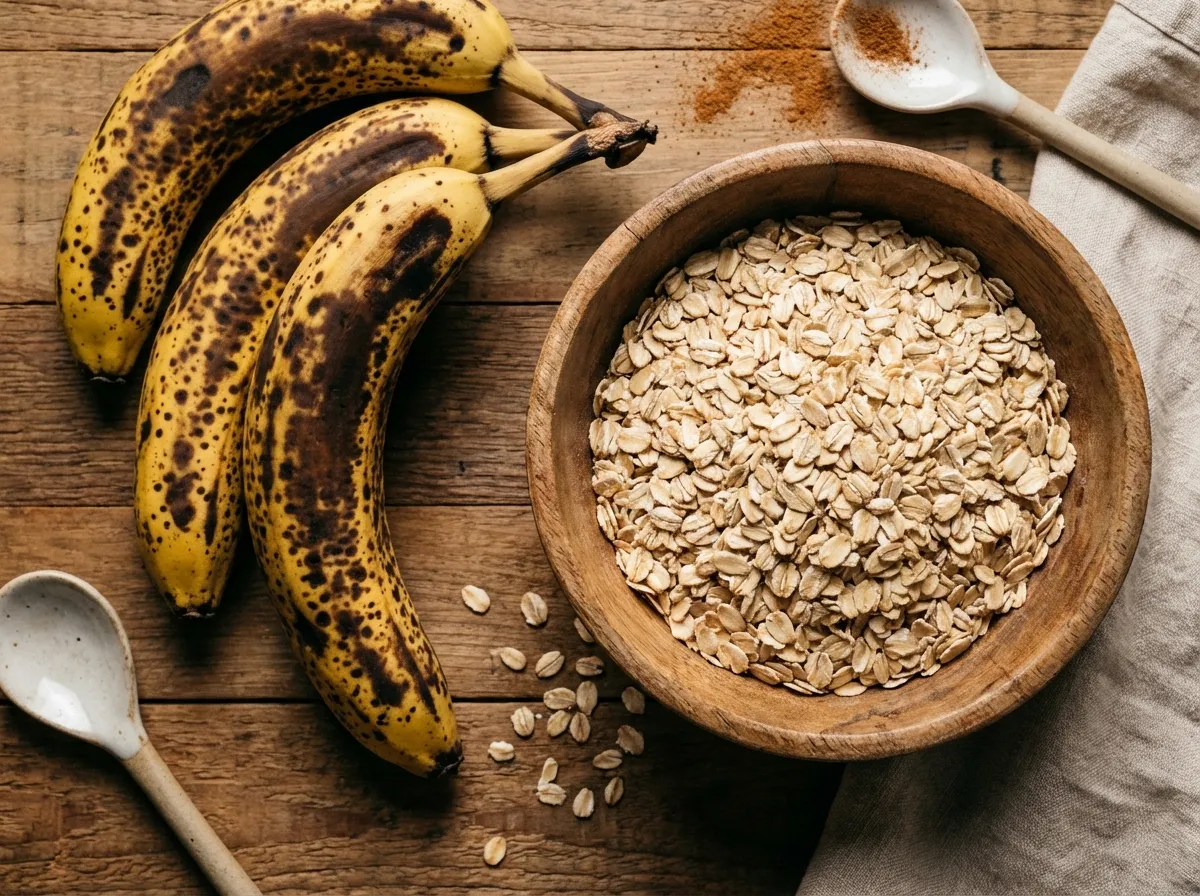
Don’t throw them away! Black-spotted bananas provide all the natural sweetness you need.
| Hardware Requirement | Culinary Function | Risk if Ignored |
|---|---|---|
| High-Speed Blender | Pulverizing whole oats | Motor burnout; large grain shards |
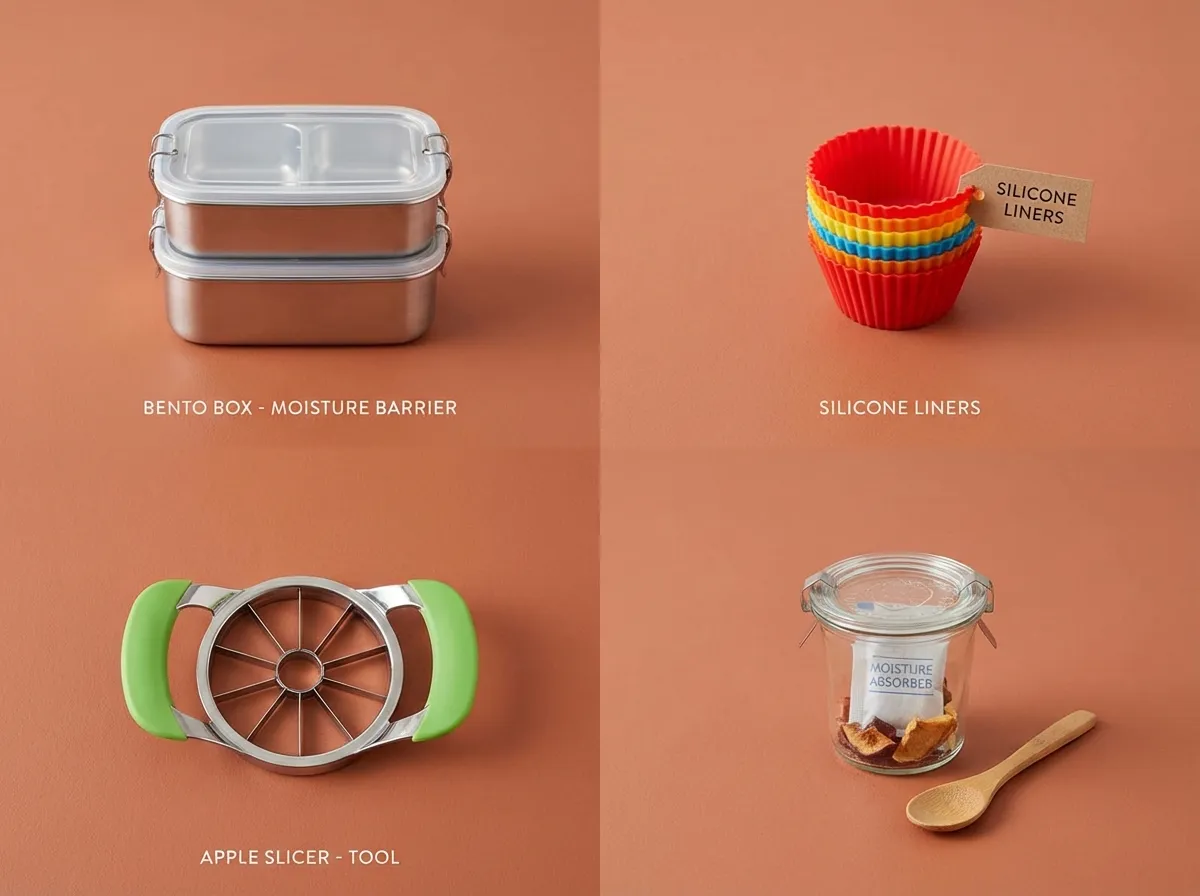
| Silicone Baking Cups | Frictionless release | Batter sticks to paper liners |
| Carbon Steel Tin | Even heat distribution | Burnt bottoms; raw centers |
- High-Speed Professional Blender: A blender with sufficient torque is required to pulverize hard rolled oats into a fine powder within 15 seconds.
- Reusable Silicone Baking Liners: Silicone provides a non-stick surface, essential for fat-free batters that bond to standard paper liners.
- Heavy-Gauge Carbon Steel Tin: This material conducts thermal energy evenly at 375°F, preventing the warping and hot spots common with disposable aluminum pans.
Field-Tested Results: The Post-Blend Rest
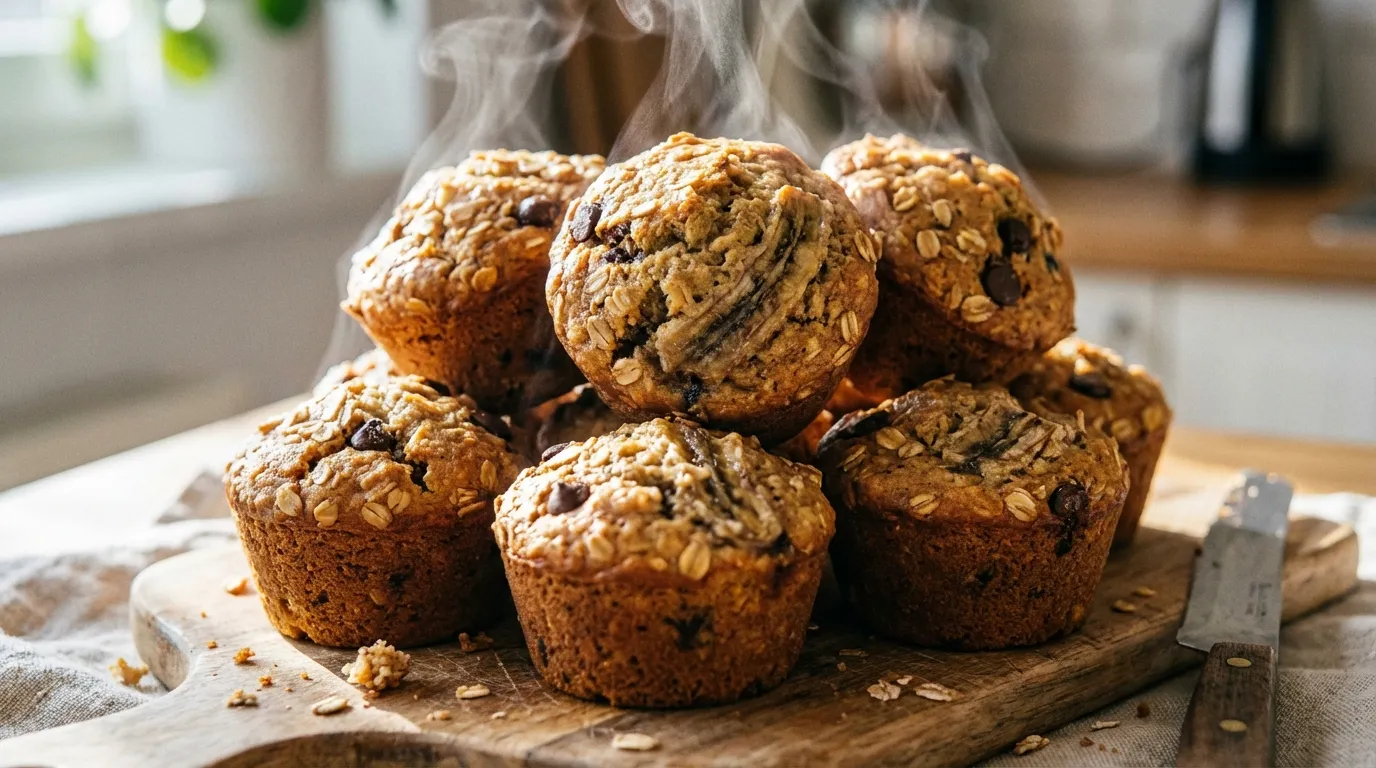
The “5-Minute Hydration Rest” is a mandatory step where the batter sits undisturbed in the blender pitcher after mixing. Because oats are slow to absorb liquid, this pause allows the pulverized oat flour to fully hydrate, thickening the batter to ensure a moist, non-crumbly final muffin texture.
Recipe: Make-Ahead Banana Oat Blender Muffins

Silicone liners ensure a frictionless release for these oil-free muffins.
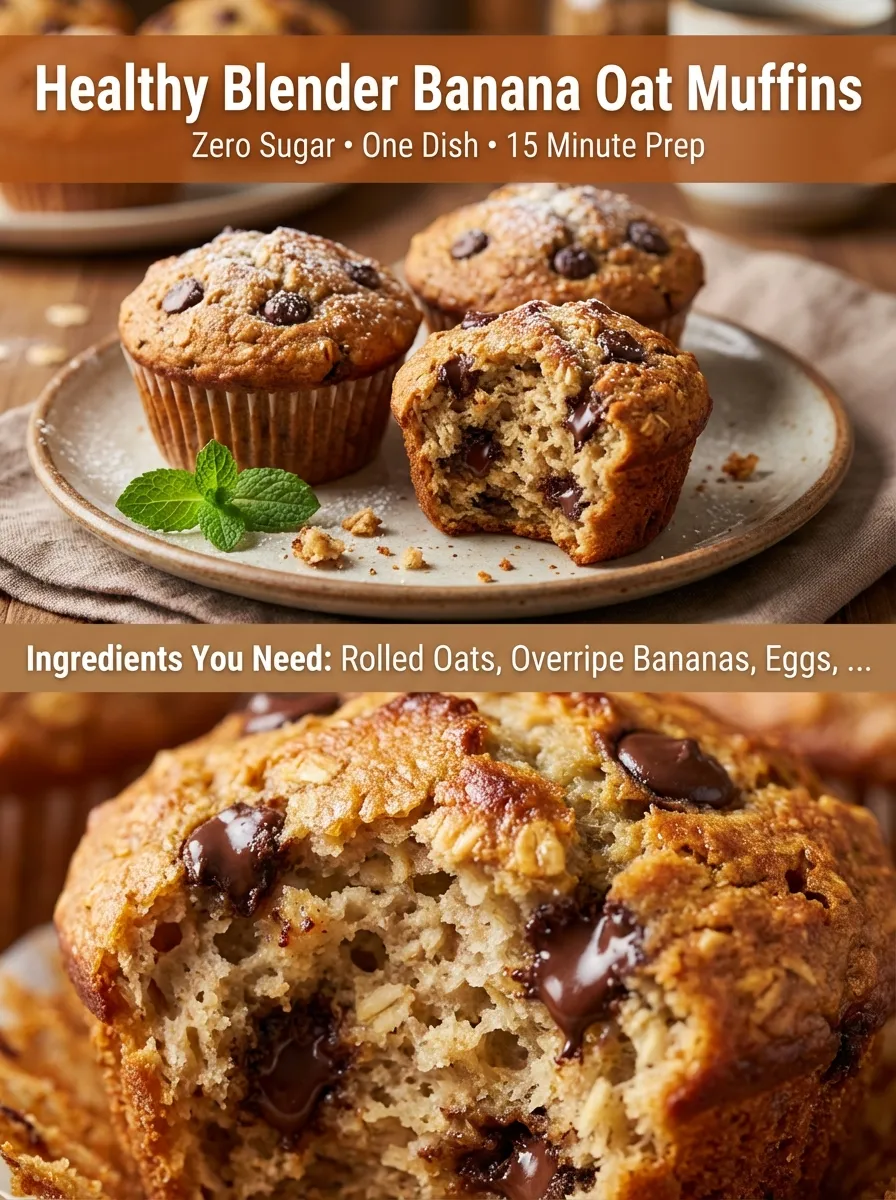
Ingredients (Yield: 12 muffins):
* 2 cups whole rolled oats
* 2 aggressively overripe, black bananas
* 2 large eggs
* 1/4 cup pure maple syrup
* 1/4 cup milk
* 1 teaspoon baking soda
* 1 teaspoon vanilla extract
* Optional: 1/2 cup dark chocolate chips or blueberries
Method:
1. Preheat oven to 375°F and line a carbon-steel muffin tin with 12 silicone cups.
2. Add liquid ingredients to the blender first, followed by remaining ingredients.
3. Blend on high for 60 seconds until smooth.
4. Let the batter rest for 5 minutes in the pitcher.
5. Fold in optional mix-ins by hand.
6. Pour batter into cups, filling each 3/4 full.
7. Bake at 375°F for 15 to 18 minutes.
8. Cool completely before removing from silicone cups.
Nutrition Per Serving (1 Muffin)
| Nutrient | Amount |
|---|---|
| Calories | 140 kcal |
| Protein | 4g |
| Carbohydrates | 22g |
| Total Fat | 4g |
| Breakfast Cost | $0.35 |
Frequently Asked Questions
Save this recipe to your Healthy Breakfast board!
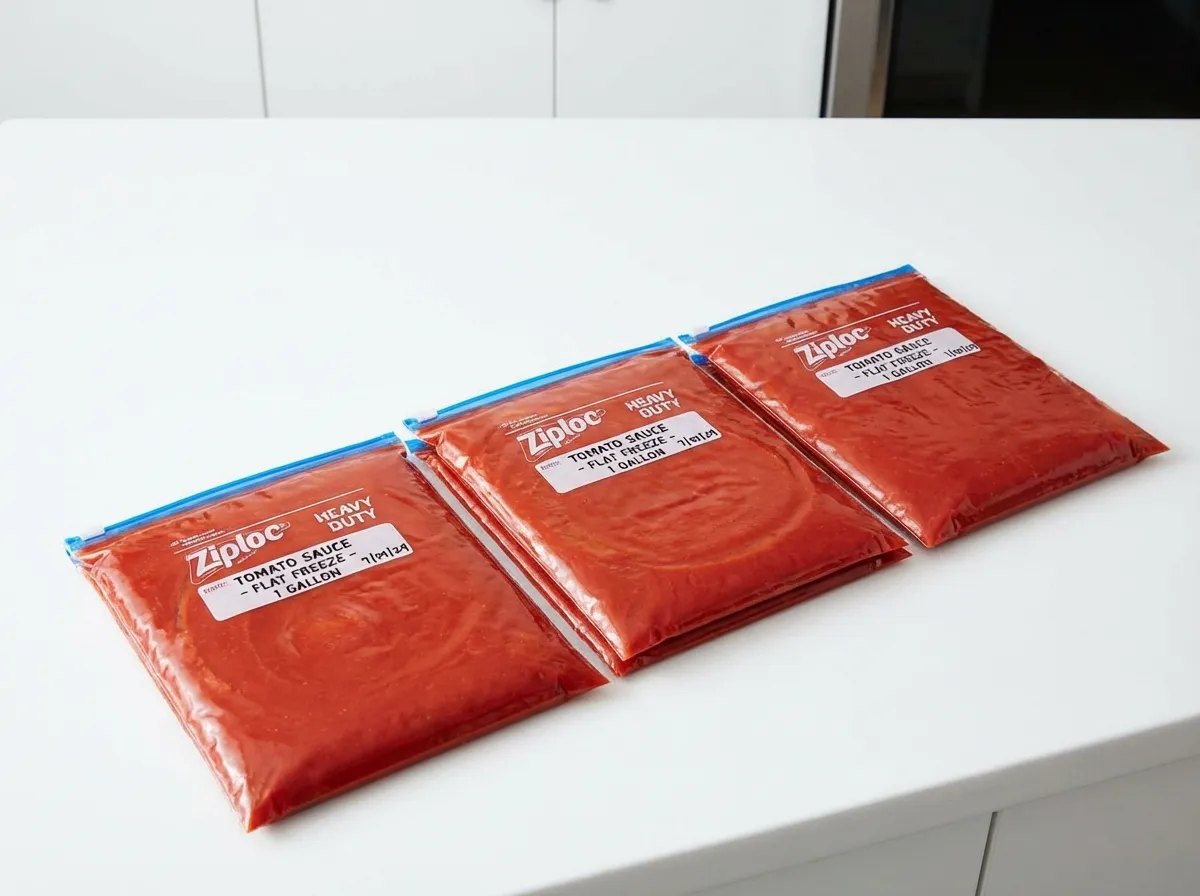
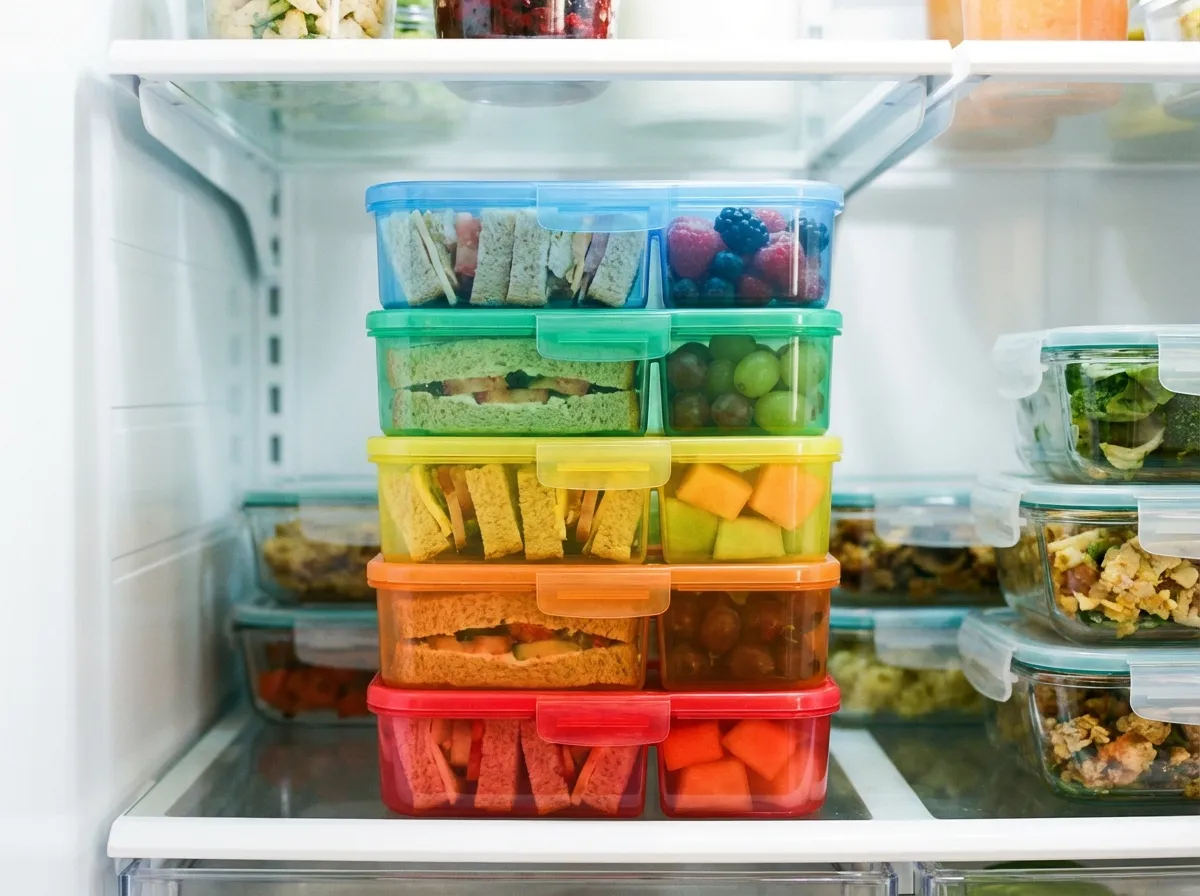
Question: Can I freeze these specific oat muffins to build a massive stockpile?
Answer: Yes, the dense oat structure freezes flawlessly. When looking for freezer-friendly breakfast options, these are ideal because they maintain their texture after thawing. Once cooled to room temperature, store them in a gallon freezer bag. To serve, microwave a frozen muffin for 20 to 30 seconds until hot and aromatic.
Question: Why did my muffins sink in the middle after removing them from the oven?
Answer: You over-aerated the batter. Blending for longer than 60 seconds introduces excessive air that causes the muffin structure to collapse upon cooling. Stop blending immediately once the oats are pulverized.
Question: Do I have to use pure maple syrup, or can I substitute something else?
Answer: You can substitute equal parts natural honey or agave nectar. Do not use dry granular sugar, as it lacks the liquid volume required for the blender blades to spin the batter effectively.
Question: Can I use “Quick Oats” instead of “Old Fashioned Rolled Oats”?
Answer: Yes, quick oats work perfectly. The high-speed blender pulverizes the oats into a fine powder regardless of their initial flake size, making the starting texture of the oats irrelevant to the final result.
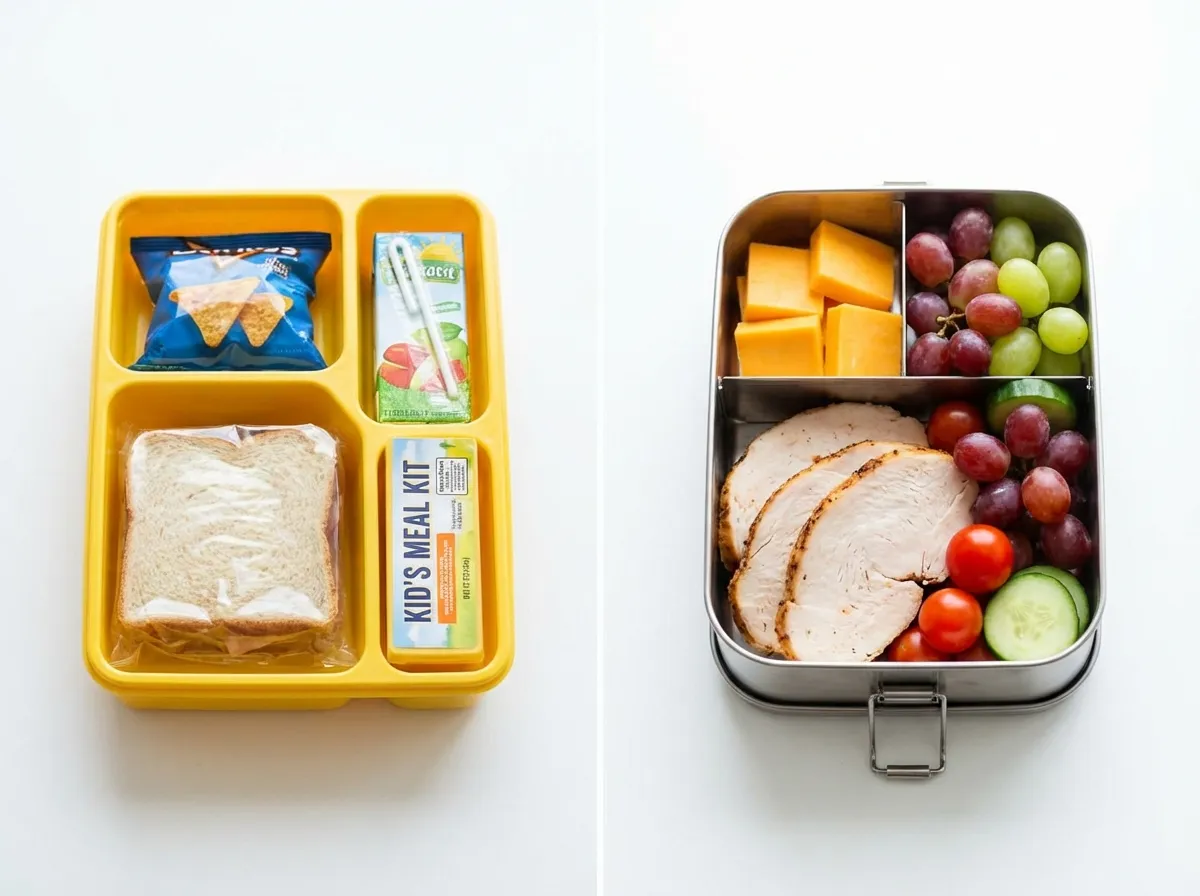
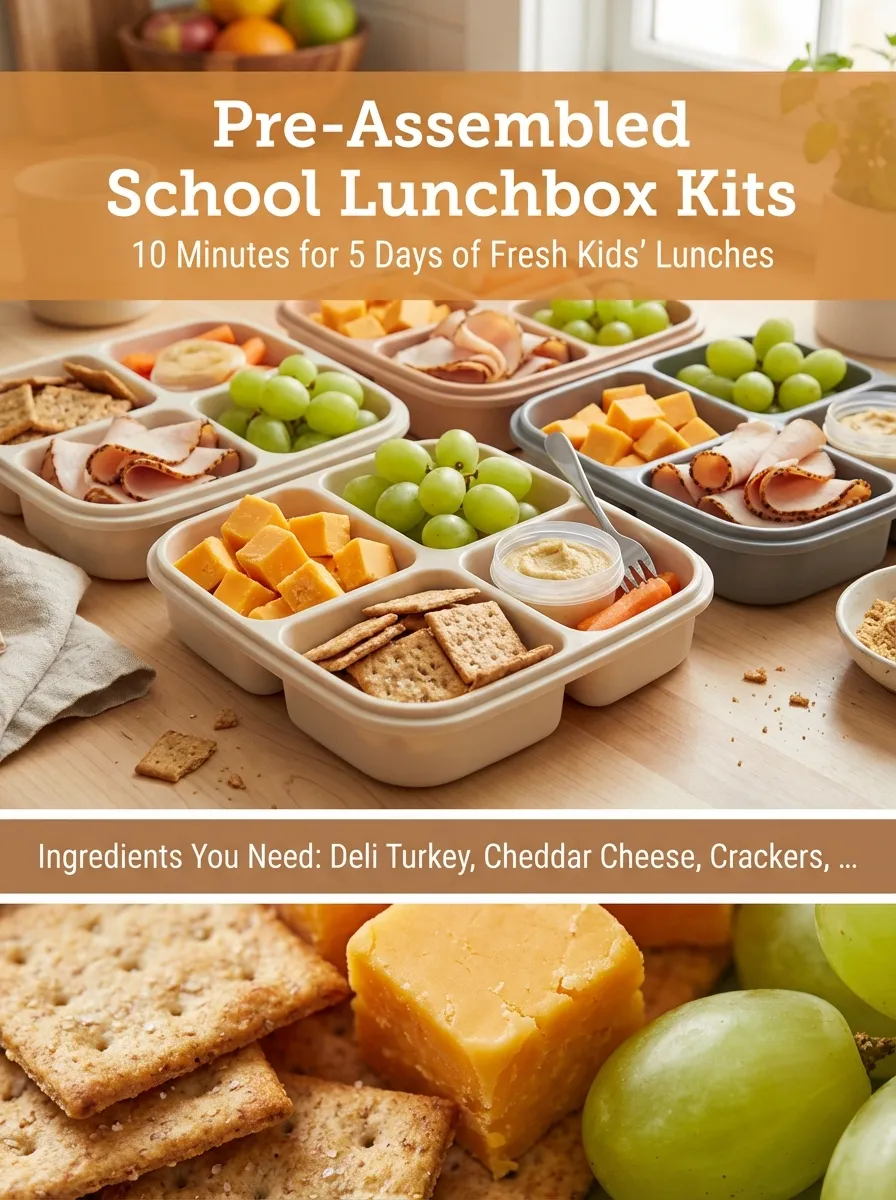
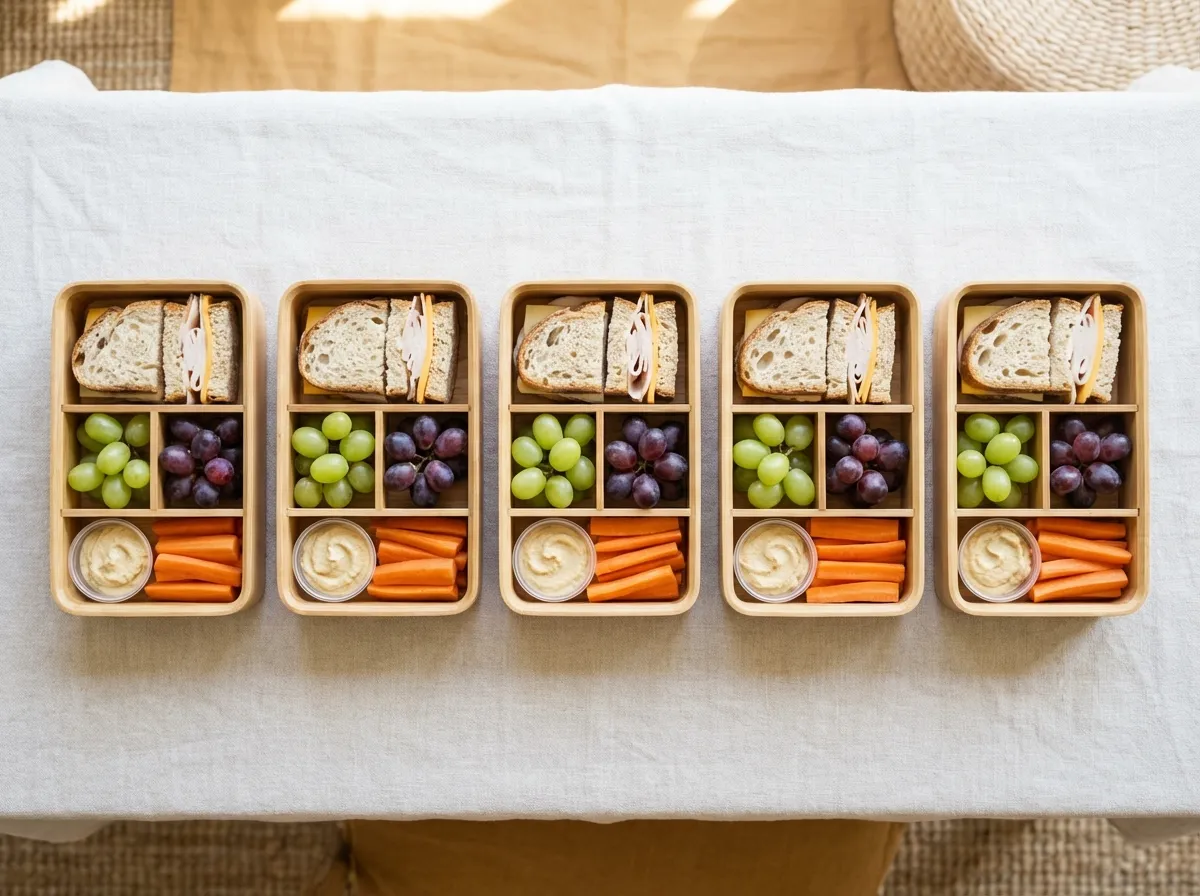
Once you have mastered the blender muffin, you can further streamline your mornings by implementing pre-assembled school lunch systems to ensure the entire day remains stress-free.