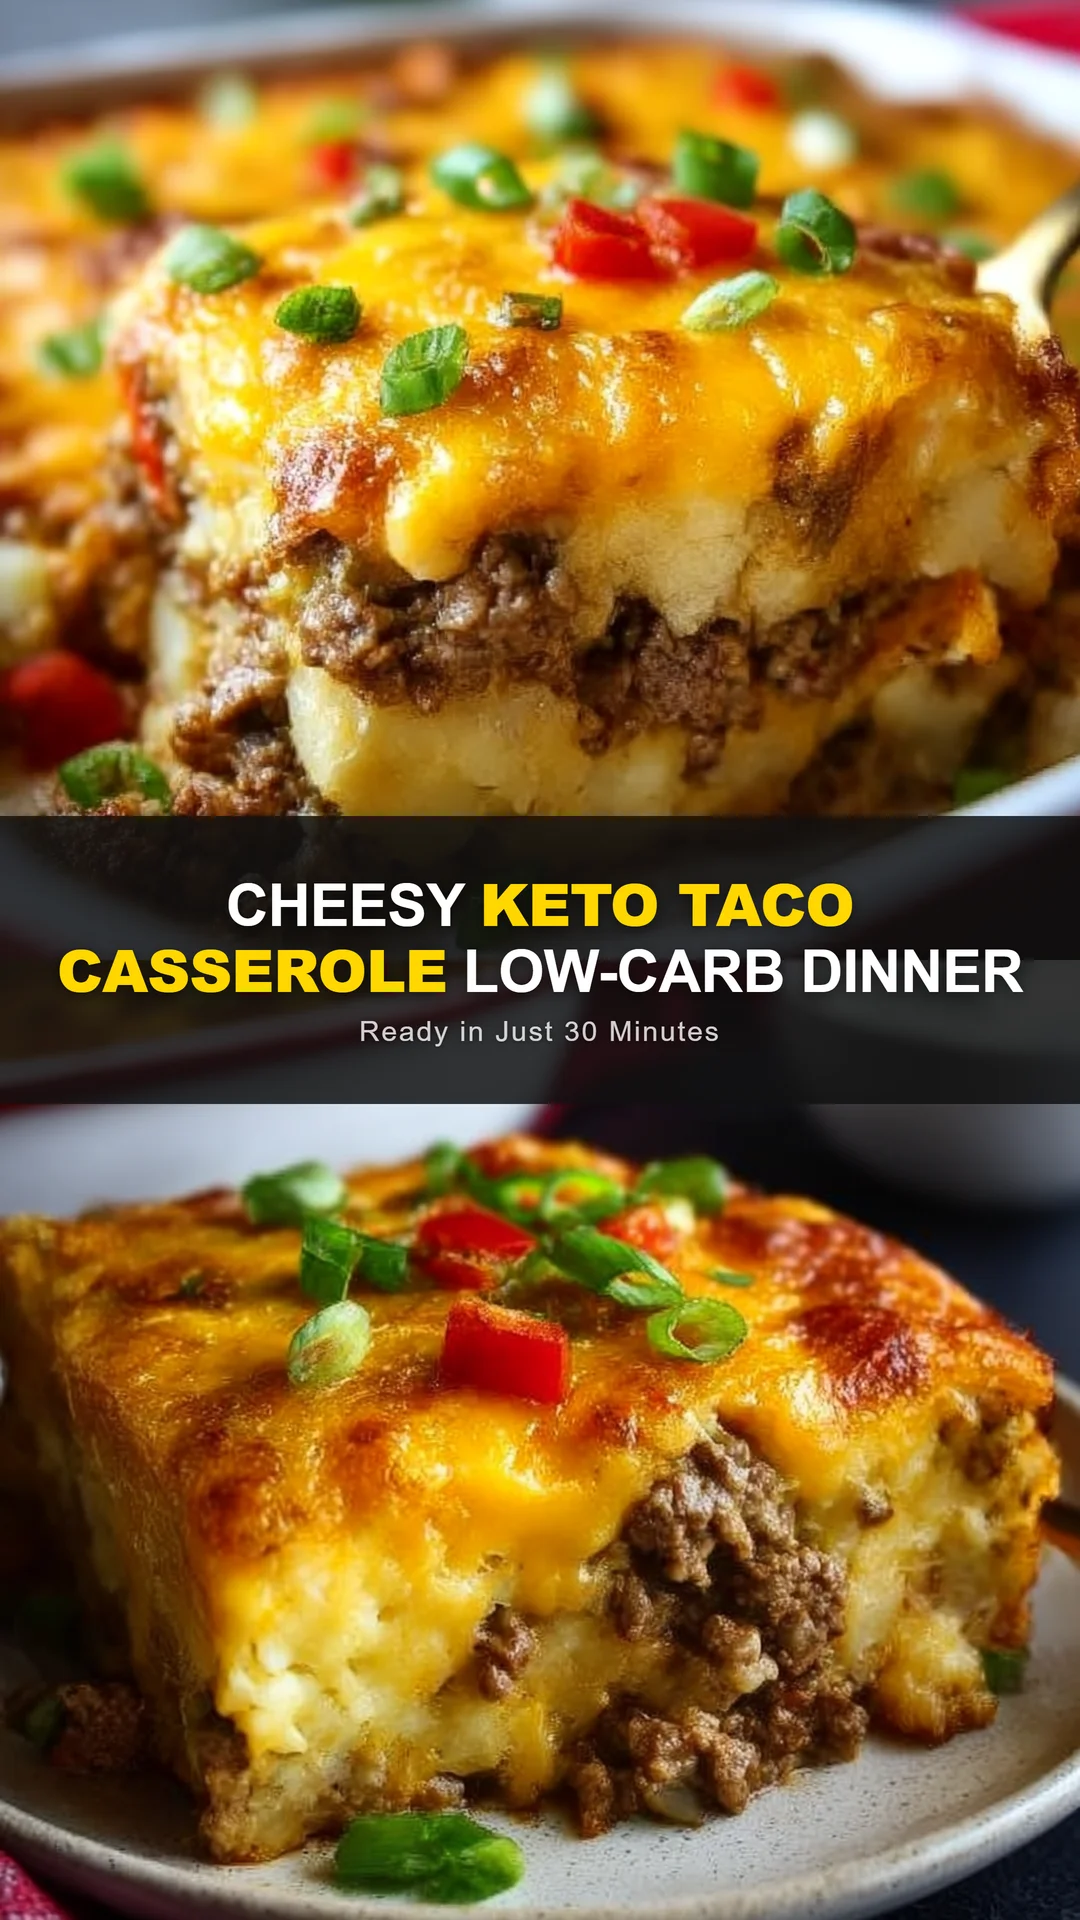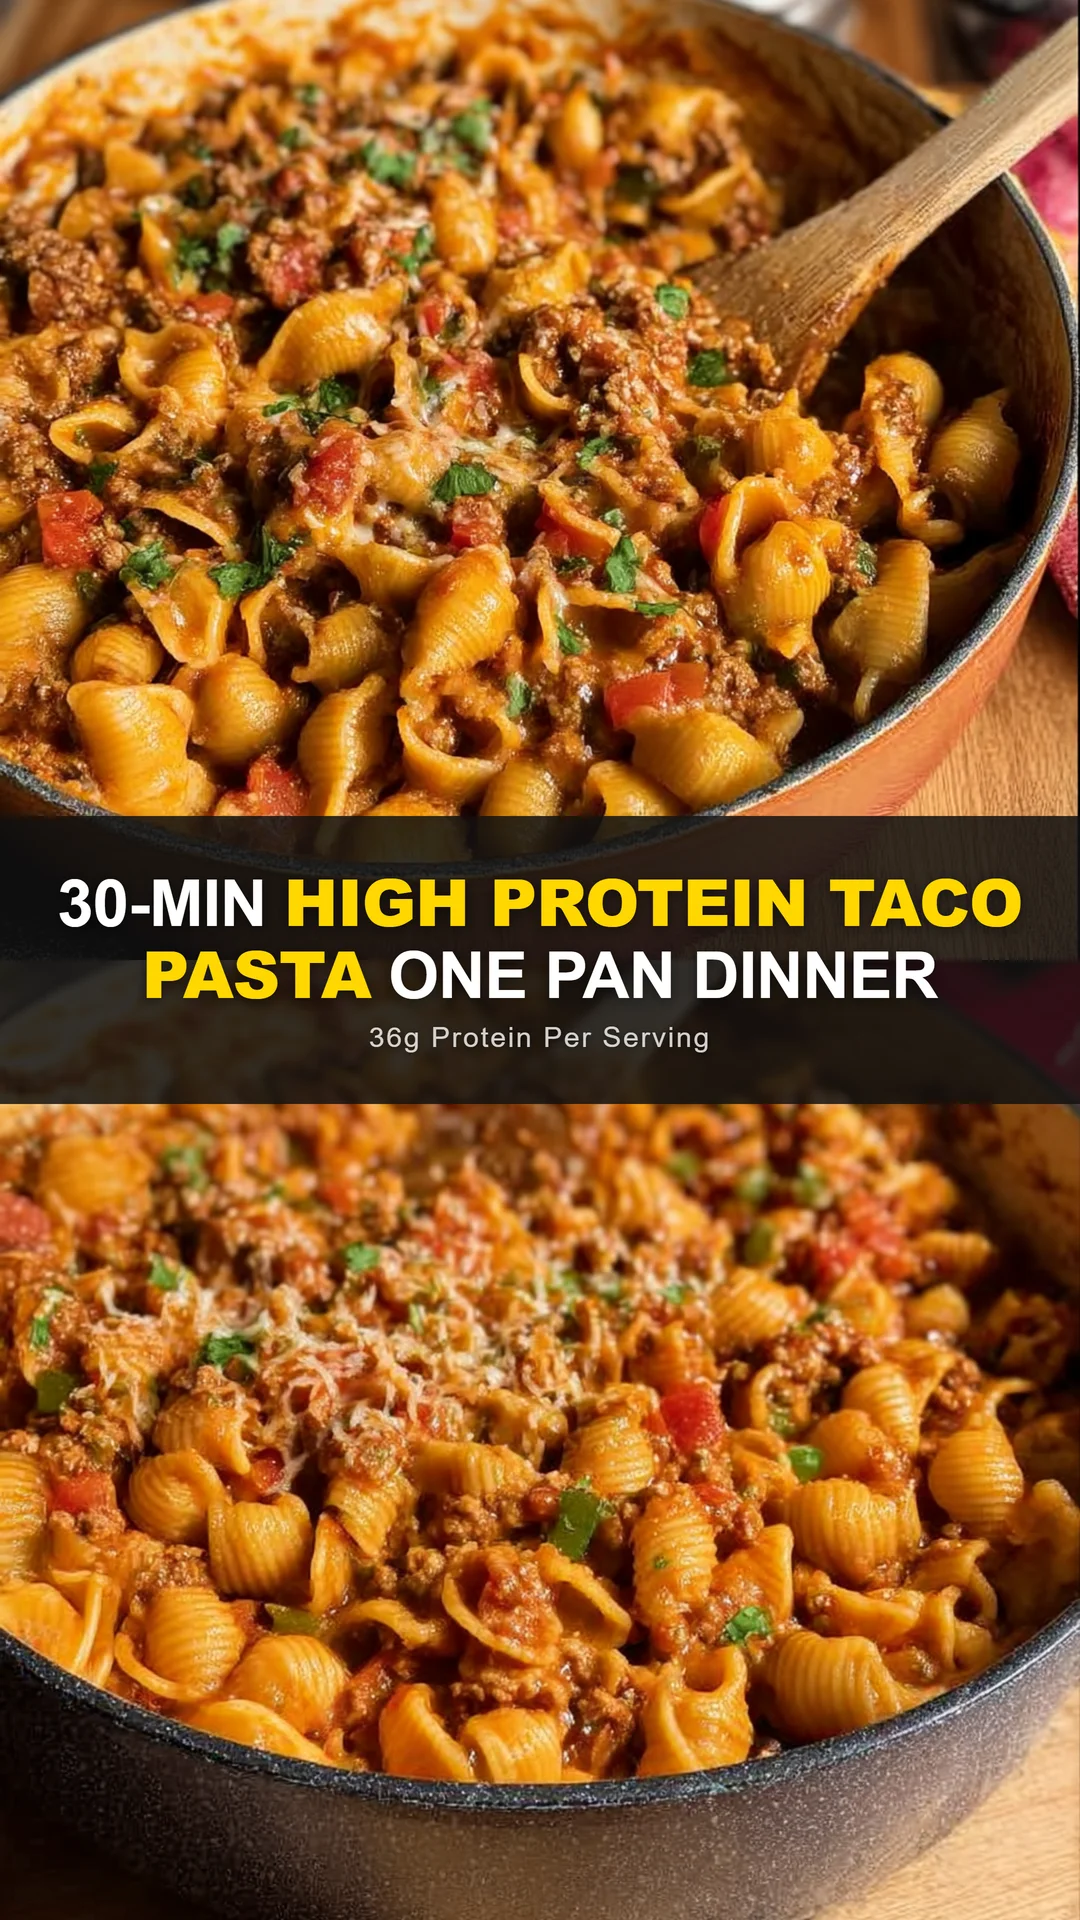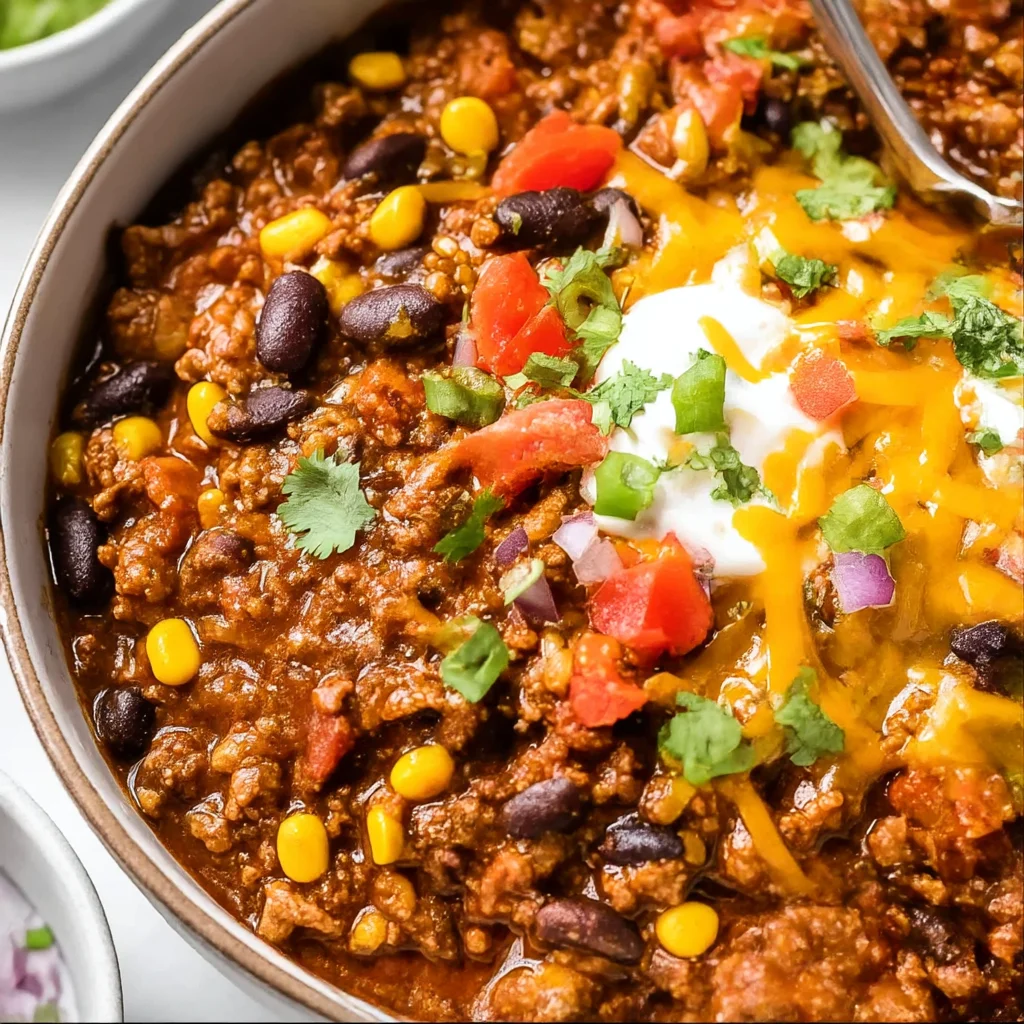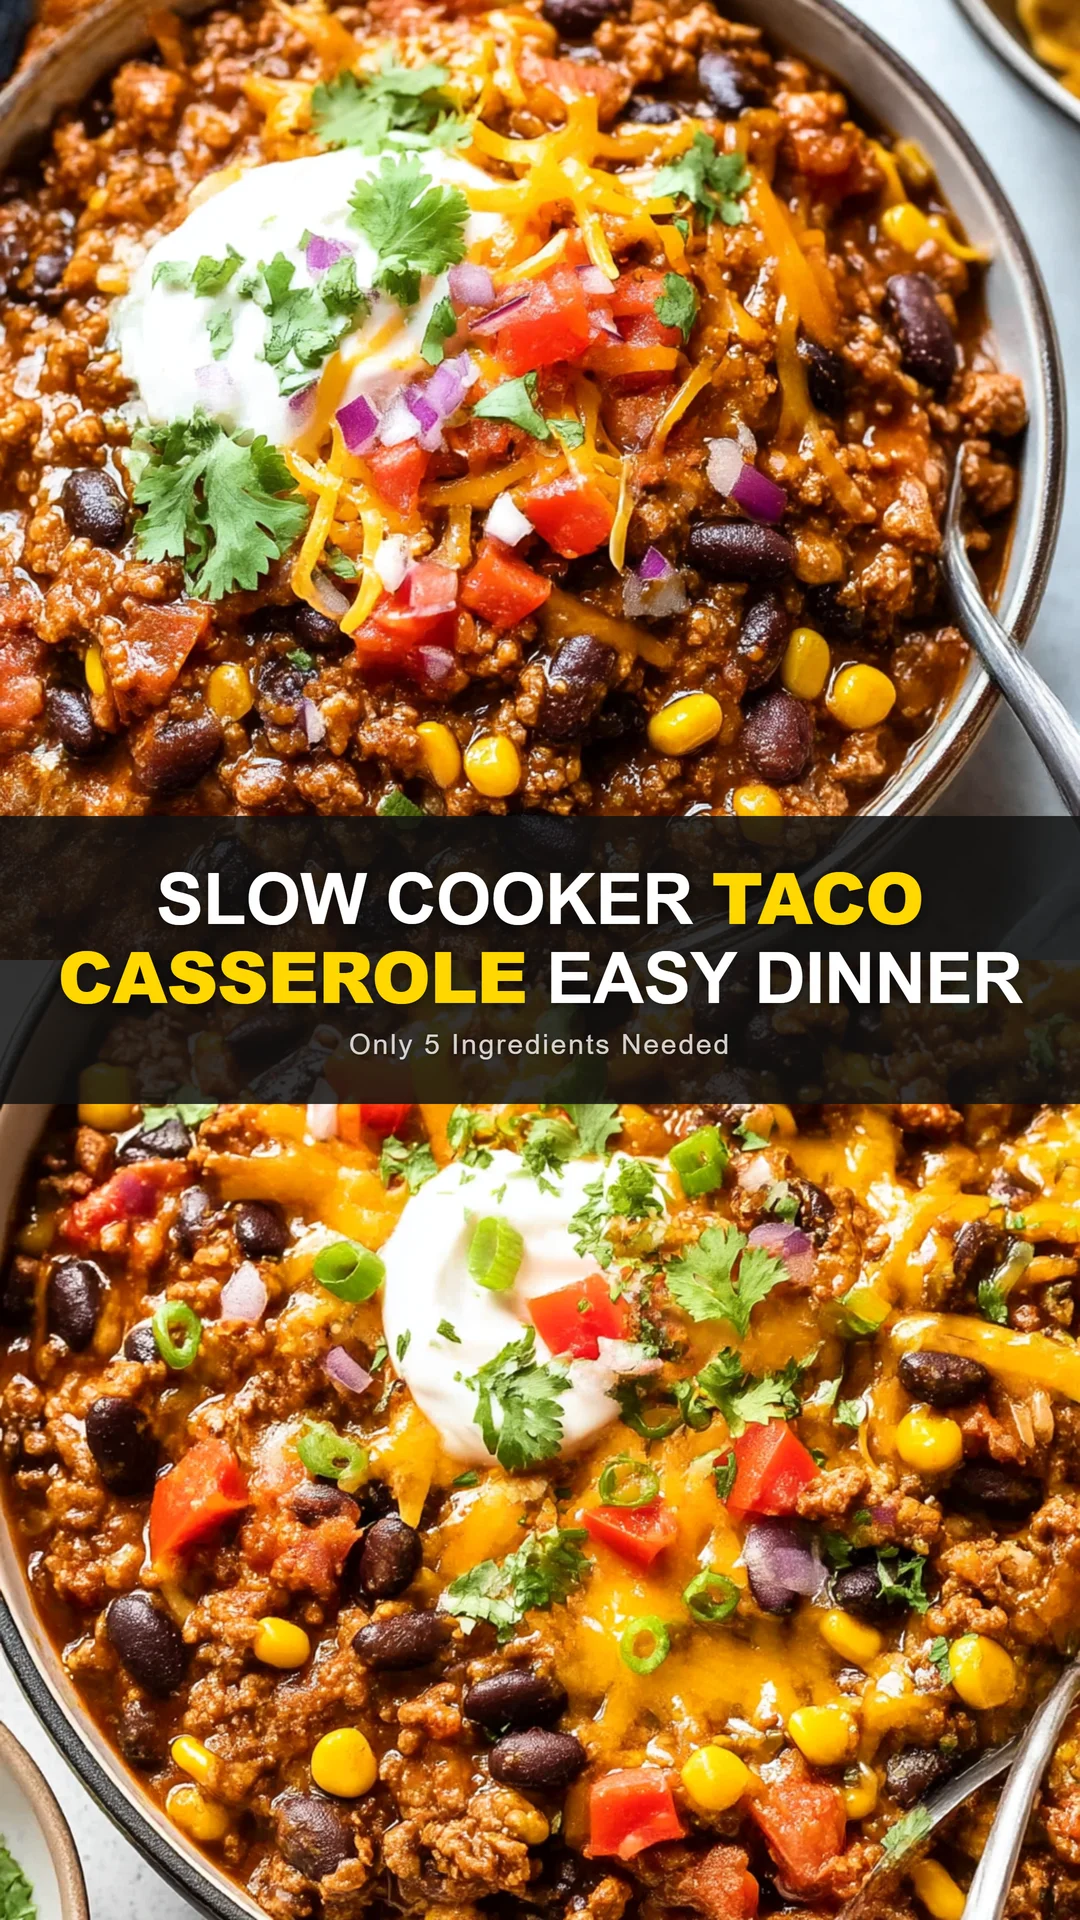
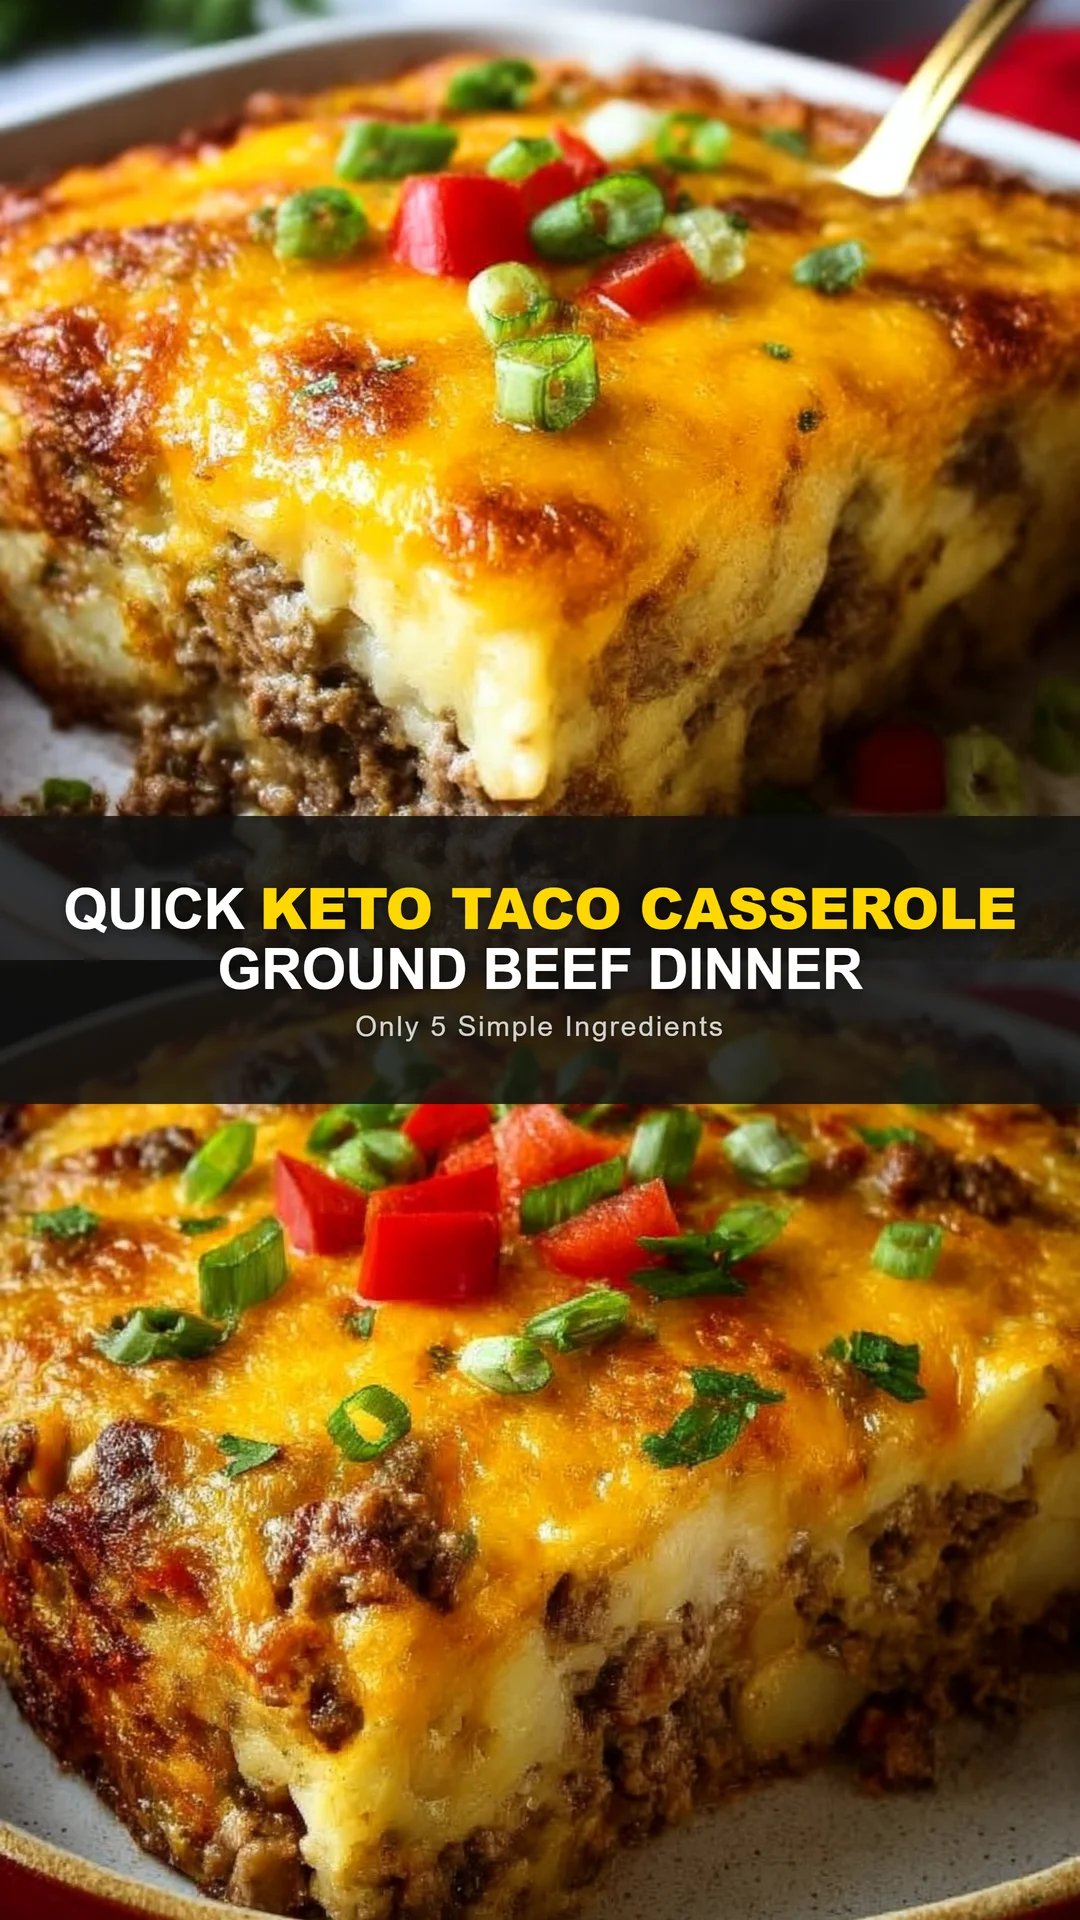
This Quick Keto Taco Casserole uses only 5 simple ingredients for a cheesy, high-protein ground beef dinner ready in 30 minutes. Perfect for busy low-carb family meals.
Ingredients
Instructions
Preheat your oven to 375°F (190°C). This temperature ensures even cooking and a bubbly, golden cheese topping without drying out the meat. While the oven heats, grease an 8×8-inch or similar baking dish with butter or non-stick spray to prevent sticking. If you prefer a crispier top, use a ceramic dish; glass may require a few extra minutes of baking. Gather all ingredients so you’re ready to assemble: this casserole comes together quickly, so mise en place is key.

In a large skillet over medium-high heat, cook the ground beef, breaking it apart with a wooden spoon. You want a nice brown crust on the meat—avoid stirring too frequently. Once fully browned (about 5-7 minutes), drain any excess fat to keep the casserole from becoming greasy. Return the skillet to low heat and sprinkle the taco seasoning over the beef. Add 2 tablespoons of water and stir, letting it simmer for 1-2 minutes until the seasoning is well incorporated and aromatic. The mixture should smell like a fiesta—cumin, chili, and garlic notes blooming.
In a medium bowl, beat the cream cheese with a fork until smooth and lump-free. Crack the eggs into the bowl and whisk vigorously until the mixture is homogenous and slightly fluffy. This egg-cream cheese binder is what gives the casserole its custardy, rich texture while keeping it keto-friendly. Fold the seasoned ground beef into the cream cheese mixture until fully combined. The batter will look thick and creamy.
Transfer the beef mixture into the prepared baking dish and spread it evenly with a spatula. Sprinkle 1 ½ cups of the shredded cheddar cheese over the top, reserving the remaining ½ cup for later. The cheese should cover the surface completely for that irresistible golden crust. Place the dish on the middle rack of your preheated oven and bake for 15 minutes, or until the casserole is set around the edges and just slightly jiggly in the center.
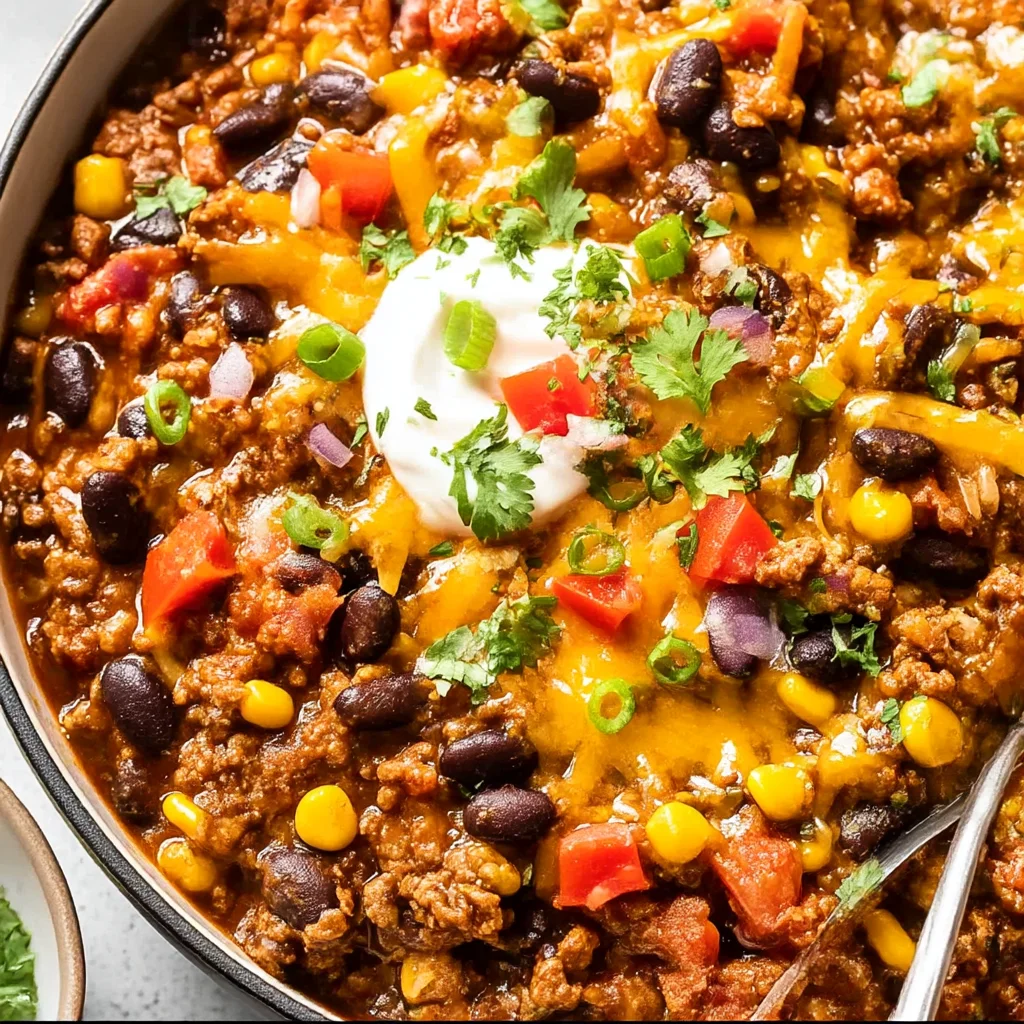
Remove the casserole from the oven and sprinkle the reserved ½ cup of cheddar cheese over the top. Return to the oven and bake for an additional 5 minutes, or until the cheese is melted, bubbly, and lightly browned in spots. For a deeper golden crust, switch the oven to broil for the last 1-2 minutes—watch carefully to avoid burning. Let the casserole rest on the counter for 5 minutes before slicing. This resting period allows the eggs to finish setting and makes serving cleaner.
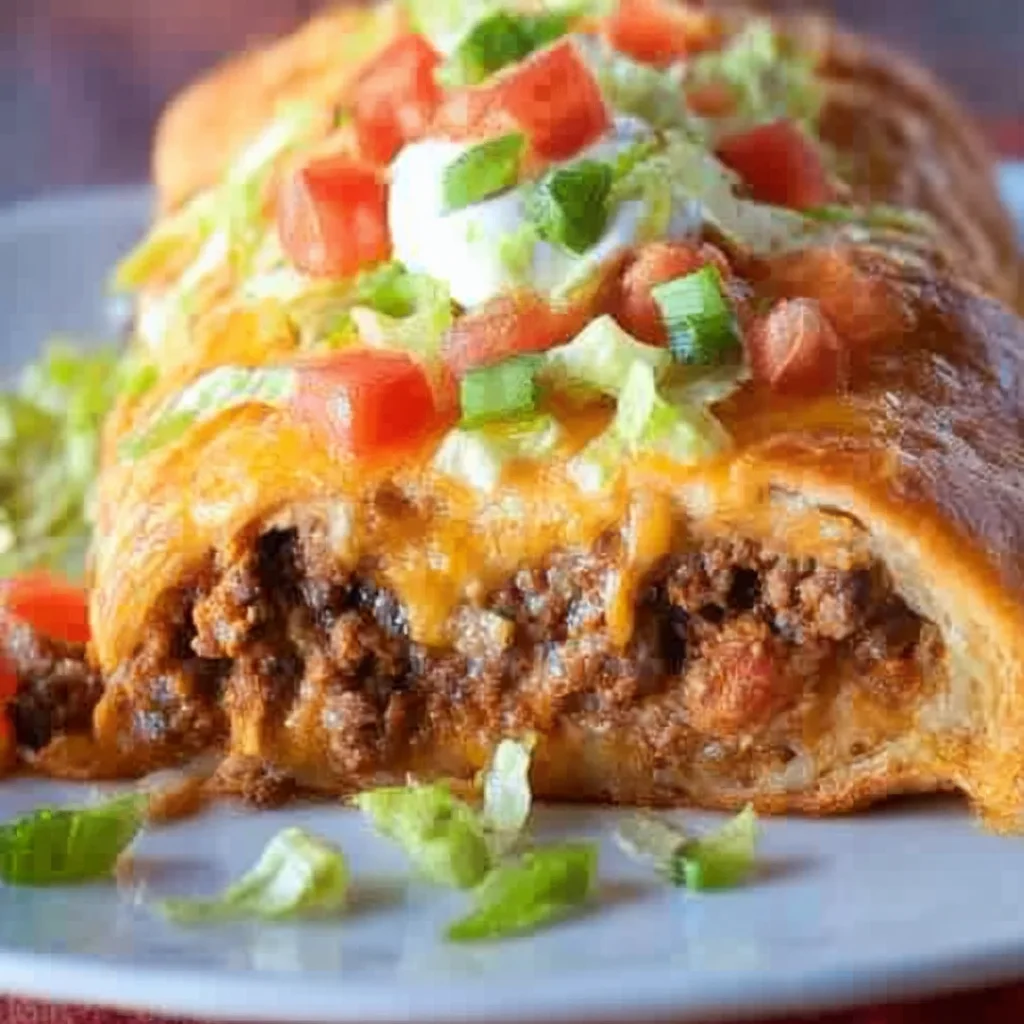
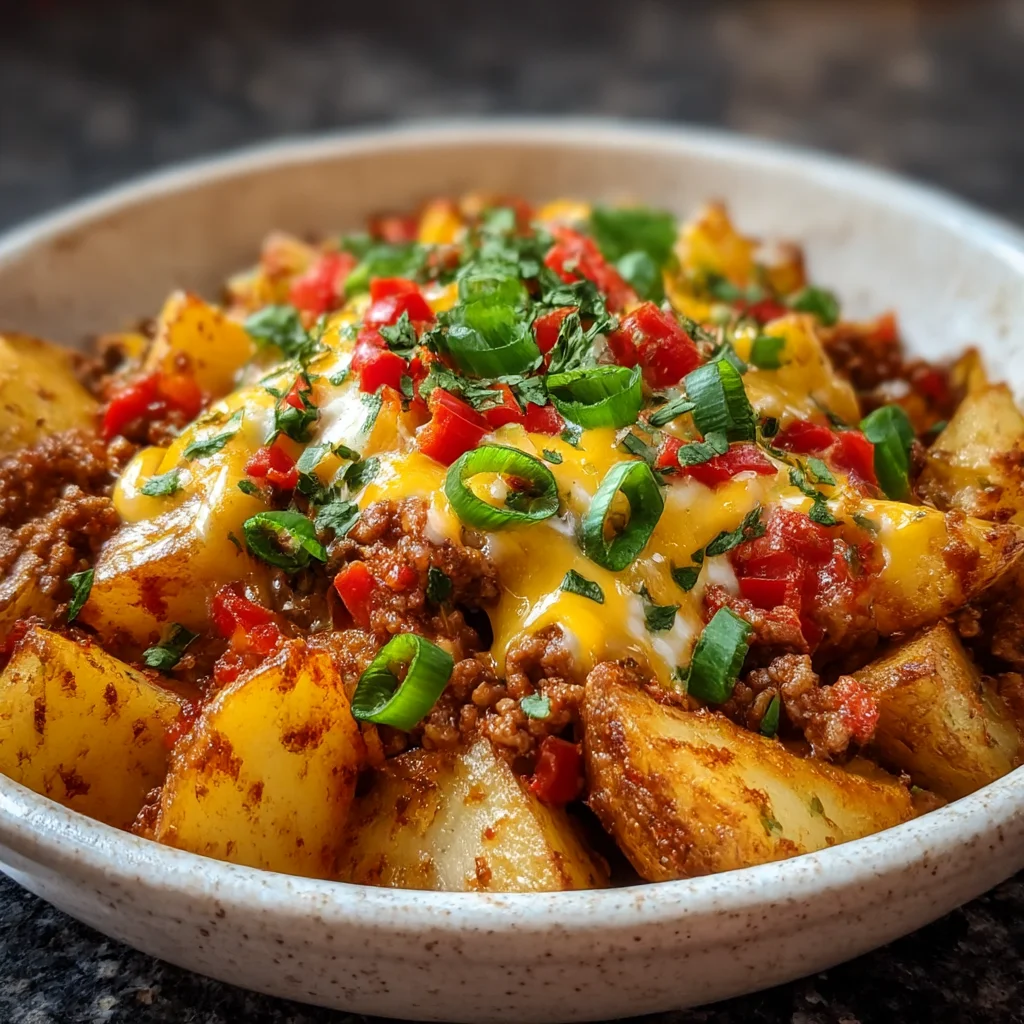
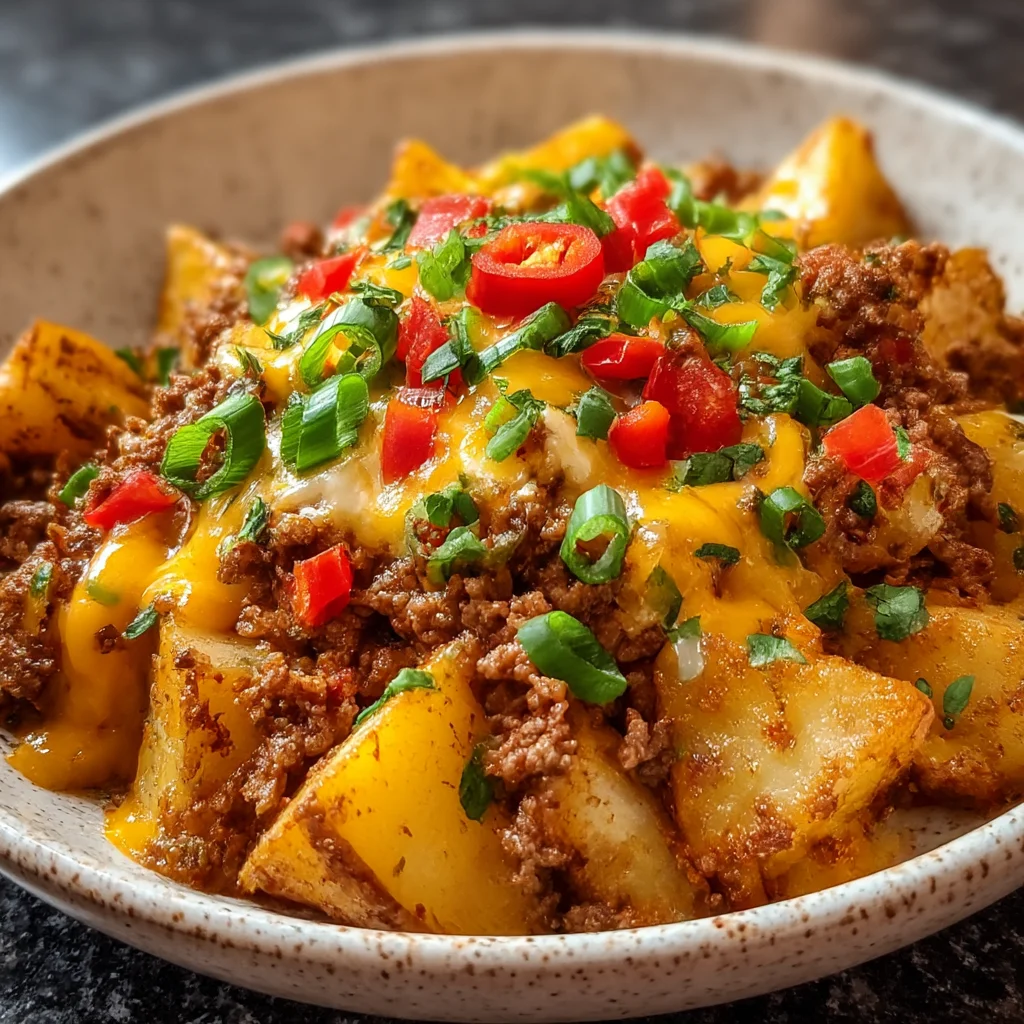
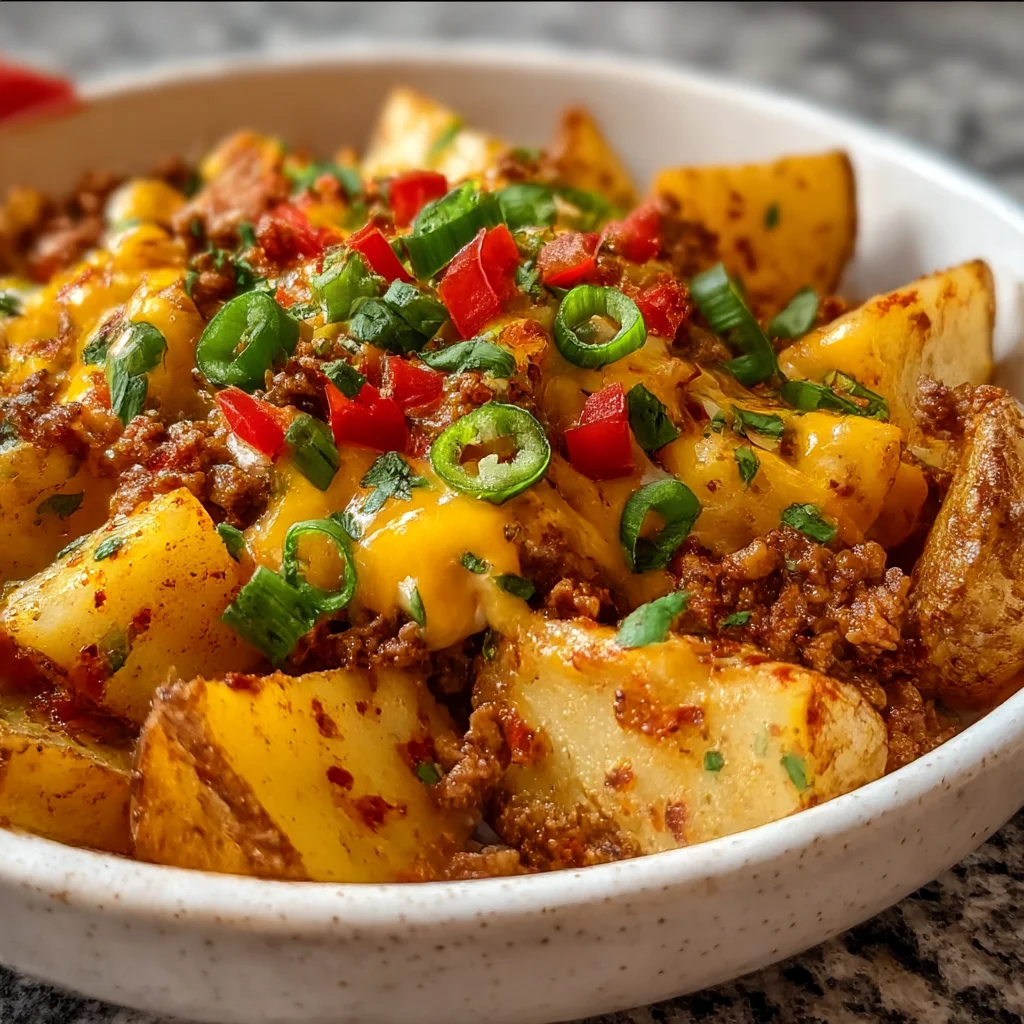
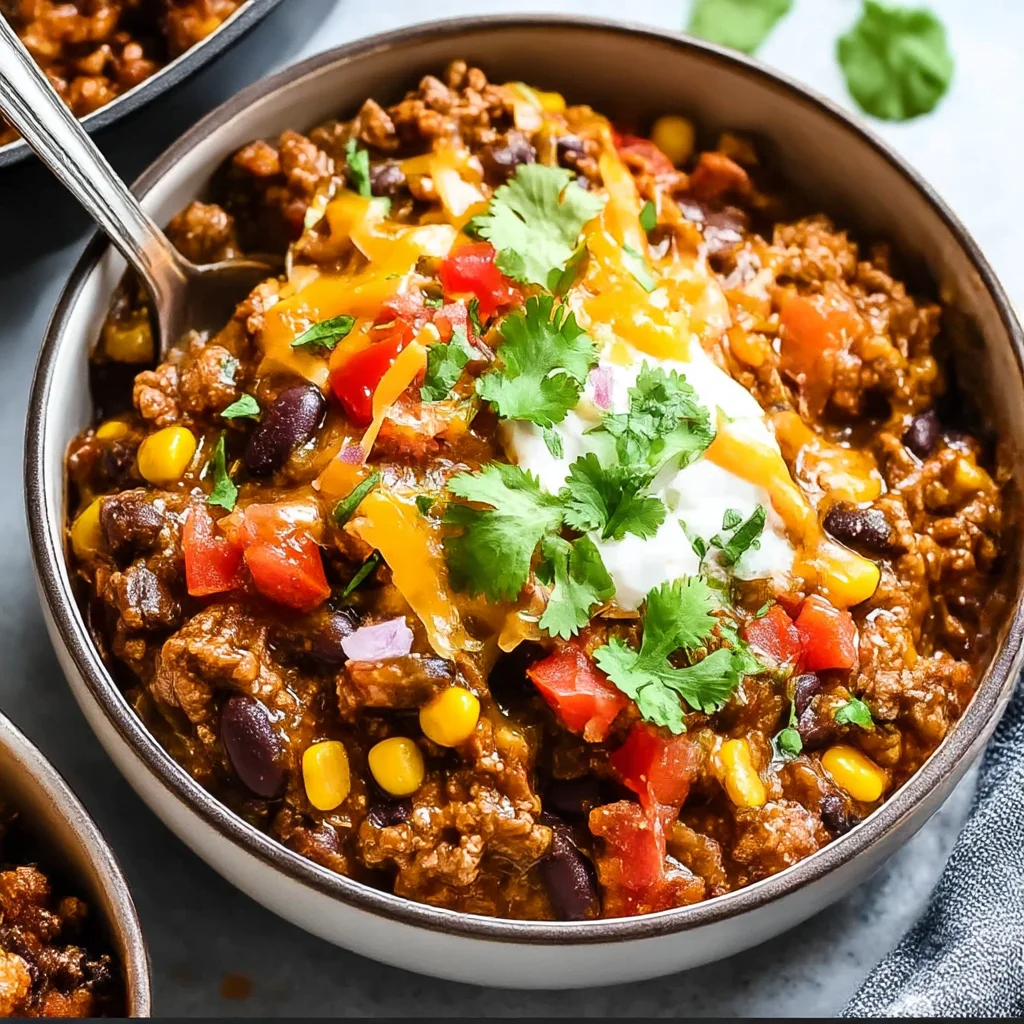
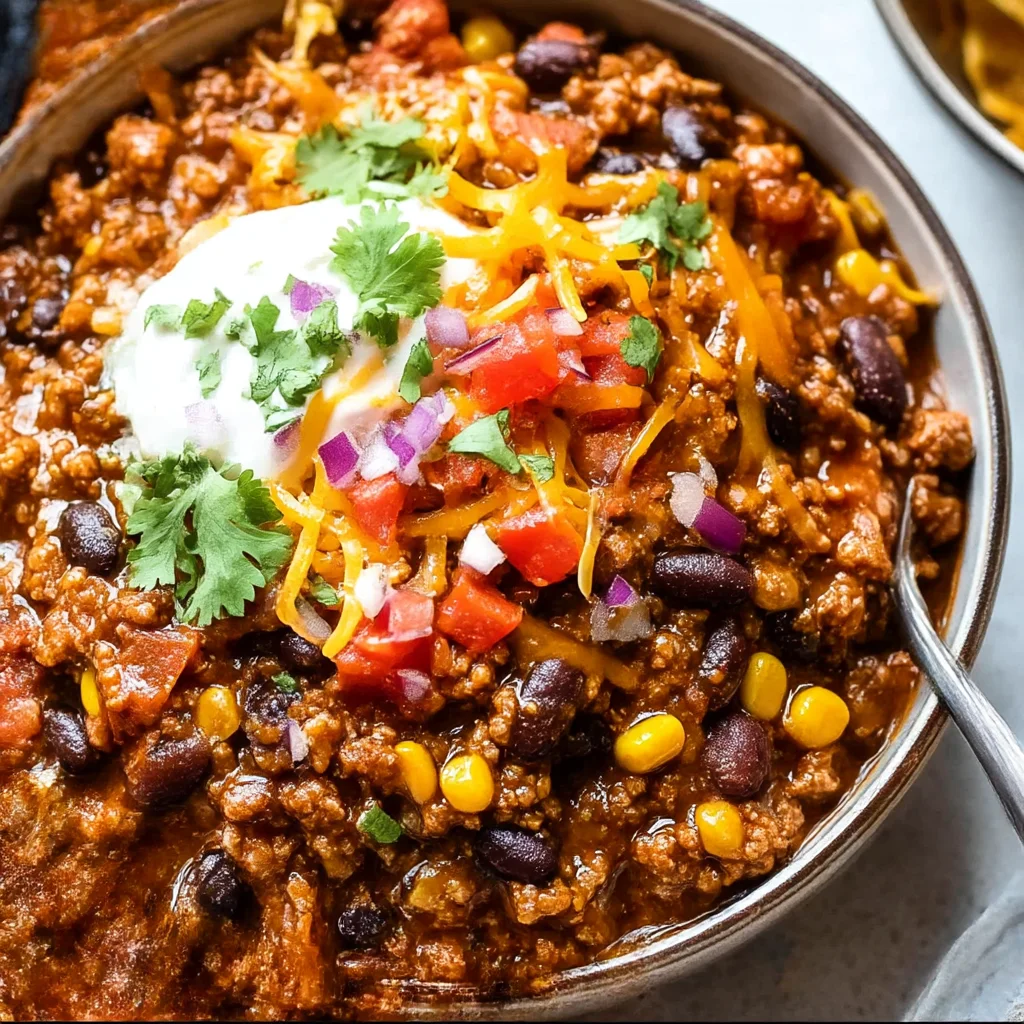
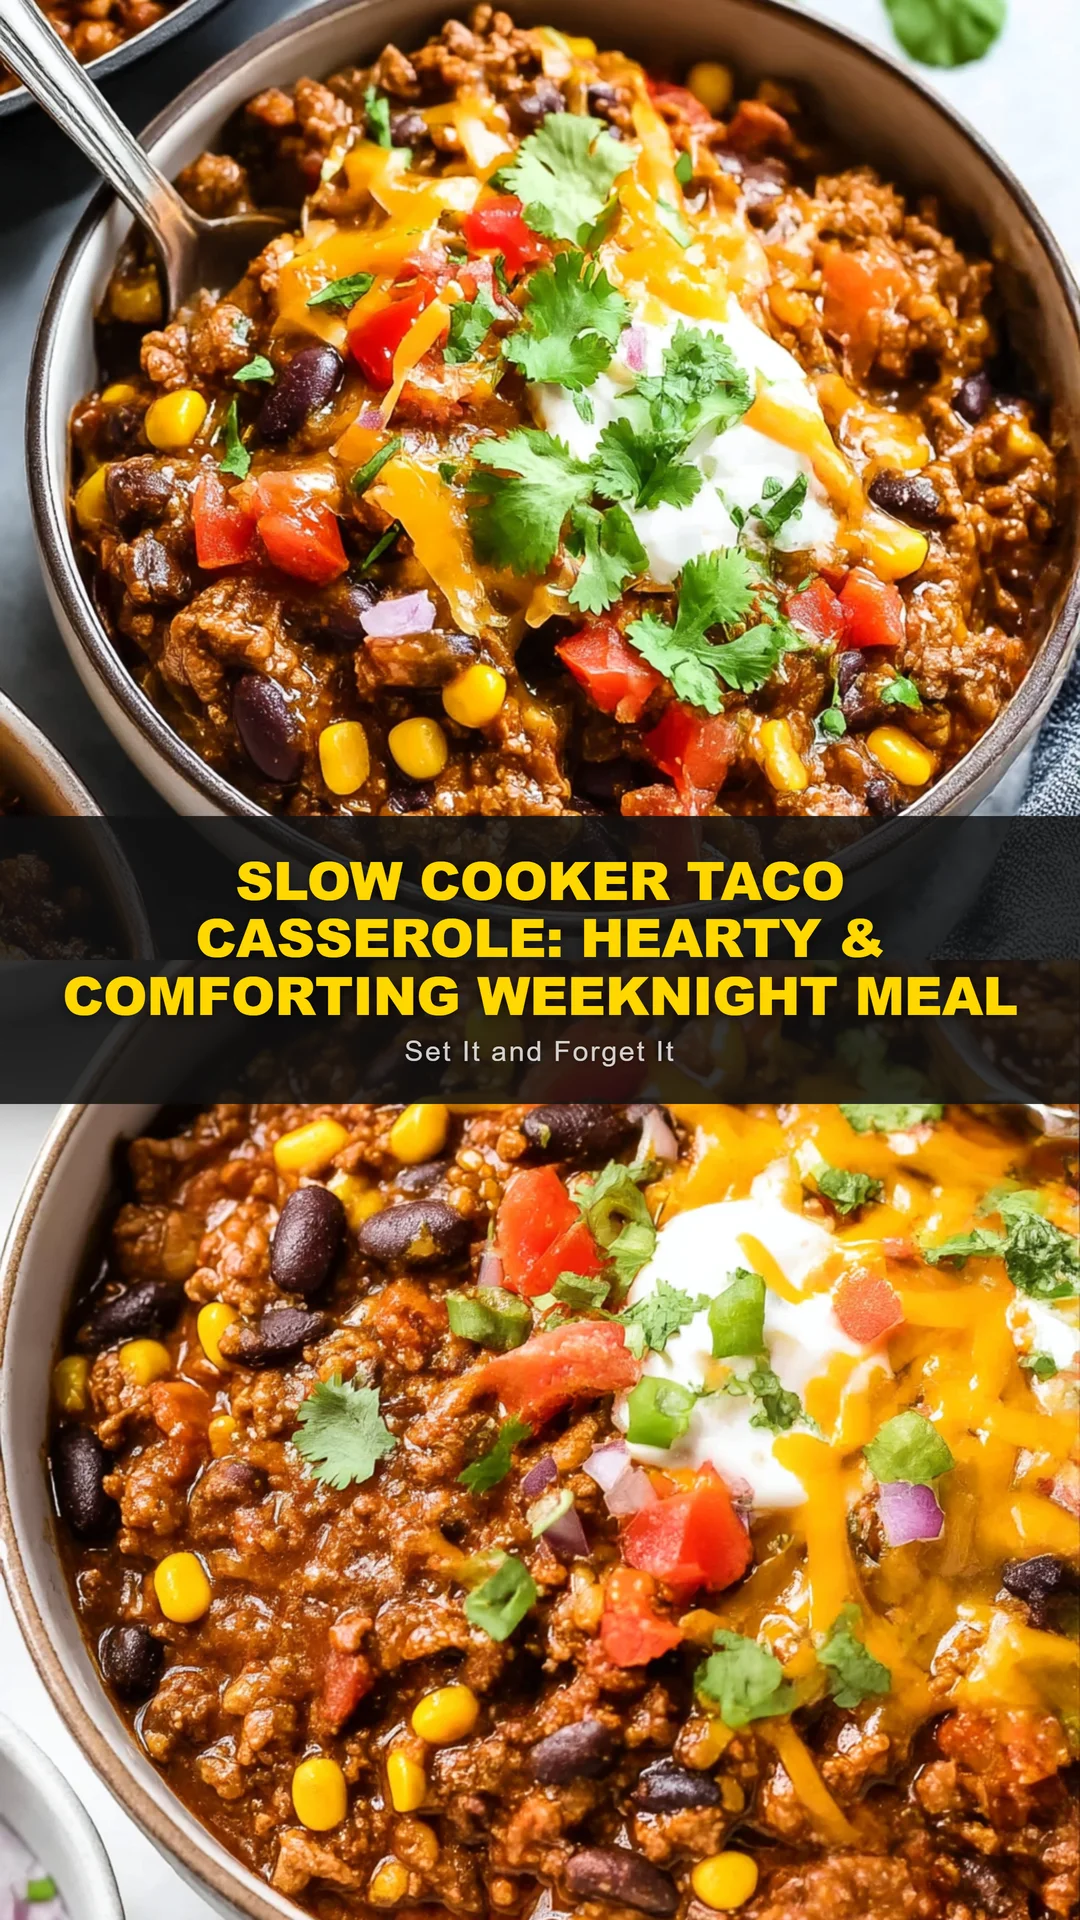
Slice the casserole into 8 portions. Serve warm, garnished with fresh chopped cilantro, sliced jalapeños, or a dollop of sour cream if desired. The casserole is satisfying on its own, but a side of avocado salad or cauliflower rice makes it a complete meal. Leftovers can be stored in an airtight container in the fridge for up to 5 days.
For best results
- For the best flavor, use a high-quality store-bought taco seasoning or make your own blend at home. A homemade mix with chili powder, cumin, garlic powder, onion powder, paprika, oregano, salt, and pepper lets you control the sodium and avoid added sugar. Store in an airtight jar for up to 3 months. This small step elevates the entire dish and keeps it truly keto-compliant.
- Drain the ground beef thoroughly after browning. Excess fat can cause the casserole to become greasy and prevent the eggs from setting properly. Use a slotted spoon to transfer the meat, or pour off the fat into a heat-safe container. If you use lean ground beef (90/10), you may need to add a tablespoon of oil to prevent sticking and add moisture.
- Let the cream cheese come to room temperature before mixing. Cold cream cheese will create lumps that are hard to incorporate, leading to a grainy texture. If you're short on time, microwave the cream cheese in 10-second bursts until soft but not melted. Smooth cream cheese is the secret to a velvety casserole.
- Use a metal or ceramic baking dish for best results. Glass dishes take longer to heat and can cause uneven cooking. An 8×8-inch square dish gives the perfect thickness for a sturdy slice. If you double the recipe, use a 9×13-inch dish and increase baking time by 5-10 minutes.
- Let the casserole rest for at least 5 minutes after baking. This allows the structure to firm up, making it easier to cut clean squares. Cutting too early will result in a messy, crumbly casserole. Patience rewards you with picture-perfect servings.
- For meal prep, assemble the casserole up to the point of baking, cover tightly with foil, and refrigerate for up to 24 hours. When ready to bake, add 10 minutes to the cooking time. You can also freeze the baked casserole for up to 3 months. Thaw overnight in the fridge and reheat in a 350°F oven until warmed through.
Variations
- Chicken Taco Casserole: Swap ground beef with an equal amount of cooked, shredded chicken (rotisserie works great). Reduce the taco seasoning to 1 tablespoon since chicken is milder. The rest of the ingredients remain the same. This variation is lower in saturated fat and a great way to use leftover chicken.
- Spicy Chorizo Version: Replace ground beef with Mexican chorizo (remove casing). Chorizo is already highly seasoned, so omit the taco seasoning and add 1/2 teaspoon of smoked paprika for depth. The rendered fat from chorizo adds incredible flavor—just drain excess grease before mixing with cream cheese and eggs. This rendition is bold and fiery, perfect for spice lovers.
- Vegetarian Keto Casserole: Use 1 lb of finely chopped mushrooms and cauliflower rice (about 3 cups) in place of ground beef. Sauté the mushrooms and cauliflower in oil until browned and moisture evaporates. Proceed with the recipe as written. This version is lighter but still satisfying, with about half the calories and a fraction of the fat.
- Dairy-Free Adaptation: Replace cheddar cheese with a dairy-free shredded cheese alternative (choose one that melts well, like violife or miyoko's). Substitute cream cheese with dairy-free cream cheese or blended silken tofu for creaminess. The eggs remain to provide structure. Note that dairy-free cheeses may not brown as deeply, so broil carefully.
- Add Vegetable Boost: Stir in 1 cup of diced bell peppers and onions (sautéed with the beef) or 1/2 cup of chopped spinach (added after cooking). This ups the nutrient density without many carbs. Just be careful not to add too much moisture—drain any liquid from sautéed veggies before mixing.
Nutrition
- Calories380 kcal
- Total Fat28g
- Saturated Fat14g
- Cholesterol150mg
- Sodium600mg
- Total Carbohydrates5g
- Dietary Fiber1g
- Sugars2g
- Protein25g