
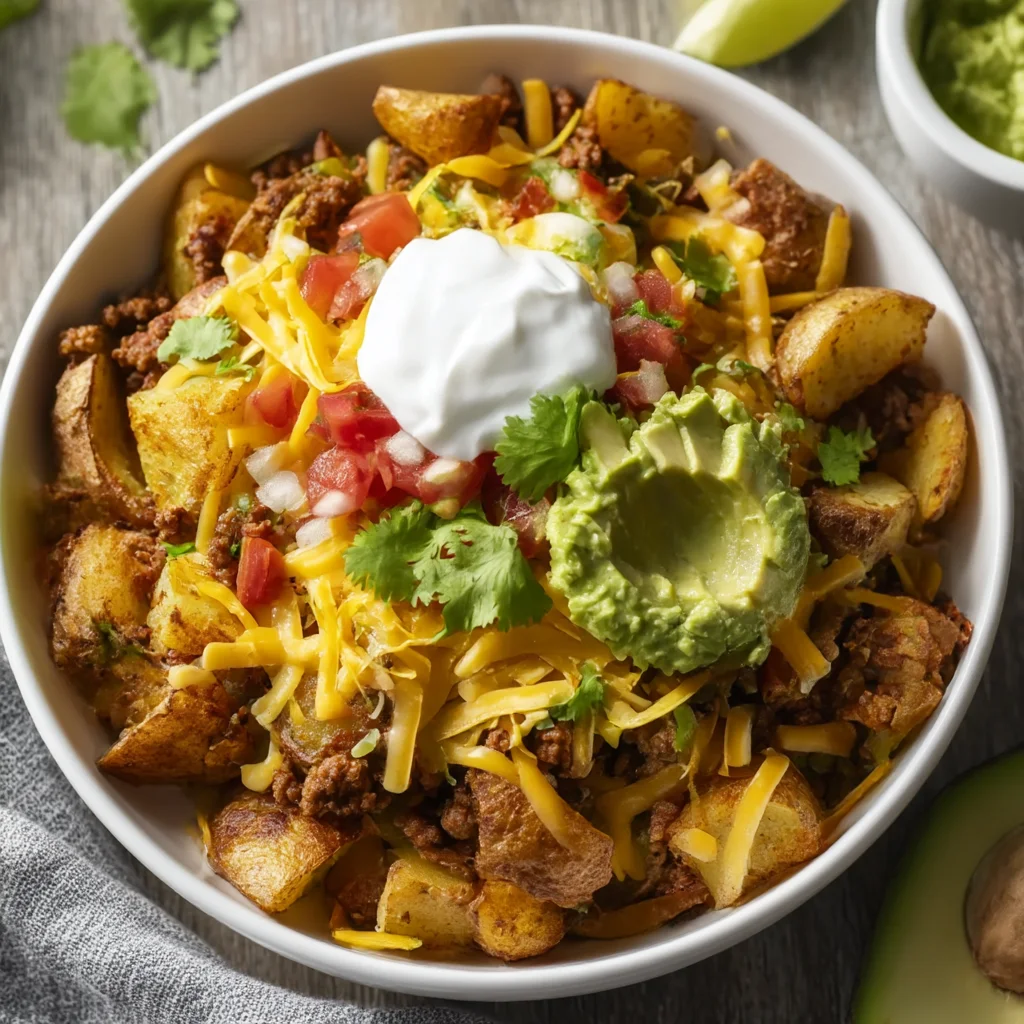
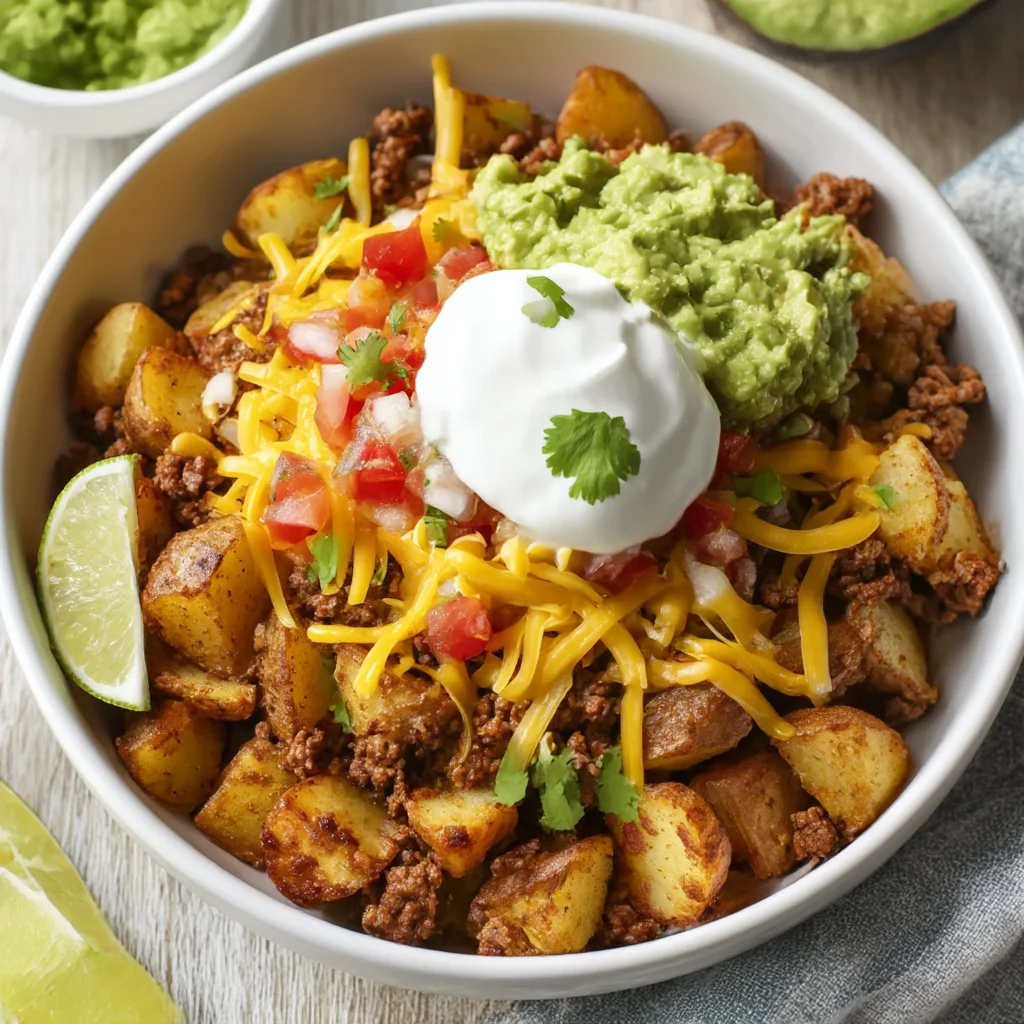
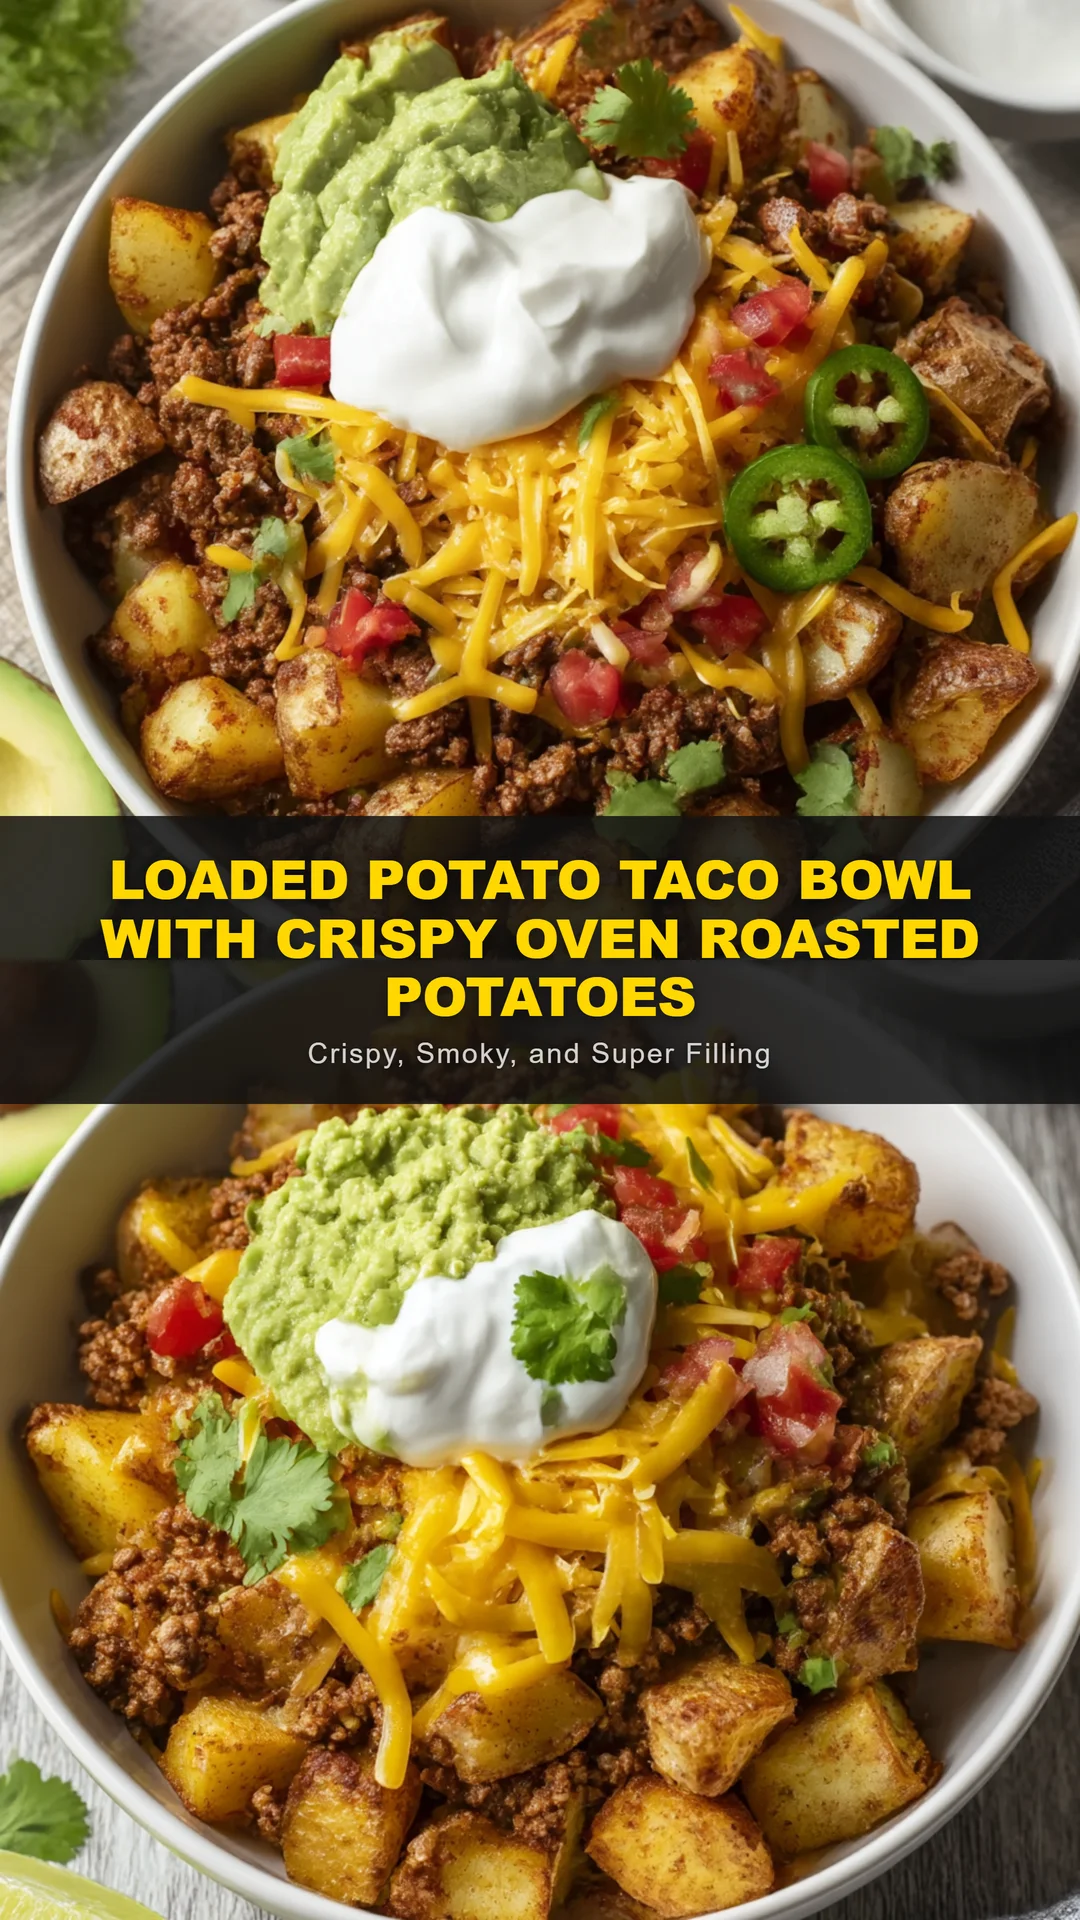
Crispy oven roasted potatoes and seasoned ground beef loaded with melted cheese, crushed chips, and fresh toppings. An easy 45-minute weeknight dinner!
Ingredients
Instructions
Preheat your oven to 425°F (220°C) and line a large rimmed baking sheet with parchment paper or a reusable silicone baking mat. Now is the time to gather every ingredient and set out the tools you’ll need — a big bowl, a chef’s knife, a cutting board, a sheet pan, and a large skillet. This mise en place approach might sound fancy, but it’s really just the best way to keep weeknight dinners stress-free. Scrub the baby gold potatoes clean; their thin skins are delicious, so there’s no need to peel. Quarter them into uniform 1-inch chunks so they all cook at the same rate. Place the cut potatoes in a large bowl and cover with cold water for 5–10 minutes while you prep the rest. This brief soak gently pulls some starch out of the potatoes, giving them a head start on developing those coveted crackly edges.
Drain the potatoes in a colander, then turn them out onto a clean, dry kitchen towel and pat them completely dry. Any excess water on the surface will turn to steam in the oven, and steam is the enemy of crispness. Give the towel a gentle squeeze, tossing the cubes to absorb all the moisture. Transfer the dried potatoes to a large mixing bowl and drizzle with 2 tablespoons of olive oil. Sprinkle over 1 tablespoon of the taco seasoning, ½ teaspoon salt, and ¼ teaspoon black pepper. Toss with your hands until every surface is coated and glistening. Make sure the potatoes aren’t clumped together; if you see season clusters, rub them lightly with your fingers to distribute. Spread the potatoes evenly across the prepared sheet pan, leaving at least a ½-inch gap between pieces. If the pan is overcrowded, they will steam instead of roast.
Roast the potatoes on the middle oven rack for 25–30 minutes, flipping them once with a thin spatula at the 15-minute mark. You’ll know they’re done when they are deep golden brown, with a dry, craggy texture and a fork-tender interior. If you like extra crispy edges, leave them in for 2–3 additional minutes but keep a close eye on them. While the potatoes roast, prepare the remaining components. This is also a great moment to drain and rinse the black beans, thaw the corn, dice the onion, mince the garlic, and measure out your spices. If you’re using pre-shredded cheese, let it come to room temperature so it melts more smoothly.
Heat the final tablespoon of olive oil in a large skillet over medium-high heat. Add the diced yellow onion and cook for 2–3 minutes until it becomes translucent and fragrant. You should see the onions soften around the edges and just start to brown. Add the ground beef and use a wooden spoon or spatula to break it into small crumbles. Let the beef sit undisturbed for a minute or two before stirring — this allows the bottom to brown and develop a rich, savory crust, otherwise known as the Maillard reaction. Continue cooking for 5–7 minutes, stirring occasionally, until the beef is well browned and no pink remains. Resist the urge to stir constantly; a little patience pays off with deep, beefy flavor.
Stir in the minced garlic, tomato paste, chili powder, ground cumin, smoked paprika, and the remaining 1 tablespoon of taco seasoning. Cook for about 1 minute, stirring constantly, until the spices become aromatic and slightly darker — this step toasts the spices and unlocks their flavors. Pour in ½ cup of water and scrape the bottom of the pan to release any browned bits. Let the liquid bubble and reduce for 2–3 minutes until it thickens into a glossy sauce that coats the beef. Add the drained black beans and thawed corn, stirring to combine. Heat everything through for another 2 minutes, then taste and adjust the salt — note that some taco seasonings and cheeses are salty, so you may not need any extra.
Remove the crispy potatoes from the oven and set them aside on the warm pan. If you notice any pale spots, simply return the pan to the oven for a few extra minutes while the meat finishes. In a small bowl, lightly crush the tortilla chips — they should be broken into rustic bite-size pieces, not turned into dust. Warm the pico de gallo or salsa if you prefer it at room temperature or slightly heated. Slice an avocado, chop fresh cilantro, cut limes into wedges, and have your sour cream ready. Preparing all of your toppings before assembly makes the final bowls feel effortless, even when the answer to ‘what’s for dinner?’ is a resounding taco bowl.
To assemble, divide the roasted potatoes among four wide bowls or shallow plates. Spoon the seasoned beef and bean mixture over the top, piling it into a generous mound in the center. Sprinkle each bowl with crushed tortilla chips and a shower of shredded cheddar cheese. Because the meat and potatoes are still hot, the cheese will begin to melt instantly, creating that irresistible stretchy pull. If you prefer a deeply melty, almost nacho-like texture, place the assembled bowls on a sheet pan and broil for 1–2 minutes — just until the cheese bubbles and starts to brown in spots. Watch closely because the chips can burn quickly under the broiler.
Finish each bowl with a dollop of sour cream, a few slices of avocado, a pinch of chopped cilantro, and a generous squeeze of fresh lime juice. The bright, tangy toppings cut through the richness and tie everything together. Serve immediately while the potatoes are crispy and the cheese is warm. Put extra lime wedges, hot sauce, and maybe a jar of pickled jalapeños on the table so everyone can dress up their own bowl. If you make this ahead, store the cooled components separately in airtight containers for up to 4 days, and reheat the potatoes in the air fryer or oven to revive their crunch.
For best results
- The potato type matters more than you think. Baby gold or Yukon Gold potatoes are the sweet spot because they have thin skins and a naturally buttery, moist interior. Russets will also work but can come out slightly drier; if you use them, make sure you don't over-soak or they'll absorb too much water. Parboiling the potatoes in salted water for 5 minutes before roasting is another pro trick: it softens the edges and creates a rough surface for maximum crunch, but it's not necessary with baby potatoes.
- Do not overcrowd the sheet pan. Roasted potatoes need hot air to circulate to evaporate moisture and crisp up. If you're doubling the recipe, use two pans and rotate them top to bottom halfway through. Also, use parchment paper or a silicone mat — aluminum foil can cause the potatoes to stick and rip off their crispy edges.
- Seasoning multiplication is key. Store-bought taco packets are fine, but homemade taco seasoning lets you control the salt, heat, and sweetness. A simple blend of chili powder, cumin, garlic powder, onion powder, smoked paprika, and a pinch of cayenne works wonders. If you're using a packet, you may need less extra salt in the beef, so taste as you go.
- Everything can be prepped ahead! Roast the potatoes and cook the seasoned beef up to 2 days in advance. Store separately in airtight containers in the fridge. When ready to serve, reheat the potatoes in a 400°F oven or air fryer for 5–8 minutes until crisp again, and warm the meat with a splash of water to loosen it. This makes the bowl perfect for meal prep.
- Customize your protein. Ground turkey or chicken can be swapped for beef with almost identical results. For a vegetarian version, cook extra black beans with the seasonings and skip the meat entirely. You can also use leftover shredded rotisserie chicken — simply sauté it with the spices and a splash of broth until it heats through.
- Don't forget the acid and fat. The crispy potatoes and hearty meat can be heavy; the bright squeeze of lime, the cool sour cream, and the fresh crunch of cilantro or cabbage are what make this bowl feel vibrant. Always serve with a wedge of lime on the bowl and let people juice it at the table.
Variations
- Low-Carb / Keto Bowl: Skip the potatoes entirely and roast a combination of radishes and cauliflower florets for a satisfying crispy texture. Sliced radishes become surprisingly potato-like when roasted — they lose their bite and gain a mild, mellow root vegetable flavor. Season them the same way and use a sugar-free taco seasoning blend. You can also add a layer of cauliflower rice to keep the bowl filling.
- Chicken Taco Bowl Twist: Swap the ground beef for 1 pound of ground chicken or turkey and add 1 teaspoon of chipotle powder or adobo sauce for a smoky kick. Ground chicken can be drier than beef, so be sure to include a little more olive oil in the pan and stir in a few tablespoons of salsa or broth to keep it moist. The rest of the recipe remains the same.
- Loaded Breakfast Taco Bowl: Repurpose last night's roasted potatoes into a high-protein breakfast. Reheat the potatoes in a skillet, then crack 2 eggs directly into the pan and scramble them in. Serve with crumbled queso fresco, a drizzle of crema, and a big spoonful of salsa. Add crispy bacon or chorizo instead of ground beef for a brunch-worthy meal that takes less than 15 minutes.
- Vegan Loaded Taco Bowl: Omit the ground beef and double up on black beans, pinto beans, or crumbled plant-based taco meat. Mix 2 cups of cooked lentils with the taco seasoning and a splash of vegetable broth for a hearty, high-fiber protein base. Use vegan shredded cheddar or nutritional yeast for a cheesy flavor and top with avocado, fresh tomato, and crushed tortilla chips. Omit sour cream or use a dairy-free yogurt.
Nutrition
- Calories610 kcal
- Total Fat32g
- Saturated Fat11g
- Cholesterol75mg
- Sodium1450mg
- Total Carbohydrates58g
- Dietary Fiber9g
- Sugars6g
- Protein30g