
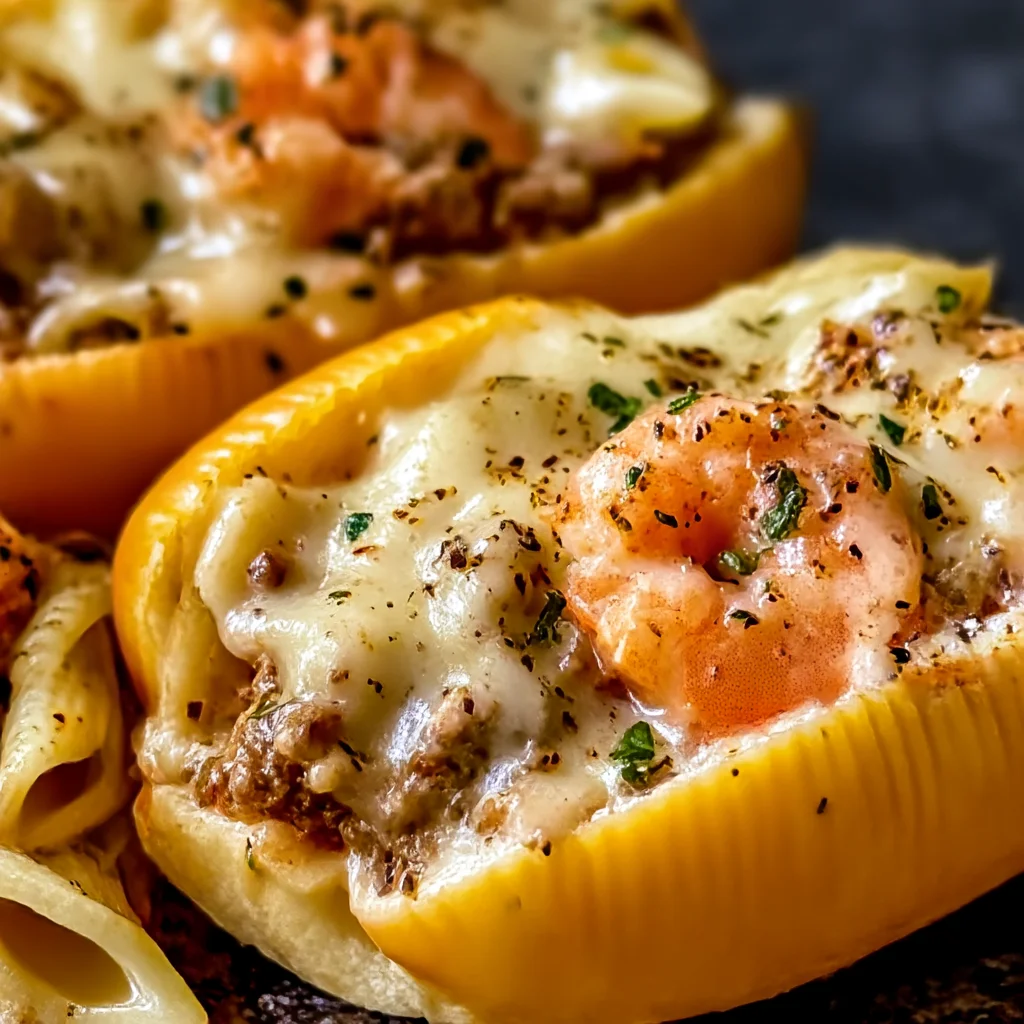
This 30-minute Philly Cheesesteak Sloppy Joes recipe is the ultimate quick dinner: ground beef, peppers, onions, and melted provolone on hoagie rolls.
Ingredients
Instructions
Before you turn on the heat, set yourself up for success. Gather every ingredient on the counter and do all the chopping first—this is the secret to a true 30-minute meal. Slice the yellow onion into thin half-moons and the green bell pepper into similar-sized strips. They don’t need to be perfectly uniform, but keeping them roughly the same thickness ensures they cook evenly and soften in the same amount of time as the beef. Mince the garlic cloves finely; garlic cooks quickly, so small pieces will melt into the sauce without burning. Set a large cast-iron skillet or heavy stainless steel pan on the stove over medium-high heat. A wider pan is better here—crowding the beef will steam it instead of browning it. Have your tomato paste, Worcestershire, mustard, and spices measured and ready next to the stove. This mise en place approach keeps you in control and lets each step flow without scrambling.
Add the butter to the hot skillet and let it melt until it sizzles. Swirl the pan so the butter coats every corner, then add the ground beef. Press it into an even layer with a spatula and let it sit undisturbed for about 2 full minutes. This is the most important step for flavor: browning, not just cooking. The beef needs direct contact with the hot pan to develop a deep, golden-brown crust full of umami. After the two minutes are up, break the meat into crumbles and give it a quick stir. Season with the kosher salt and black pepper. Continue cooking for 3 to 5 minutes, stirring occasionally, until no pink remains and some pieces are nicely caramelized. If you used a higher-fat ground beef and the pan looks excessively greasy, spoon out all but about a tablespoon of the fat. Don’t drain it completely—that fat carries flavor and will moisten the peppers and onions.

Toss the sliced onions and bell peppers straight into the skillet with the browned beef. Stir to combine. Cook over medium-high heat for about 4 to 5 minutes, scraping the bottom of the pan to lift up any browned bits left by the beef. Those caramelized bits are flavor gold—they’ll dissolve into the dish and deepen the overall taste. The vegetables should start to soften and take on a slight golden color around the edges, but they should still have a tiny bit of bite to mimic the classic texture of a Philly cheesesteak. Reduce the heat to medium, then add the minced garlic. Stir it in and cook for just 30 to 45 seconds until fragrant. Garlic burns quickly and turns bitter, so the moment you smell it, you’re ready for the next step.
Now it’s time to build the unmistakable sloppy joe sauce. Add the tomato paste directly to the pan and stir it into the beef and vegetable mixture. Let the tomato paste cook for about 1 minute, stirring constantly; this removes its raw, tinny taste and deepens its sweet, savory richness. Add the Worcestershire sauce, Dijon mustard, and smoked paprika. Pour in a generous splash of water or unsalted beef broth—about 1/4 cup—to help the sauce come together and create a glossy, loose texture. Stir and let it bubble gently for 2 to 3 minutes. You’re looking for a thick, spoonable consistency that clings to the beef but isn’t dry. If it gets too thick, add another tablespoon of water or broth. Taste and adjust seasoning now; the cheese will add saltiness later, so don’t overdo it.
Lower the heat to low and lay the provolone slices evenly over the top of the beef mixture. It’s okay if the slices overlap slightly—they’ll melt into one glorious layer. Cover the skillet with a lid and let the cheese melt for 1 to 2 minutes. The trapped steam helps the cheese soften without the sauce reducing any further. If you prefer a more integrated cheesy texture, you can stir the provolone into the meat after it melts, but for that classic cheesesteak look, leave large melted sheets draped over the filling. Once the cheese is fully melted and starting to stretch, remove the pan from the heat. While the pan is covered, you can toast your buns—or do it beforehand if you want to multitask.
Toast the hoagie rolls while the meat and cheese are resting. Heat a clean skillet or griddle over medium heat and add a thin pat of butter. Place the split rolls cut-side down and toast for 1 to 2 minutes until golden brown and crisp. If you’re using a softer roll like brioche, watch carefully—they can go from golden to burnt very quickly. Toasting isn’t just about flavor; it creates a barrier that prevents the buns from getting soggy under all that juicy meat. If you prefer, you can toast them under the broiler for 45 seconds, but be sure to keep an eye on them. The finished rolls should be lightly crunchy on the inside and still soft on the outside.
To serve, place a toasted roll bottom on each plate and spoon a generous pile of the cheesy beef and vegetable mixture onto it. Let the melted provolone drape over the edges of the meat. Cap with the top bun and press gently so the cheese mingles with the toasted bread. Serve the sloppy joes hot, with extra napkins—these are gloriously messy. If you want to go full Philly, serve with pickled peppers, a side of crispy fries, or a simple green salad. Leftovers can be stored in an airtight container in the fridge for up to 3 days, but the buns are best toasted fresh. You can reheat the meat filling in a skillet or microwave and assemble new sandwiches as needed.
For best results
- Ground beef with a higher fat content—around 85/15—is the best choice for sloppy joes. The fat not only keeps the meat juicy during high-heat cooking, but it also carries flavor and helps the peppers and onions soften without sticking. Extra-lean ground beef (93/7 or 96/4) can turn dry and crumbly, leaving the filling mealy. If you only have lean beef on hand, add an extra tablespoon of butter or a splash of beef broth to compensate, and try not to overcook it. The fat ratio also affects the final sauce texture: too little fat and the tomato paste may seize and taste sharp, too much and the sandwich will feel greasy. Stick with 80/20 to 90/10 and drain only if the pan is swimming in fat.
- Don't stir your ground beef every few seconds after it hits the pan. For a richer, more complex flavor, let the beef sear undisturbed for a couple of minutes to develop a crust. This is a Maillard reaction—the browning of proteins and sugars that creates hundreds of savory compounds. It's the same reason a good burger tastes better than boiled beef. When you do break it up, scrape the bottom of the pan to keep the browned bits in the dish. These bits, called fond, will dissolve during simmering and give your sauce a deep, beefy backbone.
- Use a sharp chef’s knife or a mandoline to slice the onions and peppers into even, thin strips. The thinner the vegetables, the faster they cook, which is crucial in a 30-minute recipe. Thin slices also mimic the texture of a real Philly cheesesteak, where the meat and vegetables almost melt together. Aim for slices between 1/8 and 1/4 inch thick. If some pieces are jagged and uneven, don’t stress—just try to keep the onion slices from being too thick, or you'll be chewing on crunchy onions while everyone else is eating.
- Provolone is the classic choice, but the melting quality matters more than the exact type. Deli-sliced provolone melts smoothly and has a nutty, slightly tangy flavor. Avoid pre-shredded cheese, which often contains anti-caking agents like cellulose that prevent proper melting. If you want an ultra-creamy, Philly-style experience, use white American cheese or Cooper Sharp; it melts into a silky sauce. Mozzarella gives a stringy texture, while sharp white cheddar adds bold flavor. Each cheese will change the personality of the sandwich, so feel free to experiment.
- Never skip toasting the buns. A toasted roll has two jobs: it adds a pleasant crunchy texture and it creates a moisture barrier that keeps the bread from disintegrating under the juicy meat. Butter the cut sides and toast them face-down on a hot griddle or skillet until they’re golden brown. For an extra layer of flavor, spread a thin layer of mayonnaise on the cut sides before toasting—it browns beautifully and adds a subtle tang. If you're serving a crowd, you can toast all four buns at once in the oven on a sheet pan.
- Sloppy joe filling should be loose enough to demand a few napkins, but not soupy. When you stir the sauce, it should pool slightly at the bottom of the pan and cling to the beef. If the sauce is too thin, simmer it for another minute to reduce; if it’s too thick or dry, splash in a little water or beef broth. Keep in mind that the sauce will thicken as it sits, and the bread will soak up some moisture. You want the filling to be almost saucy enough to eat with a spoon, but still able to stay on the bun.
- These sloppy joes are fantastic as leftovers. Let the beef filling cool completely, then store it in an airtight container in the refrigerator for up to 3 days. The flavors actually deepen after a day in the fridge. Reheat in a skillet over medium-low heat with a splash of water or beef broth to loosen the sauce. Don’t microwave the assembled sandwiches—the bun becomes chewy and the cheese gets rubbery. Instead, reheat the filling, toast a fresh bun, and assemble only what you plan to eat.
Variations
- Swap the ground beef with ground chicken or ground turkey for a leaner high-protein dinner. Since poultry is lower in fat, add a tablespoon of olive oil to the pan before browning and maybe an extra pat of butter to keep the mixture moist. Use dark meat ground turkey if you can find it—it's more forgiving and less likely to dry out. The rest of the recipe stays the same, but you may need to adjust the salt and add a little extra Worcestershire for depth. Finish with provolone or a lighter cheese like smoked gouda for a twist.
- Skip the hoagie rolls entirely and pile the cheesy beef mixture over roasted cauliflower rice, sautéed zucchini noodles, or crisp lettuce wraps. To keep it keto-friendly, use only the onions and peppers in moderation, or swap half the onions for extra mushrooms. You can also serve it over a bed of fresh greens for a quick salad. Because the filling is already quite rich, it holds up well without bread. Add a sprinkle of Parmesan or a dollop of sour cream for extra decadence.
- If you want to add heat and color, throw in some seeded jalapeño rounds at the same time as the peppers, and use a mix of green, red, and yellow bell peppers. Replace the regular provolone with pepper jack cheese and add a dash of hot sauce to the sauce mixture. For a more authentic Philly-style kick, chop up some hot cherry peppers or banana peppers and stir them into the filling just before serving. The acidity and spice will balance the richness beautifully.
- Instead of cheese slices, make a quick cheese sauce by melting 4 ounces of white American cheese or Velveeta with 1/4 cup milk and a pinch of garlic powder in a small saucepan. Stir until smooth and pour it directly over the beef mixture. This gives you a super loose, drippy sloppy joe that's reminiscent of an authentic Philly cheesesteak with Cheez Whiz. You can also add a spoonful of pickled jalapeño brine to the sauce for extra tang.
Nutrition
- Calories560 kcal
- Total Fat34g
- Saturated Fat15g
- Cholesterol95mg
- Sodium820mg
- Total Carbohydrates34g
- Dietary Fiber2g
- Sugars7g
- Protein32g