
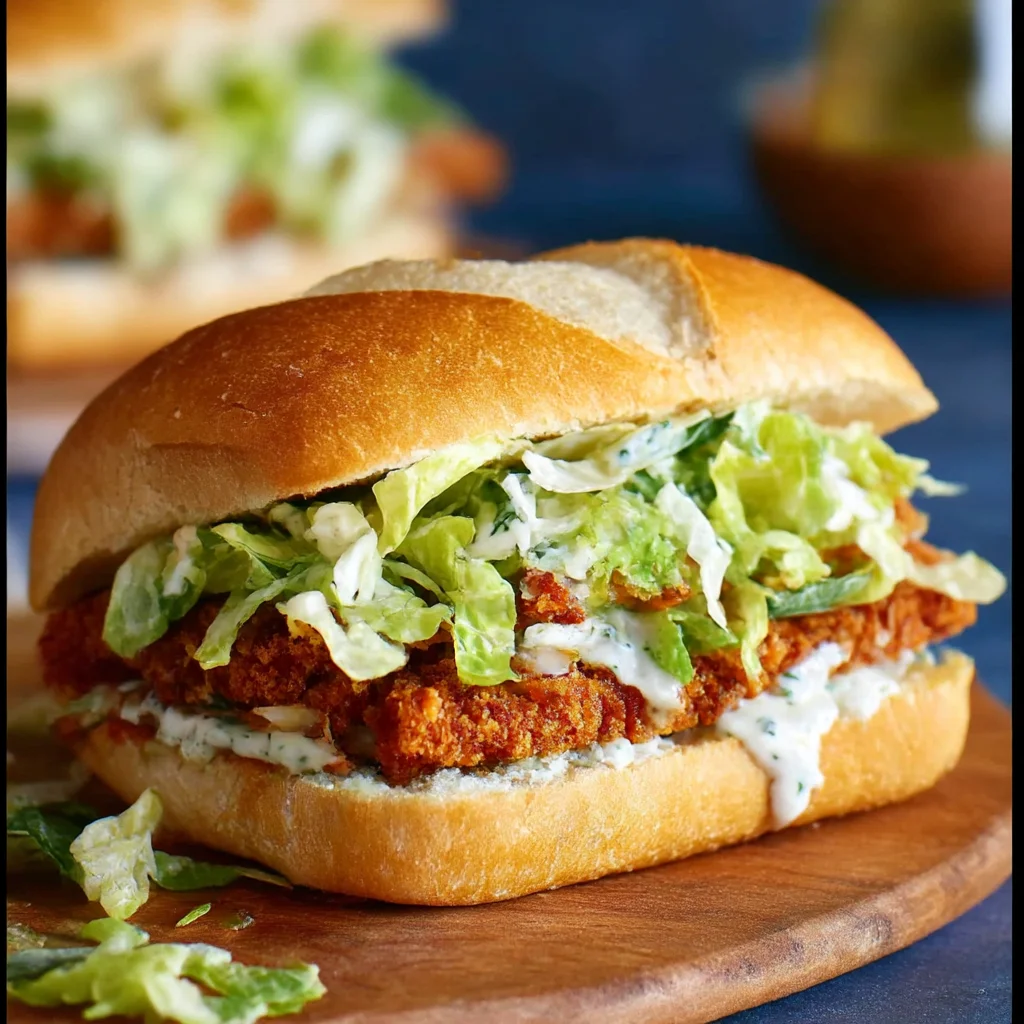
Easy dinner recipes meet lunchtime favorites in this Crispy Chicken Caesar Sandwich with creamy Caesar dressing—crunchy chicken on toasted bread in 30 minutes.
Ingredients
Instructions
Start by gathering all your ingredients and setting up your workstation. If your chicken breasts are thick, slice them horizontally into two thin cutlets, then place them between two sheets of plastic wrap and gently pound to an even ½-inch thickness. This ensures the chicken cooks quickly and evenly, so you don’t end up with a burnt crust and raw center. Pat the chicken completely dry with paper towels; excess moisture prevents the flour from adhering and makes the coating slide off during frying. Set up a dredging station using three shallow dishes: one with all-purpose flour seasoned with garlic powder, onion powder, smoked paprika, salt, and pepper; one with beaten eggs; and one with panko breadcrumbs mixed with half of the grated Parmesan cheese. Place a wire rack over a baking sheet next to your station. The rack is essential because it lets air circulate around the breaded chicken, keeping the coating light and crispy before and after frying.
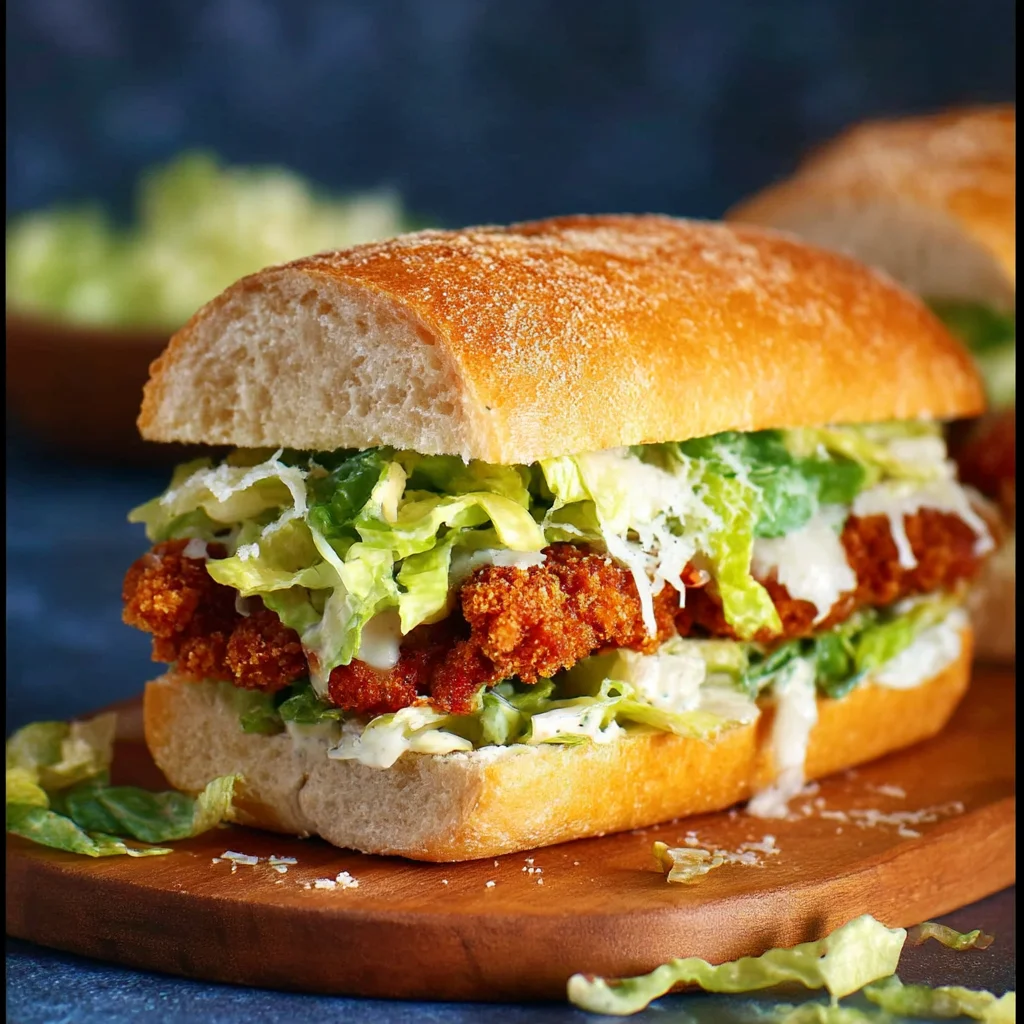
Now make the creamy Caesar dressing. In a small mixing bowl or a jar, combine the mayonnaise, extra-virgin olive oil, fresh lemon juice, Dijon mustard, finely minced anchovies (if using), grated garlic, the remaining grated Parmesan, and a generous amount of freshly ground black pepper. Whisk everything together until the dressing is completely smooth and emulsified. Taste it and adjust: add a pinch of salt if you skipped the anchovies, or a little extra lemon juice if you prefer a brighter tang. The dressing should be thick enough to cling to the romaine lettuce but loose enough to spread easily on the toasted bread. Letting the dressing rest for a few minutes while you fry the chicken allows the garlic and Parmesan flavors to meld beautifully. If you want to skip the anchovies, substitute 1 teaspoon of Worcestershire sauce plus a pinch of salt to keep that savory umami note.

Dredge the chicken cutlets one piece at a time. First, place a cutlet in the seasoned flour and turn to coat completely, then shake off any excess. Next, dip it into the beaten eggs, letting the excess drip back into the bowl. Finally, press it firmly into the panko-Parmesan mixture, making sure every nook and cranny is covered. The dry-wet-dry method creates a craggy, shatteringly crisp crust that locks in the chicken’s juices. As you finish each piece, set it onto the prepared wire rack. Repeat with the remaining chicken, then let the breaded cutlets rest for 5 to 10 minutes at room temperature. This rest is a secret step: it allows the egg wash to hydrate the breadcrumbs and flour, bonding the crust to the chicken so it doesn’t fall off during frying. If you have time, refrigerate the breaded chicken for 15 minutes for an even sturdier crust.
Heat the neutral oil in a large heavy-bottomed skillet, preferably cast-iron, over medium-high heat until it shimmers. To test the oil, drop a small piece of panko into the pan; if it sizzles immediately and bubbles vigorously, the oil is ready. The ideal frying temperature is around 350°F to 365°F. Carefully place the breaded chicken into the hot oil in a single layer, making sure not to overcrowd the pan. Work in batches if necessary; adding too much chicken at once lowers the oil temperature and results in greasy, soggy coating. Fry each cutlet for 2 to 3 minutes per side, until deeply golden brown and crispy. Use tongs to flip gently, and avoid pressing down on the chicken, which squeezes out moisture. The chicken is fully cooked when an instant-read thermometer registers 165°F in the thickest part. Transfer the cooked chicken to a clean wire rack and sprinkle immediately with a pinch of flaky salt. If frying in batches, keep the finished chicken warm in a 200°F oven while you cook the remaining pieces.
While the chicken rests, toast the bread. Split each crusty roll or ciabatta loaf in half. If there are any browned bits and residual oil left in the skillet from frying, use them to your advantage: place the bread cut-side down in the warm skillet and toast for 1 to 2 minutes, until golden and crisp. This adds an incredible layer of flavor and creates a crunchy barrier that prevents the Caesar dressing from making the bread soggy. If your skillet is too crowded, use a toaster or broiler instead. Once toasted, set the bread aside. In a large bowl, toss the chopped romaine lettuce with a few tablespoons of the creamy Caesar dressing until every piece is lightly coated. Be careful not to overdress; you want crisp, refreshing lettuce, not a drowned salad. For extra texture and flavor, shave a little fresh Parmesan over the dressed romaine and add a few cracks of black pepper.
Now assemble the sandwiches. Spread a generous layer of the creamy Caesar dressing on both cut sides of each toasted roll. On the bottom half, pile a handful of the dressed romaine, then place a piece of crispy fried chicken on top. Add a little more romaine over the chicken or let the chicken be the star. Close the sandwich with the top half of the bread. Press gently so the chicken and lettuce mesh together, but don’t mash it. For the most inviting presentation, slice each sandwich in half diagonally with a sharp serrated knife. This exposes the golden crust, the bright green lettuce, and the creamy dressing in every beautiful layer. Serve immediately, while the chicken is still hot and the bread is crunchy. If you want, serve extra dressing on the side for dipping and a lemon wedge for squeezing over the top.
These sandwiches are best eaten fresh, but they also work well as a make-ahead lunch if you keep the components separate. Store leftover crispy chicken, dressed or undressed romaine, bread, and dressing individually in airtight containers in the refrigerator; the cooked chicken will keep for up to 3 days, and the dressing for up to 1 week. To reheat the chicken, place it in a 375°F oven or air fryer for 5 to 7 minutes until the crust re-crisps—avoid the microwave, which turns the coating soggy. Reassemble your sandwich just before serving. If you’re meal-prepping for busy weekdays, you can bread the chicken a day ahead and keep it chilled, then fry it fresh when you’re ready to eat. Enjoy your crispy, crunchy, creamy creation!
For best results
- Temperature control is the most important factor in achieving crispy chicken. If the oil is too cool, the breadcrumbs absorb oil and turn greasy; if it’s too hot, the outside burns before the chicken cooks through. Use a kitchen thermometer to keep the oil between 350°F and 365°F, or drop a pinch of panko into the pan—steady, vigorous bubbles mean it’s ready. Always work in batches so you don’t crowd the pan, and let the oil return to temperature between batches. A heavy cast-iron skillet holds heat better than thin nonstick pans and gives you a more consistent, golden-brown crust.
- Buttermilk does more than add tang—it helps tenderize the chicken and gives the crust a subtle richness. Even a quick 15- to 30-minute soak in buttermilk before dredging will make the chicken noticeably juicier. For longer prep, marinate the chicken in buttermilk overnight in the fridge. If you don’t have buttermilk on hand, combine ¾ cup of milk with 1 tablespoon of lemon juice and let it sit for 5 minutes to create a quick buttermilk substitute. Be sure to pat the chicken dry before dredging, because excess moisture will stop the flour from clinging.
- Use a wire rack for both raw and fried chicken. When you set the breaded chicken on a wire rack instead of a plate, air circulates underneath, which keeps the coating intact and prevents the bottom from becoming soggy. Do the same after frying: place the hot chicken on a clean wire rack, not on paper towels. Paper towels trap steam, which is the enemy of crunch. A rack lets the steam escape and keeps the crust audibly crispy for much longer, even as you finish frying the remaining batches.
- Don’t skimp on the cheese in the breadcrumb mixture. Freshly grated Parmesan from a block is far superior to pre-shredded or canned cheese because it melts and browns into tiny golden crisps that cling to the chicken. Use the fine side of a box grater so the cheese blends evenly with the panko and doesn’t create clumps. Reserve a little extra Parmesan to sprinkle on the dressed romaine and over the assembled sandwich—it adds a salty, umami finish that ties all the flavors together.
- Toasting the bread might seem like a small detail, but it’s what keeps this sandwich from turning into a sad, soggy mess. Choose a crusty bread like ciabatta, sourdough, or a sturdy hoagie roll. Toast the cut sides in the same skillet used for the chicken, so the bread soaks up the leftover flavorful browned bits. The toasted surface acts as a barrier, preventing the Caesar dressing from soaking into the crumb and keeping every bite crunchy. If your bread is very soft, toast it a little longer until it’s golden and firm.
- For an extra-thick, extra-crunchy crust, try a double dredge. After the first coating of flour, egg, and panko, dip the chicken back into the egg wash and then into the panko again. Press firmly on the second layer of crumbs so they adhere well. This technique creates a thick, heavily textured crust that stays crunchy even after being layered with lettuce and dressing. Just remember to let the double-coated chicken rest for 5 to 10 minutes before frying, which helps the coating set and prevents it from slipping off in the hot oil.
Variations
- Air-Fryer Crispy Chicken Caesar Sandwich: You can make this sandwich with far less oil by using an air fryer. Prepare the chicken through the dredging step, then generously spray both sides with cooking oil. Place the chicken in the air fryer basket in a single layer and cook at 400°F for 10 to 12 minutes, flipping halfway through, until golden brown and the internal temperature reaches 165°F. The air-fried crust won’t be quite as craggy as pan-fried, but it’s still deliciously crisp and a great lighter option for weeknight dinners. Toast the bread in the air fryer for the last 2 minutes to save time.
- Spicy Buffalo Caesar Sandwich: For a buffalo-style twist, toss the freshly fried chicken in ¼ cup of buffalo sauce mixed with 1 tablespoon of melted butter. Swap the romaine in the body of the sandwich for a crunchy coleslaw dressed with a little blue cheese dressing, and keep the Caesar dressing as a spread on the bread. The spicy, tangy buffalo coating contrasts beautifully with the cool, creamy Caesar flavors, and you get an extra hit of heat in every bite. Garnish with chopped celery leaves for a true buffalo feel.
- Blackened Cajun Chicken Caesar Sandwich: If you prefer a grilled, smoky version, skip the breading and coat the chicken breasts with a generous amount of Cajun or blackening seasoning. Sear them in a screaming-hot cast-iron skillet for 3 to 4 minutes per side until charred and juicy, then slice into strips. Layer the blackened chicken on toasted bread with romaine, thinly sliced red onion, and a spicy creole Caesar dressing—just add a few dashes of hot sauce to the regular Caesar dressing. This variation is lower in carbs but still packed with protein and bold flavor.
- Vegetarian Halloumi Caesar Sandwich: For a meatless option, swap the chicken with thick slabs of halloumi cheese. Halloumi has a high melting point, so it can be pan-fried until deeply golden and crisp on the outside while staying squeaky and tender inside. You don’t need a breadcrumb coating—just pat the halloumi dry and sear it in a hot skillet with a little oil for 2 minutes per side. Layer it with dressed romaine and Caesar dressing on toasted ciabatta. If you prefer a vegan version, use marinated and pressed extra-firm tofu, cut into cutlets, and follow the same dredging and frying method as the chicken.
Nutrition
- Calories620 kcal
- Total Fat32g
- Saturated Fat6g
- Cholesterol145mg
- Sodium980mg
- Total Carbohydrates45g
- Dietary Fiber3g
- Sugars5g
- Protein38g