
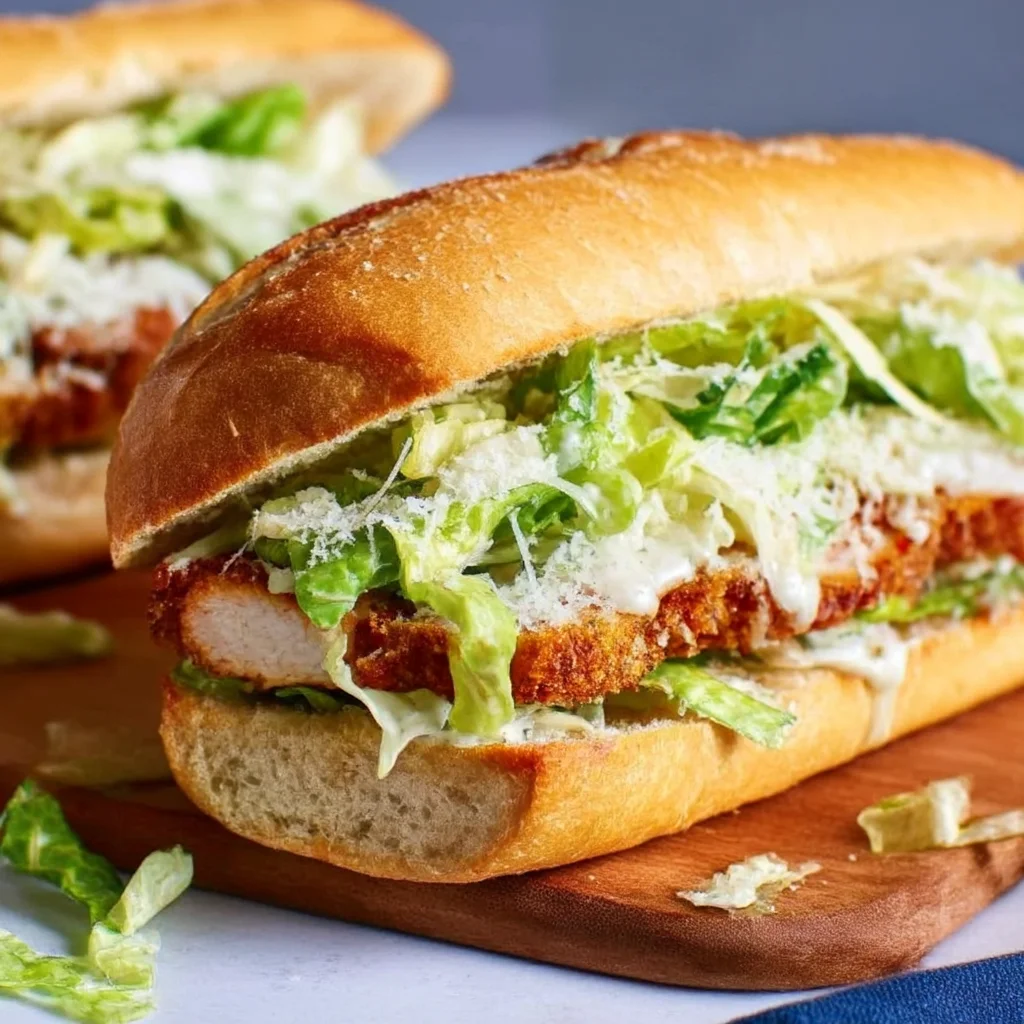
These Garlic Bread Chicken Caesar Subs are the ultimate high-protein lunch: crispy chicken cutlets, creamy Caesar salad, and buttery toasted rolls in 40 minutes. Perfect for quick dinners!
Ingredients
Instructions
Begin by gathering all your ingredients and setting up a clean workspace. If you have thick chicken breasts, place them between two sheets of plastic wrap and pound them to an even ½-inch thickness; this ensures they cook quickly and evenly. In a shallow dish, pour the buttermilk and season with a pinch of salt and black pepper. Add the chicken cutlets, turning to coat, and let them soak for at least 15 minutes while you prepare the other components. This buttermilk marinade acts like a natural tenderizer, breaking down the proteins so the cooked chicken stays moist and juicy. If you’re short on time, even a 5-minute soak is better than nothing. Meanwhile, whisk together the Caesar dressing: Greek yogurt, mayonnaise, lemon juice, Dijon mustard, Worcestershire sauce, and minced garlic in a medium bowl. Fold in the grated Parmesan and season with salt and pepper. Keep the dressing refrigerated until needed; the flavors will continue to meld beautifully.
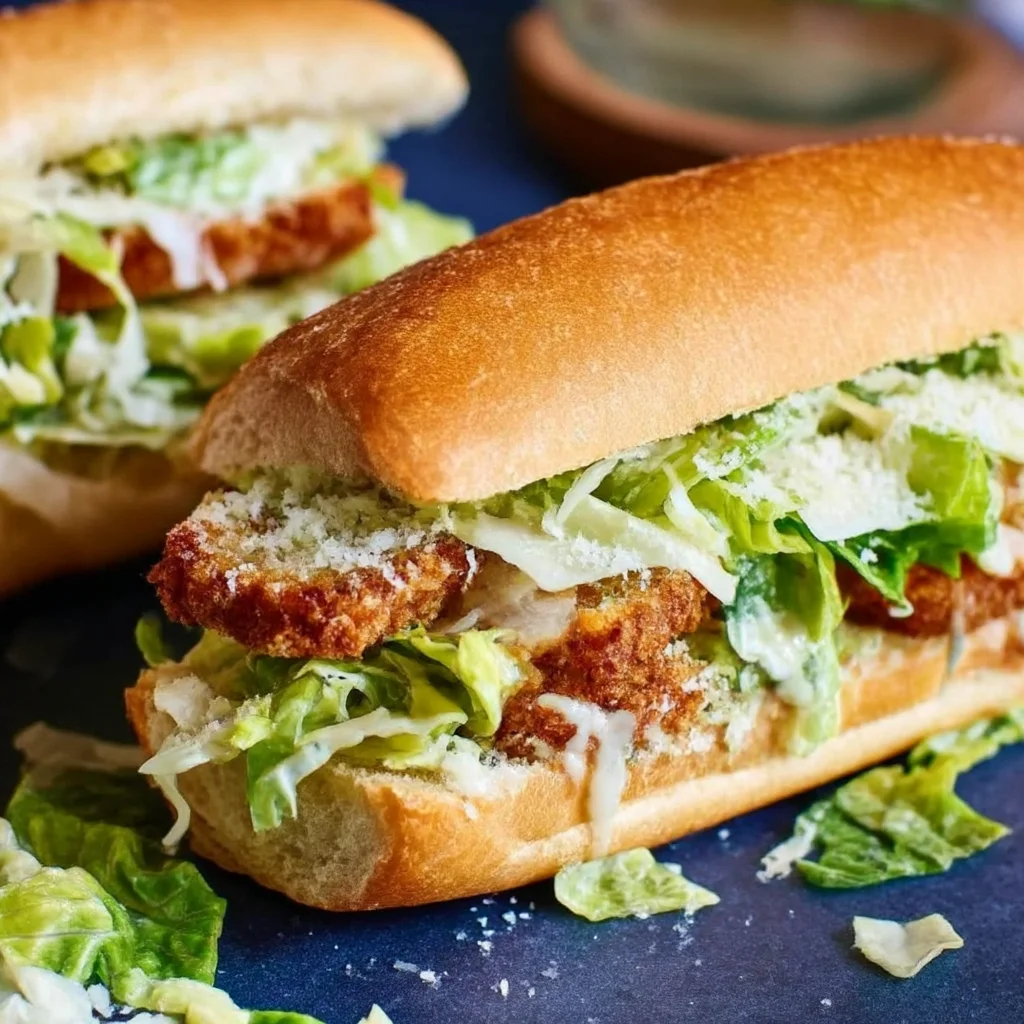
Set up a breading station. In one shallow dish, combine the panko breadcrumbs with the grated Parmesan, garlic powder, onion powder, smoked paprika, kosher salt, and black pepper. In another shallow dish, beat the two eggs with a splash of buttermilk to create a silky egg wash. Remove the chicken cutlets from the buttermilk, allowing the excess to drip off. Dredge each cutlet in the egg wash, coating both sides, then press it firmly into the breadcrumb mixture. Make sure you use one hand for wet ingredients and the other for dry to avoid clumping, or use tongs. After coating, place the cutlets on a wire rack set over a baking sheet and let them rest for 10 minutes. This critical step allows the breading to adhere properly and helps create an exceptionally crisp crust that won’t slip off during frying.
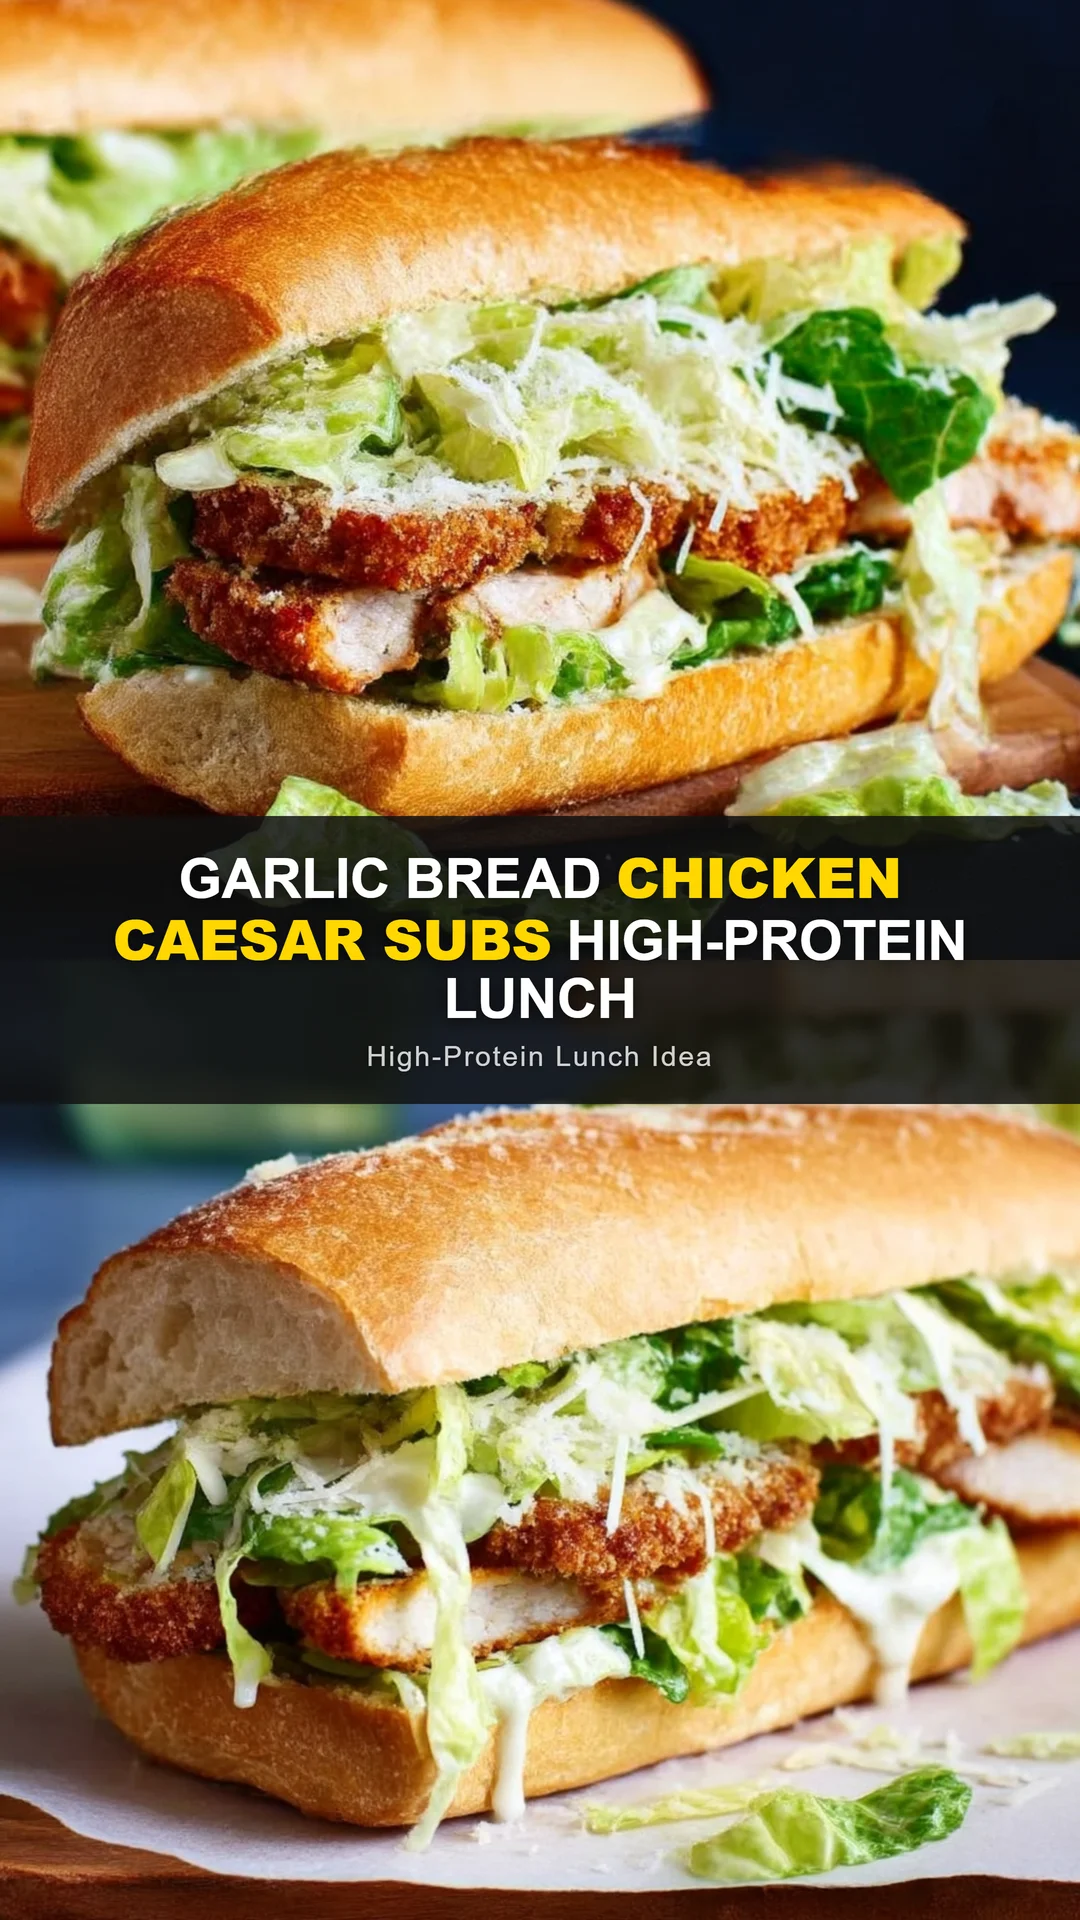
Heat the olive oil in a large cast-iron or heavy-bottomed skillet over medium-high heat until shimmering. If you drop a tiny piece of breading into the oil, it should sizzle immediately – that’s your cue. Carefully place the chicken cutlets in the skillet, leaving about 1 inch of space between them. Avoid overcrowding; if your skillet is small, cook them in two batches. Sear for 3-4 minutes per side, flipping only once, until the crust is deep golden brown and crunchy. Use an instant-read thermometer to check the internal temperature; it should read 165°F. The exterior should feel firm and crisp, while pressing lightly on the center should not release too much liquid. Transfer the cooked cutlets to a fresh wire rack to drain, and sprinkle with a pinch of flaky salt while they’re still hot.
In the meantime, make the garlic butter. Melt the unsalted butter in a small saucepan over low heat. Add the minced garlic and sauté for 30 to 60 seconds, just until fragrant. Be careful not to let the garlic brown; burnt garlic will turn bitter and ruin the whole sub. Remove the pan from the heat and stir in the chopped parsley and salt. Split the hoagie rolls lengthwise and brush the cut sides generously with the garlic butter, making sure to get into all the corners. Arrange the rolls buttered-side up on a baking sheet and toast under the broiler for 1-3 minutes, watching them closely. They should be golden and crispy around the edges but still soft in the middle. Alternatively, you can toast them in a dry skillet, buttered-side down, for 2 minutes. The goal is to create a flavorful barrier between the bread and the filling, preventing sogginess while adding an irresistible garlicky aroma.
Now it’s time to dress the salad. Wash and thoroughly dry the romaine lettuce, then chop it into bite-sized pieces. The drier the lettuce, the better the dressing will cling, so consider using a salad spinner. In a large bowl, combine the chopped romaine with about 3-4 tablespoons of the Caesar dressing. Toss well to coat every leaf, then season with a pinch of salt and pepper. Add a handful of shaved Parmesan and toss again. The salad should be creamy and vibrant, with each leaf glistening but still crunchy. If you want a little extra zing, add a squeeze of lemon. Remember that the salad will be nestled inside the bread, so you can be a bit more generous with the dressing here – it will also soak into the fried chicken and toast, creating an amazing flavor fusion.
When the chicken has rested for a minute or two, slice it into thick strips across the grain. This not only makes the sub easier to bite into but also increases the surface area for drizzle the dressing and cheese. To assemble, place a bottom half of a toasted roll on a plate. Spread about a teaspoon of Caesar dressing on the bread as a base layer, then arrange the chicken strips evenly on top. Pile a generous amount of the dressed romaine onto the chicken, letting it mound slightly. Finish with more shaved Parmesan and a sprinkle of chopped parsley. You can also add a few cracks of black pepper. Place the top half of the roll over the filling and press down gently to create a compact, stackable sandwich.
For the ultimate finish, brush the outside tops of the rolls with the reserved garlic butter. If you have a kitchen torch or a broiler, give the tops a quick blast for 20-30 seconds to make the bread extra glossy and crispy. Use a serrated knife to slice each sub in half crosswise, using a gentle sawing motion to keep all the fillings intact. Serve immediately while the chicken is still crispy and the bread is warm and fragrant. If you’re packing these for lunch, wrap each sub in parchment paper and tie with twine – they’ll stay together beautifully. Pair with extra Caesar dressing for dipping, or even a side of crispy french fries for a decadent meal. The contrast of temperatures and textures is absolutely killer: hot, crunchy chicken; cool, crisp lettuce; and warm, garlicky bread.
For best results
- Use thin, even cutlets: If your chicken breasts are thick, place them between two sheets of plastic wrap and gently pound them with a meat mallet or a heavy skillet until they are an even ½-inch thickness. This uniform thickness guarantees that they cook through in the same amount of time, preventing overdone edges and undercooked centers. It also increases the surface area, which means more crispy breading per bite. If you're looking for a shortcut, many grocery stores sell pre-sliced chicken cutlets, which are already thin and uniform – just make sure they're roughly the same size. A flat, even cutlet also makes the chicken easy to layer inside the sub, giving you a pleasant crunch in every mouthful.
- The buttermilk soak is non-negotiable: Even 15 minutes makes a noticeable difference in the final texture. The lactic acid in buttermilk gently breaks down the chicken's muscle fibers, resulting in a juicier, more tender bite. It also helps the breading adhere firmly to the meat, so you don't end up with a shell that separates from the chicken. If you don't have buttermilk on hand, you can make a quick substitute by stirring 1 tablespoon of fresh lemon juice or white vinegar into 1 cup of whole milk and letting it sit for 5 minutes. For a deeper flavor, add a few smashed garlic cloves or a sprig of thyme to the marinade. However, don't soak the chicken for more than 4 hours, or the texture can become mushy.
- Rest the breaded chicken before frying: Once you've coated all the cutlets, let them rest on a wire rack for at least 10 minutes – up to 30 if you have time. This resting period allows the breading to hydrate slightly and form a strong bond with the chicken. When you fry it immediately, the coating can slide off and absorb more oil, resulting in a greasy, less crisp exterior. The rest also helps the outer crumb dry out slightly, which means it will crisp up beautifully when it hits the hot oil. For best results, don't cover the rack; let air circulate all around the cutlets. This is a classic technique used in fried chicken recipes and it makes all the difference here.
- Avoid a soggy sub: The enemy of any sandwich is moisture, but you can fight back with a few strategic tricks. Toast the cut sides of the hoagie rolls until they are deeply golden – the toasted crust acts as a waterproof barrier. Also, spread a thin layer of Caesar dressing on the bottom roll before adding the chicken; the fat in the dressing repels the juices. Don't overdress the salad; you want it creamy but not dripping. And always assemble the subs right before serving, or if you're storing them, keep every component separate. If you're taking them to a picnic, pack the salad and chicken in separate containers and assemble on-site.
- Store leftover components separately for meal prep: Keep the cooked chicken, garlic bread, and dressed salad in separate airtight containers in the fridge. Assemble at lunchtime to prevent sogginess. The chicken and bread will keep for 3 days, while the dressed salad is best eaten within 1 day. For longer storage, freeze the chicken cutlets on a baking sheet until solid, then transfer to a zip-top bag. Reheat them in a toaster oven or air fryer to restore crispiness. The garlic butter can be stored in a small jar and melted just before you need it.
Variations
- Spicy Buffalo Chicken Caesar Sub: Turn up the heat by tossing your freshly fried chicken strips in 3-4 tablespoons of your favorite buffalo sauce before assembling. The tangy, cayenne-spiced sauce will cling to the crispy crust, and the cool, creamy Caesar dressing will balance the heat perfectly. Swap the shaved Parmesan for crumbled blue cheese, which pairs beautifully with buffalo flavors. You could also sprinkle a few celery leaves onto the salad for an extra layer of crunch and a nod to the classic buffalo wing accompaniments. This variation is an absolute game-changer for anyone who loves spicy chicken sandwiches.
- Chicken Caesar Wrap: For a lighter, more portable option, skip the hoagie rolls and wrap everything in a low-carb tortilla or a large flour tortilla. Warm the tortilla briefly to make it pliable, then spread a generous layer of Caesar dressing, add the chicken strips, and pile on the dressed romaine. Fold in the sides and roll tightly like a burrito. Cut in half to reveal the beautiful spiral of chicken and salad. Wraps are ideal for packed lunches, picnics, and outdoor gatherings. You can also toast the whole wrap in a panini press or skillet for a warm, crispy outside.
- Gluten-Free Garlic Bread Chicken Caesar Subs: This recipe adapts easily to a gluten-free diet. Use your favorite gluten-free hoagie rolls or baguette, and choose gluten-free panko breadcrumbs (or crushed corn flakes) for the coating. Ensure your Worcestershire sauce and Dijon mustard are certified gluten-free. Everything else is naturally gluten-free. Brush the rolls with garlic butter and toast them until crisp to avoid a crumbly sandwich. I often make these for friends with celiac disease, and they never miss the gluten.
- Vegetarian Crispy Tofu Caesar Sub: To make this a plant-based protein powerhouse, replace the chicken with extra-firm tofu. Press the tofu for 20 minutes to remove excess water, then slice it into cutlet-like slabs. Marinate it in the same buttermilk mixture (use non-dairy buttermilk for vegan), and coat with panko and seasonings. Pan-fry until golden and crispy. The tofu will absorb the flavors of the marinade and dressing, and the crispy exterior will satisfy even the most dedicated carnivore. Serve on toasted garlic bread with the Caesar salad, and you'll have a meatless meal that doesn't skimp on satisfaction.
Nutrition
- Calories680 kcal
- Total Fat32g
- Saturated Fat12g
- Cholesterol120mg
- Sodium1250mg
- Total Carbohydrates55g
- Dietary Fiber3g
- Sugars6g
- Protein48g