
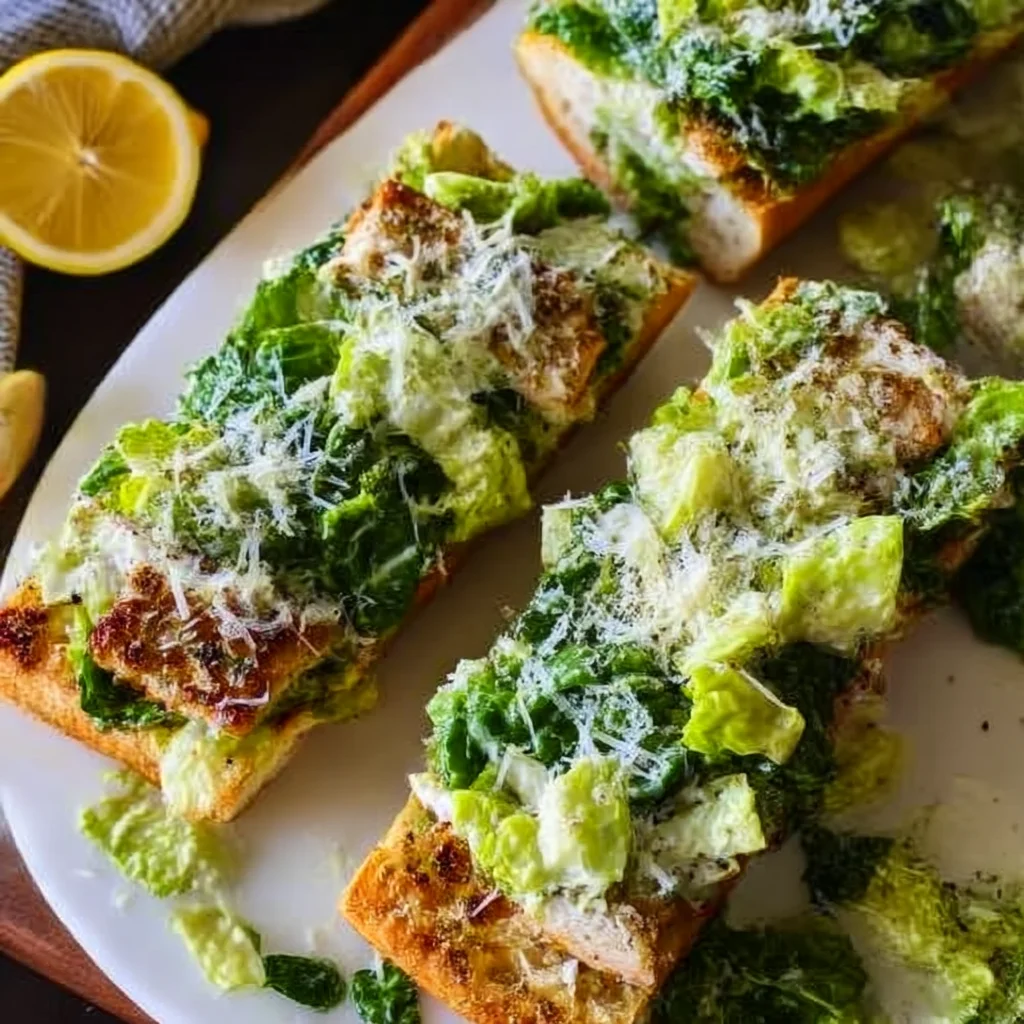
Crispy chicken cutlets, creamy Caesar salad, and garlic-buttered hoagie rolls come together in these 30-minute Chicken Caesar Subs – a high-protein family dinner!
Ingredients
Instructions
Begin by gathering and prepping all your ingredients. Pat the chicken cutlets dry with paper towels – this ensures the breading sticks and creates a better crust. If your cutlets are uneven in thickness, place them between two sheets of plastic wrap and gently pound with a rolling pin or mallet to a uniform 1/2-inch thickness. Season both sides lightly with salt and pepper. Wash and spin-dry the romaine lettuce, then chop it into bite-sized ribbons. Watery lettuce can make the salad swim, so be thorough. Mince the garlic cloves and chop the parsley. Set up a mise en place by measuring out all ingredients – this recipe moves fast, and having everything ready at arm’s length will keep you calm and confident.
Make the garlic butter in a small bowl. Combine the softened butter with the minced garlic, chopped parsley, and a pinch of salt. Mash with a fork until the garlic is evenly distributed and the butter is fluffy. If your butter is cold, you can microwave it in 5-second bursts just until soft – but do not melt it completely, or it will make the bread soggy. Allow the mixture to sit at room temperature so the flavors meld. This garlic butter will not only toast your hoagie rolls until golden and fragrant, but it also adds a savory layer that echoes the classic garlic bread side dish – simultaneously turning your sub into a complete meal.

Set up a breading station with three shallow dishes. In the first, whisk the eggs with a teaspoon of water until uniform. In the second, place the flour. In the third, combine the panko breadcrumbs, 1/2 cup grated Parmesan, garlic powder, Italian seasoning, 1/2 teaspoon salt, and 1/4 teaspoon pepper. Dredge each chicken cutlet first in flour, tapping off any excess. Next, dip it into the egg wash, letting the excess drip off. Finally, press it firmly into the panko mixture, turning to coat all sides. Use one hand for wet ingredients and one for dry to avoid clumpy fingers. The breading should be a thick, even layer – this is what creates that satisfying crackle with every bite.
Heat the vegetable or avocado oil in a large, heavy-bottomed skillet over medium-high heat. The oil should shimmer and a corner of the chicken should sizzle immediately when placed in the pan. Carefully lower two cutlets into the hot oil – do not overcrowd, or the temperature will drop and the coating will absorb oil instead of crisping. Cook for 3 to 4 minutes on the first side without moving them, until a deep golden brown crust forms. Peek underneath to ensure the browning is even. Flip and cook for another 3 minutes, or until the internal temperature registers 165°F on an instant-read thermometer. Transfer to a wire rack set over a baking sheet to drain. The rack keeps the bottom crust crisp; paper towels would trap steam and soften it. Repeat with the remaining cutlets. If necessary, keep the cooked chicken warm in a 200°F oven while you finish the rest.
Now the garlic butter pulls double duty. Carefully pour off the excess oil from the skillet but do not wipe it clean – the browned bits from the chicken add incredible flavor. Reduce the heat to medium. Split each hoagie roll lengthwise but keep it hinged. Spread both cut sides generously with the garlic butter, reaching all the way to the edges. Lay the rolls cut-side down in the warm skillet, pressing gently with a spatula. Toast for 1 to 2 minutes, until the bread is golden brown and crisp, with beautiful butter-infused char spots. The key is listening for the sizzle and watching the color – you want a slice of toast texture, not steamy bread. Remove them immediately and set aside. The aroma is our cue that the best part is coming together.
Make the Caesar dressing and salad. In a large bowl, combine the mayonnaise, lemon juice, Dijon mustard, Worcestershire sauce, grated garlic, grated Parmesan, salt, and pepper. Whisk until smooth and creamy. Taste and adjust with more lemon or salt. The dressing should have a bright, tangy, umami-rich flavor – not too heavy. Add the chopped romaine and toss gently with a pair of tongs, coating each leaf. The dressing should cling lightly to the greens, not pool at the bottom. Add the shaved Parmesan and a few cracks of black pepper, tossing again. The salad should be crisp, cool, and slightly peppery, ready to contrast the hot, crunchy chicken and buttery bread.
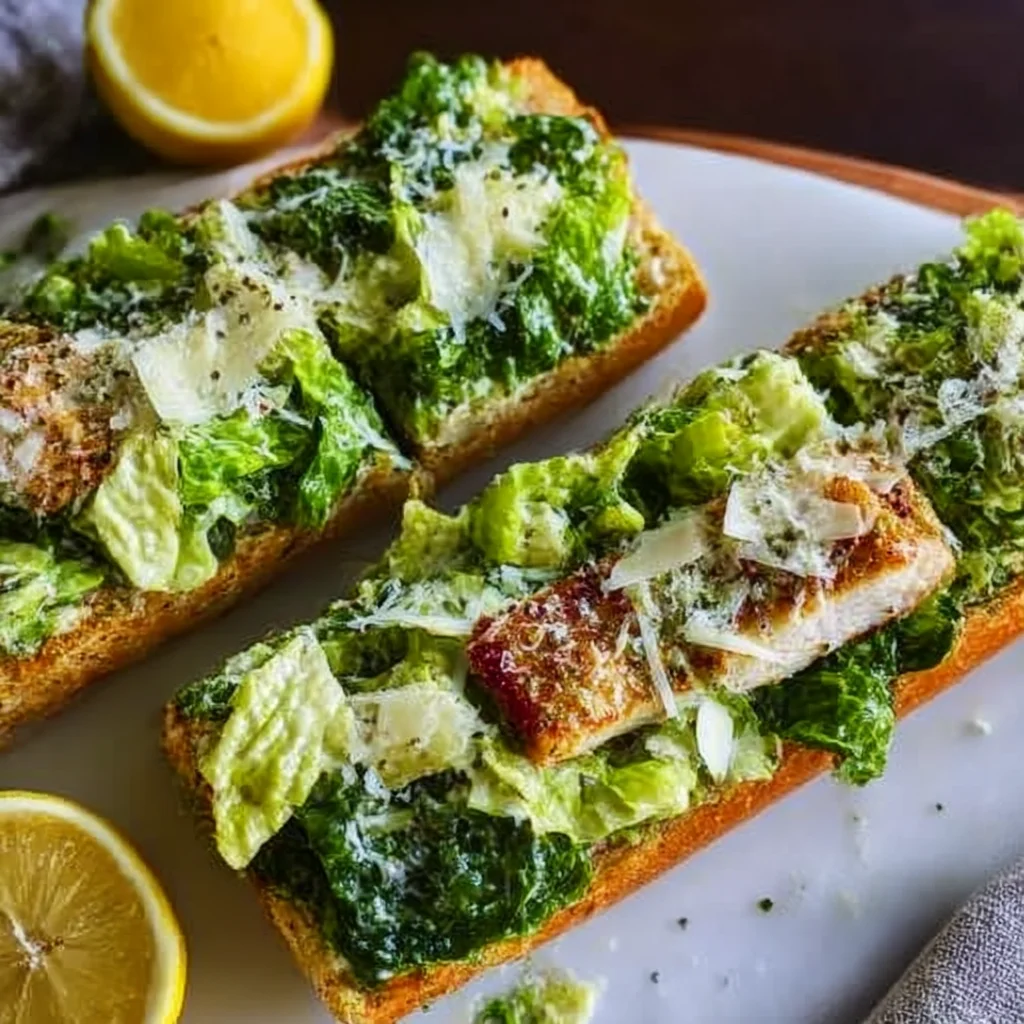
Assemble the subs. Place a crispy chicken cutlet on the bottom half of each toasted hoagie roll. If your cutlets are large, you can slice them diagonally and lay them overlapping – this makes them easier to bite into. Pile a generous portion of Caesar salad over the chicken, letting some of the leaves hang over the edges for that beautiful, rustic look. Drizzle with an extra little squirt of lemon juice and an extra flicker of black pepper. Add more shaved Parmesan if you like it over-the-top. Close the subs with the top halves and press lightly so everything stays together. The contrast of textures – crunchy chicken, creamy salad, and crispy-buttery bread – is what dreams are made of.
Slice the subs in half if desired and serve immediately. The bread will lose its crispness after a few minutes, so don’t wait. This recipe is designed for 4 hearty servings and is easy to scale up for game day or double for a crowd. If you have leftovers, store the components separately in airtight containers: chicken in the fridge, salad (with dressing on the side) in another, and rolls at room temperature. To reheat, toast the rolls and re-crisp the chicken in an air fryer at 400°F for 3-4 minutes. Re-toss the salad with fresh dressing and assemble. The components last up to 3 days refrigerated, but nothing beats that just-assembled, hand-held magic.
For best results
- Why Thin Chicken Cutlets Are Your Secret Weapon. The best way to get a juicy, crispy chicken cutlet in under 10 minutes is to start with the right cut. Thin cutlets – either by their natural shape or by pounding – cook in a flash, which means less time browning, less chance of drying out. The high surface area also gives you maximum crust per bite. If your store only sells chicken breasts, you can easily butterfly them by slicing horizontally, then pound to even thickness. This is the difference between a dry, chewy piece of poultry and a juicy, golden one that begs to be stacked on bread.
- Treat Garlic Butter with Respect. Garlic burns quickly – it goes from aromatic to bitter in seconds. That's why you want to mix it with softened butter and not cook it alone in a hot pan. When you spread the garlic butter on the bread and toast it, the butter's milk solids help buffer the garlic, giving you a sweet, nutty flavor without acrid char. If you want an even deeper flavor, try adding a pinch of smoked paprika or a small squeeze of anchovy paste to the butter – it'll give the whole sub that extra savory umami note reminiscent of a classic Caesar.
- Use a Wire Rack, Not Paper Towels. After frying the chicken, resist the urge to dump it onto a paper-towel-lined plate. Paper towels trap steam under the crust, causing it to soften and peel off. A wire cooling rack set over a baking sheet allows air to circulate all around the cutlets, so they stay shatteringly crisp. You can even keep them in a low oven on the rack while you toast the bread. This simple tool is the unsung hero of any crispy fried recipe.
- The Secret to a Better Than Store-Bought Caesar Dressing. Homemade Caesar dressing takes five minutes and tastes exponentially fresher than anything from a jar. The key is emulsifying the mayonnaise with lemon, Dijon, and Worcestershire, then adding fresh garlic and Parmesan. Use the finest microplane you have to grate the garlic and cheese – this releases their oils and makes the dressing velvety. If you have anchovy fillets, mince one and whisk it in; the fishy saltiness is what gives Caesar its signature magic. The dressing will keep in a sealed container in the fridge for up to a week – you'll want to drizzle it on everything.
- Toast the Rolls with Confidence. Don't be shy with the garlic butter – a well-buttered roll is what makes the whole sub indulgent. Use cast iron or a heavy nonstick skillet for even browning. Press the rolls down with a spatula to maximize contact with the hot surface. Watch the heat: too high, and the garlic burns before the bread toasts; too low, and the bread turns out chewy. Medium heat is the sweet spot. You can also finish under the broiler for a few seconds if you want extra crunch, but keep an eye on it – it goes from golden to black very quickly.
- How to Meal-Prep These Subs for Busy Weeknights. If you want this dinner on the table in even less time, prepare the components ahead. Bread and fry the chicken cutlets, then cool and freeze them in a single layer on a baking sheet before transferring to a zip-top bag. To reheat, pop them frozen into a 425°F oven or 400°F air fryer for 10 minutes until hot and crispy. The garlic butter can also be made ahead and refrigerated for up to 2 weeks or shaped into a log and sliced. Store chopped romaine in a salad spinner lined with damp paper towels to keep it crisp and refrigerated. That way, when you're ready, you just toast the rolls and assemble – dinner in 10 minutes.
Variations
- Air Fryer Chicken Caesar Subs. If you want a lighter version with all the crispness, air-fry the breaded chicken instead of pan-frying. Preheat your air fryer to 400°F (200°C). Lightly spray the breaded cutlets with oil, then place them in a single layer in the basket. Cook for 10 minutes, flipping halfway, until golden and fully cooked. Cutlets will be crispy and juicy with far less oil than traditional frying. Toast the garlic butter rolls in the air fryer for the last 2 minutes as well. The whole sub comes together in under 30 minutes and dinner cleanup is even easier.
- Low-Carb / Keto Chicken Caesar Subs. To cut the carbs, skip the hoagie roll and turn this into a low-carb wrap or bowl. Use large low-carb tortillas or butter lettuce leaves as the base. For the chicken, swap the flour for almond flour and the panko for crushed pork rinds or more almond flour. The chicken stays deliciously crispy, and you can pile everything into a lettuce cup or a bowl with extra shaved Parmesan. It's a high-protein, keto-friendly dinner that satisfies your craving without the bread.
- Spicy Cajun Chicken Caesar Subs. Turn up the heat by adding a teaspoon of Cajun seasoning to the panko mixture and a pinch of cayenne to the garlic butter. You can also whisk a little hot sauce or chipotle adobo into the Caesar dressing. The crispy chicken gets a smoky, spicy kick that plays beautifully with the creamy salad. Serve with pickled jalapeños for an extra punch. This variation has become a fan favorite on our family tables – proof that a classic can always be improved.
- Caprese-Style Chicken Subs. For a totally different take, swap the Caesar salad for a Caprese salad: sliced fresh mozzarella, juicy tomatoes, and fragrant basil, drizzled with balsamic glaze. Toast the rolls with the same garlic butter, and use the crispy chicken cutlets. Top with a slice of mozzarella, tomato rounds, and basil leaves. Drizzle with balsamic reduction and a little olive oil. It's a brighter, summer-forward version that's almost like a chicken Parm panini. Kids and adults alike will ask for it again.
Nutrition
- Calories652 kcal
- Total Fat38g
- Saturated Fat12g
- Cholesterol150mg
- Sodium1150mg
- Total Carbohydrates42g
- Dietary Fiber3g
- Sugars5g
- Protein42g