
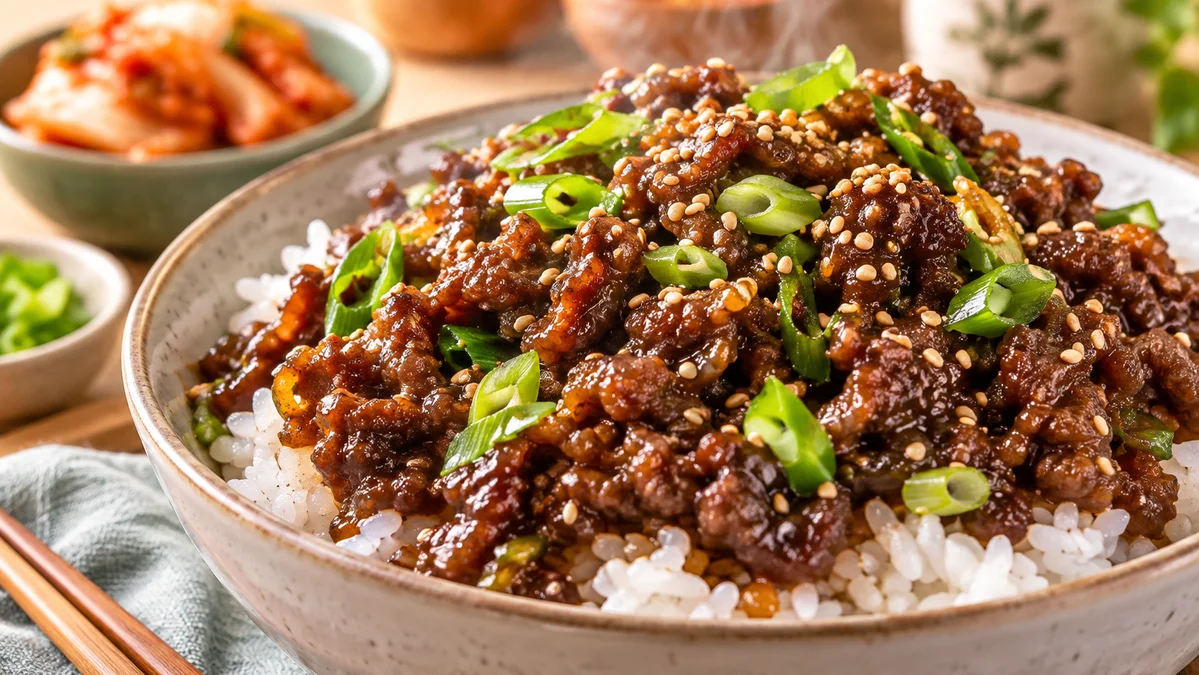
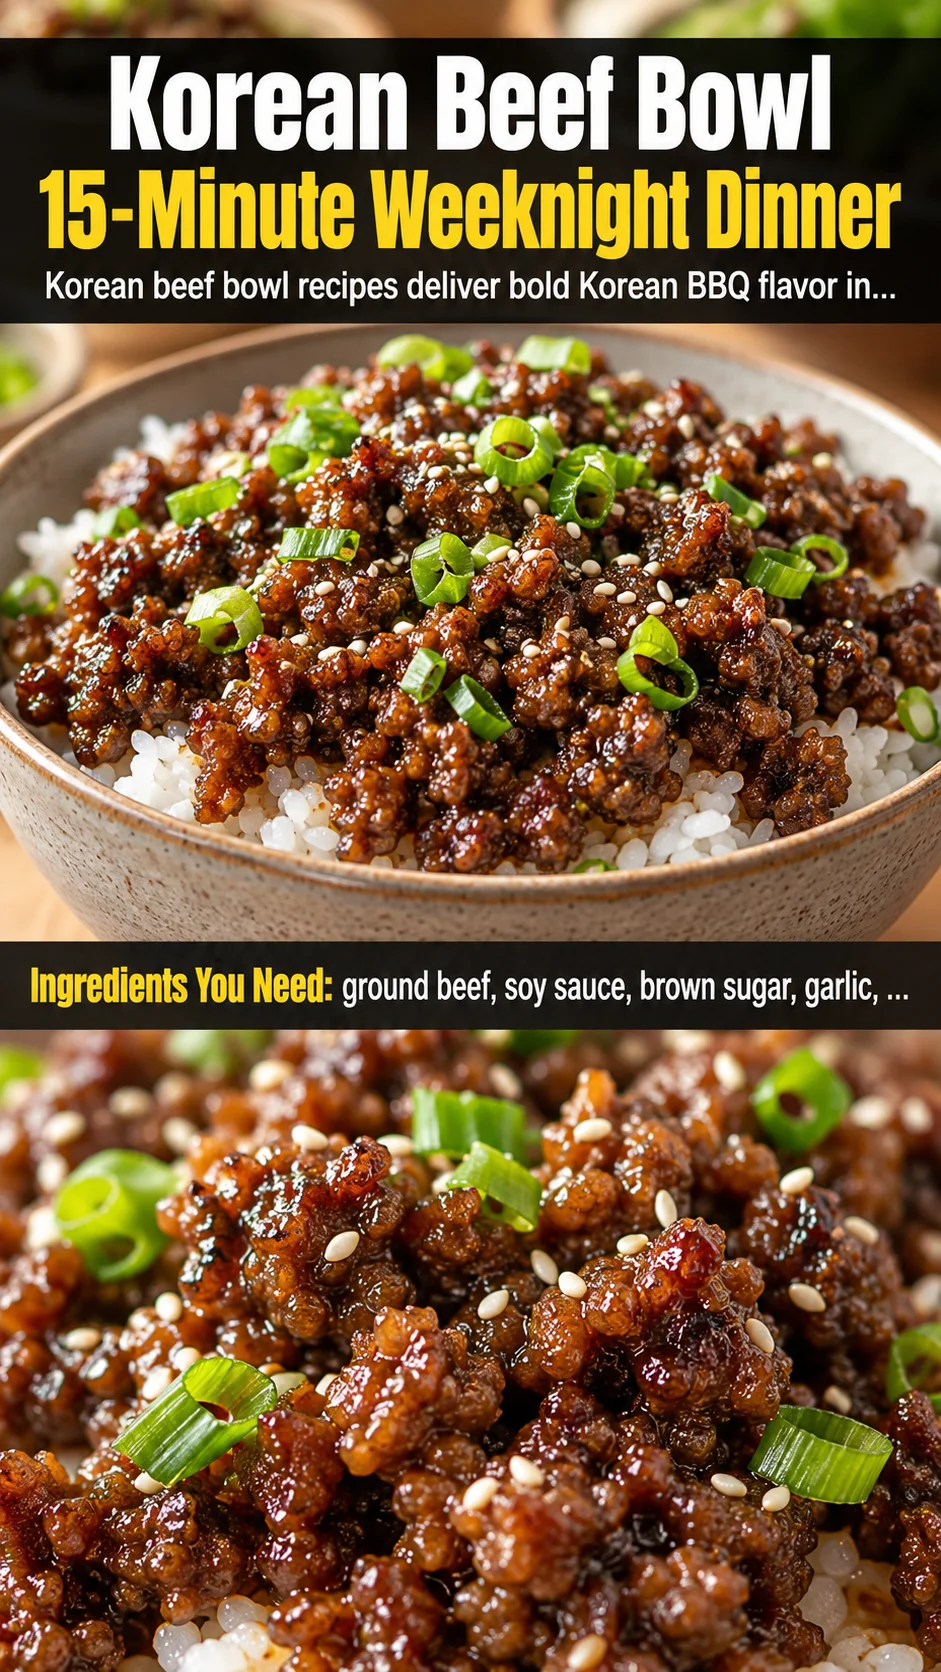
This Korean beef bowl recipe delivers bold Korean BBQ flavor in just 15 minutes. Ground beef bulgogi over rice is an easy high-protein weeknight dinner.
Ingredients
Instructions
Start by setting yourself up for speed, because this Korean beef bowl comes together in a genuine 15 minutes and there is no time to stop and hunt for a missing bottle of soy sauce halfway through. Pull out your ground beef, soy sauce, brown sugar, garlic, ginger, sesame oil, and rice all at once, and set your rice cooker or a pot of water going if you have not already cooked the rice. In a small bowl, whisk together the soy sauce, brown sugar, minced garlic, grated ginger, sesame oil, and optional red pepper flakes until the sugar has fully dissolved and the mixture looks glossy and uniform, about 30 seconds. Freshly grating the garlic and ginger rather than chopping it releases far more aromatic oils, and those oils are exactly what give this sauce its punchy, takeout-style depth. Set the sauce aside within arm’s reach of the stove and place a large skillet or wok over medium-high heat so it can preheat while you finish prepping your green onions and sesame seeds.
Once your skillet is genuinely hot, add the neutral oil and swirl it to coat the surface. You will know the pan is ready when a drop of water flicked into it sizzles and evaporates almost instantly, or when the oil shimmers and forms faint ripples. Add the ground beef and press it into a single even layer, then leave it completely undisturbed for a full 60 to 90 seconds. This hands-off moment is the entire secret to flavor: the beef needs contact time with the hot metal to develop a deep brown Maillard crust instead of steaming in its own moisture. After that first sear, break the meat apart with a wooden spoon or spatula into small, bite-sized crumbles. You want the beef to look spotted with mahogany-brown patches rather than uniformly pale gray, so keep the heat high and resist the urge to stir constantly.
When the beef is about 80 percent browned but still has a few pink spots, reduce the heat to medium and add the whisked sauce directly into the pan. It will immediately begin to bubble, hiss, and fill the kitchen with a sweet-savory garlic-and-ginger aroma that smells unmistakably like Korean BBQ. Stir the beef so every crumble is coated, then let the sauce bubble gently for 3 to 5 minutes until it reduces and thickens into a glossy, syrupy glaze that clings to the meat rather than pooling at the bottom of the pan. If you taste the sauce and it feels a touch sharp or salty, simply let it reduce another minute — evaporation concentrates the sugars and rounds out the edges. The finished beef should look lacquered and caramelized, and a spoon dragged across the pan bottom should leave a brief, clean trail.
While the beef finishes glazing, make sure your rice is hot, fluffy, and ready to be the calm, neutral base that balances all that salt and sugar and heat. If you cooked your rice ahead of time, reheat it with a splash of water, covered, in the microwave for about 90 seconds so it steams back to life instead of drying out. Fluff it with a fork or rice paddle to separate the grains, then taste a small spoonful — it should be tender and slightly sticky but never mushy. This is also the moment to check your seasoning one final time: pull a small piece of beef from the pan, taste it, and adjust with a splash more soy sauce for salt or a pinch more brown sugar for balance. Remember that the rice will mute the intensity of the sauce, so the beef should taste just slightly bolder and more seasoned than you would want on its own.
Now build the bowls. Divide the hot rice evenly among four shallow bowls or plates, spreading it into a gentle bed that covers the bottom. Spoon the glazed ground beef bulgogi over the rice, making sure to scrape every last bit of the sticky, caramelized sauce out of the pan, because that glaze is where all the concentrated flavor lives. Arrange the beef so some of the white rice stays visible around the edges — this gives each bite textural contrast and keeps the presentation looking intentional and restaurant-worthy rather than like a scoop of sloppy joe. If you like a little extra freshness, tuck a handful of quick-pickled cucumber or a few leaves of crisp lettuce alongside the rice to cut through the richness.
Finish each bowl with a generous shower of thinly sliced green onions and a scattering of toasted sesame seeds. The green onions add a bright, slightly sharp crunch and a pop of vivid color, while the sesame seeds bring a nutty, toasted aroma that ties the whole bowl together. If you have a bottle of sesame oil in the pantry, a tiny drizzle — no more than a quarter teaspoon per bowl — over the top adds a fragrant finish that mimics the final flourish of a professional Korean kitchen. Serve immediately while everything is still steaming and the rice is hot, because this dish is at its absolute best in the first few minutes out of the pan, when the contrast between hot, savory beef and fluffy rice is at its peak.
For best results
- Choose the right ground beef for the job and the whole dish changes. An 80/20 blend (80 percent lean, 20 percent fat) is the sweet spot for this Korean beef bowl because the fat renders out, helps the meat brown instead of steam, and carries the sweet-savory sauce into every crumble. If you use 93 percent lean beef, the meat will cook up drier and crumbly, and the sauce will cling poorly, so add an extra teaspoon of neutral oil to the pan and consider a slightly shorter sear so you do not drive out every drop of moisture. Conversely, if you only have 70/30 beef, carefully spoon off the excess rendered fat after browning before you add the sauce, otherwise the finished bowl will taste greasy rather than glossy.
- Balance is everything in this sauce, and it is worth understanding what each ingredient is doing so you can adjust on the fly. The soy sauce provides the salty, umami backbone, the brown sugar gives you the caramelized sweetness and that sticky glaze, the garlic and ginger supply the aromatic punch, and the sesame oil delivers the nutty, toasty finish. If your brown sugar is very hard and clumpy, microwave it with a damp paper towel for 20 seconds to soften it so it dissolves fully — any undissolved sugar will burn and stick to the pan instead of glazing the beef. For a deeper, more complex flavor, swap half the brown sugar for a tablespoon of honey or maple syrup, which caramelizes at a slightly different temperature and gives the glaze a lovely sheen.
- Do not crowd the pan, and do not stir too early — these are the two most common reasons home cooks end up with gray, steamed beef instead of deeply browned bulgogi. A large 12-inch skillet or a wok gives the meat room to spread into a thin layer, which maximizes the surface area in contact with hot metal. If you only have a small pan, brown the beef in two batches, removing the first batch to a plate while the second sears, then return everything to the pan before adding the sauce. Patience during those first 60 to 90 seconds of undisturbed searing is what builds the Maillard reaction, the chemical browning that creates hundreds of new flavor compounds and gives the beef that unmistakable takeout-style depth.
- Sesame oil is a finishing oil, not a cooking oil, and this distinction matters more than most people realize. Toasted sesame oil has a low smoke point and turns bitter and acrid when it hits high heat, so it should go into the sauce and be drizzled at the end rather than used to sear the beef. Use a neutral, high-smoke-point oil like avocado, canola, or vegetable oil for the actual cooking, and reserve the sesame oil for flavor. This one swap will noticeably improve the aroma of your finished bowl and prevent the slightly burnt, harsh note that plagues so many home stir-fries.
- Rice selection quietly makes or breaks a Korean beef bowl. Short-grain or medium-grain varieties like sushi rice, Calrose, or Korean short-grain rice cook up tender, slightly sticky, and clingy, which means each grain grabs onto the sauce instead of letting it slide off. Long-grain basmati or jasmine rice works in a pinch, but it stays separate and drier, so the bowl feels less cohesive. Cook your rice with a rice-to-water ratio of about 1 cup rice to 1 1/4 cups water, let it rest covered for 10 minutes off the heat, and fluff gently with a fork. For an extra flavor boost, cook the rice in a mixture of water and a splash of the soy sauce or some chicken broth.
- Meal prep is where this recipe earns its place in a busy weeknight rotation. The beef bulgogi keeps beautifully in an airtight container in the refrigerator for up to four days, and the flavors actually deepen overnight as the sauce continues to soak into the meat. Store the rice separately from the beef so the grains do not turn mushy and soggy, and reheat them in the microwave with a splash of water and a loose cover to bring back the steam. To reheat, warm the beef in a small skillet over medium-low heat for two to three minutes, or microwave it in 30-second bursts, and always add the fresh green onions and sesame seeds after reheating so they stay crisp and bright.
- If your finished beef tastes too salty, do not panic — the fix is fast. First, make sure you used low-sodium soy sauce, which gives you far more control over the final seasoning. If the glaze has already reduced too far and turned intense, stir in a tablespoon or two of water or unsweetened apple juice to loosen and dilute it. If it is still too salty, add a splash of rice vinegar or a squeeze of fresh lime juice; acidity tricks the palate into perceiving less salt. Serving the beef over a generous bed of plain rice, or alongside a neutral vegetable, also naturally dilutes each bite, which is one of the reasons this bowl is so forgiving and family-friendly.
- Toasted sesame seeds and green onions are not just garnish — they are structural to the finished dish. Toasting raw sesame seeds in a dry skillet over medium heat for two to three minutes, until they smell nutty and turn a shade darker, transforms them from a bland topping into a deeply aromatic accent, so never skip this step if you have raw seeds. Slice your green onions on a sharp bias so you get pretty, elongated rings that look restaurant-quality, and use both the white and green parts if you want the mild, oniony bite. A final pinch of toasted seeds and a flurry of green onion right before serving adds visual contrast and a fresh, crisp texture that balances the rich, sticky beef.
Variations
- For a lower-carb or keto-friendly version, replace the white rice with cauliflower rice, shredded cabbage, or a blend of both. To make cauliflower rice taste genuinely satisfying, sauté it in a teaspoon of sesame oil over medium-high heat for four to five minutes until the excess moisture evaporates and the edges begin to turn golden, then season with a pinch of salt. The beef bulgogi itself is naturally low in carbohydrates once you cut the brown sugar, so simply reduce the sugar to one tablespoon or swap it for a sugar-free brown sugar substitute. Serve the beef over the cauliflower rice with extra green onions, and you have a bowl that stays under ten grams of net carbs while still delivering that bold Korean BBQ flavor.
- To make this dish vegan or plant-based, swap the ground beef for crumbled extra-firm tofu, tempeh, or a store-bought plant-based ground. Press the tofu for at least 20 minutes to remove excess water, then crumble it into small pieces and sauté in oil until golden and slightly crisp before adding the sauce. Tempeh has a nutty, hearty texture that holds up especially well and soaks up the soy-garlic-ginger glaze beautifully. If you use a plant-based ground, brown it the same way you would beef, and be aware that you may need an extra splash of soy sauce or a pinch of mushroom powder to replicate the savory depth that real beef provides. The result is a satisfying, high-protein vegan bowl that still tastes like the takeout original.
- Turn this into a spicy Korean beef bowl by adding gochujang, the fermented Korean chili paste that brings heat, sweetness, and a funky, complex umami all at once. Whisk one to two tablespoons of gochujang into the sauce before it goes into the pan, and consider a teaspoon of gochugaru (Korean red pepper flakes) for a cleaner, brighter heat. Gochujang varies wildly in spice level between brands, so start with one tablespoon, taste the finished glaze, and add more if you want extra fire. Finish the bowl with a drizzle of toasted sesame oil and a sprinkle of toasted sesame seeds, and pair it with a cooling cucumber salad or a spoonful of kimchi to balance the warmth.
- Swap the ground beef for thinly sliced ribeye or sirloin and you get a more traditional bulgogi experience closer to what you would find in a Korean restaurant. Freeze the steak for about 20 minutes to firm it up, then slice it as thinly as you possibly can against the grain — paper-thin is the goal. Because sliced beef cooks in seconds, sear it hard in a very hot pan for just one to two minutes per side, then add the sauce and toss for another 30 seconds until glossy. The marinade will caramelize faster on thin slices, so keep a close eye on the pan and pull it off the heat the moment the edges turn deep brown. This version feels a touch more elegant and is wonderful for guests.
- For a bulgogi-inspired bowl with a different protein, try ground chicken or ground turkey. Both are leaner than beef, so add an extra teaspoon of oil to the pan and consider browning over slightly higher heat to encourage a good sear before the moisture escapes. Ground chicken can be a little bland on its own, so boost the sauce with an extra clove of garlic and a teaspoon of soy sauce, and finish with a drizzle of sesame oil for richness. Ground pork is another fantastic option and brings a natural sweetness that pairs gorgeously with the ginger and brown sugar. Whatever protein you choose, the same sear-first, sauce-second method applies and will reward you with a glossy, deeply flavored bowl.
- Make it a Korean beef bowl meal-prep bowl by multiplying the recipe and portioning everything into individual containers for the week. Layer the rice on the bottom, add a generous scoop of the cooled beef bulgogi, and top with a mix of shredded carrots, spinach, and cucumber so you get vegetables in every serving. Keep the green onions and sesame seeds in a separate small container or add them fresh each day so they do not wilt. These bowls hold up beautifully for four to five days in the refrigerator and reheat in about 90 seconds, making them a genuinely realistic answer to the question of what to eat for lunch when you are trying to hit a protein target without ordering takeout.
- Give the bowl a fresh, summery twist by adding a quick cucumber kimchi or a simple sesame cucumber salad on the side. Thinly slice an English cucumber, toss it with rice vinegar, a pinch of sugar, a little salt, and a drizzle of sesame oil, and let it sit for ten minutes while the beef cooks. The cool, crunchy, tangy salad cuts through the sweet-savory richness of the beef and adds a welcome textural contrast. You can also add quick-pickled carrots or a handful of fresh bean sprouts for extra crunch. This variation is perfect for warm-weather dinners when you want something lighter but still deeply flavorful and protein-forward.
Nutrition
- Calories520 kcal
- Total Fat27 g
- Saturated Fat9 g
- Cholesterol85 mg
- Sodium980 mg
- Total Carbohydrates42 g
- Dietary Fiber1 g
- Sugars8 g
- Protein30 g