
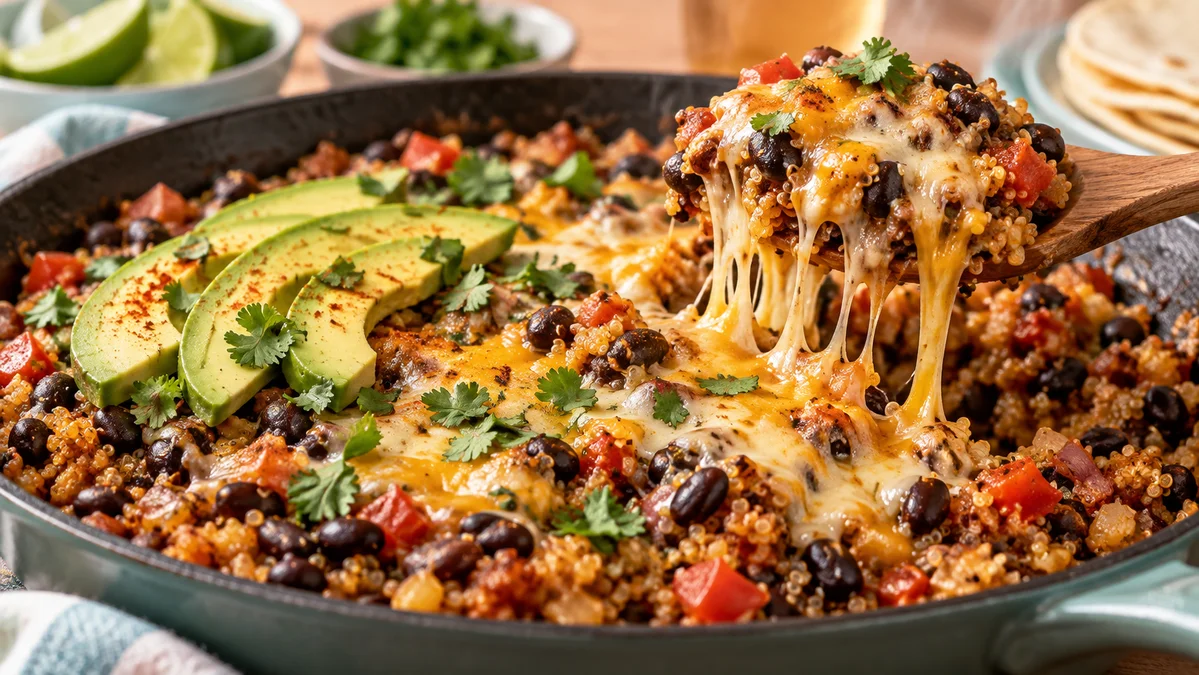
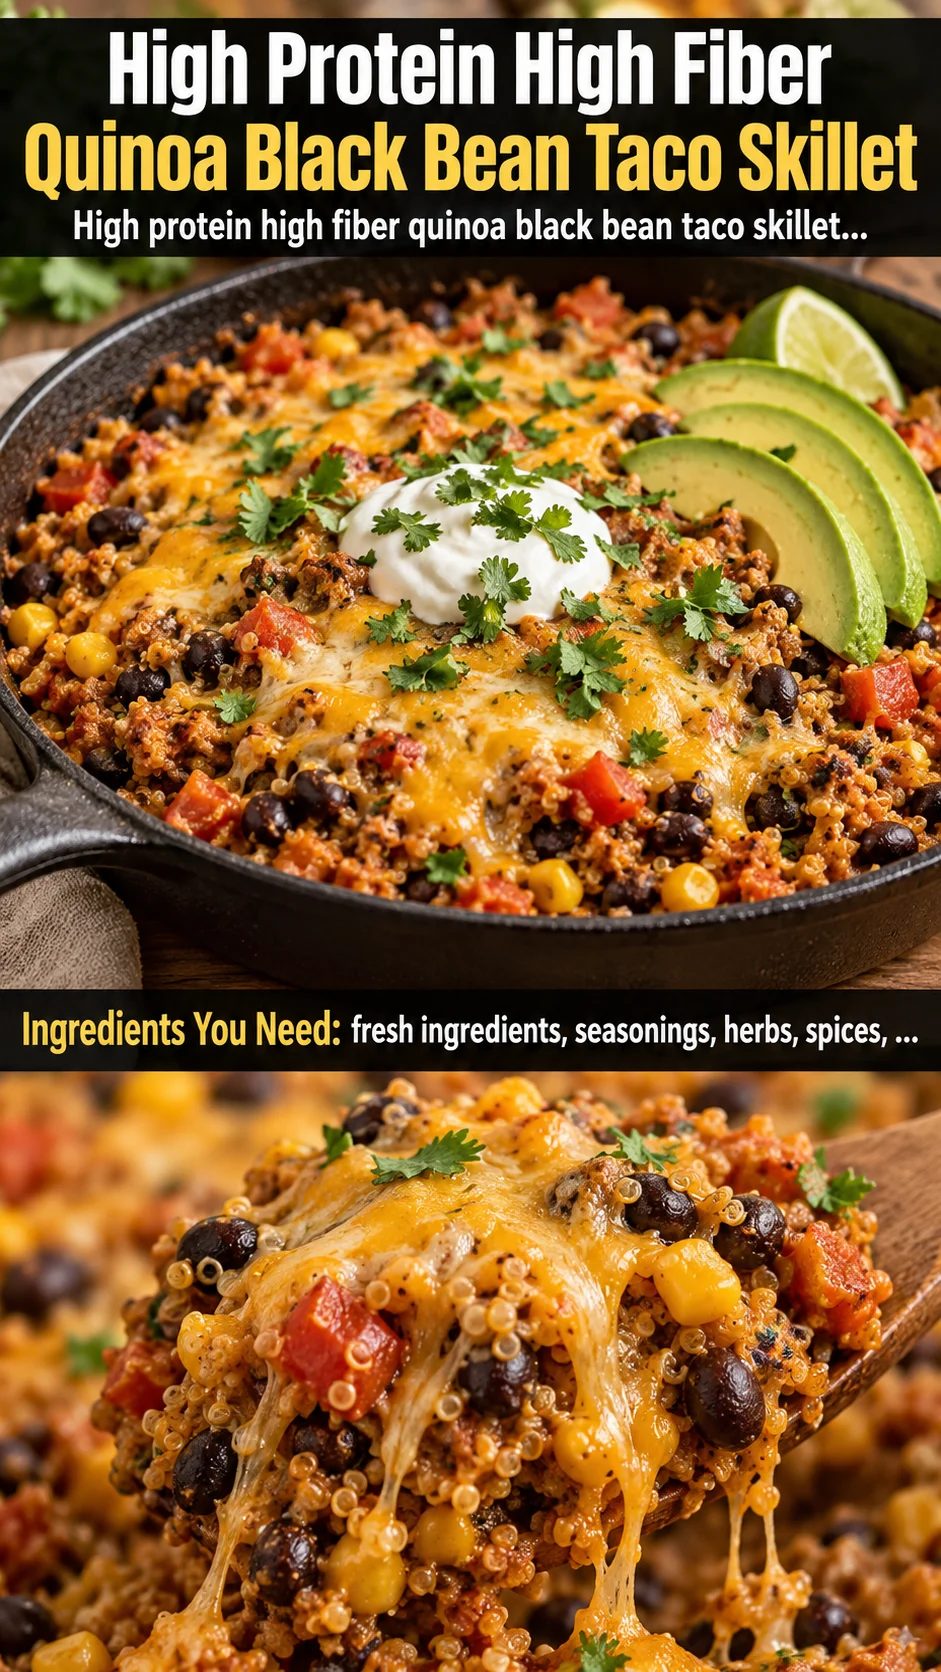
This high protein high fiber quinoa black bean taco skillet is a cheesy vegetarian one-pan dinner ready in 30 minutes—macro-friendly, easy, and delicious!
Ingredients
Instructions
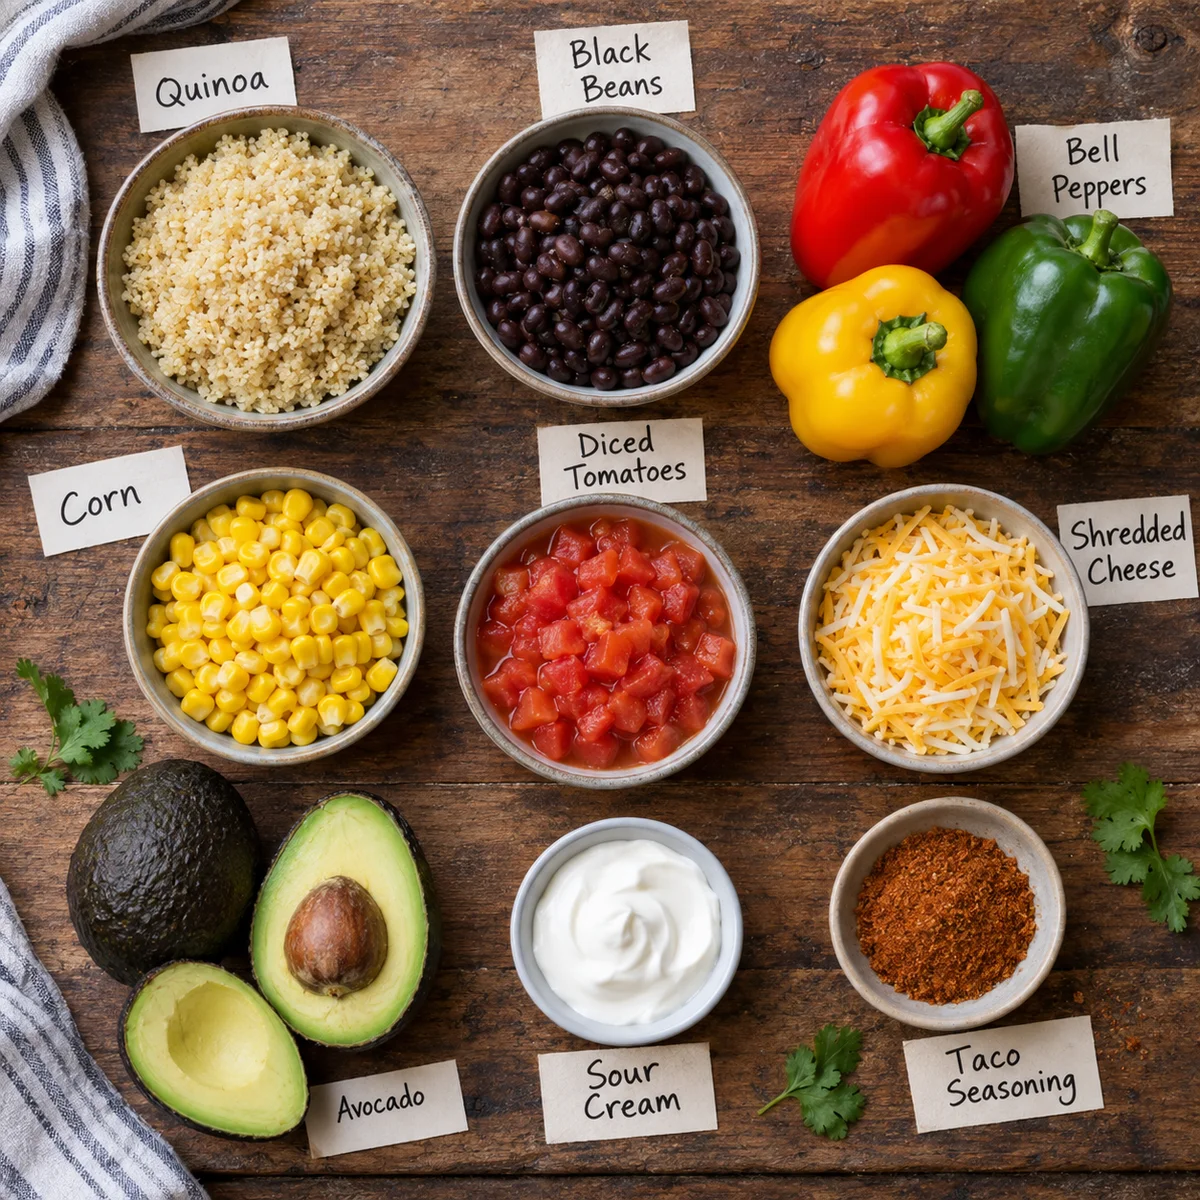
Start by setting out every ingredient on the counter before anything hits the heat, because this is the single most important habit in 30-minute cooking. A taco skillet moves fast once the pan gets hot, and there is simply no time to hunt for the cumin while the garlic scorches in the corner of the pan. Rinse 1 cup of quinoa under cold running water for about 30 seconds using a fine-mesh strainer; this sloughs off the bitter saponin coating that can make quinoa taste soapy, and skipping this step is the number one reason people decide they hate quinoa. Drain and rinse one 15-ounce can of black beans in the same strainer and let both sit to drip dry while you work. Dice one yellow onion and two bell peppers (a red and a green for a beautiful color contrast) into roughly ½-inch pieces so they cook evenly yet keep a little bite, mince three cloves of garlic, and measure out 2 tablespoons of taco seasoning plus 1 teaspoon each of ground cumin and smoked paprika into a small pinch bowl so they can be added in one confident motion. Pre-shred your own cheese if you bought a block, about 1 cup, because bagged pre-shredded cheese is dusted with anti-caking starches that interfere with smooth melting. With everything prepped and within arm’s reach, you are ready to cook.
Warm a large 12-inch skillet or a heavy cast-iron pan over medium-high heat and add 2 tablespoons of olive oil. Once the oil shimmers and slides around the pan like water, a reliable sign that it is properly hot, add the diced onion and bell peppers. Sauté for 4 to 5 minutes, stirring every so often, until the onion turns translucent and glossy and the peppers soften slightly but still hold their shape. You should hear a lively, steady sizzle and watch the onions shift from opaque white to pale gold at the edges. Do not rush this stage: letting the vegetables sweat and lightly caramelize builds a sweet, savory foundation that carries the entire dish, and the moisture they release also seasons the pan so the spices you add next will not scorch against bare metal.
Push the vegetables to the perimeter of the pan and add the minced garlic straight into the hot oil in the center, cooking for just 30 seconds until it smells sweet and fragrant. Garlic goes from mellow to acrid incredibly fast at high heat, so keep it moving and do not walk away. Immediately sprinkle in the taco seasoning, cumin, and smoked paprika and stir everything together for about 60 seconds. This technique is called blooming the spices, and it is the difference between a dish that tastes flat and one that tastes like it came from a busy taqueria. Heat and fat pull the fat-soluble flavor compounds out of the chili and cumin, deepening them into a rounded, smoky savoriness. Your kitchen will suddenly smell like a taco truck, which is exactly your cue that the spices are ready and it is time to move on.
Now add the rinsed quinoa, the full can of diced tomatoes with green chiles along with its juices, the drained black beans, the corn, and 1¾ cups of vegetable broth. Stir everything together, scraping up any browned bits clinging to the bottom of the pan, then bring the mixture to a gentle boil. The liquid should just barely cover the grains and beans; if it looks shallow or dry, splash in another quarter cup of broth. Reduce the heat to a low simmer, cover the skillet with a lid, and let it cook undisturbed for 15 to 18 minutes. Resist the very real urge to stir during this window, because agitating quinoa releases surface starch and can turn your fluffy skillet into a gluey one.
After about 15 minutes, lift the lid and check the quinoa. It should look plump and translucent with a tiny white germ ring curling around each grain, and nearly all of the visible liquid should have been absorbed into the beans and vegetables. Taste a spoonful: the quinoa should be tender with a satisfying little pop and absolutely no crunch in the center. If it is still firm, add ¼ cup more broth, re-cover, and cook for 3 to 5 minutes longer. Once it is done, turn off the heat entirely and let the skillet rest, still covered, for 5 minutes. This final steam finishes the grains from the inside out and is what makes the texture fluffy rather than wet or gummy.
Uncover the skillet and scatter 1 cup of shredded Mexican-blend cheese evenly across the top so every bite gets some. Replace the lid, or tent the pan loosely with foil, and let the residual heat melt the cheese for 2 to 3 minutes. If you want dramatic results, slide the skillet under a preheated broiler for 60 to 90 seconds until the cheese is golden at the edges and bubbling in the center. The cheese should slump into every crevice and pull into glossy, stretchy strings when you lift a spoonful. If you are keeping this dairy-free, simply skip this step and move straight to the toppings, because the skillet is genuinely delicious either way.
Fluff the finished mixture gently with a fork, then serve it hot straight from the pan. Top with sliced avocado, a generous dollop of sour cream or Greek yogurt, fresh cilantro, a bright squeeze of lime, and pickled jalapeños if you want heat. The cool, creamy toppings are a deliberate contrast to the warm, smoky, spice-laden base, and the acidity from the lime cuts through the richness of the cheese while waking up every other flavor in the pan. Serve it with warm tortillas, crunchy tortilla chips, or over a bed of fresh greens. Transfer any leftovers to an airtight container and refrigerate for up to 4 days, or freeze for up to 3 months.
For best results
- Rinse your quinoa, every single time. Quinoa is naturally coated in saponins, a bitter, soapy compound the plant produces to deter insects, and if you skip the rinse you will taste it in the final dish no matter how much cheese and seasoning you add. Sixty seconds under cold running water in a fine-mesh strainer is all it takes. If you want to go one step further, drain it well and then dry-toast the damp quinoa in the hot skillet for 2 to 3 minutes before adding liquid; toasting drives off moisture and creates a faintly nutty, popcorn-like aroma that makes the grain taste far richer.
- The liquid ratio matters more than almost anything else with quinoa. The classic stovetop ratio is 2 parts liquid to 1 part quinoa, but in this skillet the beans, corn, and canned tomatoes all release additional moisture, so you only need about 1¾ cups of broth per cup of dry quinoa. If you add too much liquid, you will end up with a wet, porridge-like texture that no amount of resting can rescue; if you add too little, the quinoa will stay crunchy and the bottom will scorch. When in doubt, start on the low side and add a splash more at the 15-minute mark, because it is easy to add liquid but nearly impossible to remove it.
- Shred your own cheese for the smoothest melt. Pre-shredded bagged cheese is coated in potato starch, cellulose, or calcium sulfate to keep the shreds from sticking together, and those same anti-caking agents prevent the cheese from melting into that gooey, cohesive blanket you want on top of a skillet. Buy a block of Monterey Jack, sharp cheddar, or a Mexican-blend brick and grate it yourself on the large holes of a box grater. Add it only after you have turned off the heat, then cover the pan, so the cheese melts from gentle residual heat instead of breaking and turning greasy.
- Treat taco seasoning like a seasoning, not a set-and-forget ingredient. Store-bought packets vary wildly in salt content, and some are quite sodium-heavy, so taste your mixture near the end and adjust rather than dumping in the whole packet by reflex. If you make your own blend, a reliable ratio is 1 tablespoon chili powder, 1 teaspoon cumin, 1 teaspoon smoked paprika, ½ teaspoon garlic powder, ½ teaspoon onion powder, ½ teaspoon dried oregano, and ¼ teaspoon each of salt and cayenne. Blooming these spices in hot oil before adding liquid is what separates a good skillet from a great one, so never stir them into cold broth.
- Finish with acid and freshness. Almost any one-pot dish, no matter how well spiced, tastes a little flat without a bright finish. A generous squeeze of fresh lime juice, a handful of chopped cilantro, and a spoonful of cool sour cream or Greek yogurt bring contrast, cut richness, and make the flavors pop. If you do not have lime, a splash of apple cider vinegar or a spoonful of salsa verde will do the same job. Add these garnishes at the table rather than in the pan, so their brightness survives the heat and stays vivid on the plate.
- Think of the toppings bar as a way to please picky eaters. Because the base skillet is mild and kid-friendly, you can set out avocado, sour cream, cheese, cilantro, jalapeños, hot sauce, and crushed tortilla chips and let everyone build their own bowl. This is the secret to serving one meal to a whole family without cooking three separate dinners. For a heartier plate, offer warm flour or corn tortillas and let people scoop the filling into them like soft tacos.
- Meal prep champions: this skillet is an absolute workhorse for weekly lunches. It reheats beautifully because the quinoa and beans hold their texture, and the spices actually deepen overnight. Portion it into five glass containers with a small side of avocado and a lime wedge, and you have a high-protein, high-fiber lunch that costs a fraction of a takeout bowl. The avocado is the only element that does not store well, so add it fresh each day or spritz it with lime to slow the browning.
- Do not fear frozen corn or canned beans. Frozen corn is picked and flash-frozen at peak sweetness and is often better than the tired fresh corn at the supermarket in the off-season, and canned black beans are one of the most convenient, budget-friendly sources of plant protein and fiber in the pantry. Just drain and rinse the beans to wash away the starchy canning liquid, which can cloud the color and dilute the flavor of your skillet. If you prefer dried beans, cook a big batch and use about 1½ cups of cooked beans in place of the can.
Variations
- Vegan and dairy-free version: This skillet is only one ingredient away from being fully plant-based. Swap the shredded Mexican-blend cheese for a good-quality dairy-free cheese or simply omit it and lean harder on toppings like avocado, salsa, and a cashew crema. Replace the vegetable broth with a vegan-certified brand (some contain hidden dairy or chicken derivatives), and use a plant-based sour cream or a simple blend of soaked cashews, lime juice, and salt for the dollop on top. To replace the protein and richness the cheese usually provides, stir in ¼ cup of nutritional yeast at the end for a savory, cheesy undertone, and add a handful of toasted pepitas for crunch. The result is every bit as satisfying and stays high in protein thanks to the beans and quinoa.
- Beefy or turkey taco skillet: If you are cooking for meat eaters or simply want a bigger protein punch, brown 1 pound of lean ground beef, ground turkey, or ground chicken in the skillet first, before the vegetables, breaking it into crumbles with a wooden spoon and draining any excess fat. Set it aside on a plate, then proceed with the aromatics and spices, using the rendered fat to bloom the seasoning for deeper flavor. Return the cooked meat to the pan along with the quinoa and liquid, and continue the recipe as written. This adds roughly 20 to 25 grams of protein per serving and turns the dish into a Tex-Mex style skillet that tastes like a deconstructed taco.
- Street-corn twist: For a fun, summery riff, channel elote flavors by folding in a cup of charred corn right at the end and finishing with a drizzle of crema or mayo thinned with lime, a sprinkle of chili powder, crumbled cotija or feta, and chopped cilantro. The combination of sweet charred corn, tangy crema, and salty cheese against the warm quinoa and beans is absolutely addictive. To char the corn, spread it in a dry skillet over high heat and let it blister for a few minutes, or use frozen roasted corn, which is sold already fire-roasted and saves you the step entirely.
- Low-carb cauliflower rice swap: To cut the carbohydrates while keeping all the flavor, replace the quinoa with 4 cups of riced cauliflower and reduce the broth to about ½ cup, since cauliflower releases a lot of its own water as it cooks. Sauté the cauliflower with the aromatics for 5 to 7 minutes until it is tender but not mushy, then add the beans, tomatoes, and corn and simmer uncovered for about 5 minutes, skipping the long covered cooking phase. This version comes together even faster and makes a fantastic macro-friendly dinner for anyone watching their carbohydrate intake, though it will have a softer, more spoonable texture than the quinoa original.
- Enchilada or taco-bowl remix: Turn this skillet into an enchilada bake by transferring the finished mixture to a baking dish, pouring over a cup of red or green enchilada sauce, topping with extra cheese, and baking at 375°F (190°C) for 15 minutes until bubbly. For a build-your-own taco bowl, spoon the quinoa mixture over a bed of shredded romaine or cilantro-lime rice, then pile on the toppings: pico de gallo, guacamole, black olives, pickled red onions, and a lime wedge. You can even wrap leftovers in a large tortilla with cheese for a lunchtime burrito that toasts up beautifully on a hot griddle.
Nutrition
- Calories420 kcal
- Total Fat15g
- Saturated Fat5g
- Cholesterol18mg
- Sodium690mg
- Total Carbohydrates55g
- Dietary Fiber13g
- Sugars8g
- Protein19g