
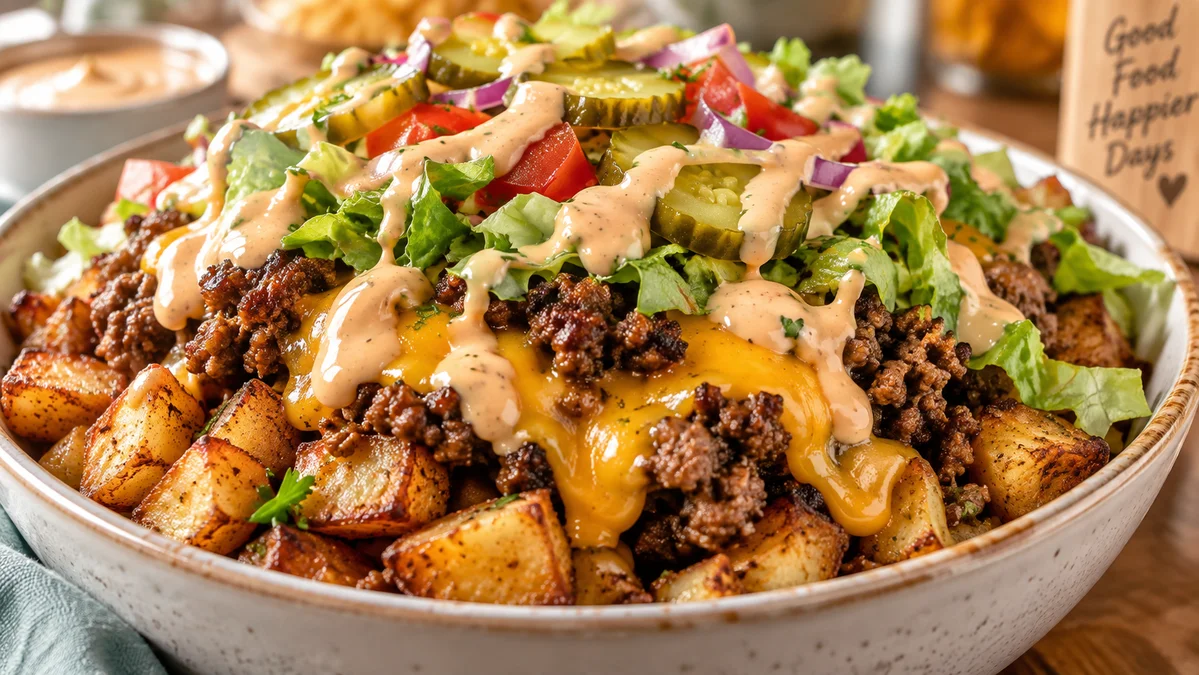
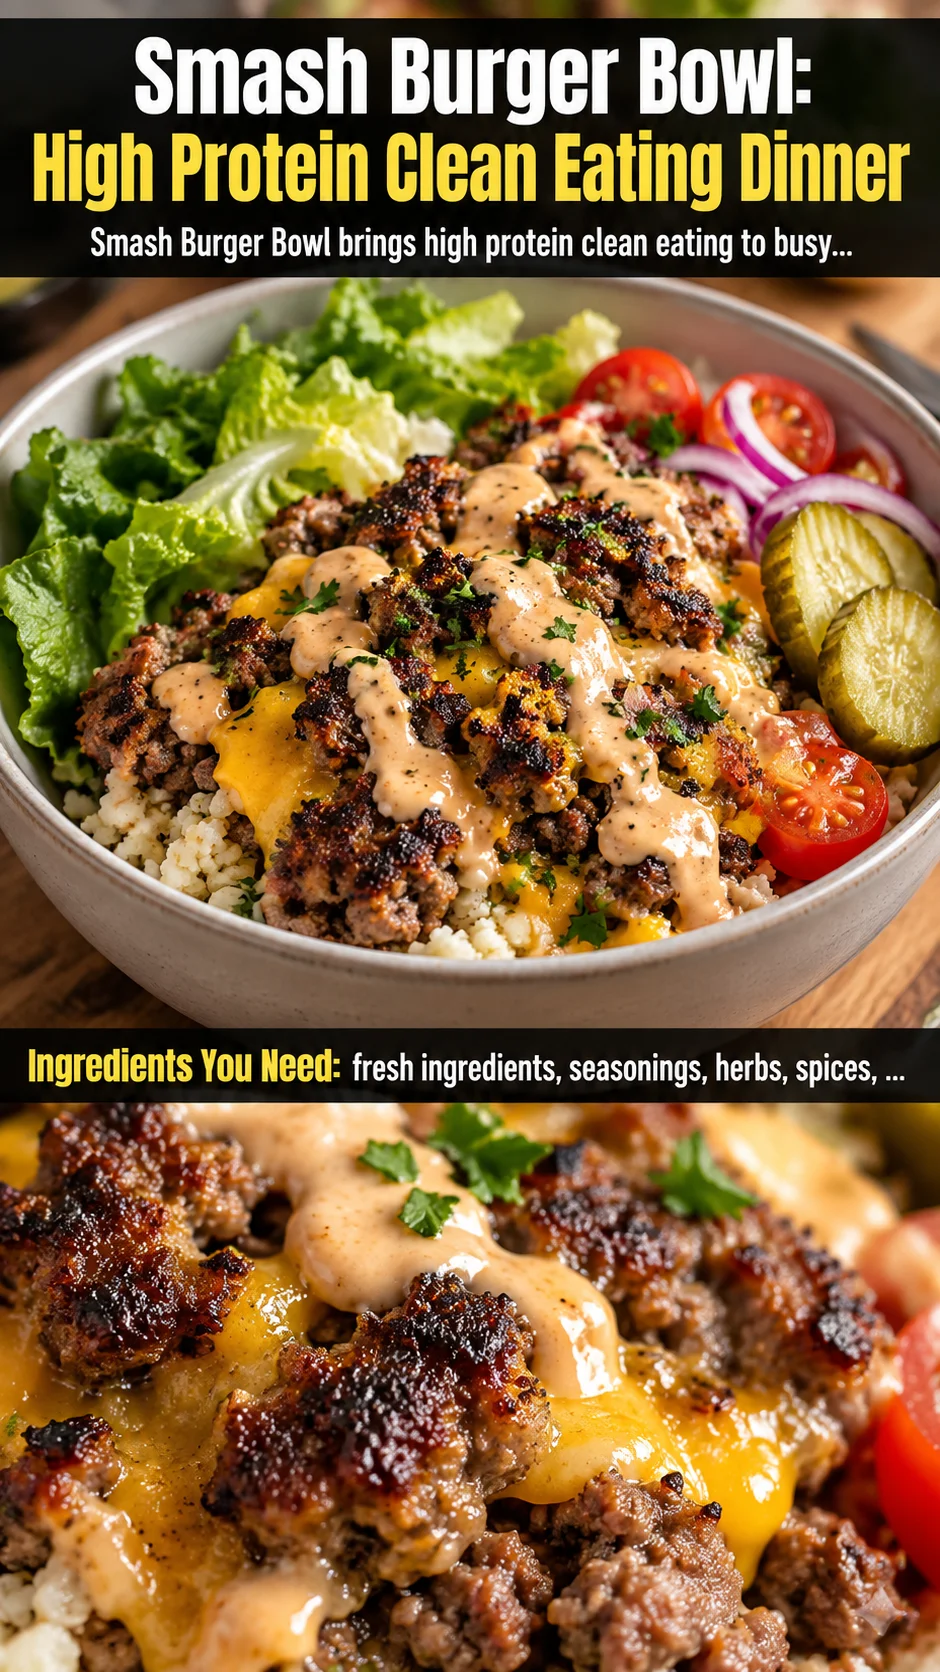
Smash Burger Bowl brings high protein clean eating to busy weeknights with juicy ground beef, crispy potatoes, and melty cheese — big burger flavor, no bun.
Ingredients
Instructions
Start by preheating your oven to 425°F (220°C) and placing a large rimmed sheet pan inside to heat. A screaming-hot pan is the single biggest secret to crispy potatoes without deep frying — when the cold potato cubes hit that hot metal, the moisture on their surface flashes into steam almost instantly and the bottoms begin to brown the moment they land. While the oven comes up to temperature, rinse your 1 lb of baby gold potatoes under cold water to remove excess surface starch (this starch is what makes potatoes gluey instead of crunchy), then pat them bone dry with a clean kitchen towel. Any lingering water will steam rather than roast, so this drying step matters more than most people realize. Cut them into uniform 1/2-inch cubes, keeping the pieces as close in size as you can so they finish cooking at the same time.
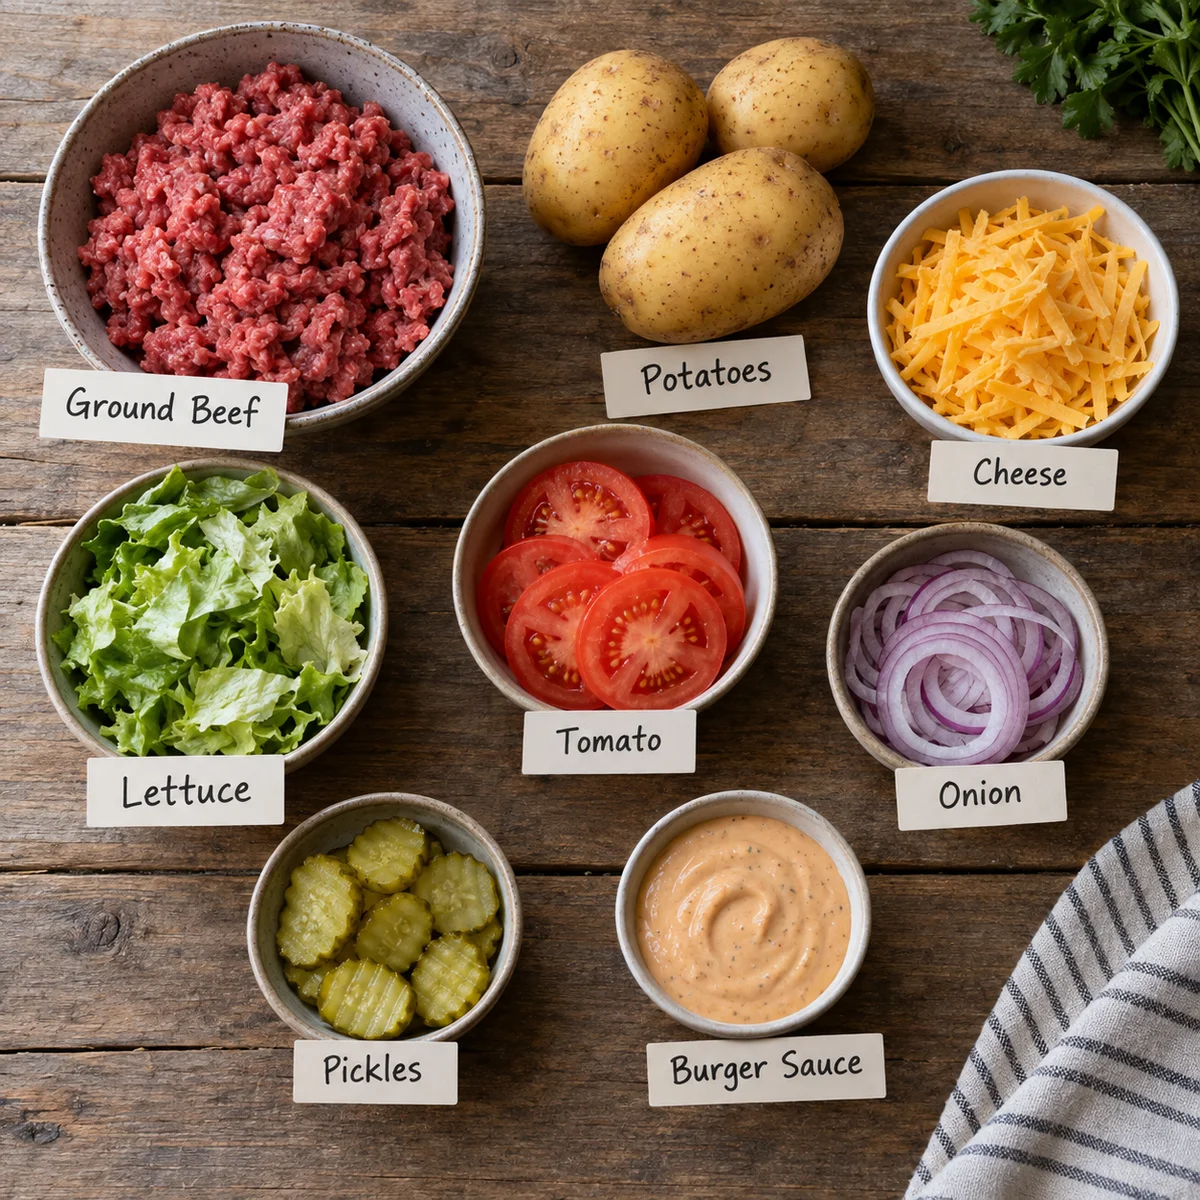
In a large mixing bowl, toss the dried potato cubes with 1 tablespoon of olive oil, 1/2 teaspoon of kosher salt, 1/4 teaspoon of black pepper, the smoked paprika, and half of the garlic powder. Toss with your hands until every cube is evenly coated — you want a light, glossy sheen, not a soggy pool of oil. Carefully pull the hot sheet pan out of the oven, drizzle a thin film of olive oil across it, and immediately scatter the potatoes in a single layer with plenty of space between them. Crowding is the enemy of crispness because it traps steam; if your pan looks packed, use two pans or roast in two batches. Return the pan to the oven and roast for 18 to 22 minutes, flipping once at the halfway mark, until the cubes are deep golden brown on the edges and a knife slides through the center with zero resistance. You are looking for that telltale rattle when you shake the pan — that sound means the exteriors have crisped up beautifully.
While the potatoes roast, build your burger sauce. In a small bowl, whisk together 1/4 cup mayonnaise, 2 tablespoons ketchup, 1 tablespoon yellow mustard, 1 tablespoon dill pickle juice, 1 teaspoon hot sauce, the remaining garlic powder, and a pinch of smoked paprika until the mixture is glossy and uniform in color. The pickle juice is doing double duty here — its acidity cuts through the richness of the mayo and beef while its brine reinforces that unmistakable drive-thru burger flavor. Taste it now and adjust: more pickle juice for tang, more hot sauce for heat, or a pinch of sugar if your ketchup is on the acidic side. Cover and refrigerate; the sauce actually improves after 15 minutes as the dried spices hydrate and the flavors meld. It will keep for up to one week in an airtight jar.
Now for the star of the show: the smash burger beef. Divide your 1.5 lbs of 85/15 ground beef into 8 loose, golf-ball-sized portions — do not compact them into tight pucks, because you want the meat to spread and shatter against the pan, creating those lacy, craggy edges that are the entire point of a smash burger. Heat a large cast-iron skillet or heavy stainless steel pan over medium-high heat for a full 3 to 4 minutes until a drop of water flicked onto the surface evaporates on contact. Working in batches so you never crowd the pan (crowding lowers the temperature and steams the meat), place two or three balls in the skillet, leaving generous space between them.
Using a sturdy metal spatula — ideally one with a flat, rigid blade — press each ball down firmly and evenly for about 10 seconds until it forms a thin patty roughly 1/4-inch thick. If you have a second spatula or a small pot, press down on top of the first for extra leverage. Do not move the patties after smashing; let them sear undisturbed for 60 to 90 seconds. This uninterrupted contact is where the Maillard reaction happens, transforming amino acids and sugars into hundreds of new flavor compounds and giving you that deeply savory, browned crust. You will see the edges turn dark brown and the center begin to look opaque with pooling juices. Season the raw side lightly with salt now, then flip with the spatula and immediately lay a small handful of shredded sharp cheddar over each patty.
After flipping, cook the second side for just 30 to 45 seconds — smash patties are thin and cook through almost immediately. The cheese should melt into a glossy, draping blanket; if it is not fully melted, cover the pan with a lid for 20 seconds to trap steam and finish the job. Transfer the finished patties to a plate and repeat with the remaining beef, keeping the cooked ones warm under a loose tent of foil. Resist the urge to drain the pan drippings — those browned bits are pure flavor, and if you like, you can deglaze with a splash of pickle juice to make a quick pan sauce to drizzle over the bowls.
Assemble your bowls by dividing the chopped romaine among four wide, shallow bowls, creating a crisp green bed that catches all the juices. Layer on the hot crispy potatoes, then the smashed beef patties with their melted cheese, followed by the cherry tomatoes, thin red onion slices, dill pickles, and avocado if using. Finish with a generous drizzle of the chilled burger sauce and a crack of black pepper. Eat immediately while the potatoes are still crackling and the cheese is at its gooiest — this is a bowl that rewards you for not waiting. For meal prep, store the components separately so the lettuce stays crisp and the potatoes stay crunchy, then reheat the beef and potatoes in a skillet or air fryer for 3 to 4 minutes before assembling.
For best results
- Choose your ground beef by fat ratio, not just by price. I reach for 85/15 for smash burgers because that 15 percent fat renders out during the hard sear and bastes the patty from within, giving you juiciness that leaner blends simply cannot match. If you are tracking macros aggressively, 90/10 works fine, but compensate by adding a teaspoon of olive oil to the pan before each batch so the patties do not stick and the edges still crisp. Whatever you choose, buy it fresh from the butcher counter if you can and use it within a day or two — freshly ground beef has a sweetness and a loose, shaggy texture that makes smashing effortless, whereas beef that has sat in the fridge for a week oxidizes and tastes flat.
- Patience with the pan is the most underrated skill in smash burger cooking. A cast-iron skillet needs a full three to four minutes over medium-high heat to reach the roughly 400°F surface temperature where the Maillard reaction takes off. If you add the beef too early, it will stick, steam, and turn gray instead of developing that gorgeous mahogany crust. Test the pan by flicking a few drops of water onto it — they should skitter and evaporate within a second or two. Also, never smash the patty with the back of a spoon or a lightweight spatula; use something rigid and press straight down, not sideways, so the beef spreads evenly instead of tearing.
- The secret weapon in this whole bowl is the sauce, and the secret inside the sauce is pickle juice. That brine brings salt, acid, and dill all at once, which is exactly what a rich, fatty burger bowl needs to stay balanced and crave-worthy. Make a double batch and keep it in a squeeze bottle in the fridge — it will hold for a full week and it transforms everything it touches, from grilled chicken to roasted vegetables to a simple salad. If you are out of pickle juice, a tablespoon of red wine vinegar plus a pinch of sugar and a dash of dried dill gets you surprisingly close.
- Crispy potatoes live or die by two rules: dry them, and give them room. After you cube the potatoes, dry them aggressively with a towel, and if you have time, let them sit uncovered on the cutting board for ten minutes to air-dry even more. On the pan itself, every cube needs its own personal space — a single crowded layer with breathing room lets steam escape so the surfaces dehydrate and crisp. If your oven runs hot on the bottom, place the pan on the middle rack rather than the lowest one so the tops brown as evenly as the bottoms. Day-old potatoes that have been parboiled and chilled roast even faster and crispier, since cold, cooked starch forms a rough surface that grabs oil beautifully.
- Meal prepping this bowl is one of my favorite Sunday rituals, but it requires a layered approach so nothing gets soggy. Keep the cooked beef, roasted potatoes, and sauce in separate airtight containers, and store the lettuce and raw vegetables in their own container lined with a paper towel to absorb moisture. When you are ready to eat, reheat the beef and potatoes in a dry skillet over medium-high heat for three to four minutes, or in the air fryer at 375°F for four minutes, which re-crisps the potato exteriors far better than a microwave. Then build the bowl fresh. Assembled bowls last only a day in the fridge, but the components will hold for three to four days.
- Do not underestimate the power of acid and crunch to finish a bowl. A squeeze of fresh lime, a splash of red wine vinegar, or even a spoonful of pepperoncini brine brightens the heaviness of the beef and cheese in a way that salt alone cannot. Likewise, the raw onion should be sliced paper-thin and rinsed under cold water for a minute to tame its bite. If you want extra crunch without the carbs, swap half the potatoes for roasted broccoli florets or crispy chickpeas — they roast on the same pan in the same amount of time and add fiber that keeps you full for hours.
- Temperature matters when you assemble. Warm beef and cheese on top of cold, crisp lettuce is exactly the contrast you want — but if you pile hot potatoes straight onto the lettuce, they will wilt it within minutes. If you are serving guests, set everything out as a build-your-own bowl bar and let people assemble their own, which keeps every element at its best and turns dinner into an interactive, crowd-pleasing experience. Warm the bowls themselves in a low oven for a few minutes if you want the meal to stay hot from the first bite to the last.
Variations
- For a lower-carb or keto-friendly version, swap the potatoes for roasted cauliflower florets and diced zucchini, both of which roast in roughly the same time at 425°F and soak up the burger juices beautifully. Toss them with the same smoked paprika, garlic powder, and olive oil so the flavor profile stays consistent, and add a handful of baby spinach under the warm beef so it wilts slightly. With the potatoes gone, the bowl drops to roughly 12 to 15 net carbs per serving, making it a perfect fit for low-carb and diabetic-friendly meal plans while still clocking in around 40 grams of protein from the beef and cheese alone.
- To make this bowl fully gluten-free and dairy-free, confirm that your pickles, mustard, and hot sauce are certified gluten-free, and replace the cheddar with a creamy dairy-free cheese sauce made from soaked cashews, nutritional yeast, and a splash of pickle juice. Use a gluten-free bun-free setup as written — the beauty of the burger bowl is that it is naturally grain-free once you skip any breadcrumb binders. For the sauce, swap the mayonnaise for a vegan mayo. The result is a bowl that satisfies every dietary restriction without anyone at the table feeling like they got the consolation prize.
- Change the protein and change the whole personality of this bowl. Ground turkey or ground chicken (93/7) makes a lighter, leaner version that still smashes beautifully if you add a teaspoon of olive oil to the pan for moisture. Ground lamb takes it in a Mediterranean direction — pair it with crumbled feta, cucumber, and a tzatziki-style sauce instead of the burger sauce. For a plant-based spin, use a high-quality plant-based ground beef substitute or crumbled tempeh seasoned with smoked paprika and soy sauce, and smash it the same way; just note that plant-based crumbles release more moisture, so press them extra flat and give them an extra minute of sear.
- Turn this into a full-on Southwestern or Korean barbecue bowl with a few sauce and topping swaps. For a Southwestern version, season the beef with cumin, chili powder, and a pinch of cayenne, then top with black beans, roasted corn, pickled jalapeños, and a lime-cilantro crema. For a Korean-inspired bowl, glaze the smashed patties with gochujang, brown sugar, and sesame oil, and finish with kimchi, shredded carrots, scallions, and toasted sesame seeds over steamed rice or cauliflower rice. Both riffs keep the high-protein, bowl-format structure intact while completely reinventing the flavor — proof that this recipe is a template as much as it is a dish.
Nutrition
- Calories520 kcal
- Total Fat33g
- Saturated Fat12g
- Cholesterol110mg
- Sodium890mg
- Total Carbohydrates24g
- Dietary Fiber4g
- Sugars6g
- Protein38g