
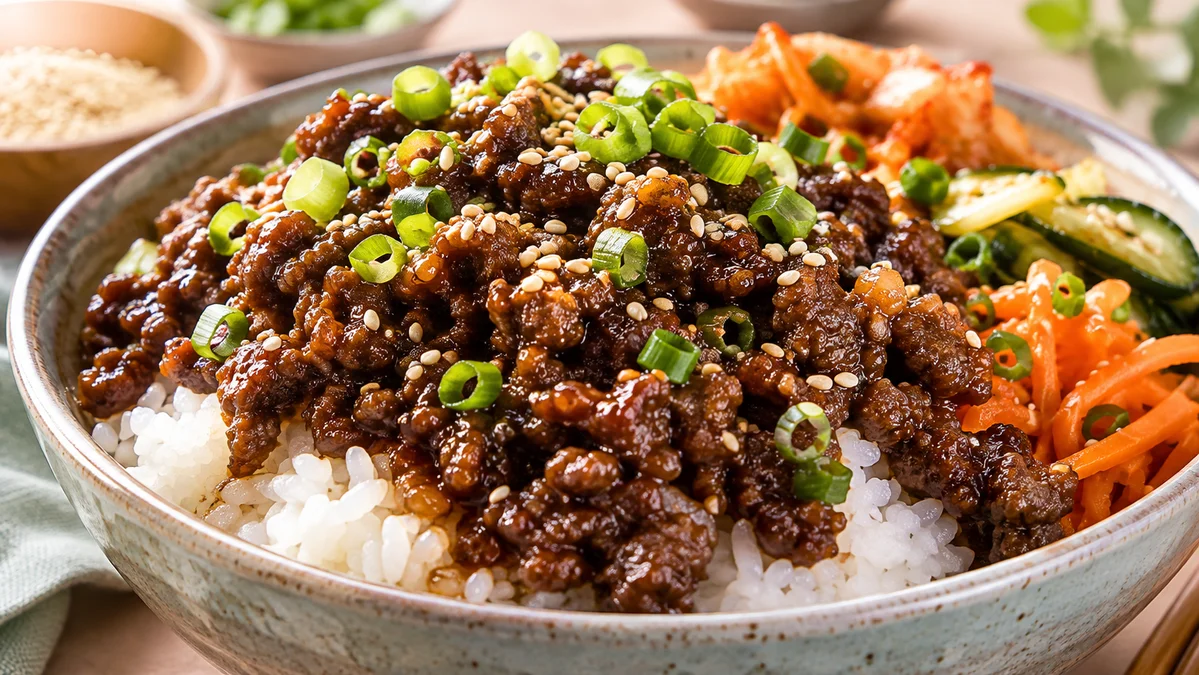
This Korean beef rice bowl with sesame garlic sauce is a 30-minute, budget-friendly dinner with glossy ground beef, fluffy rice, and crunchy veggies.
Ingredients
Instructions
Before the pan ever touches the heat, set yourself up for success by prepping and lining up every single component within arm’s reach on the counter. This dish moves quickly once it starts, so you will have roughly ten minutes of active cooking time and zero minutes for hunting down a stray bottle of soy sauce in a crowded pantry. Mince the garlic and grate the ginger first, because they go into the pan together and will burn in seconds if you are still chopping while they sizzle. Whisk the soy sauce, brown sugar, rice vinegar, gochujang, and black pepper together in a small bowl, then stir the cornstarch into 2 tablespoons of cold water in a separate cup and keep it nearby. Slice the cucumber, shred the carrots, and chop the scallions, then store the vegetables in the refrigerator so they stay cold and crisp while you cook. Finally, measure out your rice and get it started in the rice cooker or on the stovetop so that hot, fluffy rice is ready the moment the beef comes off the heat.
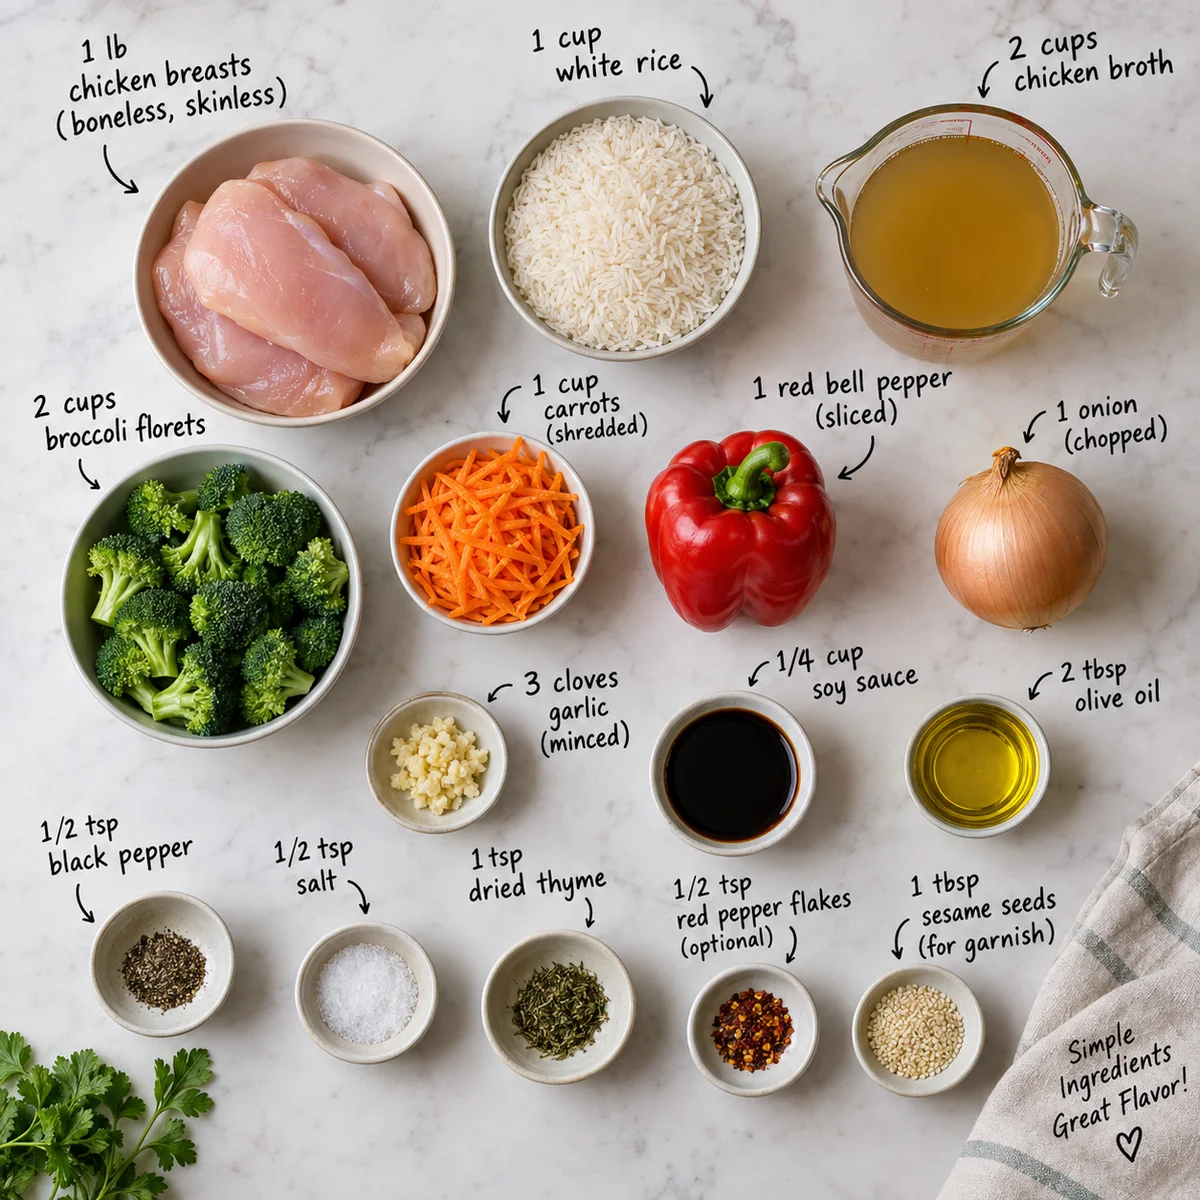
Cook the rice properly by rinsing 1 1/3 cups of dry jasmine rice under cool running water until the water runs mostly clear, which removes surface starch and keeps the grains separate instead of gluey. Combine the rinsed rice with 2 2/3 cups of water and a small pinch of salt in a heavy saucepan, bring it to a rolling boil uncovered, then immediately reduce the heat to the lowest setting, cover tightly, and cook for 12 minutes without lifting the lid. Resist the urge to peek, because every time you lift that lid you release precious steam that is doing the actual cooking. When the timer goes off, turn off the burner and let the rice steam, still covered, for another 10 minutes. Fluff it gently with a fork or rice paddle. The finished rice should smell faintly sweet and nutty, look glossy but not wet, and hold its shape when you press a spoonful together.
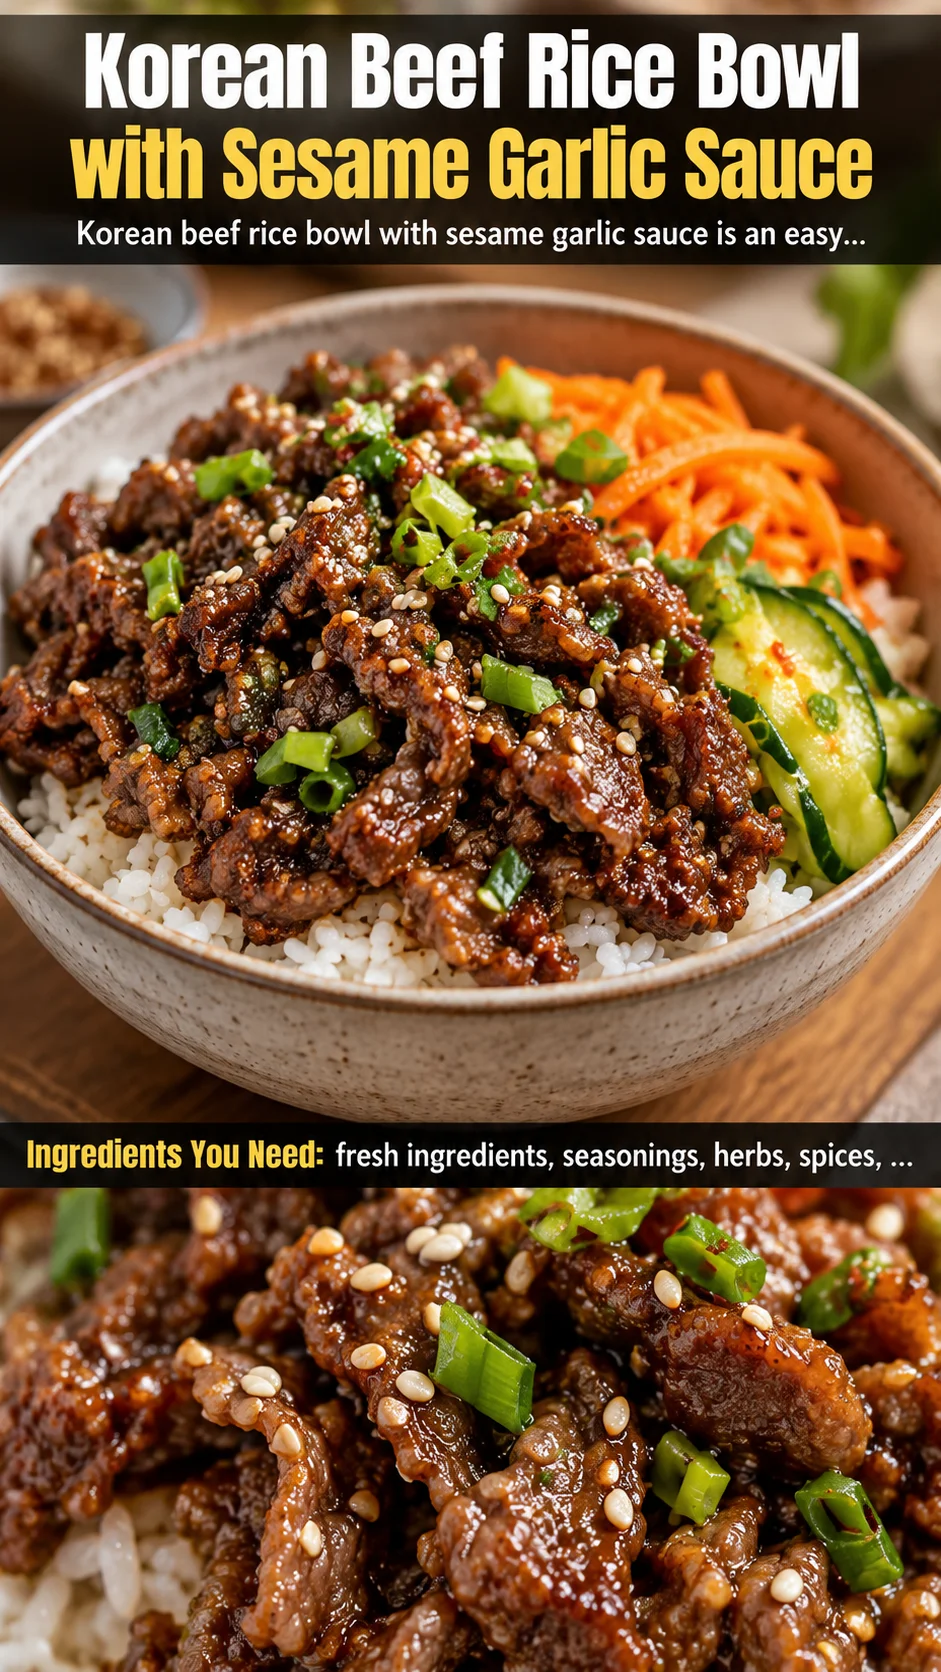
Build the sesame garlic sauce in a small bowl or measuring cup so the flavors have a chance to marry before they hit the pan. Whisk together 1/3 cup low-sodium soy sauce, 3 tablespoons packed brown sugar, 1 tablespoon rice vinegar, 1 tablespoon gochujang, and 1/2 teaspoon cracked black pepper until the sugar dissolves completely and no gritty crystals remain at the bottom. The brown sugar does more than sweeten, it caramelizes against the hot beef and creates that sticky, glossy lacquer that makes takeout Korean beef so irresistible. The rice vinegar cuts through the richness and brightens the whole sauce, while the gochujang adds a slow, fermented heat and a deep brick-red color. In a separate tiny cup, whisk 1 teaspoon cornstarch into 2 tablespoons of cold water to make a slurry, and set it aside, because adding dry cornstarch directly to a hot pan produces lumps you cannot undo.
Place a large 12-inch skillet or wok over medium-high heat and let it get genuinely hot for a full two minutes before adding anything. Add 1 tablespoon of toasted sesame oil and swirl it around the pan, then add the minced garlic and grated ginger. Stir constantly for only 25 to 35 seconds, just until the garlic smells sweet and fragrant and you see the tiniest hint of color at the edges. This is the single most important thermal moment in the recipe, because garlic and ginger go from aromatic to acrid and bitter in under a minute. If the garlic starts turning dark brown, pull the pan off the heat immediately, wipe it out, and start the aromatics over again at slightly lower heat. Toasted sesame oil has a low smoke point, so it should glisten and shimmer, never smoke aggressively, otherwise you are burning the fat and the flavor will turn harsh.
Add 1 lb of lean ground beef to the fragrant oil and press it into an even, single layer across the bottom of the pan. Let it sit completely undisturbed for 2 to 3 minutes so a deep brown crust can form, because those browned bits, known as fond, are where the savory, roasted flavor lives. After that, break the beef into small, bite-sized crumbles with a wooden spoon or spatula, continuing to cook for 5 to 6 minutes until no pink remains and the meat is lightly caramelized. You want pieces roughly the size of a pea, not a fine mush, because texture matters in a rice bowl and you should feel the beef against your teeth. If your beef releases a lot of fat, carefully tilt the pan and spoon off the excess, leaving just about a tablespoon behind, so the finished sauce clings instead of floating in grease.
Give your cornstarch slurry one more stir, since it settles quickly, whisk it into the bowl of sauce, then pour the entire sauce mixture over the browned beef. Reduce the heat to medium and let everything simmer for 2 to 3 minutes, stirring occasionally, until the sauce thickens enough to coat the back of a spoon and turns glossy and mahogany-dark. You will know it is ready when the liquid no longer pools at the bottom of the pan but instead clings to every crumble of beef like a shiny glaze. This is also the moment to drizzle in the final 1/4 teaspoon of toasted sesame oil off the heat, which preserves its toasty perfume rather than cooking it away. If the sauce reduces too far and looks sticky, splash in a tablespoon of water to loosen it back to a pourable consistency.
Taste the beef and adjust the balance before you assemble anything, because the final flavor should be a harmonious tug-of-war between sweet, salty, savory, and gently spicy. If it tastes flat or one-note, add a splash more soy sauce for salinity or a few drops of rice vinegar for brightness. If it is too salty, a pinch more brown sugar or a squeeze of honey rounds it out, and if you want more heat, a teaspoon of gochugaru or Sriracha stirred in now does the trick. Remember that the rice and the mild, cooling cucumber will dilute the intensity considerably once assembled, so the beef should taste slightly bold and punchy on its own. Turn off the burner, leave the pan on the warm stovetop, and get ready to plate while everything is at its peak.
Assemble the bowls by dividing the hot jasmine rice among four deep bowls, then spoon a generous mound of the glossy sesame garlic beef over the top, letting some of the sauce bleed into the rice, which is honestly the best bite of the whole dish. Fan the crisp cucumber slices and shredded carrots around the edge of each bowl for color, crunch, and a cooling contrast to the rich, caramelized meat, then shower everything with sliced scallions and toasted sesame seeds. For a truly knockout version, crown each bowl with a fried egg with a runny yolk that breaks and turns the sauce into a silky, golden gravy, plus a spoonful of kimchi on the side. Serve immediately while the rice is steaming and the vegetables are still cold and snappy, and refrigerate any leftovers in an airtight container for up to 4 days.
For best results
- Choose the right ground beef for the job and you will notice it in every bite. An 85/15 lean-to-fat ratio is the sweet spot for this Korean beef rice bowl, because that modest amount of fat renders out and helps the meat brown and caramelize rather than steam in its own juices. Ground beef that is 90/10 or leaner tends to cook up dry and crumbly, while 80/20 can leave the sauce greasy unless you carefully drain it. If you are working with an extra-lean blend, add an extra half tablespoon of toasted sesame oil to the pan to compensate for the missing fat, and consider cooking the beef in two smaller batches so it sears instead of simmering.
- Toast your sesame seeds and your sesame oil is not the same thing, and this distinction trips up a lot of home cooks. Raw white sesame seeds need just 2 to 3 minutes in a dry skillet over medium heat, stirred constantly, until they turn golden and start to pop and smell nutty, and then they should be immediately poured onto a plate to cool so they do not scorch in the hot pan. Likewise, toasted sesame oil is a finishing oil, not a frying oil, with a smoke point around 410F but an intensely volatile aroma that burns off under prolonged high heat. Adding a small drizzle at the very end of cooking preserves that unmistakable toasty perfume.
- The cornstarch slurry is the quiet hero of this recipe, and understanding it will upgrade every stir-fry sauce you make from now on. Cornstarch granules need to be dispersed in cold liquid first, because dropping them dry into a hot pan causes them to seize into unpleasant lumps. Once the slurry hits the simmering sauce, the heat causes the starch granules to swell and gelatinize, which is what turns a thin, watery sauce into the thick, clinging glaze that coats each crumble of beef. If your sauce still looks loose after 3 minutes, whisk another half teaspoon of cornstarch into cold water and add it, simmering for another minute until it visibly thickens.
- For the crispiest, most refreshing vegetables, cut them right before serving and keep them in ice water until the last second. Soaking sliced cucumber and matchstick carrots in ice water for 10 minutes draws out some of their natural sugars and plumps up the cell walls, giving you that audible crunch that contrasts so beautifully against the soft, saucy beef. Pat them completely dry afterward, though, because wet vegetables will water down the sauce and make the rice soggy at the bottom of the bowl. If you are meal-prepping, store the vegetables separately from the beef and rice, and only combine them when you are ready to eat.
- Meal prep this recipe like a pro and you will have four grab-and-go lunches that reheat in about 90 seconds. Cook the beef and sauce fully, then cool it completely before refrigerating, because trapping steam in a sealed container is what makes leftovers taste stale and sour. Store the rice, the beef, and the raw vegetables in three separate containers, and keep the sesame seeds in a tiny jar at room temperature so they stay crunchy. When reheating, warm only the beef and rice, then add the cold cucumbers, carrots, and scallions fresh on top. Properly stored, everything keeps beautifully for up to 4 days in the refrigerator.
- Salt levels in soy sauce vary dramatically between brands, and this is the most common reason a batch of Korean beef turns out too salty. Low-sodium soy sauce generally contains around 575 mg of sodium per tablespoon, while regular soy sauce can push past 900 mg, so a recipe built on one will taste completely different with the other. Taste your sauce before it goes into the pan and adjust, and remember that reducing the sauce concentrates the salt. If you are watching sodium, use low-sodium soy sauce or coconut aminos and finish the dish with a squeeze of fresh lime to trick your palate into perceiving more flavor with less salt.
- Do not crowd the pan, and if you have a smaller skillet, brown the beef in two batches. When too much cold meat hits a hot pan at once, the temperature plummets and the beef releases its moisture, effectively steaming itself gray instead of searing to a rich brown. Give the meat room, resist the urge to stir it constantly, and let the Maillard reaction do its work, because those browned, caramelized bits are the entire flavor backbone of the dish. A wide 12-inch skillet or a carbon steel wok gives you the most surface area for browning, and a splatter screen keeps your stovetop clean without trapping steam.
- Balance is everything in Korean cooking, and the sweet-salty-sour-spicy equation is meant to be adjusted to your own taste. If the sauce tastes too sweet, add rice vinegar or a squeeze of lime, if it tastes too salty, add a touch of brown sugar or honey, if it needs depth, add a splash of fish sauce or a spoon of doenjang, and if it needs heat, gochugaru or Sriracha delivers it instantly. Treat the written measurements as a starting point rather than a rulebook, and taste at every stage. The perfect bowl should make you want to go back for a second spoonful before you have even swallowed the first.
Variations
- Make it gluten-free without sacrificing any of the deep, savory flavor by swapping the soy sauce for tamari or coconut aminos, both of which deliver that same umami punch without wheat. Coconut aminos are naturally sweeter and less salty than soy sauce, so reduce the brown sugar to 2 tablespoons and taste before adjusting. Double-check that your gochujang is gluten-free, since some brands use wheat or barley in the fermentation, and look for a certified gluten-free label. Serve over the same jasmine rice, or try short-grain sushi rice or even cauliflower rice for a lower-carb, gluten-free bowl that still feels satisfying.
- For a lighter, higher-protein version that fits beautifully into a macro-tracking week, substitute ground turkey or ground chicken for the beef. Because poultry is leaner and milder, add an extra teaspoon of toasted sesame oil to the pan and a splash of soy sauce to compensate for the missing richness. Ground turkey breast can dry out quickly, so watch it carefully and pull it off the heat the moment it is no longer pink. You can also swap half the rice for riced cauliflower to shave off carbohydrates while keeping the bowl generous and filling, and add a soft-boiled egg for extra protein.
- Turn this into a bold, spicy Korean beef bowl by doubling the gochujang and adding a teaspoon of gochugaru Korean chili flakes along with the aromatics. Toasted gochugaru blooms in the oil and releases a fruity, smoky heat that is completely different from the fermented punch of the paste. Finish the bowl with a drizzle of spicy mayo made from mayonnaise and Sriracha, and top it with pickled radish or kimchi for tang. If you love heat, this version will absolutely deliver, and the cooling cucumber keeps it from becoming overwhelming.
- Vegetarian and vegan eaters can enjoy this exact flavor profile by replacing the beef with crumbled extra-firm tofu or rehydrated soy curls. Press the tofu for at least 20 minutes to remove excess water, then crumble it and pan-fry it in sesame oil until the edges are deeply golden and crisp before adding the sauce. Soy curls, once soaked and drained, have a remarkably meaty texture that soaks up the sesame garlic glaze beautifully. Use tamari instead of soy sauce to keep it fully plant-based, and add a handful of shelled edamame for extra protein and a pop of bright green color.
- Transform the leftovers into a completely new meal by turning them into Korean beef rice bowls with a crispy rice crust. Press the leftover rice into a lightly oiled skillet and let it cook undisturbed over medium heat until the bottom turns golden and crackly, then pile the reheated beef on top. You can also stuff the filling into lettuce cups for a lighter, low-carb wrap, fold it into a quesadilla with mozzarella for a Korean-Mexican mashup, or toss it with ramen noodles and a splash of broth for a quick, slurpable beef noodle soup. Nothing about this recipe goes to waste.
Nutrition
- Calories520 kcal
- Total Fat22g
- Saturated Fat7g
- Cholesterol75mg
- Sodium890mg
- Total Carbohydrates52g
- Dietary Fiber3g
- Sugars12g
- Protein30g