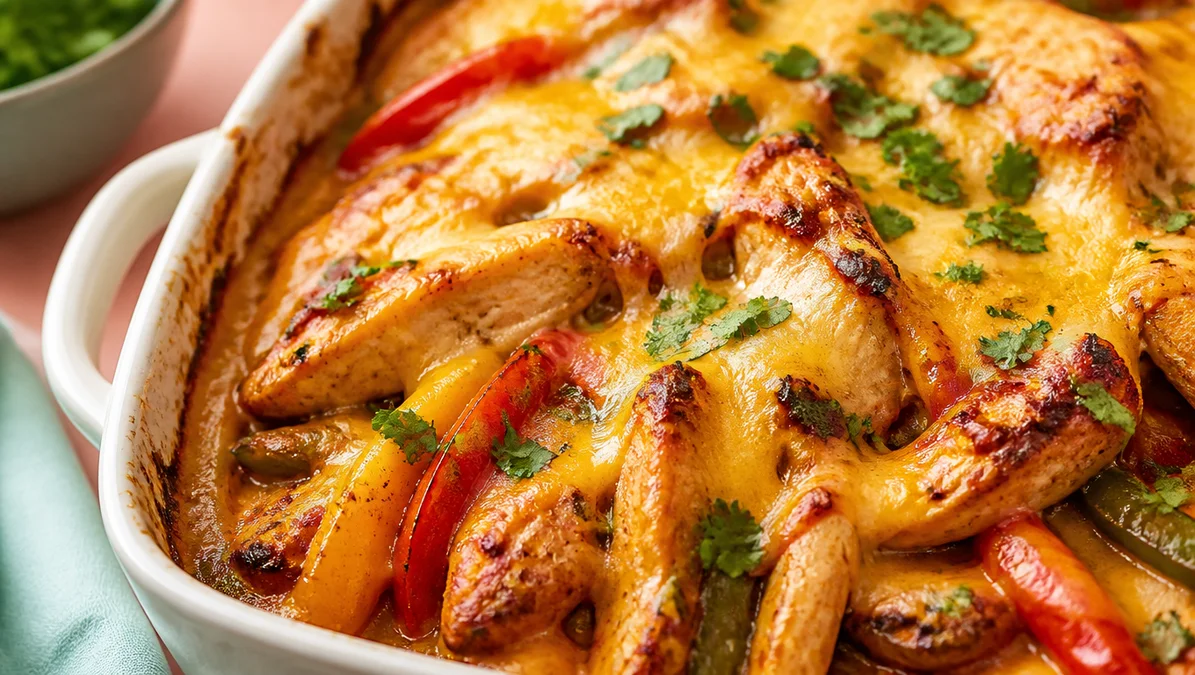
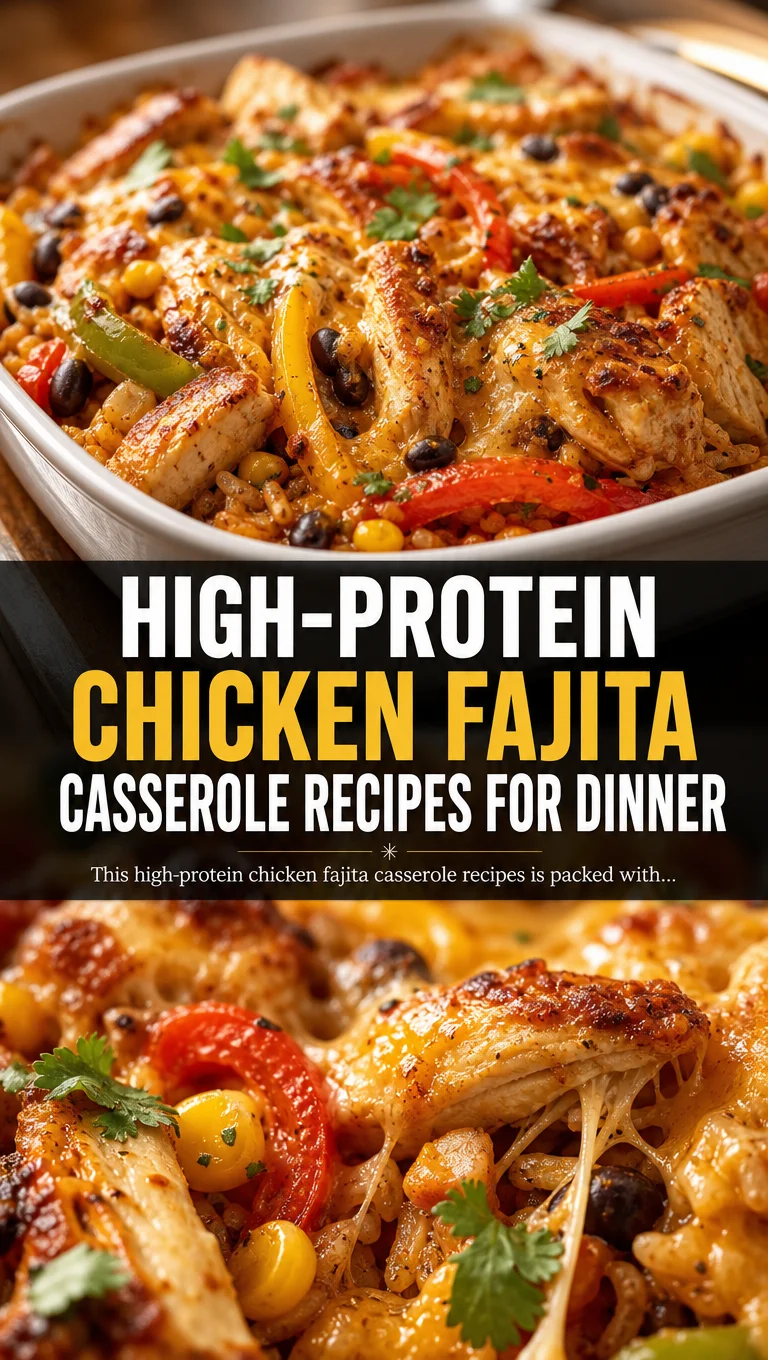
This high-protein chicken fajita casserole is packed with tender chicken, bell peppers, and melted cheese for a satisfying 30-minute meal. Perfect for busy weeknights.
Ingredients
Instructions
Preheat your oven to 375°F (190°C). While the oven heats, prepare all your ingredients: slice the chicken breasts into thin, even strips about 1/2-inch thick. This ensures quick, uniform cooking. Thinly slice the onion and bell peppers into strips of similar thickness so they cook at the same rate. Mince the garlic. If using a homemade fajita seasoning, combine the chili powder, cumin, smoked paprika, garlic powder, onion powder, cayenne, salt, and pepper in a small bowl. Having everything prepped and within reach (mise en place) makes the cooking process smooth and prevents overcooking.
Heat 1 tablespoon of olive oil in a large oven-safe skillet (preferably cast-iron or stainless steel) over medium-high heat. Once the oil shimmers, add the chicken strips in a single layer (work in batches if needed to avoid overcrowding, which causes steaming rather than browning). Cook without moving for 2-3 minutes until the underside is golden brown. Flip and cook another 2 minutes until the chicken is cooked through (internal temperature 165°F/74°C). The chicken should have a nice sear, adding flavor. Transfer the cooked chicken to a plate and set aside.
In the same skillet, reduce heat to medium and add the remaining 1 tablespoon olive oil. Add the sliced onion and bell peppers. Sauté for 5-6 minutes, stirring occasionally, until the vegetables are softened and beginning to char at the edges. The charring adds a smoky fajita flavor. Add the minced garlic and cook for 1 minute more until fragrant. If using homemade seasoning, sprinkle it over the vegetables now and stir well to coat. The spices will bloom in the heat, intensifying their flavor.
Pour the chicken broth into the skillet with the vegetables, scraping up any browned bits from the bottom (deglazing). Let it simmer for 1-2 minutes until slightly reduced. Remove the skillet from heat and stir in the sour cream until fully incorporated, creating a creamy sauce. Taste and adjust salt and pepper if needed. The sauce should be rich and slightly tangy.
Return the cooked chicken to the skillet, mixing it with the vegetables and sauce. If using tortilla strips, layer half of them over the mixture, pressing down slightly. Sprinkle the shredded cheese evenly over the top. The cheese will melt into a golden, bubbly crust.
Transfer the skillet to the preheated oven and bake for 10-12 minutes, until the cheese is fully melted, bubbly, and lightly browned around the edges. If you prefer a deeper golden crust, switch the oven to broil for the last 1-2 minutes, watching closely to prevent burning. The casserole should be hot throughout. Remove from oven and let it rest for 5 minutes to set before serving. Garnish with fresh cilantro and serve with lime wedges. Enjoy with rice, extra tortillas, or a side salad.
For best results
- For the best flavor, use a cast-iron skillet. It retains heat evenly and gives the chicken and vegetables a beautiful sear. If you don't have an oven-safe skillet, transfer the mixture to a greased 9×13-inch baking dish before adding cheese and baking. Also, avoid overcrowding the pan when searing chicken; cook in batches if necessary to ensure browning rather than steaming.
- To save time, you can use pre-sliced chicken strips or even leftover rotisserie chicken. If using pre-cooked chicken, add it after deglazing the pan and skip the initial searing step. This cuts prep time significantly while still delivering great flavor.
- For a higher protein boost, substitute the sour cream with plain Greek yogurt. It has a similar tangy flavor but adds about 10g of protein per 100g. Be sure to use full-fat Greek yogurt to prevent curdling when heated. Stir it in off the heat for best results.
- Make this casserole ahead of time: Assemble the casserole completely (without baking), cover, and refrigerate for up to 24 hours. When ready to bake, add 5-10 minutes to the baking time since it starts cold. This is perfect for meal prep or busy weeknights.
- If you prefer a spicier dish, add a diced jalapeño or a pinch of cayenne pepper to the vegetable sauté. You can also use pepper jack cheese instead of Mexican blend for an extra kick. For a milder version, omit the cayenne and use mild cheddar.
- To ensure the cheese melts evenly and doesn't burn, shred your own cheese from a block. Pre-shredded cheese often contains anti-caking agents that prevent smooth melting. Freshly shredded cheese yields a creamier, more cohesive topping.
Variations
- Vegetarian Version: Replace chicken with 2 cans (15 oz each) of black beans or pinto beans, drained and rinsed. Sauté the beans with the vegetables for 2 minutes. You can also add 1 cup of corn kernels for extra sweetness and texture. The bean version is still high in protein and fiber, making it a hearty meatless meal.
- Low-Carb / Keto Adaptation: Omit the tortilla strips entirely. Serve the casserole over cauliflower rice or a bed of lettuce. Use full-fat sour cream and cheese to keep the fat content high. You can also add 1/2 cup of heavy cream to the sauce for extra richness. This reduces carbs to under 10g per serving.
- Chicken Fajita Casserole with Rice: For a more filling casserole, mix 2 cups of cooked rice (white, brown, or cauliflower rice) into the chicken and vegetable mixture before topping with cheese. This turns it into a one-dish meal that's perfect for feeding a crowd. Adjust seasoning with extra cumin or chili powder to account for the rice.
- Shrimp Fajita Casserole: Swap chicken for 1.5 lbs of large shrimp, peeled and deveined. Since shrimp cooks quickly, sear them for only 1-2 minutes per side until pink and opaque. Be careful not to overcook. The rest of the recipe remains the same. Shrimp adds a different protein profile and a touch of sweetness.
Nutrition
- Calories385 kcal
- Total Fat22g
- Saturated Fat10g
- Cholesterol95mg
- Sodium720mg
- Total Carbohydrates18g
- Dietary Fiber3g
- Sugars6g
- Protein34g