
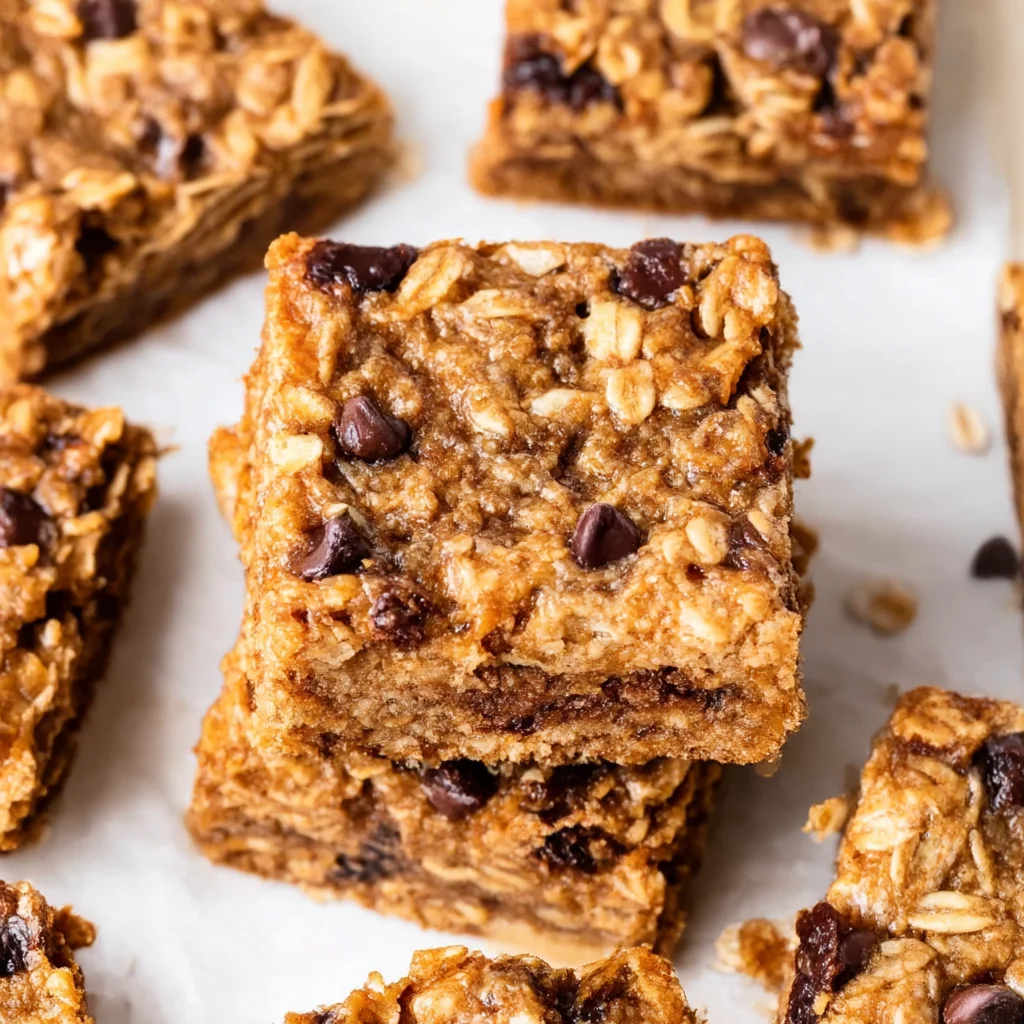
Easy healthy oatmeal cookie bars made with just 5 ingredients! Oats, bananas, peanut butter, honey, and chocolate chips come together for the perfect grab-and-go snack.
Ingredients
Instructions
Preheat your oven to 350°F (175°C). Line an 8×8-inch baking pan with parchment paper, leaving about 2 inches of overhang on two opposite sides; this creates handy ‘handles’ for lifting the finished bars out cleanly. In a large mixing bowl, add the peeled ripe bananas and mash them thoroughly with a potato masher or fork. You want a mostly smooth paste with only a few small chunks left—the banana acts as both the binder and the natural sweetener, so super ripe bananas with brown spots are your best friend here. The riper the banana, the sweeter your bars will be and the more moisture they’ll add to the oat mixture. If your bananas aren’t quite ripe enough, you can microwave them for 30 seconds to release extra sweetness and soften them up. Set the mashed bananas aside for a moment while you assemble the rest of the ingredients.
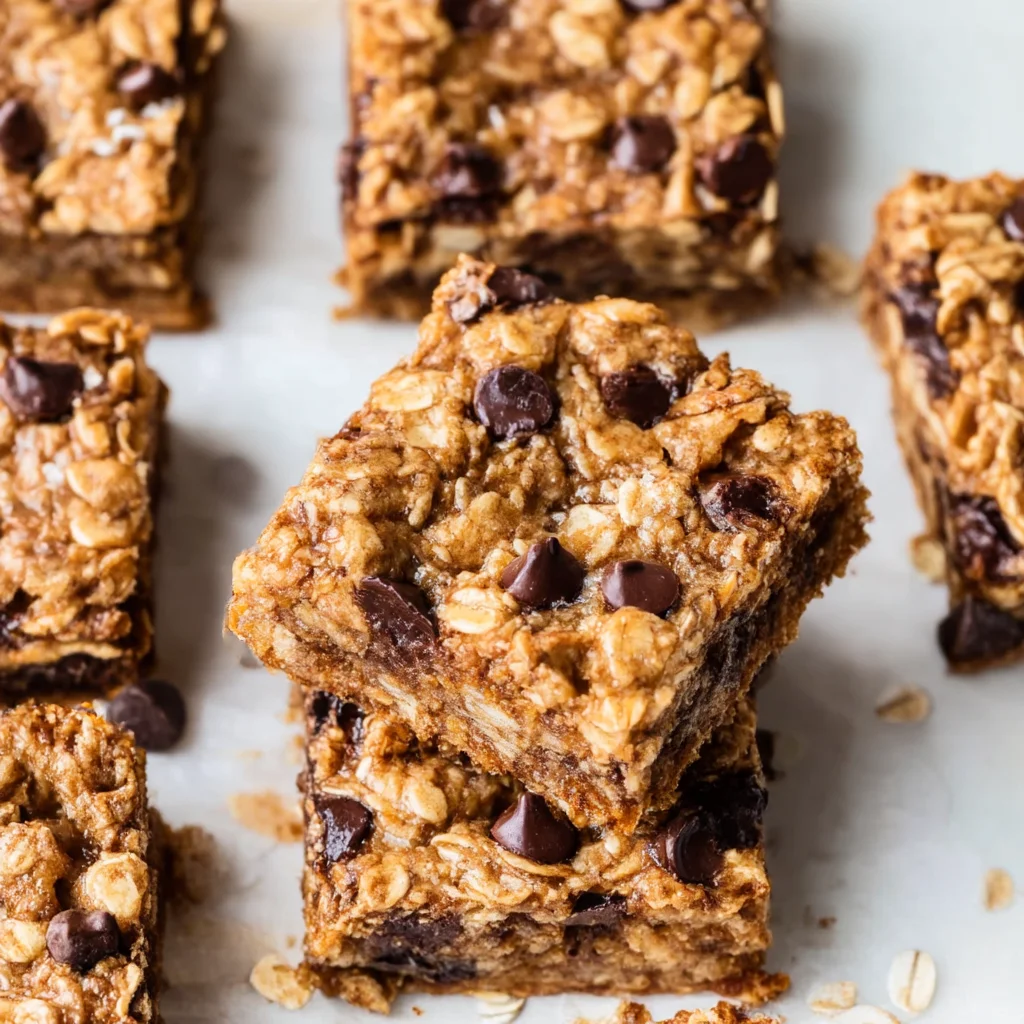
Add the natural creamy peanut butter and honey directly to the mashed bananas. Stir with a spatula or wooden spoon until the mixture is fully combined and has a thick, glossy appearance. The peanut butter should be well stirred at room temperature—if it’s too stiff and cold, warm it in the microwave for 15 seconds to make it easier to incorporate. Honey adds moisture and acts as a natural preservative, helping these bars stay soft for days. Once the peanut butter and honey are fully combined with the bananas, fold in the old-fashioned rolled oats. Use a gentle folding motion, scraping the bottom of the bowl, until every oat is coated with the sticky mixture. Be careful not to overmix, which can break down the oats and make the bars dense and tough. The mixture should look like a thick, chunky cookie dough that holds together when pressed between your fingers. Finally, sprinkle the chocolate chips over the mixture and fold them in just until they’re evenly distributed. If you want the chocolate chips to stay visible on top, reserve a handful to press into the surface after the bars are in the pan.
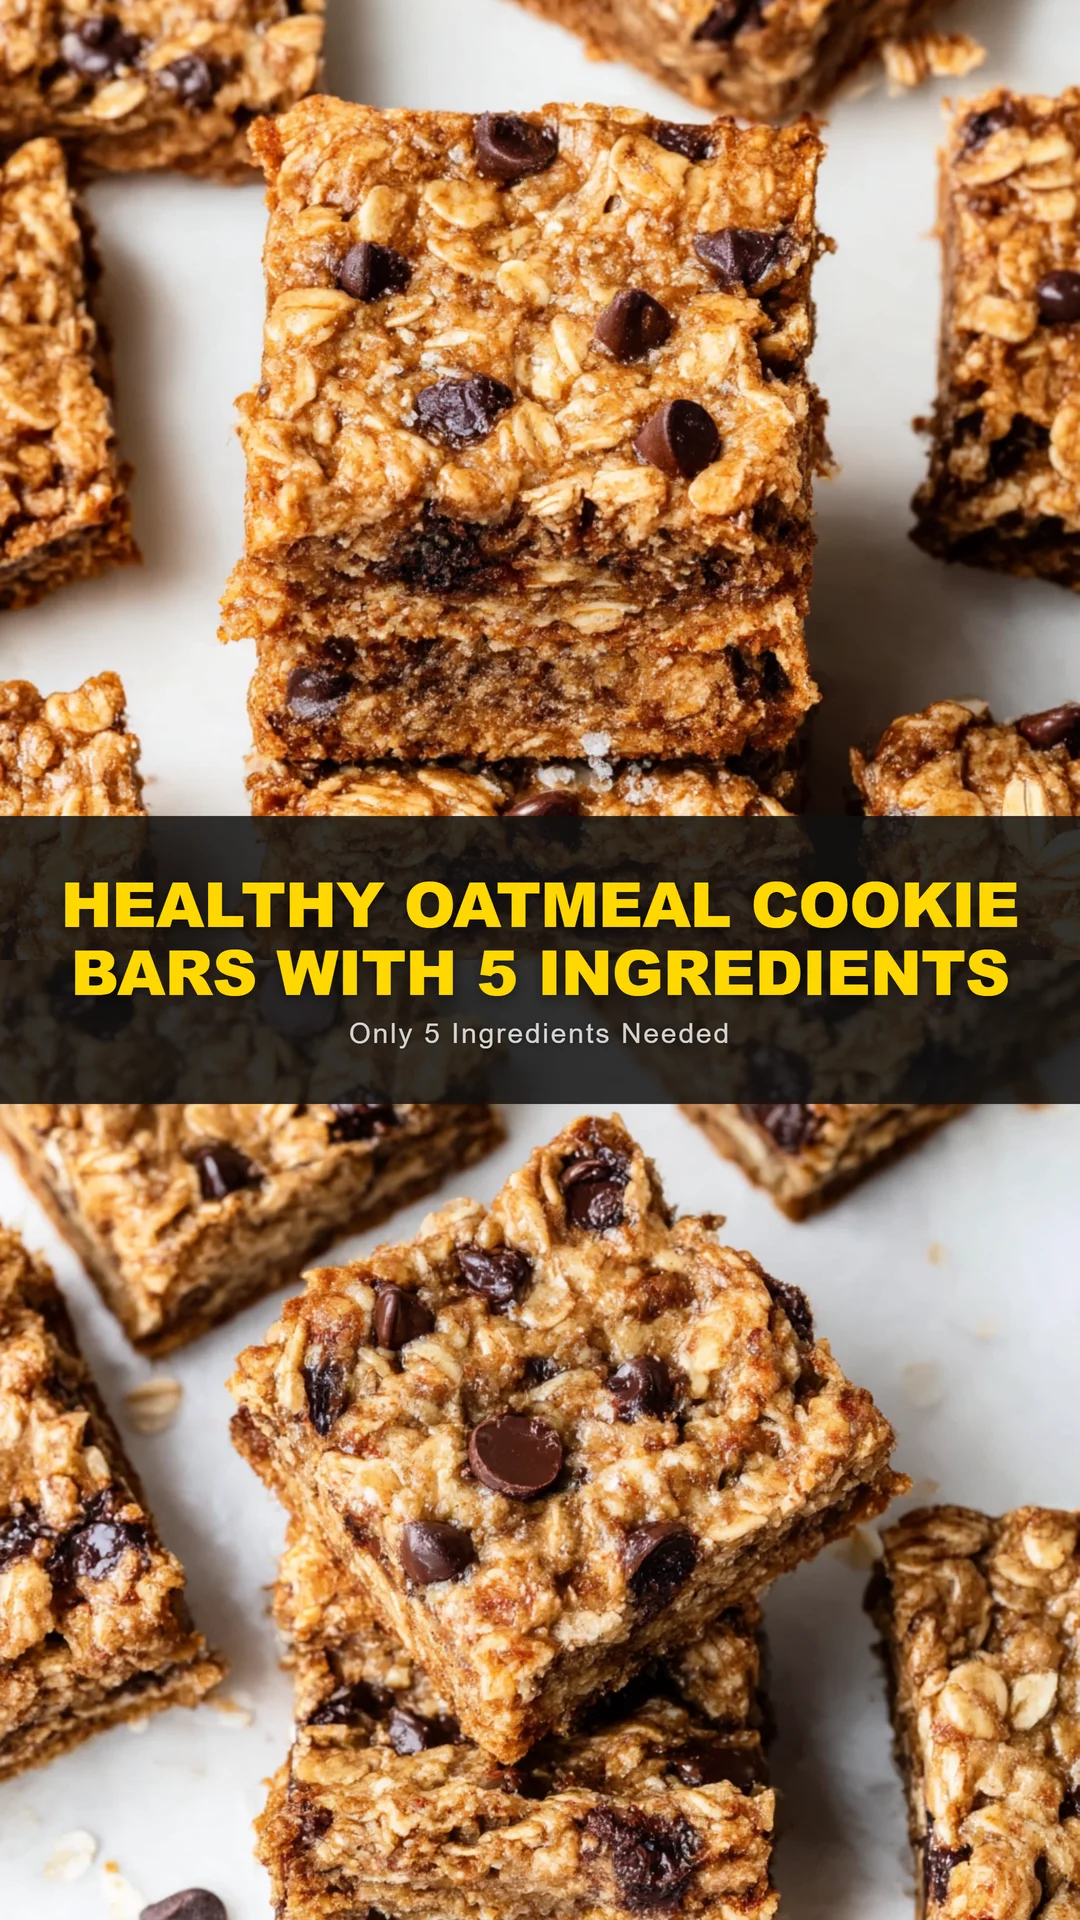
Transfer the oat mixture into your prepared baking pan. Using a spatula or your hands, press the mixture down firmly and evenly into every corner of the pan. This is one of the most important steps: if you don’t press the mixture flat, you’ll end up with crumbly bars that fall apart. The mixture should be tightly packed and level on top. For an extra-polished look, lay a piece of parchment paper over the surface and use the flat bottom of a measuring cup to press everything down uniformly. This helps create a dense, cookie-bar texture and keeps the bars from puffing up unevenly in the oven. If you reserved chocolate chips, now is the time to gently press a few onto the top so they melt into pretty pools when baked.
Place the pan on the center rack of your preheated oven and bake for 15 to 18 minutes, or until the edges are golden brown and the center feels just set to the touch. The bars will still look slightly soft in the middle—they continue to firm up as they cool. Insert a toothpick into the center; it should come out with just a few moist crumbs clinging to it, not wet batter, but you don’t want it completely dry, either. The aroma of toasted oats, peanut butter, and melted chocolate will fill your kitchen around the 10-minute mark, which is a great signal that they’re close to done. If you prefer chewier bars, pull them out at 14 minutes; if you like a crisper edge for a firmer bite, leave them for the full 18 minutes. Every oven varies, so check at 14 minutes and trust your nose and the golden color as much as the timer.
Remove the pan from the oven and place it on a wire rack to cool completely in the pan. Patience is key here—cooling for at least 20 to 30 minutes allows the bars to set up enough to cut into clean squares. Once the pan is completely cool to the touch (or warm, if you’re impatient), use the parchment paper handles to lift the entire block of bars onto a cutting board. Use a sharp knife to slice into 12 even rectangles or squares. For the cleanest cuts, wipe the knife with a damp paper towel between slices. This prevents the melted chocolate from dragging through the bars and gives you that beautiful, bakery-style presentation. These bars can be enjoyed slightly warm, at room temperature, or even cold straight from the fridge—each temperature gives you a different texture, but my favorite is slightly warm with a scoop of vanilla ice cream.
For best results
- Don't underestimate the power of a spotted banana. As bananas ripen, their starch converts into sugar and the flesh becomes softer, which means sweeter flavor and a more natural binding quality. For this recipe, you want bananas with brown speckles all over the skin—even a fully brown banana works wonders. If yours are still yellow with no spots, you can quickly ripen them by placing them on a baking sheet in a 300°F oven for 10-15 minutes until the skins darken. Let them cool before peeling. Conversely, avoid green bananas because they are high in resistant starch and won’t mash into a smooth enough base, leaving you with gritty bars that don’t hold together.
- The texture of your bars depends heavily on the type of oats you choose. Old-fashioned rolled oats are steamed and then flattened, so they absorb moisture at a steady rate while baking, creating a tender but chewy interior. Quick-cooking oats will break down too much and produce a mushy, baby-food-like texture. Steel-cut oats, on the other hand, are too coarse and won't soften enough in this short bake, leaving you with tooth-cracking bites. If you’re gluten-intolerant, choose certified gluten-free rolled oats to keep these bars safe for your family. Always spread oats in an even dry layer before measuring so you don't pack them compactly and accidentally add too many.
- Even if you’re using a nonstick pan, I strongly recommend lining with parchment paper with overhang on two sides. This creates handles that let you pull the entire slab of bars out in one piece, preserving the perfect edges. Use a little bit of cooking spray under the parchment to keep it in place while you're pressing the mixture. If you'd rather use foil, that works too, but be sure to grease it lightly so the honey and peanut butter don't glue the bars to the foil. A well-lined pan also makes cleanup a breeze—no soaking and scrubbing a sticky pan at the end of the recipe.
- The most common complaint with oatmeal cookie bars is that they crumble apart after baking. That almost always happens because the mixture wasn't packed down firmly enough before going into the oven. The tiny air gaps left between the oats shrink as the bars bake, causing structural instability. Use your hands, the bottom of a measuring cup, or a rubber spatula to compact the mixture into an entirely even layer with no gap at the corners. If the top looks dimpled, smooth it out with the back of a spoon. This step takes only 30 seconds and is the difference between a bar and a pile of granola.
- Your bars will set as they cool, thanks to the honey and peanut butter acting as natural glues. If you cut them while they're still hot, you’ll end up with crumbly, misshapen pieces. Wait at least 20 minutes after they come out of the oven, and for the best results, let them cool completely at room temperature or even chill them in the fridge for 10 minutes. Use a long, sharp knife and clean it between each cut with a damp paper towel. If you want perfectly straight edges, trim the outside borders first and then slice into even squares—the trimmings make a lovely snack for the cook.
- These bars have a fantastic shelf life if you store them properly. At room temperature in an airtight container, they'll stay soft and chewy for up to 4 days. If you live in a humid climate, the bars may become too sticky, so you can store them in the fridge instead, where they'll firm up nicely and keep for a week. These bars are also freezer-friendly: wrap each bar in plastic wrap, place them in a zip-top freezer bag, and freeze for up to 3 months. When you're ready to snack, thaw them overnight in the fridge or pop them in the microwave for 15 seconds for that just-baked taste.
Variations
- To make this recipe fully vegan, swap the honey for an equal amount of pure maple syrup or brown rice syrup. Maple syrup adds a deeper, slightly smoky sweetness that pairs beautifully with peanut butter and oats. Use dairy-free chocolate chips—dark chocolate chips are often vegan by default, but check the label for milk solids. The baking time may stay the same, but because maple syrup is a little thinner than honey, the mixture might be slightly wetter; if so, add 1 to 2 tablespoons of extra oats or wait until the mixture has rested for 10 minutes to absorb the liquid. The result will be just as chewy and delicious.
- If you want to boost the protein content, add 1 scoop (about 30g) of vanilla or unflavored protein powder to the dry oat mixture. This will increase the total protein to around 10g per bar. Keep in mind that protein powder absorbs moisture, so you may need to add an extra tablespoon of peanut butter or a splash of milk to keep the dough from getting too dry. For a dairy-free option, use plant-based protein powder. If you like crunch, stir in 2 tablespoons of chia seeds or hemp hearts after the oats—they add protein, fiber, and omega-3s while keeping the bars from becoming crumbly.
- Many schools are nut-free, so you can easily swap the peanut butter for sunflower seed butter (sunbutter) or tahini. Sunflower seed butter has a similar consistency and a slightly earthy flavor that pairs brilliantly with honey and bananas. The only caution is that sunflower seed butter can react with baking soda, but since this recipe doesn’t use baking soda, you won't get green-tinted bars. You can also use almond butter or cashew butter if nut allergies aren't a concern. For a completely seed-based option, try pumpkin seed butter. Whatever you choose, make sure it's well-stirred and at room temperature before mixing.
- The base recipe is endlessly customizable. Swap 1/4 cup of chocolate chips for chopped nuts, dried cranberries, shredded coconut, or raisins. If you love spices, add 1 teaspoon of cinnamon, a pinch of nutmeg, or even a few drops of vanilla extract to the wet mixture before adding the oats. For a tropical twist, add 1/2 cup of crushed pineapple (drained well) and swap the chocolate chips for white chocolate or macadamia nuts. You can also reduce the honey to 1/4 cup and add 1/4 cup unsweetened applesauce for a less sweet version. Just remember to keep the total wet ingredient amount the same to maintain the right texture.
Nutrition
- Calories225 kcal
- Total Fat8g
- Saturated Fat2.3g
- Cholesterol0mg
- Sodium35mg
- Total Carbohydrates30g
- Dietary Fiber3g
- Sugars13g
- Protein6g