
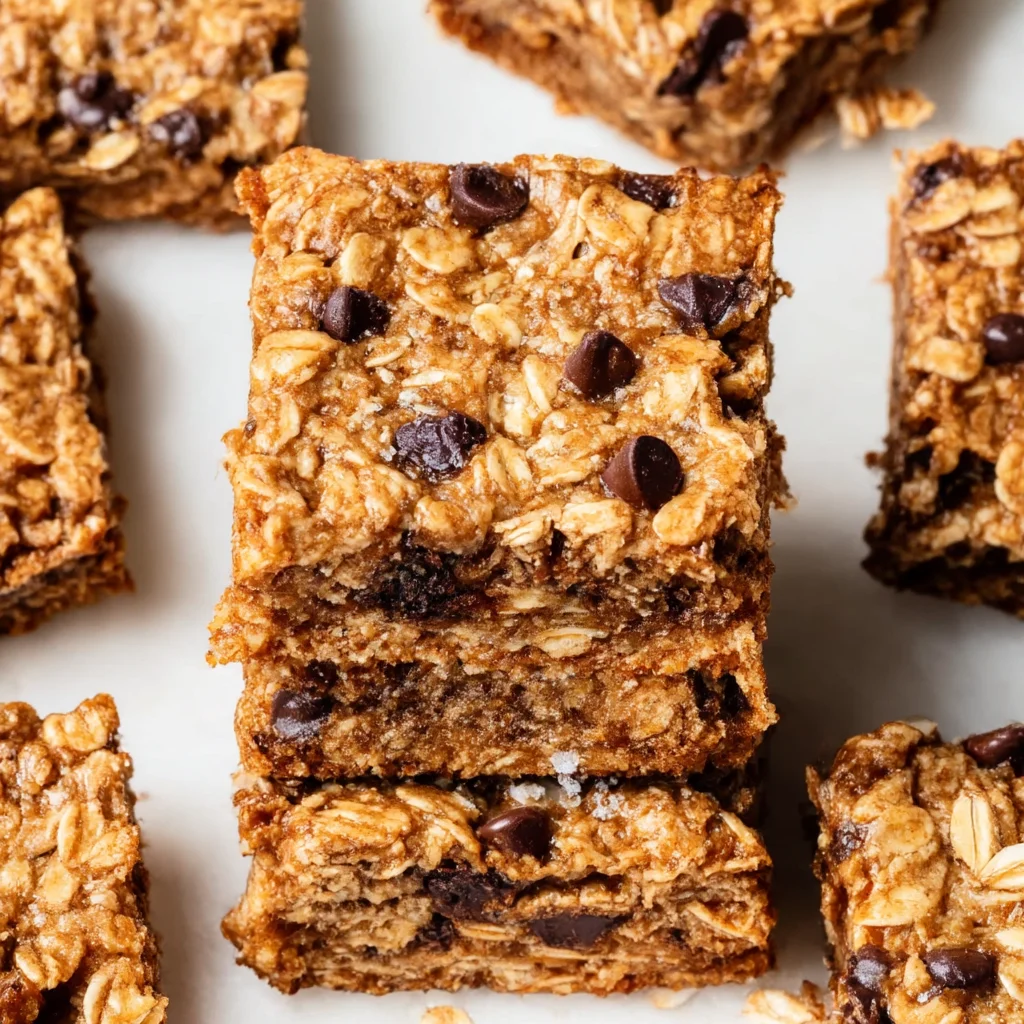
These 5-Ingredient Oatmeal Cookie Bars are the perfect healthy kids snack for school lunches, quick dinner sides, and easy grab-and-go treats. Made with bananas, oats, peanut butter, and honey!
Ingredients
Instructions
Preheat your oven to 350°F (175°C). Line an 8×8-inch (20×20 cm) baking pan with parchment paper, leaving an overhang on two opposite sides. This creates a sling that lets you lift the finished bars cleanly without crumbly edges. Spray the parchment lightly with nonstick cooking spray or brush with a tiny bit of coconut oil so the bars release even more easily, especially around the corners where honey and banana can caramelize.
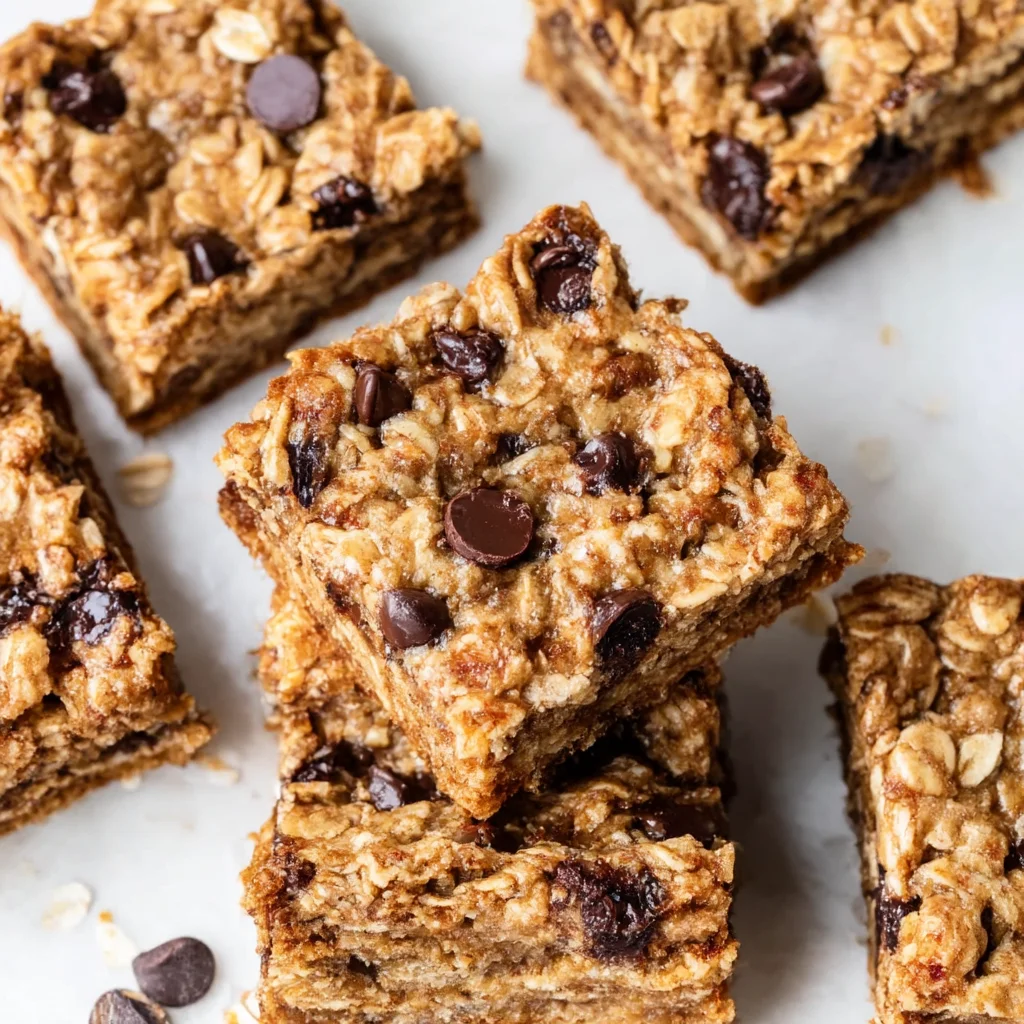
In a large mixing bowl, peel and toss in the ripe bananas. Mash them with a potato masher or the back of a fork until smooth and juicy, with only a few small lumps remaining. Ripeness matters more than you think—spotty brown bananas are naturally sweeter and have a more intense banana flavor, so you can slightly reduce the honey if desired. You should have about 1 1/2 cups of banana purée. Scrape down the sides and bottom of the bowl to ensure no banana clumps remain.
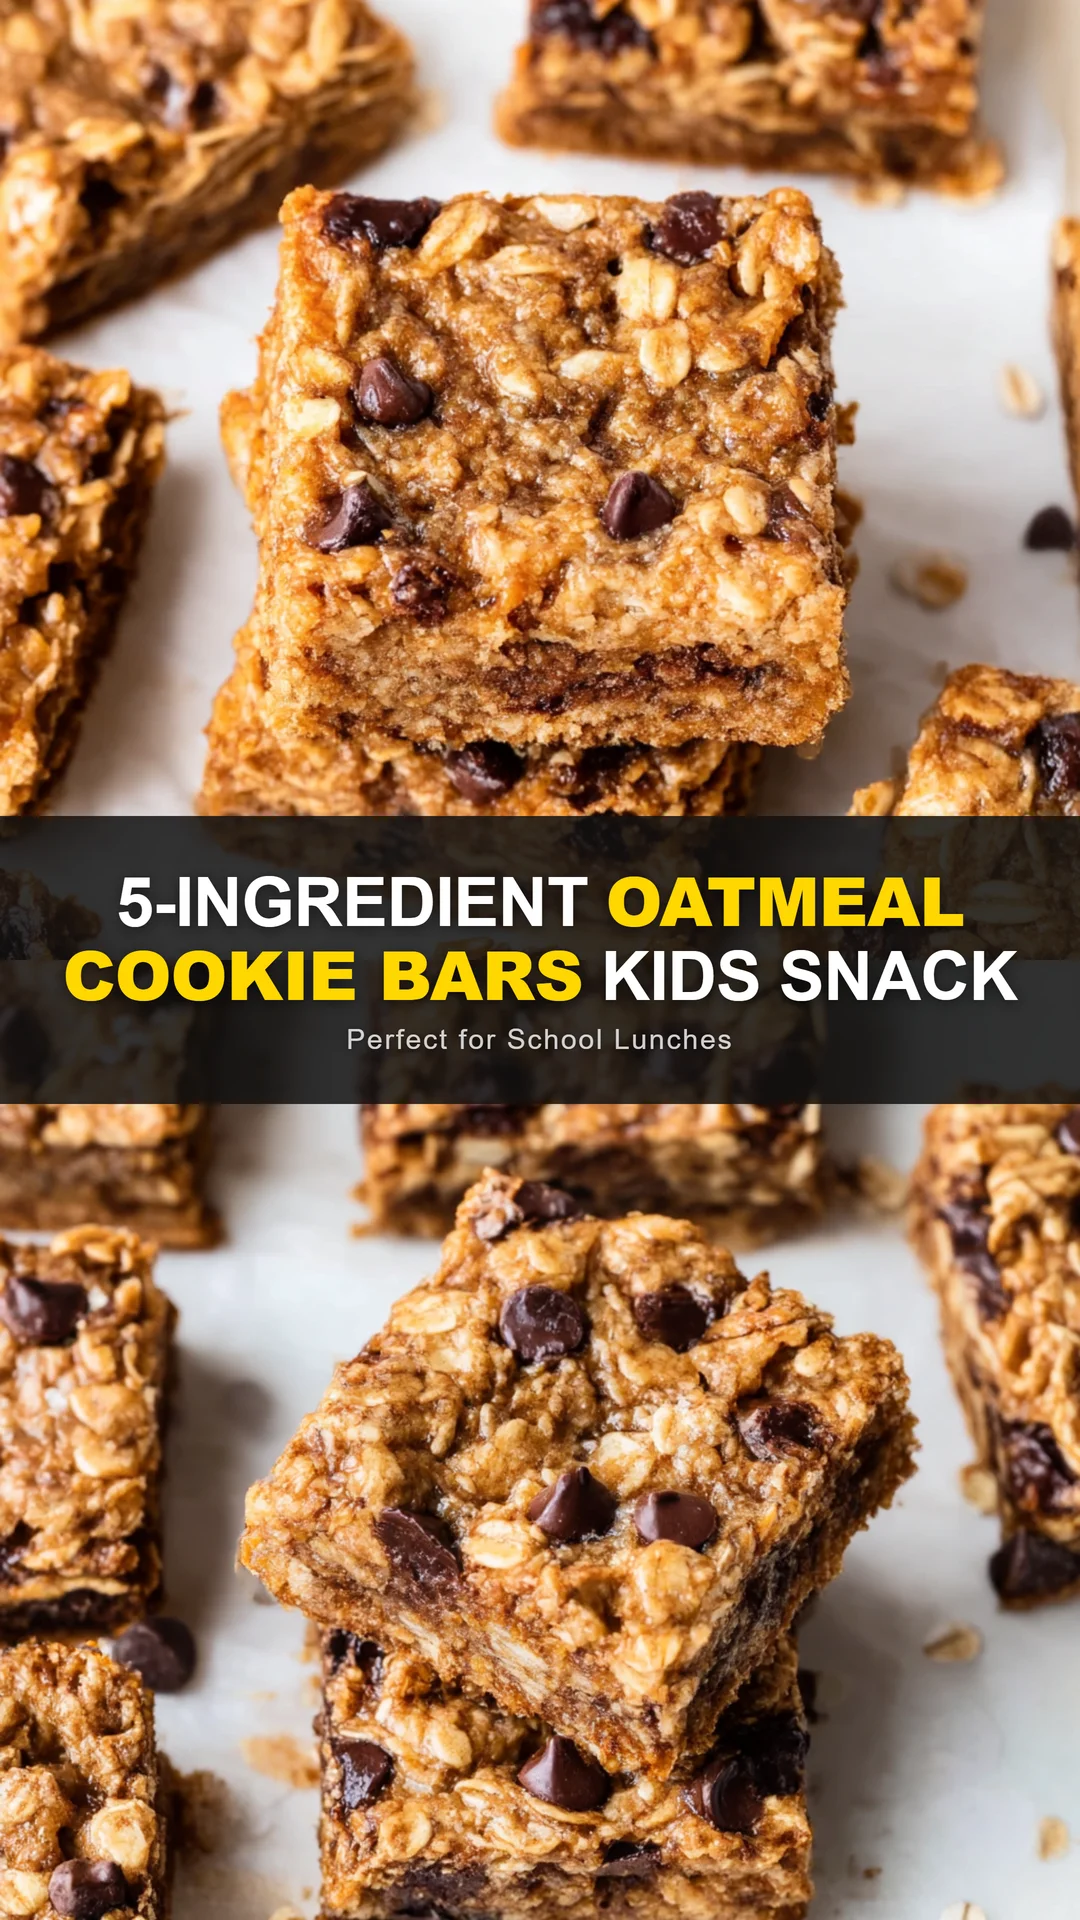
Add the creamy peanut butter and honey to the mashed bananas. Stir vigorously with a rubber spatula or wooden spoon until the mixture becomes a glossy, cohesive, caramel-toned batter. The peanut butter and honey should be fully blended with no oily streaks or white specks. If your peanut butter is cold and stiff, warm it in the microwave for 15–20 seconds before adding to make mixing effortless. Taste the mixture now—it should taste like a soft, satisfyingly sweet peanut butter-banana pudding.
Fold in the rolled oats until every oat is coated in the wet banana-peanut butter mixture. The dough will be quite soft and scoopable, similar to a thick muffin batter. Let it rest for 3–5 minutes so the oats can absorb some moisture, which makes the bars chewier and less likely to fall apart after baking. If you’re adding chocolate chips, fold them in at this stage with a gentle folding motion to avoid melting them prematurely.
Transfer the mixture into the prepared baking pan. Use a spatula or your (clean) fingertips to press it into an even, uniform layer, making sure the corners are filled and the surface is smooth. The more evenly packed the mixture, the more consistent your bar thickness. For extra texture, you can sprinkle a few additional chocolate chips on top and gently press them in—this also makes the bars look prettier after cooling.
Bake for 15–18 minutes, or until the edges are deep golden brown and the center is just set. The kitchen will smell like a cozy bakery as the bananas caramelize and the peanut butter toasts. Insert a toothpick into the center—if it comes out with only moist crumbs (not wet batter), it’s ready. Do not overbake or the bars will be dry and hard. Let the pan cool completely on a wire rack for at least 30 minutes before lifting the parchment sling and cutting into 16 squares or rectangles.
For best results
- Use overripe bananas with brown spots for maximum sweetness and natural binding power. The best bananas are so soft that they almost squish when you peel them. Green or slightly yellow bananas won't mash as smoothly and will make the bars less sweet and more likely to crumble. If you only have ripe bananas, you can quickly ripen them by placing them in a warm oven (200°F) for 10–15 minutes until the skin darkens.
- Make these bars 100% vegan by swapping honey for pure maple syrup or dates puréed in warm water. Keep the same amount (¼ cup) of maple syrup. The bars will be slightly less dense but just as sticky-sweet. Just remember that honey contains a tiny bit of moisture, so if you use a thicker syrup like agave, you may need to add an extra tablespoon of oats to hold the shape.
- For a protein-packed version that's perfect for active kids, add 2 scoops of vanilla protein powder (about 30–40 grams). Because protein powder absorbs moisture dramatically, increase the mashed banana to 2 full cups and add an extra 2 tablespoons of peanut butter. The bars will bake up a little firmer and offer a satisfying 7–8 grams of protein per serving instead of just the natural 3 grams from oats and peanut butter.
- To avoid a sticky mess when cutting, wait until the bars are completely cool, then refrigerate them for 20 minutes. Use a long serrated knife and wipe the blade clean between cuts. This gives you clean, bakery-quality edges. Store the cut bars in an airtight container with a piece of parchment paper between layers to prevent them from sticking together and making everything look sad.
- Toddlers and school-age kids usually like milder flavors, so the mini chocolate chips are a better choice than regular-sized chunks. They distribute more evenly throughout the batter and ensure each bite has a tiny chocolate surprise without anyone biting into a huge, melted shard. If your family prefers dried fruit, swap the chocolate chips for golden raisins, chopped dried apricots, or even goji berries for a naturally sweet twist.
- If you're using a metal baking pan instead of a glass one, reduce the baking time by 2–3 minutes. Metal conducts heat more quickly and can produce darker, slightly crispier edges that some kids love. Start checking at 13–14 minutes and remember that residual heat continues to bake the bars for the first 10 minutes after you pull them out.
Variations
- Nut-free allergy-friendly version: Peanut butter is the standard here, but for nut-free classrooms, use sunflower seed butter (such as SunButter). You must add a small pinch of baking soda (about 1/8 teaspoon) to the batter to neutralize the natural greenish reaction that sunbutter has with baking powder or other alkaline ingredients. The taste and texture remain creamy and satisfying, and nobody will guess it's not peanut butter.
- Turn these bars into bars-and-bites: Instead of baking them in an 8×8 pan, roll the mixture into 24 small 1-inch balls and place them on a parchment-lined baking sheet. Chill the balls for 1 hour rather than baking. These no-bake energy bites are perfect for hot summer days and might even be more enjoyable for kids who prefer rolling snacks. Let them sit at room temperature for 5 minutes before serving for the ideal soft consistency.
- Low-sugar breakfast version: Drop the chocolate chips and reduce the honey to just 2 tablespoons. To keep the bars naturally sweet and moist, add 1 small grated apple or 1 grated pear, squeezing out any excess juice first. The fruit adds moisture, fiber, and a mild natural sweetness that makes these bars acceptable for a weekday breakfast. You can also add a teaspoon of ground cinnamon or pumpkin pie spice to elevate the flavor without extra calories.
- Add-in idea for picky eaters: Spread a thin layer of your child's favorite yogurt over the top after baking and cooling. Greek yogurt adds a tart contrast and a pretty white top that looks like frosting. For extra fun, let kids sprinkle their own toppings—coconut flakes, crushed freeze-dried berries, or extra chocolate shavings—so they feel ownership over the snack and are much more likely to eat it.
Nutrition
- Calories185 kcal
- Total Fat8g
- Saturated Fat2g
- Cholesterol0mg
- Sodium75mg
- Total Carbohydrates26g
- Dietary Fiber4g
- Sugars12g
- Protein5g