
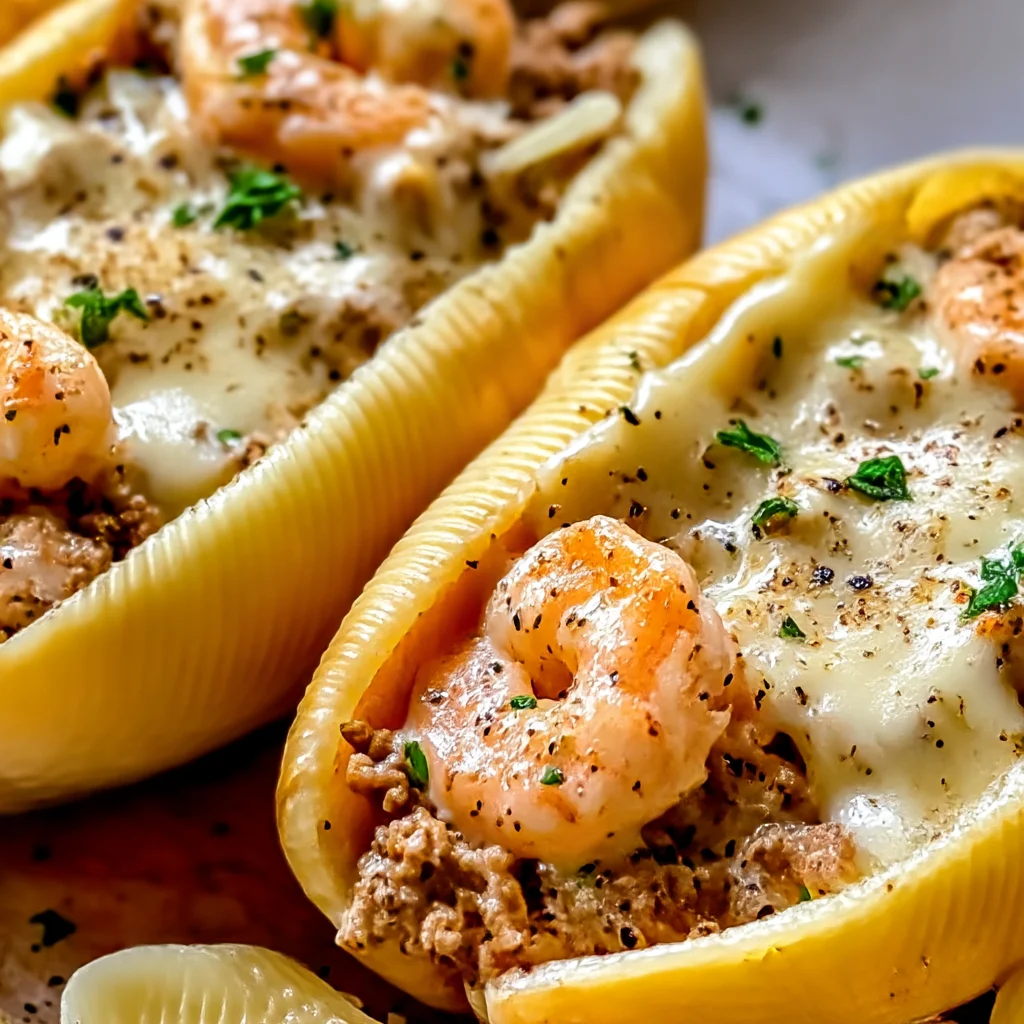
Gordon Ramsay's 30-minute Philly Cheesesteak Sloppy Joes, packed with savory beef, caramelized peppers, and melty provolone. An easy, high-protein weeknight dinner!
Ingredients
Instructions
Start by prepping all your vegetables before you heat the pan. Slice the onion and bell peppers into thin, uniform strips—about 1/8 inch thick. Use a sharp chef’s knife to cut the peppers from the stem down, removing the seeds and white pith. Thin, even slices are crucial for even caramelization; irregular pieces will burn on the edges while the centers remain raw. Mince the garlic and set it aside separately. Keeping the garlic separate from the onion and peppers means you can add it later without burning, as garlic cooks much faster and turns bitter when scorched.
Place a large, heavy-bottomed skillet—ideally cast iron or stainless steel—over medium-high heat. Add the olive oil and swirl to coat. When the oil is shimmering but not smoking, lay the sliced onions and peppers in a single layer. Let them sear without stirring for 2-3 minutes so they caramelize and develop a golden-brown crust. Use tongs to flip them over, sprinkle with a pinch of salt, and reduce the heat to medium. Continue cooking for 10-12 minutes, stirring occasionally, until the vegetables are deeply caramelized, silky, and sweet. You’ll notice they begin to release their natural sugars and the edges darken; they should smell sweet and savory. Transfer the caramelized veggies to a plate and set aside.

Toast the buns while the vegetables cook. In a small bowl, mix the softened butter with a pinch of salt if you like. Spread a thin layer over the cut sides of each hoagie roll. Preheat a dry griddle or a separate large skillet over medium heat. Place the rolls cut-side down, pressing gently, and toast for 1-2 minutes until they’re golden brown and crisp. This step builds flavor and, most importantly, creates a moisture barrier that will keep your buns from becoming soggy when you pile on the juicy beef filling. Set the toasted rolls aside, tops and bottoms together.
Now increase the heat under the same skillet to high. Add the ground beef directly to the hot pan. Start breaking it up with a wooden spatula, then spread it out into an even layer. Let it brown without moving it too much for 3-4 minutes, giving it a tip to develop a deep crust. Resist the temptation to stir constantly—this Maillard reaction creates the rich, savory base of the dish. Once the bottom is deeply browned, flip and continue cooking for another 2-3 minutes, breaking the meat into small crumbles. The beef should be cooked through with some crispy edges.
Season the browned ground beef with kosher salt, black pepper, smoked paprika, and Worcestershire sauce. Stir to coat all the pieces. Add the minced garlic and cook for about 1 minute until fragrant—the garlic should release its aroma but not be allowed to brown completely. Pour in the beef broth, and with the spoon, scrape up all the browned bits stuck to the bottom of the pan. This is a critical step called deglazing; those browned bits are packed with flavor and will help create a silky sauce. Let the broth bubble and reduce for 30 seconds to a minute, thickening slightly. The mixture should be cohesive and glossy.
Reduce the heat to low and add the caramelized onions and peppers back into the skillet. Gently fold them into the beef until they’re evenly distributed and coated with the sauce/savory juices. Let the filling simmer together for 2-3 minutes, allowing the flavors to harmonize. Taste it—this is your moment to adjust the seasoning. Add a little extra salt, a dash of pepper, or a touch more Worcestershire to wake up the flavors. The filling should be moist but not swimming in liquid; if it looks dry, add a splash of beef broth or water. Keep it warm while you melt the cheese.
Now it’s time to crown your sloppy Joes. Preheat your broiler to high (or grab a skillet lid). Line a baking sheet or place the toasted bottom halves of the hoagie rolls on a heatproof pan. Spoon the hot beef mixture generously onto each bottom bun, piling it high. Lay a slice of provolone cheese over each top, letting it drape over the meat. If using the broiler, place the sandwiches under it for 1-2 minutes, until the cheese is bubbling and golden in spots. If you prefer a softer melt, simply cover the skillet with a lid for 2 minutes after placing the cheese over the meat (but for sandwiches, broiling works best). Keep a close eye on them—the cheese can go from perfect to burnt in seconds.
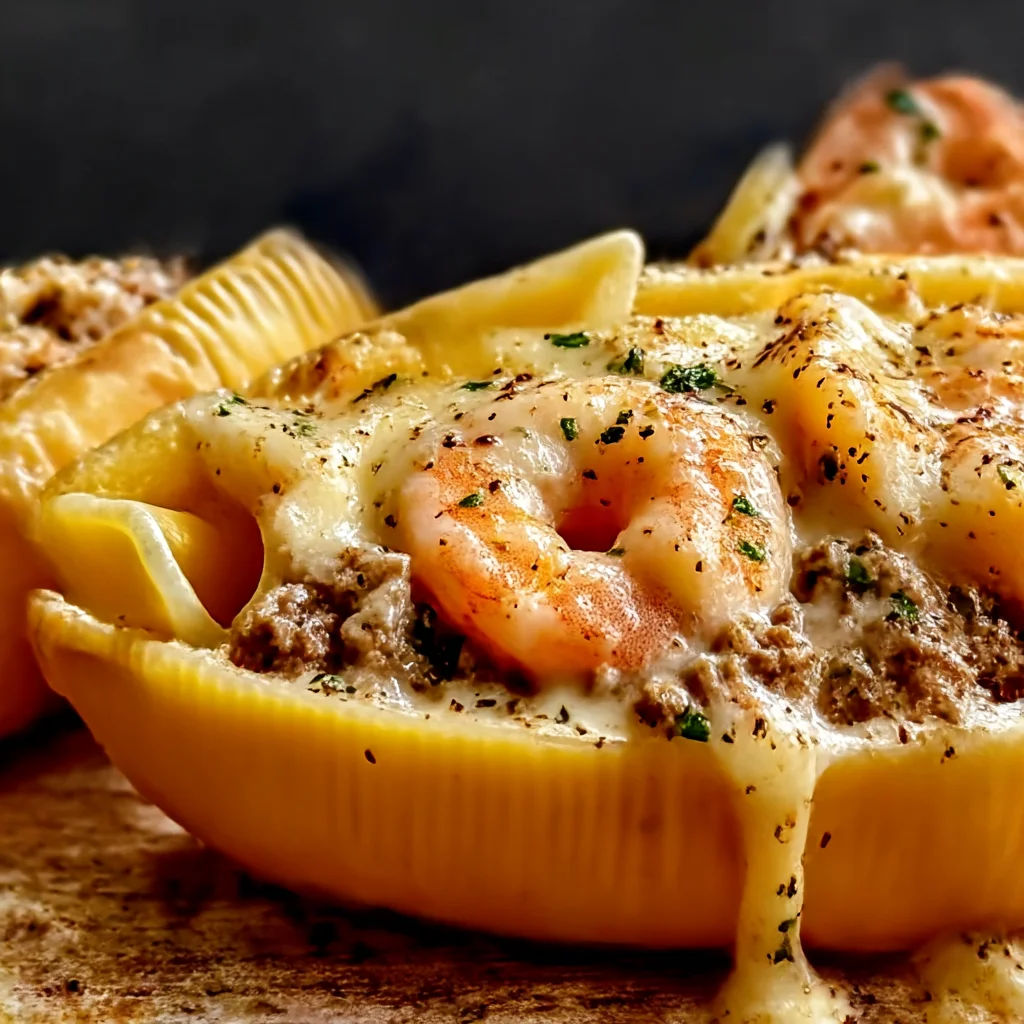
Serving (and storage) step: Place the top halves of the toasted buns over the melty cheese. Press down lightly to help the sandwiches hold together. Serve immediately, while the cheese is still stretchy and the buns are crisp. These are messy in the best possible way—provide plenty of napkins. If you have leftovers, store the beef mixture separately from the buns and cheese in an airtight container. Refrigerate for up to 3 days. When ready to reheat, warm the meat mixture in a skillet with a splash of water, then toast the buns fresh and assemble. The image shows the beautifully messy pile of cheesesteak filling with melted cheese pulling away.
For best results
- Pick the right ground beef: 85/15 is the sweet spot (85% lean, 15% fat). It has enough fat to keep the meat juicy and flavorful but won't leave you with a greasy pool at the bottom. If you only have very lean 93/7, add a tablespoon of olive oil to the pan before browning, and consider adding a little extra broth to compensate for moisture.
- Don't rush the caramelization. Peppers and onions need time and patient low-to-medium heat to release their natural sugars. High heat makes them burn rather than caramelize. If you're short on time, slice them extra thin and use a wide pan so they don't steam each other. A pinch of baking soda (about ¼ teaspoon) speeds up the Maillard reaction by raising the pH, but be careful—it can make them mushy. Traditional restaurant caramelization takes 20 minutes; our 10-12 minutes is enough for great results.
- Toast both sides of the bun? You can toast the cut side only, but a light toasting of the outside (like on a griddle) will give you extra structural integrity. Also, don't skip the butter—it adds flavor and creates a waterproof seal. If you're using extra-soft hoagie rolls, toasting is non-negotiable or the filling will destroy them.
- For a perfectly melting cheese layer, plan ahead: Take the provolone out of the fridge 10 minutes before you need it. Aged provolone melts beautifully but can weep if overheated. If you use shredded cheese, it's better to add it during the last minute of cooking so it melts into the meat, giving you a creamy and gooey texture. The classic Philly also allows Cheez Whiz or white American, which have a lower melt point and create a velvety sauce.
- Texture matters: Chop the ground beef more finely while browning if you like a traditional sloppy Joe texture that stays juicy without big chunks. Trust me, a mix of coarse and fine crumbles creates the perfect bite every time. For even more Philly authenticity, you can fold in sliced deli beef flank steak in addition to the ground beef.
- Make it your own: The filling is incredibly versatile. Use it as a nacho topping with melted cheese, tuck it into a loaded baked potato, wrap it in flour tortillas for a grab-and-go dinner, or pile it on garlic toast. Store the filling in the fridge for up to 3 days or freeze for up to 3 months. No matter how you use it, it's a guaranteed weeknight winner.
- If you're cooking for a crowd, double or triple the recipe. Use a large dutch oven to keep the heat even. You can also keep the filling warm in a slow cooker on the 'warm' setting and let guests assemble their own sandwiches. Just make sure the buns stay toasted until the end.
Variations
- Low-Carb & Keto Option: Skip the hoagie rolls entirely. Serve the cheesesteak sloppy Joe filling in large roasted portobello mushroom caps, or tuck it into crisp lettuce cups, like butter lettuce or iceberg wedges. Top with extra cheese and maybe a slice of bacon. This version is incredibly satisfying and still packed with protein and sulfur-rich vegetables. For even lower carbs, you can reduce the onion amount to 1/2.
- Chicken Philly Sloppy Joes: Swap the ground beef with ground chicken or ground turkey. Season with garlic powder, onion powder, and a little poultry seasoning. Use chicken broth for deglazing. For a final touch, melt a slice of mozzarella or Swiss cheese. Cook the chicken just until it's no longer pink; overdoing it will dry it out. This swap cuts the fat and calories significantly, making it a great high-protein low-calorie dinner.
- Spicy Southwest Cheesesteak: Add a finely chopped jalapeño (or two) to the onion and pepper mixture. Instead of smoked paprika, use New Mexico chili powder or chipotle powder. Add a can of diced green chiles with the garlic. Swap provolone for pepper jack cheese. Squeeze fresh lime juice over the finished sandwiches and add a handful of fresh cilantro for a fresh, zesty twist.
- Double Mushroom Sloppy Joes: For a vegetarian/vegan version, chop about 8 ounces of cremini mushrooms into small pieces and sauté them along with the onions and peppers. Use a vegan meat substitute (like crumbled tempeh or a plant-based ground beef) instead of beef. Use vegetable broth and a splash of balsamic vinegar for added umami. For cheese, use a dairy-free provolone or cheddar alternative. This version is rich, earthy, and satisfies the comfort food craving.
Nutrition
- Calories620 kcal
- Total Fat38g
- Saturated Fat15g
- Cholesterol110mg
- Sodium850mg
- Total Carbohydrates36g
- Dietary Fiber3g
- Sugars8g
- Protein38g