

This chopped Italian sandwich with homemade bread is an easy dinner recipe loaded with deli meats, provolone, crisp veggies, and zesty dressing. Ready in 30 minutes!
Ingredients
Instructions
Start by gathering every component and setting up your workstation. Reading through the recipe before you begin is the single best way to guarantee a stress-free 30-minute dinner. Measure the flour, baking powder, salt, garlic powder, and oregano into a bowl. Take the Greek yogurt out of the fridge and let it warm slightly while you prep the sandwich fillings. Use a sharp chef’s knife to slice the red onion paper-thin, dice the tomato into small pieces, chop the roasted red peppers, and shred the lettuce. Arrange all the deli meats and cheese on a cutting board. Having these ingredients prepped and organized not only speeds up the assembly, but it also helps you build a more balanced sandwich since you can see exactly what you have. You’ll also avoid last-minute scrambling when the bread comes out of the oven.
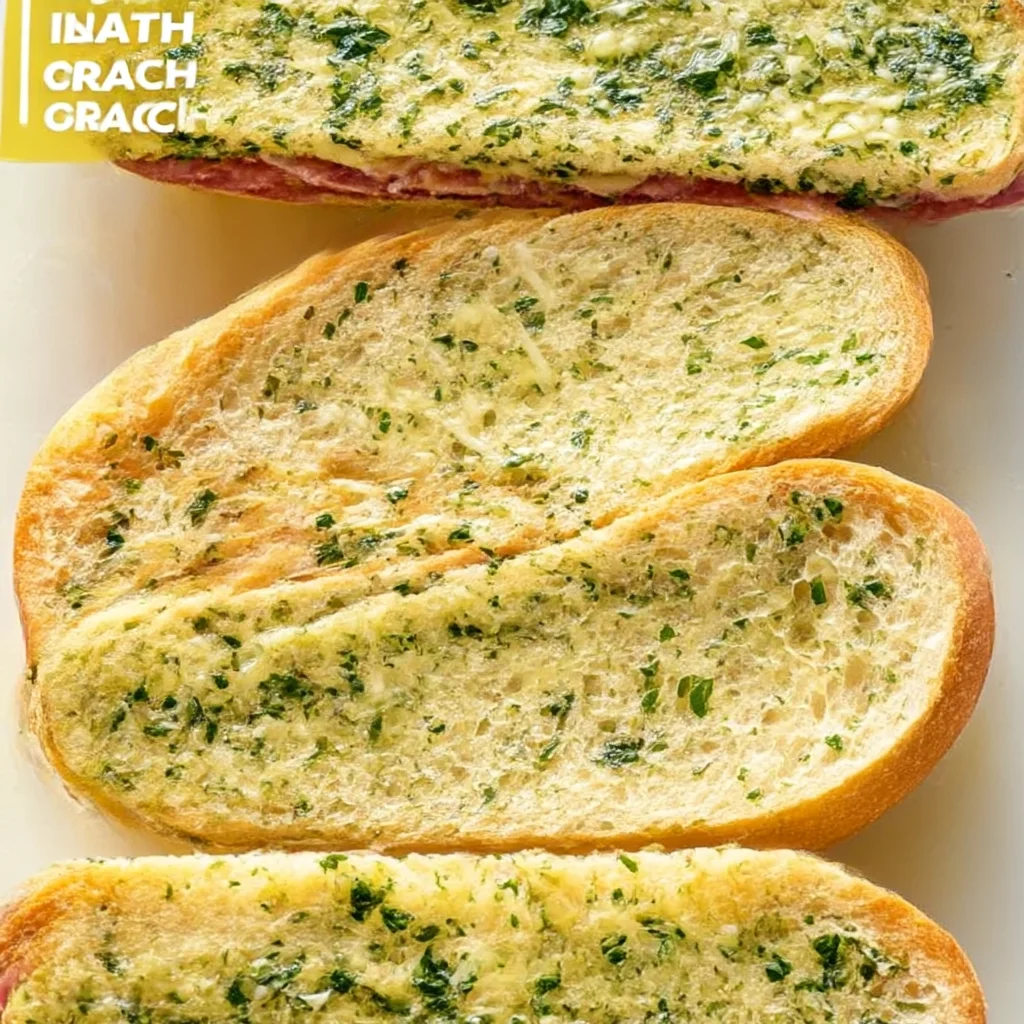
Preheat your oven to 425°F (220°C) and line a small baking sheet with parchment paper. Place the all-purpose flour, baking powder, salt, garlic powder, and dried oregano in a large mixing bowl and whisk to combine. Add the Greek yogurt and 1 tablespoon of olive oil. Stir with a wooden spoon until a shaggy dough begins to form. Turn the dough out onto a floured surface and knead six to eight times—just until smooth. Be careful not to over-knead, because this quick bread relies on baking powder and a soft, relaxed dough for its tender crumb. Divide the dough into two equal portions. Roll each portion into a log about 8 inches long and 2 inches wide. Place the logs on the prepared baking sheet and brush the tops with the remaining olive oil. Bake for 15 to 18 minutes, until golden brown and slightly hollow-sounding when tapped on the bottom. The crust should feel crisp on the outside, but the interior will remain soft and springy. Let the bread cool on the pan for at least 10 minutes before slicing; if you slice it too soon, steam will make the crumb gummy.
While the bread bakes, build the chopped Italian filling. Stack the slices of Genoa salami, capicola, turkey, and provolone cheese on the cutting board in alternating layers. With a sharp knife, cut the stack into strips, then rotate the strips and chop into small, bite-size pieces. This chopping step is the soul of the chopped Italian sandwich—it ensures every forkful or bite contains the perfect balance of salty meat, creamy cheese, tangy peppers, and crisp vegetables. If you prefer chunkier bites, chop into slightly larger pieces; if you love a finely minced deli salad, run your knife through the mixture a few more times. Transfer the chopped meat and cheese to a large bowl. The pieces should be uniform enough to mingle together without turning into a paste; aim for roughly 1/3-inch cubes for the best texture.
Add the prepared red onion, roasted red peppers, lettuce, tomato, and banana peppers to the bowl with the chopped meats and cheese. In a separate small bowl, whisk together the mayonnaise, red wine vinegar, Dijon mustard, and Italian seasoning. Drizzle the dressing over the chopped mixture and toss thoroughly with a spatula until every piece is lightly coated. Taste the filling and season with salt and black pepper. Because deli meats can be quite salty, start with a pinch of salt, then adjust after tasting. The dressing should tie everything together without overwhelming the bright acidity of the vinegar and the savory richness of the meats. The ideal filling is glossy, slightly creamy, and bursting with color—deep red from the roasted peppers, bright green from the lettuce, and rich yellow from the provolone. Let the filling sit for a minute or two so the flavors start to meld before you load it onto the bread.
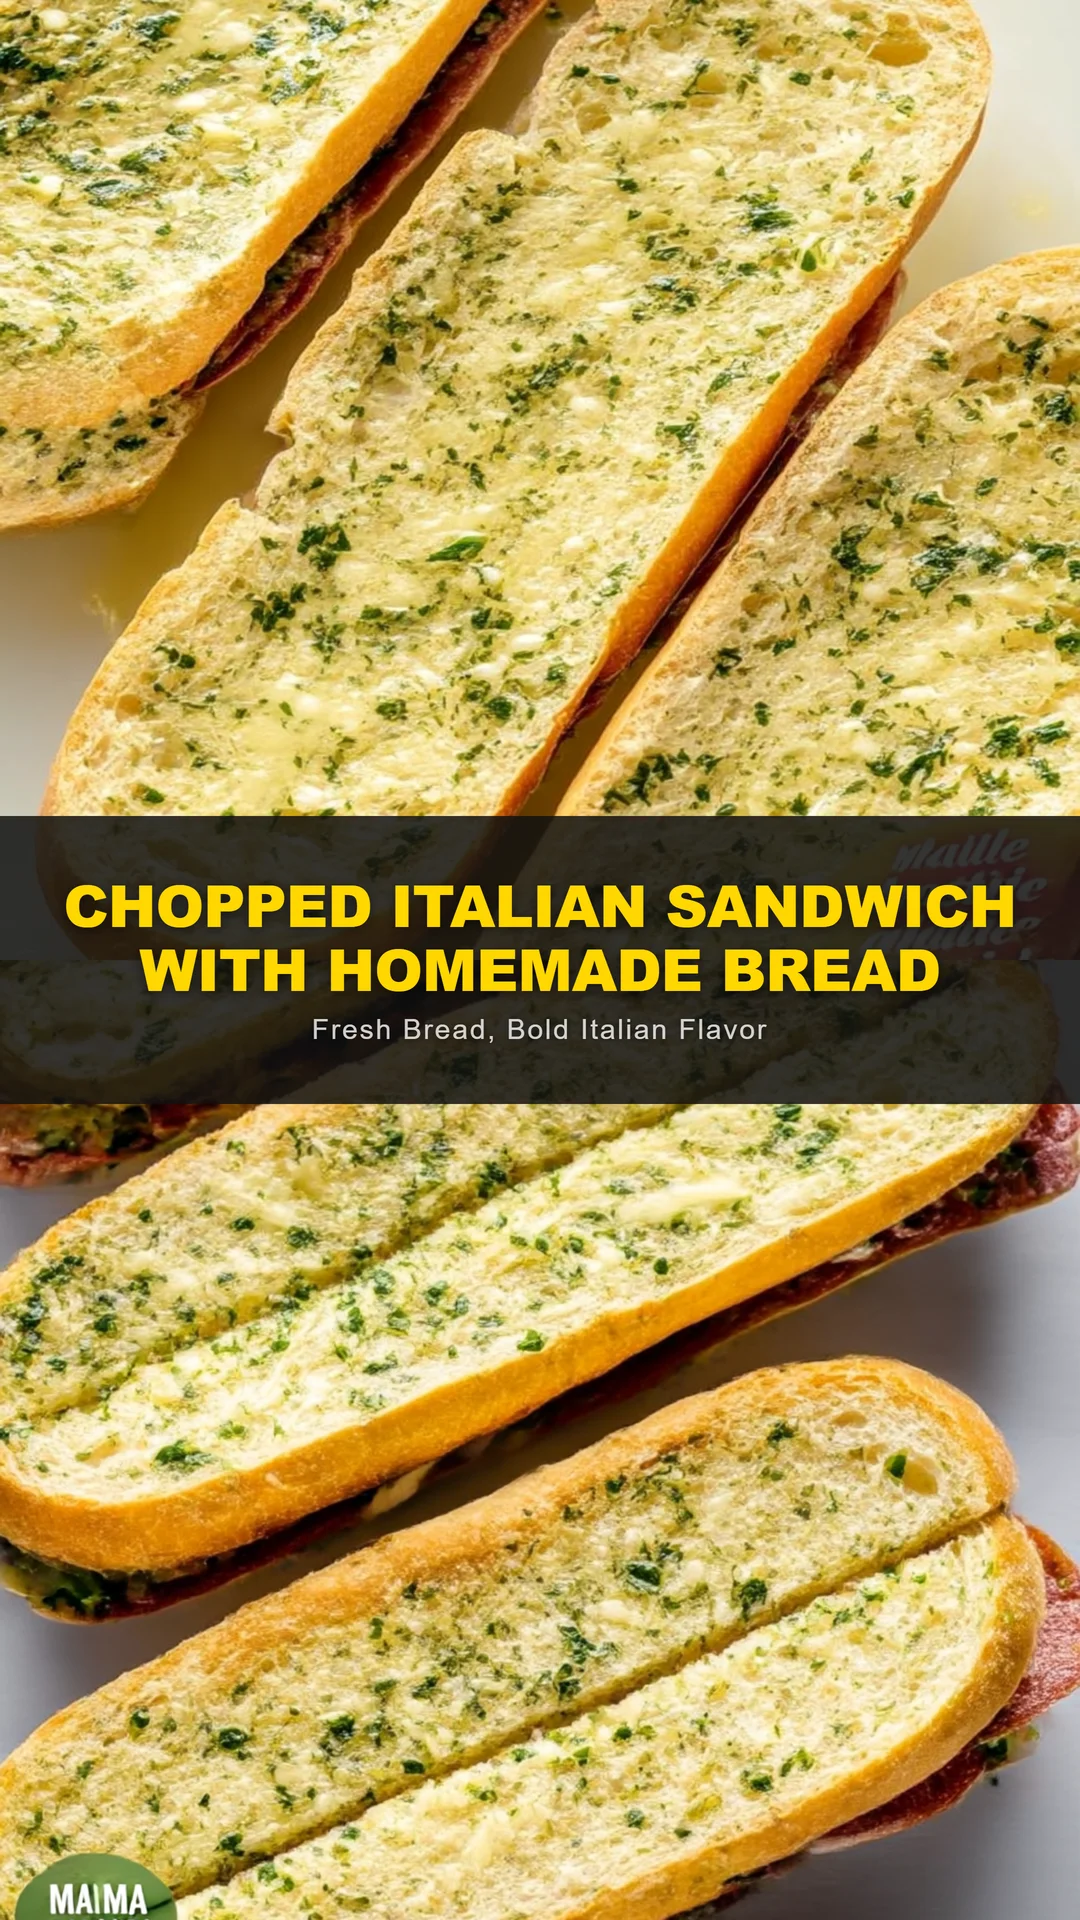
Once the bread has cooled enough to handle, use a serrated knife to slice each loaf horizontally, but don’t cut all the way through—leave one side hinged so the sandwich stays intact. Open the bread and, if you like, lightly toast the cut sides under the broiler for 60 to 90 seconds. Toasting gives the bread a lovely crust contrast, but it’s entirely optional. Spoon the chopped filling generously into each sandwich, packing it tightly so every bite is loaded. If you have extra dressing in the bowl, drizzle a little over the top before closing the sandwich. Press the top down gently with your palm to help all the flavors marry and to make the sandwich easier to eat. The filling should be mounded high—this is meant to be a big, satisfying, hands-on meal that requires a napkin and absolutely no regrets.
Slice each sandwich in half with a clean serrated knife. Serve immediately, or wrap the whole sandwich tightly in parchment paper and refrigerate for up to 4 hours. If you’re packing this for lunch, store the filling separately from the bread to keep the roll crisp. The chopped Italian sandwich is fantastic served with a bowl of minestrone soup, a side of potato chips, or a simple green salad. For meal prep, divide the chopped filling into airtight containers and keep the bread in a zip-top bag at room temperature. When you’re ready to eat, warm the bread in a toaster oven for a few minutes, then pile on the cold filling for a satisfying, restaurant-quality lunch that takes less time than ordering takeout.
For best results
- Choose the Right Bread: The quality of your bread can make or break a chopped Italian sandwich. My homemade yogurt version is soft yet sturdy enough to hold the filling, but you can also use fresh ciabatta, a crusty baguette, or a classic hoagie roll. If using store-bought bread, look for a roll with a firm crust that won't fall apart after being dressed. Slightly stale bread can be revived by spraying it with a little water and warming it in a 350°F oven for 3 to 4 minutes. The contrast between the crisp crust and the creamy, tangy filling is what makes every bite so addictive.
- Use High-Quality Deli Meats: Ask for thicker-cut meats from the deli counter rather than pre-packaged slices. The extra thickness gives the chopped pieces a nicer texture and more robust flavor. Genoa salami brings the spiced, fatty richness; capicola adds a warm, slightly spicy note; and turkey keeps the sandwich lean without sacrificing heft. You can swap ham or mortadella in for capicola, but avoid watery, thin-sliced lunch meat that tends to disappear into the chop. If you have access to prosciutto or imported mortadella, those are luxurious upgrades that work beautifully here.
- Master the Chop: Don't over-chop the mixture into mush—leave some pieces with structure so every bite has a distinct texture. Starting with a stack of sliced meats and cheese, cut them into a rough grid rather than running your knife through them endlessly. The ideal finished pieces are about 1/3 to 1/2 inch, like a coarse dice. If you chop too finely, the ingredients release too much moisture and the bread becomes soggy. If you're making this for a crowd, you can chop all the components in a large food processor using short pulses, but be sure to stop while the pieces are still identifiable.
- Balance the Dressing: The acidity from the red wine vinegar and pepperoncini is essential to cut through the rich salami, capicola, and provolone. Taste the filling before you season with salt, because the deli meat already provides plenty of salt. Use full-fat mayonnaise for the best emulsion; low-fat versions tend to break and taste thin. If you want a leaner dressing, substitute half the mayonnaise with plain Greek yogurt or mashed avocado. Let the finished filling rest for 5 to 10 minutes before serving, allowing the flavors to meld and the vinegar to tenderize the onion slightly.
- Make It Ahead: The chopped filling can be prepared up to 3 days in advance and stored in the refrigerator. Keep the bread separate until you're ready to assemble. When it's time to eat, warm the bread in the toaster oven just until it's crisp and give the filling a quick toss to redistribute the dressing. If assembling a whole sandwich ahead of time, wrap it tightly in parchment paper or plastic wrap and refrigerate for no more than 4 hours, otherwise the bread will soften. This makes it an excellent picnic or lunchbox choice for weekdays.
- Boost the Protein: To make this sandwich even more macro-friendly, swap the turkey for additional capicola or add a handful of chopped chickpeas. The beans add fiber and plant-based protein while staying true to the Italian profile. You can also use part-skim mozzarella instead of provolone to lower the fat, or add a sliced hard-boiled egg for a hearty twist. The beauty of a chopped sandwich is that it's endlessly customizable, so don't be afraid to adjust the ratios based on your nutritional goals.
Variations
- Low-Carb Italian Sub Bowl: Turn this sandwich into a hearty salad by skipping the bread entirely. Serve the chopped deli mixture over a bed of crisp romaine lettuce, add extra roasted peppers and banana peppers, and drizzle with the same dressing. This version is perfect for a high-protein, low-carb dinner or meal-prep lunch. You can also serve it with a side of almond-flour crackers for crunch without the carbs.
- Vegetarian Chopped Italian Sandwich: For a meatless version, double the roasted red peppers and add sliced marinated artichokes, pitted Kalamata olives, and roasted chickpeas. Swap the salami and capicola for smoked provolone or fresh mozzarella and add a handful of fresh basil. The briny flavors from the olives and artichokes will mimic the savory depth of the deli meats, making this a satisfying option for vegetarians and a great way to use up leftover vegetables in the fridge.
- Muffuletta-Style Italian: Give your chopped sandwich a New Orleans twist by making a classic olive salad to mix with the meats and cheese. Combine chopped green olives, black olives, roasted red peppers, celery, garlic, olive oil, and red wine vinegar. Use the olive salad as the dressing and add it to the chopped salami, capicola, turkey, and provolone. This version is briny, bold, and even better the next day once the flavors have had time to meld.
- Spicy Devil's Italian: If you like serious heat, add a tablespoon of Calabrian chili paste or chopped hot cherry peppers to the dressing. You can also substitute soppressata for part of the salami for an extra punch of spice. Finish the sandwich with a drizzle of hot honey or a pinch of red pepper flakes to balance the fiery flavors. This variation is the one to make when you want a pantry-friendly dinner that wakes up your taste buds.
Nutrition
- Calories480 kcal
- Total Fat28g
- Saturated Fat9g
- Cholesterol65mg
- Sodium1180mg
- Total Carbohydrates36g
- Dietary Fiber3g
- Sugars5g
- Protein22g