
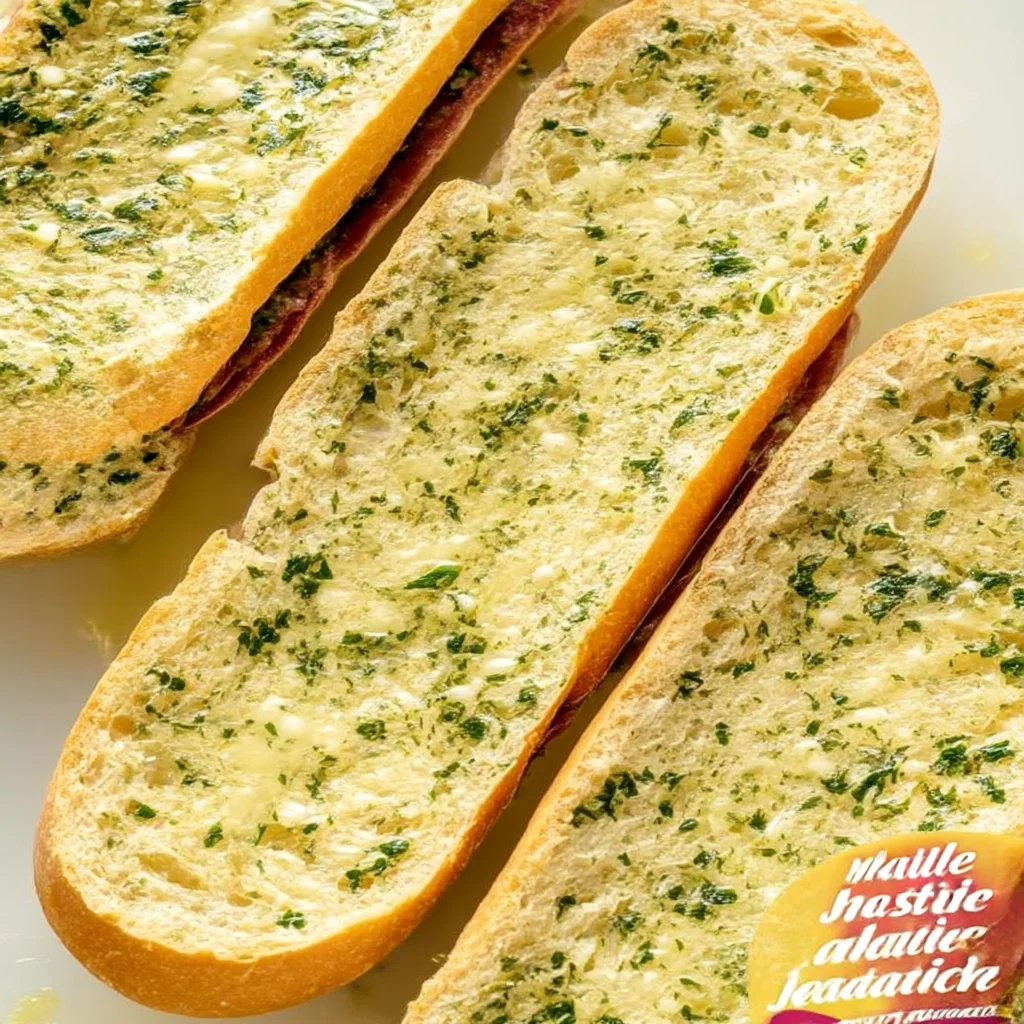
A cold chopped Italian sandwich is the ultimate make-ahead lunch: zero reheating, high protein, packed with salami, provolone, pepperoncini, and crisp lettuce. Quick and easy!
Ingredients
Instructions
Set up a clean cutting board with plenty of room and gather every ingredient. For this recipe, mise en place matters: place the deli meats, provolone, lettuce, cherry tomatoes, red onion, pepperoncini, Italian vinaigrette, mayonnaise, oregano, salt, and pepper near your board. If you have room, pop your mixing bowl and bread in the fridge for 10 minutes so the sandwich stays cold even during assembly. This step is not just about organization; keeping ingredients chilled reduces the risk of the mayonnaise and dressing turning greasy, and makes the chopping process a pleasure rather than a scramble. A large chef’s knife (8-inch or 10-inch) and a sturdy cutting board will give you the control needed for a clean, uniform chop, which is the heart of a great chopped Italian sandwich.
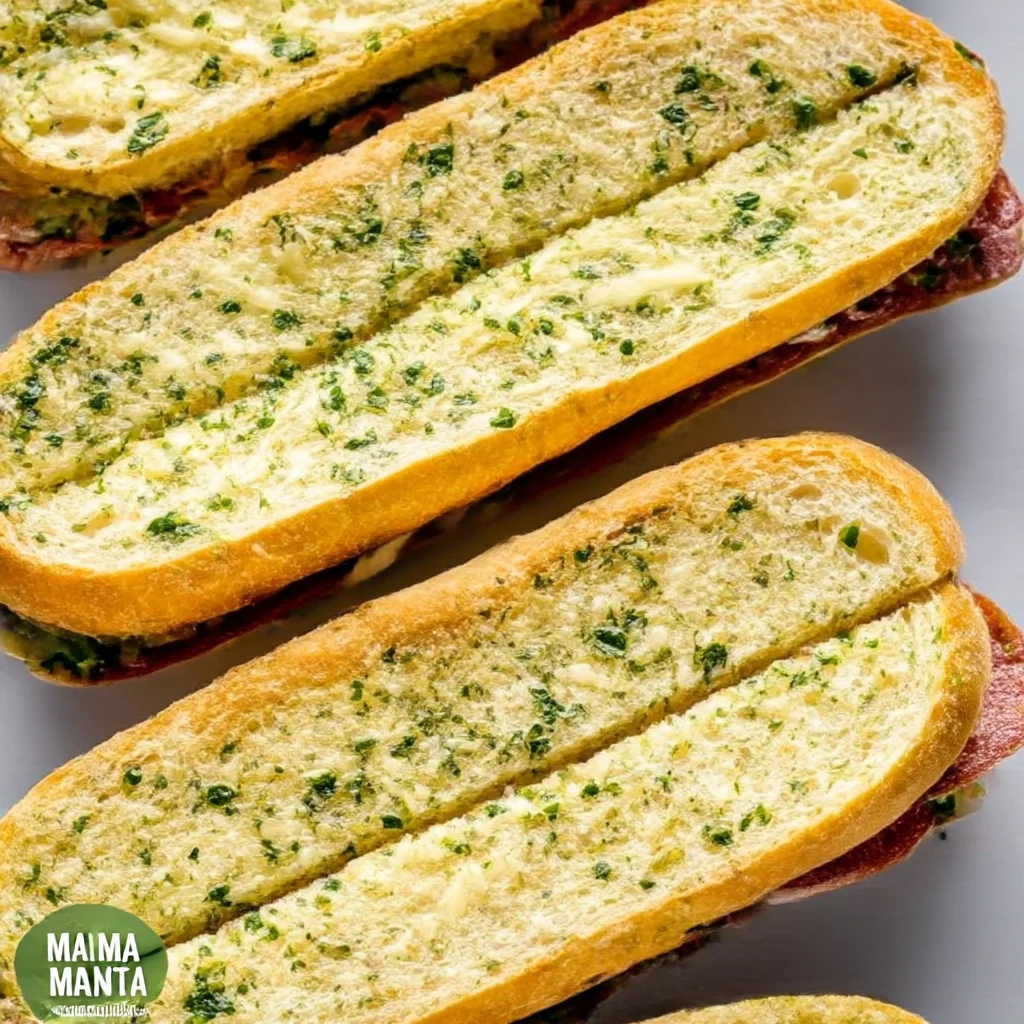
Prepare your bread. If using one long Italian loaf, slice it into four equal sections, then split each section horizontally leaving one side intact like a hinge. If using sub rolls, slice them open. Use your fingers to pull out some of the soft crumb from the top half, leaving a sturdy shell about 1/2 inch thick. This creates a little cavity to hold the chunky filling without it spilling out and also helps prevent the bread from turning soggy. You can reserve the pulled-out bread to make breadcrumbs later. At this stage, if you want a lightly crisp exterior, toast the cut sides under a broiler or in a dry skillet for 60 to 90 seconds. Let the bread cool completely before filling, because warm bread will create condensation and make the filling weep.
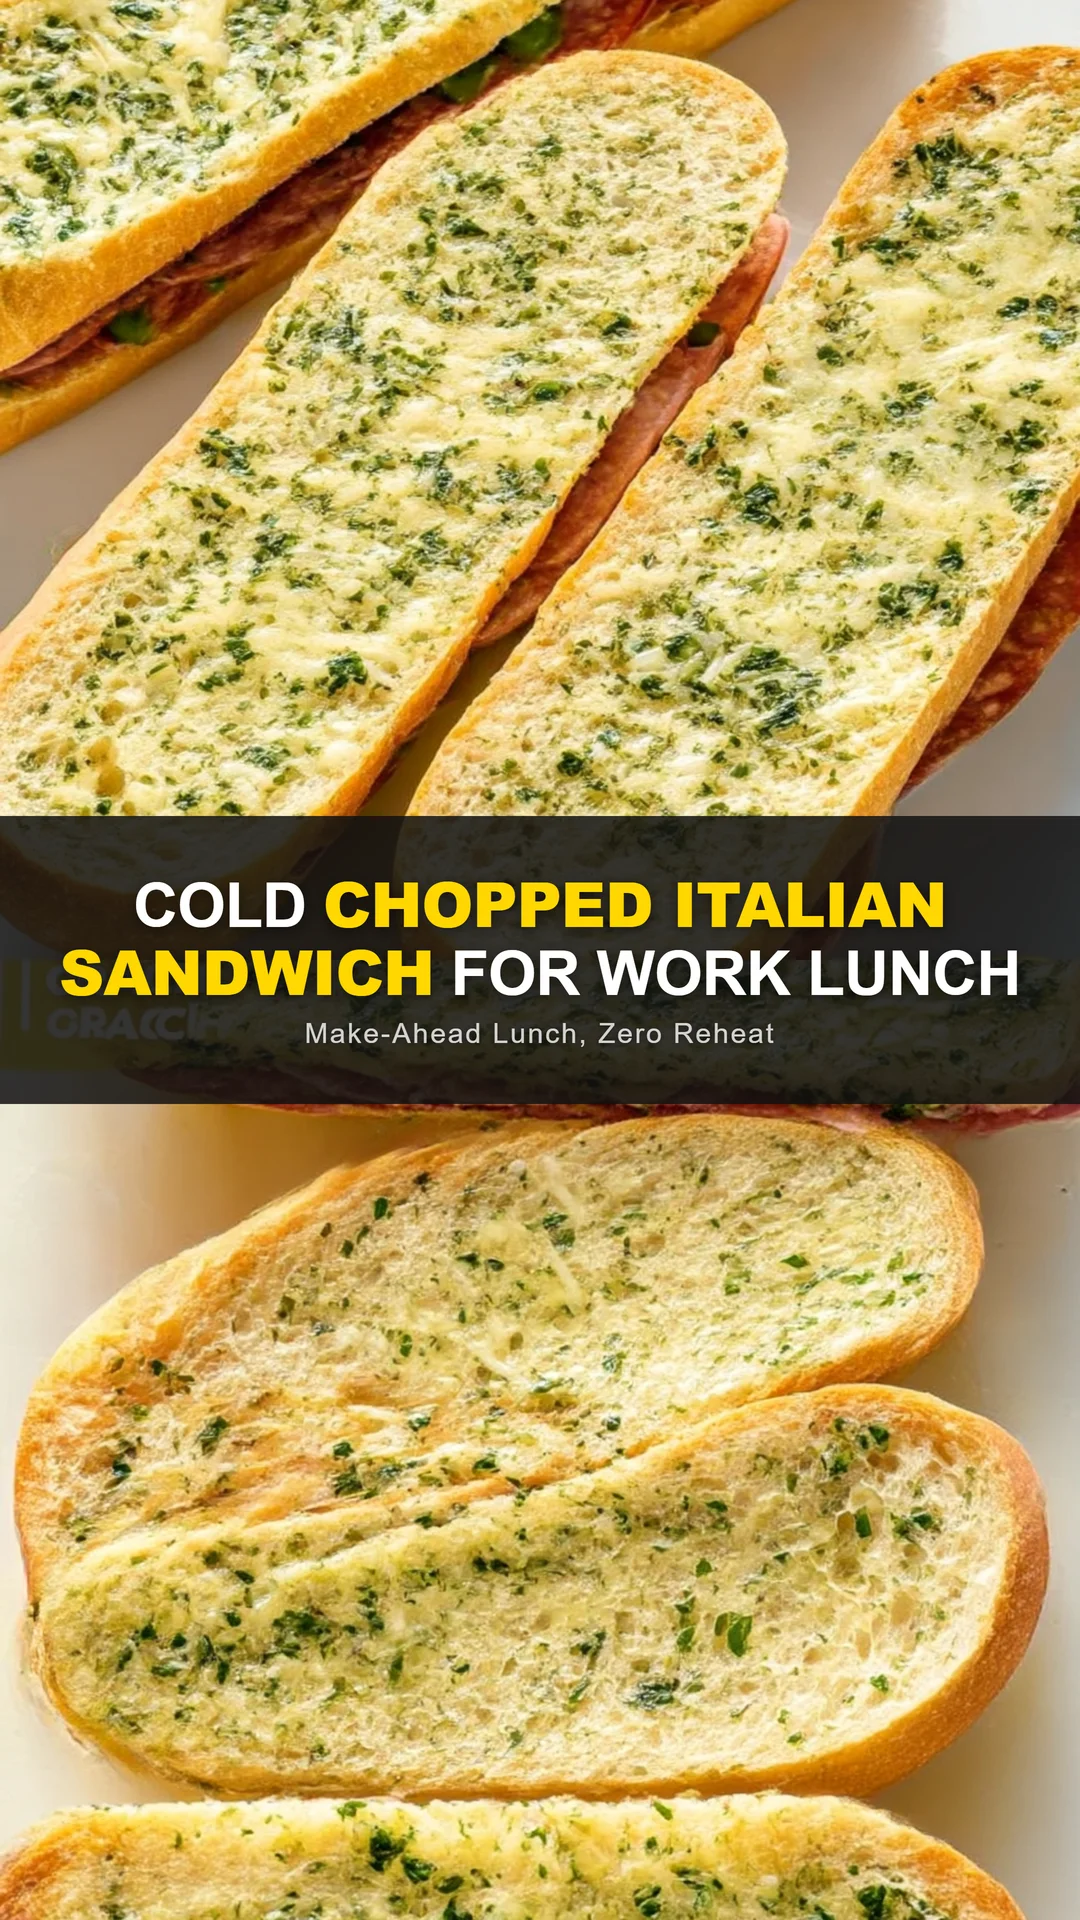
Stack and chop the meats. Lay the genoa salami, capicola, and mortadella slices in separate stacks of four or five. Roll each stack into a tight cylinder and slice crosswise into 1/4-inch ribbons, then gather the ribbons and chop them into rough 1/4-inch dice. You can combine the meats in one pile as you chop, but keep the knife moving in a rocking motion so the pieces stay uniform. Chopping by hand is essential here: a food processor will pulverize the meat and release too much fat, turning the sandwich greasy. Look for pieces that are small enough to be scooped up on a fork but still have some texture and chew. The visual cue is a lively mosaic of pink, red, and speckled bits that will distribute evenly throughout the sandwich.
Chop the provolone the same way. Slice the cheese into 1/4-inch thick strips and then across into small dice. The pieces can be slightly larger than the meat, but aim for about the same size so every bite has equal parts meat, cheese, and vegetables. Provolone, especially the sharp aged variety, has a delightfully tangy and nutty flavor that stands up to the salty meats. If your knife starts to stick to the cheese, dip it in warm water or lightly oil the blade. Keep the cheese separate from the meats unless you plan to mix everything immediately; this prevents the cheese from clumping together as it warms.
Prep the vegetables. Shred the iceberg lettuce into thin ribbons and rinse them under cold water, then spin dry in a salad spinner or pat with paper towels until completely dry. Quarter the cherry tomatoes and gently squeeze out the seeds if they are very juicy. Mince the red onion into a small dice, and drain the pepperoncini well on a paper towel before chopping. Wet vegetables are the number one enemy of a make-ahead sandwich. Dry greens and tomatoes create a crisp texture and keep the dressing from thinning out. Put the lettuce aside in a separate bowl, and combine the tomatoes, onion, and pepperoncini in another bowl. This separation is key if you are making the sandwich ahead for work lunches.
In a large bowl, whisk together the Italian vinaigrette, mayonnaise, dried oregano, red pepper flakes if using, and a generous pinch of black pepper. Taste the dressing and adjust the seasoning; remember that the meats and cheese are salty, so avoid adding much salt here. The mayonnaise not only adds creaminess but acts as an emulsifier, helping the oily vinaigrette cling to every chopped surface. Add the chopped meats, cheese, tomatoes, onion, and pepperoncini to the bowl and toss with a spatula until everything is evenly coated. The mixture should look glossy and cohesive but not drenched. Let it sit for five minutes so the flavors meld and the dry bread crumbs can absorb the dressing without turning mushy.
Fold in the lettuce only if you are serving immediately. If you are meal-prepping for work lunches, keep the lettuce separate and store the meat-and-cheese filling in an airtight container in the refrigerator. This is the real secret to a no-soggy, no-reheat work lunch. When you are ready to pack your lunch, spoon the filling into the chilled bread shells, top with the crisp lettuce, and press the halves together. Wrap each sandwich tightly in parchment paper or beeswax wrap. The paper does more than look pretty: it keeps the sandwich compact, helps the bread stay fresh, and allows the flavors to settle. If you prefer, you can also serve the chopped Italian salad in a bowl with bread on the side.
Assemble and enjoy! Unwrap your sandwich, maybe cut it in half on a diagonal so you can see all those beautiful layers of meat, cheese, and vegetables. The texture should be cool, crisp, creamy, and briny all at once, a true deli-style experience. Since this is a cold recipe, there is no reheating step; just grab it from the fridge, or pack it with an ice pack if your lunch bag is warm. For picnics or packed lunches, keep the sandwich chilled right up until serving and consume within a day for the best texture. Pair it with a crunchy dill pickle, some kettle-cooked chips, or a handful of grapes for a balanced work lunch.
For best results
- Choose the right meats and ask your deli counter for thick slices. Most delis will slice meat and cheese to order; a 1/4-inch slice is ideal for chopping. Thick slices give the dice some structural integrity, so they don't disintegrate in the bowl. For a classic Italian flavor, use a mix of genoa salami, capicola, and mortadella. If you want to save money, swap one of the meats for sliced turkey, but be sure to include at least one fatty cured meat like salami for richness.
- Master the hand-chop. You might be tempted to use a food processor, but pulsing cured meats will quickly turn them into paste and extract the fat, leaving you with an oily, pasty mixture. Instead, pile the sliced meats, roll them loosely, and use a sharp chef's knife with a rocking motion. Work in batches and keep the pieces roughly 1/4-inch. The best chopped Italian sandwiches have varied texture, with little nuggets of pepperoni and cheese distributed evenly. This is also a great chance to practice your knife skills, and it only takes about five minutes.
- Control moisture at every stage. Pat the pepperoncini dry, seed the tomatoes, and dry lettuce thoroughly. If you are packing for work, do not add the lettuce or the dressing-heavy parts too early. Store the chopped meat and cheese in one container, the dry vegetables in another, and the dressing in a small jar if you are going to keep it for more than a day. The filling can be mixed with the dressing up to two days in advance, but the lettuce should stay separate.
- Don't overdress. The chopped Italian sandwich should be savory and juicy, not dripping. Start with half the dressing, toss, and add more a tablespoon at a time. The meats and cheese let off some moisture, and the pepperoncini brine adds tang, so a little goes a long way. You can always spoon extra vinaigrette over the filling right before serving, but you can't take it back out.
- Hollow out the bread to make more room for filling and prevent soggy bottoms. Italian bread is airy; pull out the soft center from the top piece, creating a bread 'boat.' You'll be left with crust that holds everything in. If you want to go extra low-carb or keto, use large lettuce cups or a gluten-free tortilla instead of bread. This is an easy way to transform the recipe to fit any diet.
- Let the flavors meld before serving. Chopped Italian salads taste even better after sitting for 15 to 30 minutes because the salt from the meat cures the onion slightly and the herbs bloom in the dressing. If you are making this ahead for a work lunch, prepare the filling the night before and store it in the fridge. The next day, once you add the lettuce and bread, it will taste as if it was just made, only more unified.
Variations
- Spicy Soppressata & Giardiniera: Swap out half of the mortadella for hot soppressata or spicy dry salami. Add a quarter cup of chopped giardiniera (Italian pickled vegetables) and a drizzle of the brine from the jar. This version turns up the heat and gives an extra crunch. If you like heat, keep the red pepper flakes and add a pinch of Calabrian chili paste to the dressing.
- Chicken & Pesto Chopped Sandwich: For a leaner but still high-protein option, replace the capicola and mortadella with 8 ounces of sliced rotisserie chicken breast or roasted turkey. Use provolone or mozzarella and stir a tablespoon of pesto into the mayonnaise mixture. This version is fresher and lighter, with a bright herbaceous flavor, and works especially well in a grilled ciabatta roll.
- Low-Carb Chopped Italian Bowl: Skip the bread entirely and create a meal-prep salad jar or bowl. Layer the undressed lettuce, chopped meats, cheese, and vegetables in a one-quart jar, with the vinaigrette at the bottom. When you're ready to eat, shake everything together and enjoy with a spoon. This is perfect for keto, low-carb, or gluten-free lifestyles and still delivers the same high-protein punch.
- Veggie-Packed & Bean Studded: Add 1/2 cup canned chickpeas or white beans, rinsed and drained, to the chopped meat mixture. The beans mimic the heartiness of the meat and add a boost of fiber and plant protein. You could also swap the salami for plant-based deli slices and the provolone for your favorite melty vegan cheese. Finish with a squeeze of lemon to brighten the flavors up.
- Italian Sub Sandwich Sliders: Turn this recipe into party food by using small slider rolls. Hollow out each roll, fill with the chopped mixture, cover with a baking sheet, and press lightly. These sliders can be served cold at a picnic or warmed briefly in a panini press for a toasty twist. Perfect for tailgates, potlucks, and picnics where easy finger foods are a must.
Nutrition
- Calories750 kcal
- Total Fat48g
- Saturated Fat17g
- Cholesterol105mg
- Sodium2100mg
- Total Carbohydrates38g
- Dietary Fiber3g
- Sugars6g
- Protein32g