
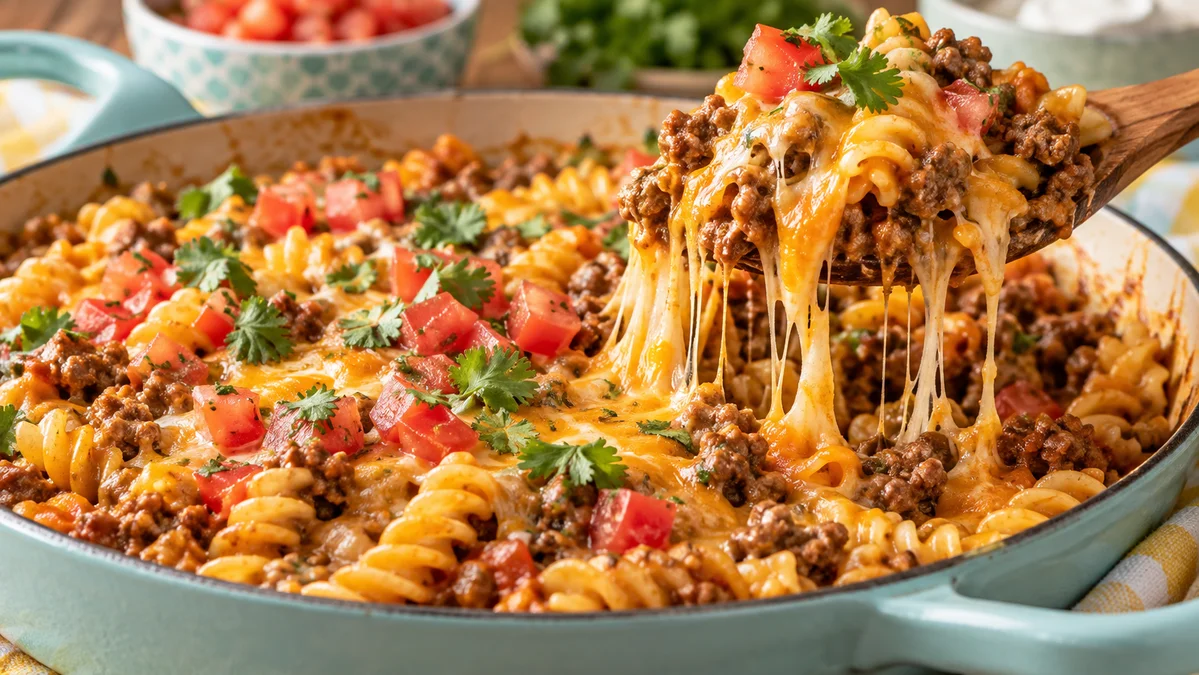
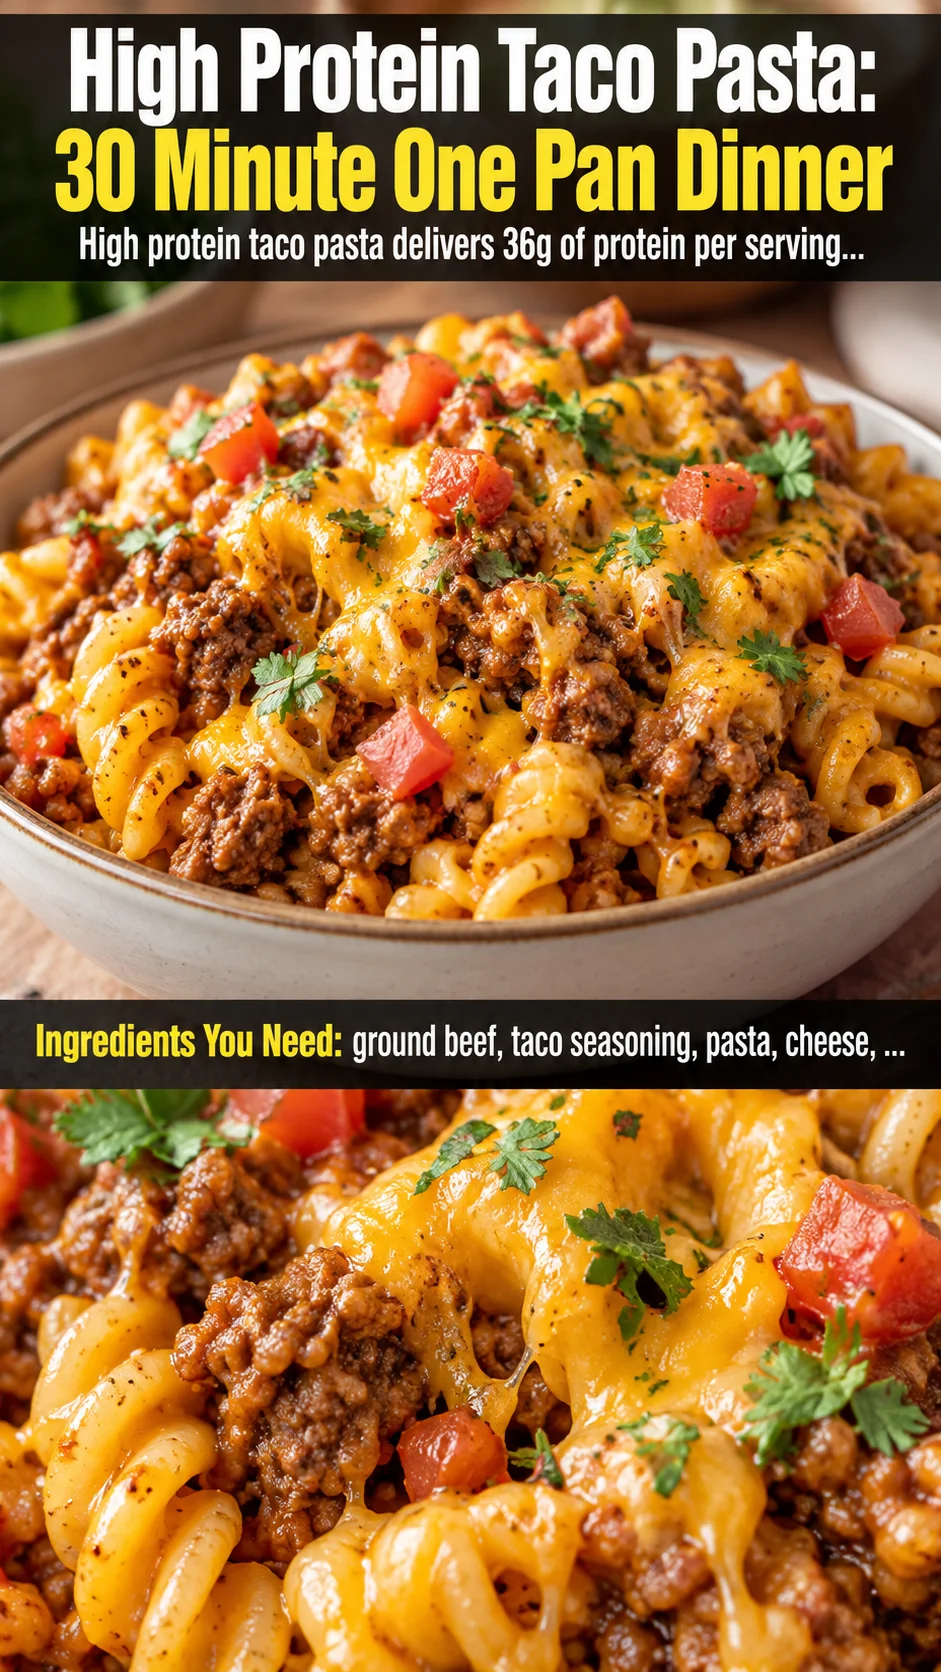
High protein taco pasta delivers 36g of protein per serving in one pan in just 30 minutes. Cheesy, healthy and easy — the ultimate weeknight high protein dinner.
Ingredients
Instructions
Start by setting out every ingredient on the counter before you turn on the heat — this is the single biggest reason a ’30-minute’ recipe actually finishes in 30 minutes. Mise en place matters here because once the beef hits the hot pan, the cooking moves fast and you will not have a spare moment to hunt for the garlic in the back of the fridge. Dice your onion into small, even 1/4-inch pieces so it melts into the sauce instead of staying crunchy, mince the garlic finely so it never burns, drain the green chiles, and open the tomatoes and broth so they are ready to pour. Pre-shred your cheese too: bagged pre-shredded cheese is coated in anti-caking starch that melts into a grainy puddle, while cheese you grate yourself off a block melts into that glossy, gooey pull you see in the hero photo. Set the cheese aside at room temperature so it blends the instant it touches the hot pasta.
Place a large, deep 12-inch skillet or a wide Dutch oven over medium-high heat and add 1 tablespoon of olive oil. You want a pan big enough that the pasta can eventually lie in a mostly single layer with liquid covering it — if your skillet is too small, the pasta will steam unevenly and the liquid will take forever to reduce. Wait until the oil shimmers and moves like water across the surface; that visual cue tells you the pan is truly hot. If you drop in the onion and it sizzles faintly rather than aggressively, give the pan another 30 seconds. A properly preheated pan is what creates the browned, deeply savory crust on the beef — that Maillard reaction is where most of the flavor of this dish is built, and a cold pan simply steams the meat gray.
Add the diced onion and cook for 3 to 4 minutes, stirring occasionally, until it turns translucent and just barely golden at the edges. Then stir in the minced garlic and cook for only 30 to 45 seconds — garlic goes from fragrant to acrid and bitter in a heartbeat, so the moment you smell that sweet, nutty aroma rising from the pan, move on. Push the aromatics to the edge of the pan and add the ground beef in one even layer. Resist the urge to stir immediately: let it sit undisturbed for 2 to 3 minutes so the underside develops a rich brown sear. Then break it apart with a wooden spoon into small, taco-sized crumbles and continue cooking for 4 to 5 minutes until no pink remains. Drain off excess fat only if there is more than a thin film — a little fat carries flavor and helps the spices bloom.
Sprinkle the entire packet of taco seasoning over the browned beef and stir constantly for 45 to 60 seconds. This step, called blooming, is what separates a flat-tasting taco pasta from a deeply seasoned one: the dry spices toast in the hot fat and their essential oils release, amplifying the cumin, chili, and paprika notes dramatically. You will smell the difference almost instantly — the kitchen should suddenly smell like a taco truck. Pour in the diced fire-roasted tomatoes with their juices and the drained green chiles, scraping up any browned bits stuck to the bottom of the pan. Those caramelized bits are pure concentrated flavor and they dissolve into the sauce right here.
Add the dried pasta, 3 cups of beef broth, and 1 cup of water, then stir well to distribute everything evenly. The liquid should just barely cover the pasta — if it does not, add a splash more broth, because pasta that pokes above the surface cooks unevenly and stays stubbornly crunchy at the top. Bring the mixture to a lively simmer, then immediately reduce the heat to medium-low so it stays at a steady, gentle bubble. Cover the pan and set a timer for 12 minutes. During those 12 minutes the pasta drinks up the seasoned broth, absorbing flavor from the inside out, while the starch it releases thickens the liquid into a silky, clingy sauce. Stir once at the 6-minute mark, scraping the bottom to prevent sticking, then re-cover.
At the 12-minute mark, uncover and check the pasta — it should be al dente, tender with the faintest resistance at the center. If it is still firm and the pan looks dry, add 1/4 cup of broth or water at a time and simmer uncovered for 2 more minutes. If instead the sauce looks thin and watery, simmer uncovered for another 2 to 3 minutes, stirring often, letting the excess liquid evaporate. Take the pan completely off the heat before you add the dairy; this is the most important technical point in the entire recipe. Cheese and sour cream added to a boiling pan break apart, turning stringy and greasy, but added to a pan that has stopped actively bubbling they melt into a glossy, cohesive sauce.
Now stir in the sour cream (or Greek yogurt) first, folding it through until the sauce turns creamy and slightly pink, then add both shredded cheeses in three or four handfuls, stirring gently after each addition. Cover the pan and let it sit off the heat for 2 to 3 minutes so the residual warmth melts the cheese completely. When you lift the lid you should see a surface of molten, stretchy cheese laced through every spiral of pasta — that gooey pull in the photos is not a styling trick, it is simply what properly melted cheese does when it never boils. Taste and adjust with kosher salt and cracked black pepper; the exact amount you need depends on how salty your broth and taco seasoning were, so season in small pinches rather than all at once.
Serve immediately, straight from the pan, in warm bowls. Top each portion with diced fresh tomatoes for a bright, juicy counterpoint to the rich, cheesy pasta, then scatter over chopped cilantro, a few slices of jalapeño for heat, and a spoonful of avocado or a light crush of tortilla chips for crunch. Fresh garnishes are not decoration here — they add acidity, texture, and freshness that keep a heavy, cheesy pasta from feeling one-note, and they let everyone at the table customize their own bowl. Any leftovers should be cooled within two hours, then stored in an airtight container in the refrigerator for up to 4 days. Reheat gently on the stovetop or in the microwave with a splash of broth or milk to loosen the sauce, since the pasta will have absorbed liquid overnight.
For best results
- Choose your pasta shape with intention, not by accident. Short, ridged, tubular shapes like rotini, cavatappi, penne, or fusilli are ideal for this recipe because the spirals and ridges trap the thick, seasoned sauce inside every groove, delivering a burst of flavor in every single bite. Smooth shapes like elbows or farfalle work in a pinch but feel noticeably less saucy. Whatever you choose, buy a quality bronze-die pasta if your budget allows — its rougher, chalkier surface grips sauce far better than slick, mass-produced noodles, and it also releases more starch during cooking, which naturally thickens the pan liquid into a silky coating without any flour or cream.
- Do not walk away from a one-pan pasta, especially in the last five minutes. The starch-and-tomato liquid is prone to scorching once it reduces, and because you are cooking everything in a single vessel there is no second pot to rescue you if the bottom burns. Keep the heat at a genuine medium-low simmer, stir every few minutes with a wooden spoon or silicone spatula, and scrape the entire bottom of the pan each time, not just the center. If you see the sauce getting thick and sticky before the pasta is tender, add broth a quarter cup at a time rather than cranking up the heat, which only accelerates the burn.
- For the biggest flavor upgrade, skip the packet and bloom your own spice blend. Combine two teaspoons each of chili powder and ground cumin, one teaspoon each of smoked paprika, garlic powder, and onion powder, half a teaspoon of dried oregano, a quarter teaspoon of cayenne, and a full teaspoon of kosher salt. Toasting these spices in the beef fat for a full minute before adding liquid deepens the flavor in a way a pre-mixed packet simply cannot match. Making your own blend also lets you control sodium, which matters if you are watching your blood pressure or tracking macros, and it costs a fraction of what store-bought seasoning packets charge per serving.
- Protein content is entirely flexible, so build the bowl around your goals. Using 93/7 ground turkey instead of 90/10 beef drops the fat but keeps the protein nearly identical, while ground chicken works beautifully with a little extra olive oil for moisture. For an even leaner version, swap in 99% lean ground turkey and add a tablespoon of olive oil to the pan so the spices still have fat to bloom in. You can also fold in a half cup of cottage cheese at the very end for a hidden protein bump of roughly 12 additional grams — it melts invisibly into the sauce and no one at the table will ever know it is there.
- The cheese blend is where texture is won or lost, so treat it with care. A fifty-fifty mix of sharp cheddar for flavor and low-moisture Monterey Jack or pepper Jack for meltability gives you both taste and that dramatic cheese pull. Avoid ultra-aged cheeses, which turn oily and separate when melted, and avoid fat-free cheese entirely — it refuses to melt smoothly. If you want a slightly smoky kick, swap a quarter cup of the Jack for smoked gouda. Always grate off a block and always add the cheese off the heat, stirring gently in handfuls, because dumping it all in at once over high heat is the fastest way to a greasy, broken sauce.
- Leftovers are genuinely excellent, which is rare for a pasta dish. Cool the pan within two hours of cooking, transfer to shallow airtight containers, and refrigerate for up to four days. The pasta will absorb much of the sauce overnight, so expect it to look a little dry when cold — this is completely normal and not a sign it has gone bad. Reheat on the stovetop over low heat or in the microwave in 30-second bursts, stirring in a tablespoon or two of beef broth, milk, or water until the sauce loosens back to a creamy consistency. The dish also freezes well for up to three months if you freeze it before adding the sour cream.
- If you are feeding a crowd or meal-prepping for the week, this recipe scales cleanly with one rule: do not simply double every liquid measurement in the same pan. Instead, cook in two batches or use a very large Dutch oven, and increase the broth by only about 1.75 times, adding more as needed during the simmer. More pasta in the same volume of liquid means the sauce will reduce more slowly and unevenly, so give yourself an extra 3 to 5 minutes of cooking time and taste for seasoning at the end. Portioned into six containers with a scatter of fresh tomato on top, these bowls reheat into one of the best grab-and-go high-protein lunches you can make.
- Watch your sodium carefully, because taco pasta has three separate salty ingredients working at once: seasoned beef, broth, and cheese. Always start with low-sodium or unsalted broth, use a taco seasoning you have tasted on its own, and hold back the final pinch of kosher salt until the cheese has fully melted and you have tasted the finished sauce. If it has tipped over into too salty, a squeeze of fresh lime juice and a spoonful of sour cream will balance it perceptibly, and serving it over a bed of plain rice or shredded lettuce stretches the salty sauce across more neutral bulk.
- Finish with acid, always. A heavy, cheesy, cumin-forward pasta begs for brightness, and the single best way to get it is a generous squeeze of fresh lime juice right before serving or a spoonful of quick-pickled red onions. The acid cuts through the richness, wakes up the spices, and makes the whole dish taste fresher and lighter than its calorie count would suggest. Fresh diced tomatoes do some of this work, but lime is the finishing move that restaurant kitchens use and home cooks often forget — it is a fifteen-second step that changes the entire bowl.
Variations
- Turkey Taco Pasta: Swap the ground beef for one pound of 93/7 ground turkey and add an extra tablespoon of olive oil to compensate for the lower fat content. Turkey is milder than beef, so bump the taco seasoning by about a third and add a teaspoon of smoked paprika to build back the savory depth the beef would have provided. The finished dish lands at roughly 34 grams of protein per serving with noticeably less saturated fat, making it a great choice if you are watching cholesterol without wanting to sacrifice flavor or creaminess.
- Chicken Taco Pasta: Use one pound of ground chicken or finely diced boneless chicken thighs, cooking the thighs a minute or two longer before adding the seasoning. Chicken pairs beautifully with a squeeze of lime and a handful of black beans folded in at the end for extra fiber and plant protein. If you use chicken breast exclusively, be careful not to overcook it — it turns dry and chalky fast, so dice it small and uniform so it cooks through in the same time as the onions.
- Vegetarian Black Bean Taco Pasta: Skip the meat entirely and sauté a diced red bell pepper and a diced zucchini with the onion, then add two cans of drained black beans and one cup of frozen corn along with the tomatoes. Use vegetable broth in place of beef broth and increase the taco seasoning slightly, since vegetables absorb spice differently than meat. This version comes in around 22 grams of protein per serving and is a fantastic meatless Monday option that still eats like a hearty, cheesy comfort meal.
- Creamy Jalapeño Popper Taco Pasta: Add four ounces of softened cream cheese along with the sour cream, then stir in a half cup of diced pickled jalapeños and a quarter cup of crumbled cooked bacon. Use pepper Jack for all of the cheese and finish with crushed tortilla chips and sliced green onion. This version is richer and spicier, closer to a dip than a weeknight pasta, and it is the one that disappears fastest at potlucks.
- Crockpot Taco Pasta: Brown the beef with the onion, garlic, and taco seasoning on the stovetop first — this browning step is non-negotiable because it is where the flavor comes from — then transfer everything to a slow cooker with the tomatoes, chiles, broth, and dried pasta. Cook on low for 3 to 4 hours, stirring once halfway, then stir in the sour cream and cheese at the very end with the cooker turned off. Use slightly less broth than the stovetop version, since slow cookers trap moisture and the sauce will not reduce.
- Low-Carb Cauliflower Taco Pasta: Replace the pasta with two bags of riced cauliflower and cut the broth down to one cup, simmering uncovered for only 6 to 8 minutes until tender but not mushy. Cauliflower releases water as it cooks, so expect a looser sauce and finish it with a tablespoon of cream cheese to bind everything together. This version drops to roughly 8 grams of net carbs per serving while keeping all the taco flavor and cheesy richness intact.
- Spicy Chorizo Taco Pasta: Substitute half the ground beef with Mexican chorizo, which melts its spiced, smoky fat into the sauce and gives the whole dish a fiery, brick-red hue. Because chorizo is heavily seasoned and salty, reduce the taco seasoning by half and use unsalted broth, tasting before you add any additional salt. Finish with crumbled cotija cheese and fresh cilantro for a version that tastes like a street-taco stand in pasta form.
Nutrition
- Calories520 kcal
- Total Fat22g
- Saturated Fat10g
- Cholesterol85mg
- Sodium890mg
- Total Carbohydrates46g
- Dietary Fiber3g
- Sugars6g
- Protein36g