
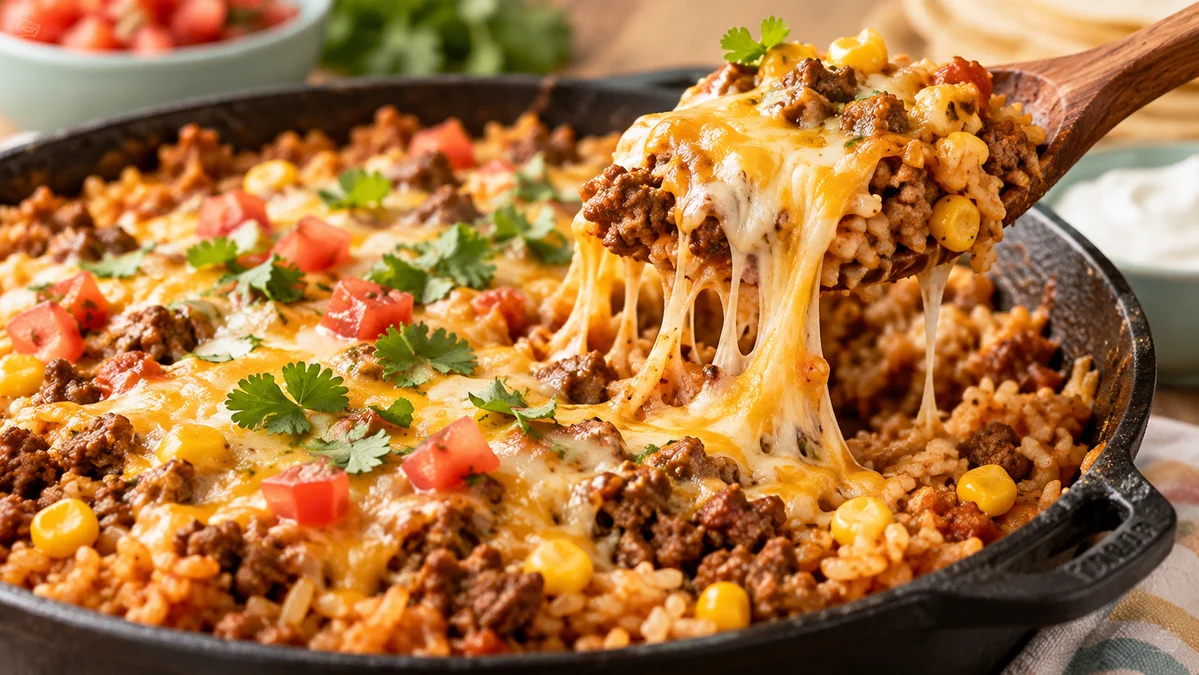
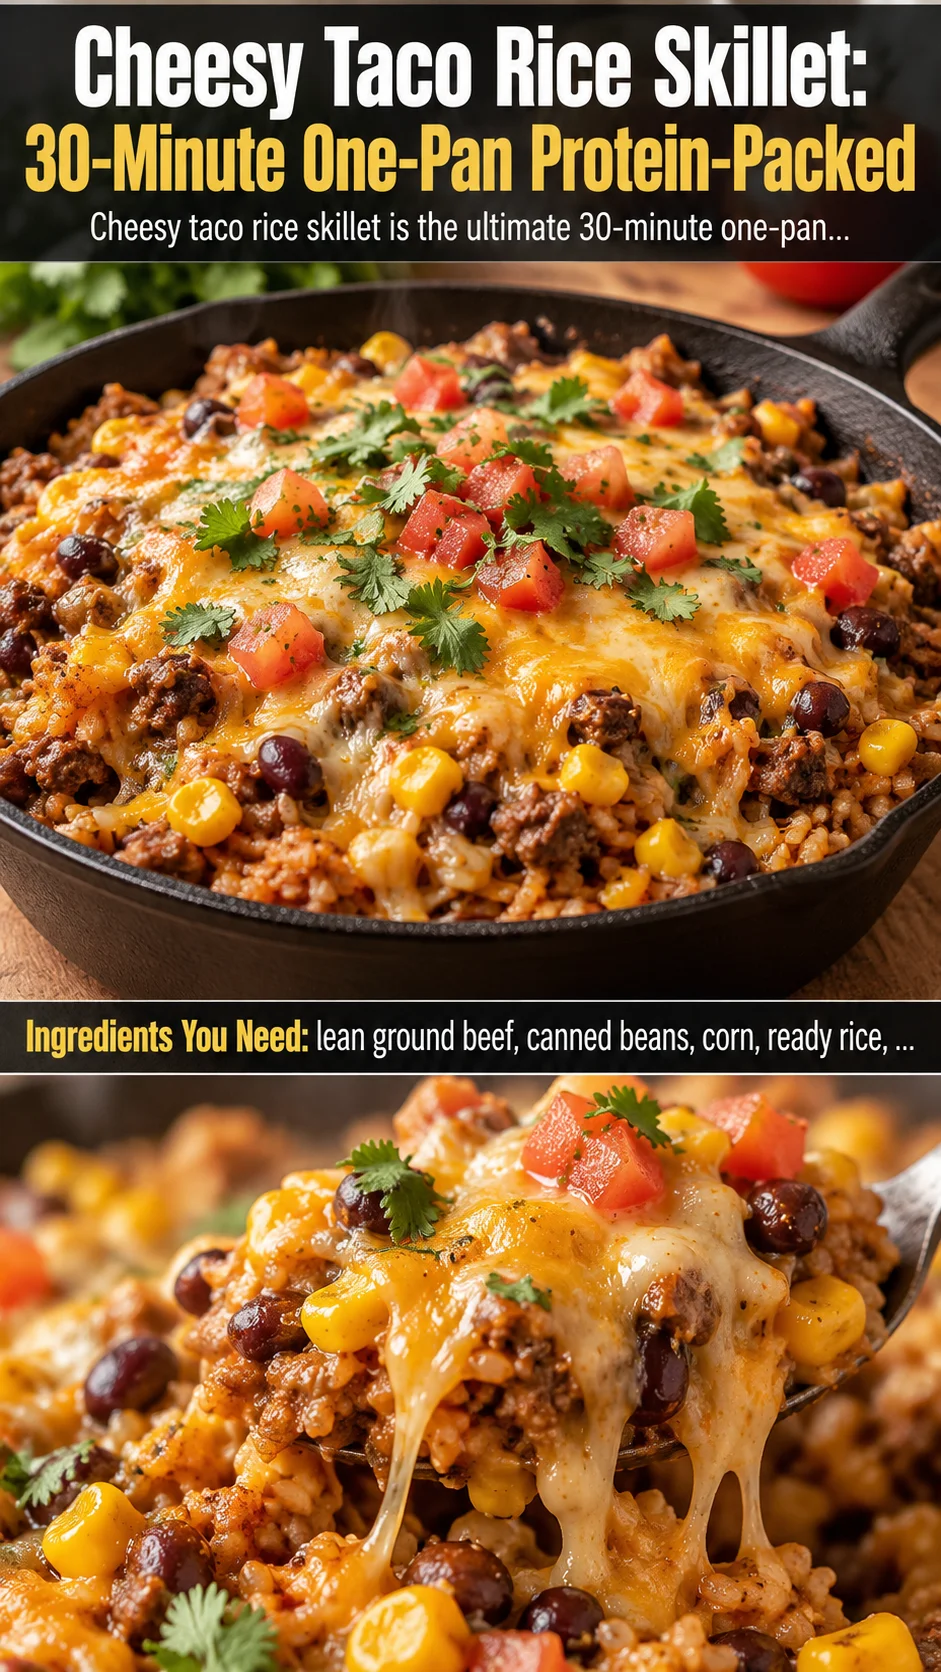
Cheesy taco rice skillet is an easy 30-minute one-pan dinner with lean ground beef, beans, corn, ready rice, and melty cheese. High-protein family meal!
Ingredients
Instructions
Begin by prepping all ingredients and placing them within arm’s reach of the stove, because this skillet moves quickly once the beef hits the pan. Dice the onion, mince the garlic, drain and rinse the black beans, thaw the frozen corn, and microwave the ready rice according to package directions so it is hot and fluffy. Open the can of diced tomatoes with green chiles and measure the broth, taco seasoning, and shredded cheese. If you are using a homemade taco seasoning, whisk together chili powder, cumin, smoked paprika, garlic powder, onion powder, oregano, salt, and a pinch of cayenne in a small bowl. This setup, often called mise en place, prevents the garlic from burning while you hunt for the can opener and ensures the cheese goes in at the exact moment the rice is tender. A 12-inch cast-iron or heavy nonstick skillet works best because it holds heat evenly and gives the rice enough surface area to simmer without steaming into mush. Set the oven to broil if you plan to melt the final cheese under the broiler.
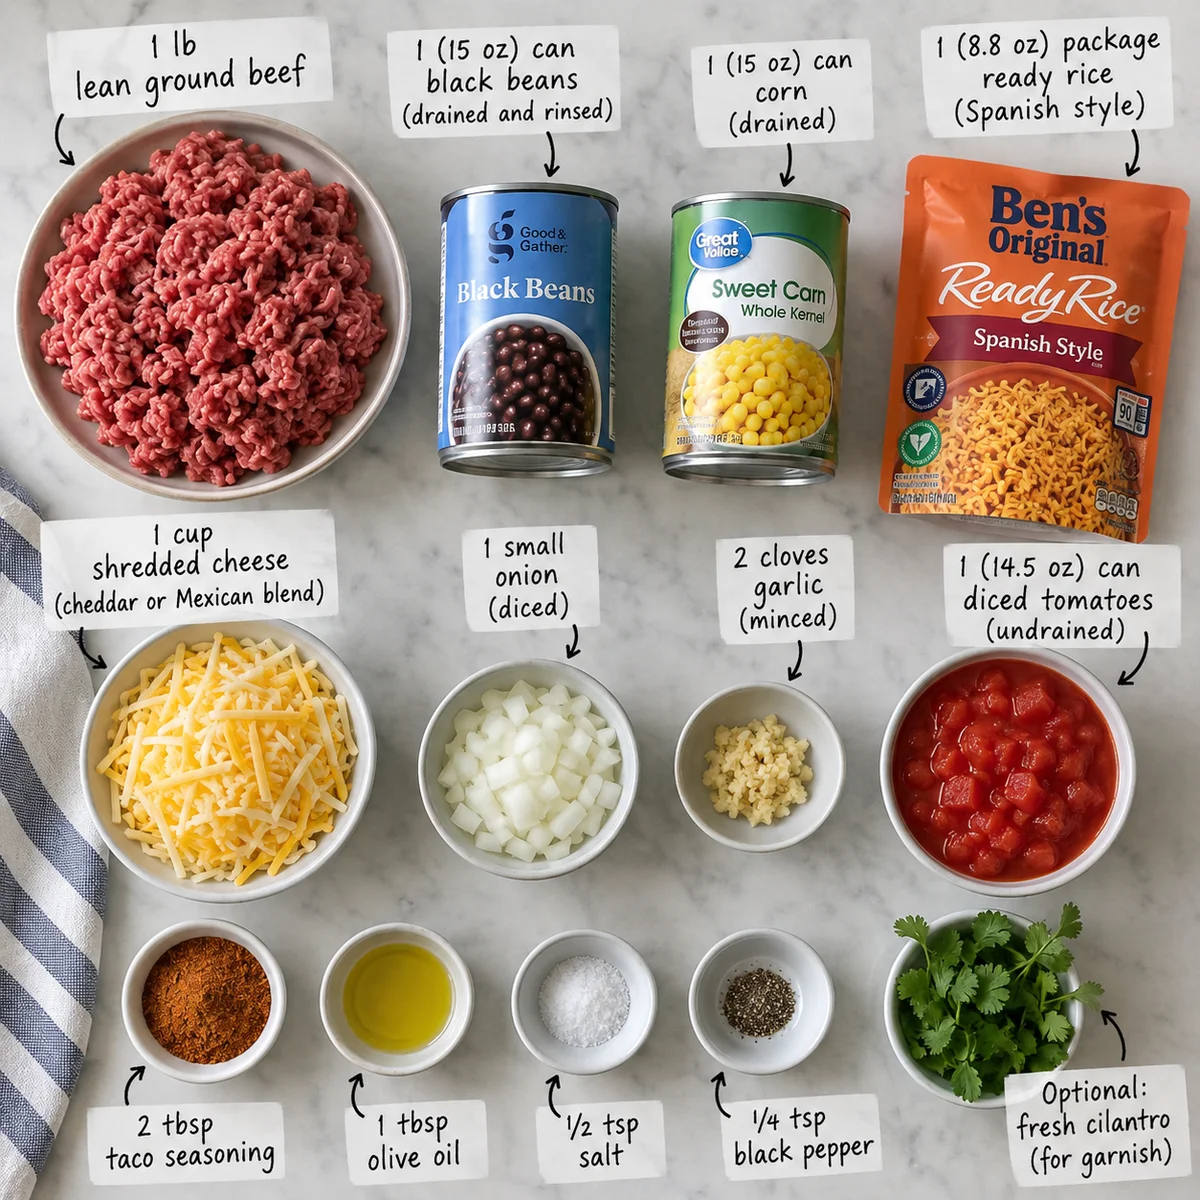
Heat the olive oil in the skillet over medium-high heat until it shimmers, about 1 minute. Add the ground beef and diced onion, breaking the beef into small crumbles with a wooden spoon or potato masher. Cook for 6 to 8 minutes, stirring occasionally, until the beef is no longer pink and the onions are soft and translucent. You want the beef to brown, not steam, so avoid crowding the pan; if your skillet is smaller, brown in two batches. Browning develops deep savory flavor through the Maillard reaction, while the onion’s sweetness balances the taco spices. If the beef releases a lot of fat, carefully tilt the pan and spoon off all but about 1 tablespoon. Leaving too much grease makes the rice oily, but a little fat carries the spice flavors and keeps the lean beef moist.
Reduce the heat to medium, add the minced garlic, and cook for 30 seconds, just until fragrant. Immediately sprinkle the taco seasoning over the beef and stir constantly for 45 to 60 seconds. This brief toast blooms the dried spices in the residual fat, which wakes up their essential oils and makes the taco flavor taste richer and more rounded rather than raw and dusty. Pour in 2 tablespoons of water or broth to deglaze if the spices begin to stick, scraping up the browned bits from the bottom of the pan. The mixture should look glossy and smell warmly spiced, like a taco truck at dinnertime. Do not walk away; garlic and chili powder burn in seconds and turn bitter.
Stir in the drained black beans, thawed corn, undrained diced tomatoes with green chiles, beef broth, and cooked ready rice. Mix gently until every grain of rice is coated in the seasoned beef mixture. Bring to a gentle simmer, then reduce heat to low, cover, and cook for 5 to 7 minutes. The rice absorbs the tomato broth and taco spices, becoming fluffy and flavorful instead of plain. If the mixture looks dry before the rice is tender, add a splash more broth; if it looks soupy, uncover and simmer for another 1 to 2 minutes. You will know it is ready when the liquid has mostly absorbed, the rice is hot all the way through, and a spoon dragged through the pan leaves a brief trail. Taste and adjust salt and spice now, because cheese will add saltiness.
Turn off the heat and scatter 1 cup of shredded Mexican blend cheese over the top. Cover the skillet with a lid for 2 minutes, allowing the residual heat to melt the cheese into a gooey, stretchy blanket. If you want a deeper golden crust, transfer the uncovered skillet to the preheated broiler for 1 to 3 minutes, watching constantly, until the cheese bubbles and browns in spots. The steam trapped under the lid melts the cheese evenly without drying out the rice, while the broiler adds toasted, nutty notes and an irresistible cheese pull. For the most dramatic presentation, use a blend of sharp cheddar, Monterey Jack, and a little queso fresco for salty contrast.
Remove the skillet from the oven or stove and let it rest for 5 minutes before serving. Resting allows the molten cheese to set slightly, so the first scoop holds together instead of sliding off the spoon, and it gives the rice time to absorb any remaining seasoned juices. Sprinkle with chopped fresh cilantro and sliced green onions for brightness and crunch. Serve family-style with sour cream, diced avocado, pickled jalapeños, and lime wedges on the side. A squeeze of lime cuts through the rich cheese and wakes up the smoky taco spices. Scoop into bowls or warm flour tortillas, or serve over a bed of shredded lettuce for a low-carb taco bowl. To store leftovers, cool completely, transfer to an airtight container, and refrigerate for up to 5 days; reheat with a splash of broth. This skillet is at its absolute best the moment the cheese is still stretching, but leftovers are fantastic stuffed into omelets or burritos.
For best results
- Choose the right rice: Ready rice is the secret to a true 30-minute skillet because it is already cooked and just needs to be heated through. If you only have raw rice, do not simply add it to this recipe—it will not cook evenly in the same amount of liquid. Instead, cook 1 cup of raw long-grain white rice in 2 cups of water or broth separately, then fold it into the skillet at the end. For a nuttier texture, use cooked brown rice or a wild rice blend, but add an extra splash of broth because brown rice is drier. Cauliflower rice works too, but reduce the simmer time to 3 minutes and drain the canned tomatoes well, otherwise the skillet becomes watery.
- Protein swap guide: Ground turkey or chicken can replace beef, but they are leaner and can dry out. Add an extra tablespoon of olive oil and reduce the browning time by 1 to 2 minutes. For a plant-based version, use 1 pound of crumbled extra-firm tofu or 2 cups of cooked lentils. If using tofu, press it for 15 minutes, crumble it, and season it with the taco spices before browning. Lentils are already cooked, so stir them in with the beans and rice and skip the browning stage. Each swap changes the protein and calorie count, but the flavor profile stays bold and taco-forward.
- Cheese strategy: The best cheese for melting is a blend of Monterey Jack, cheddar, and asadero or Oaxaca cheese. Pre-shredded bags often contain anti-caking agents that prevent smooth melting, so shred your own from a block for the most dramatic cheese pull. If you want a lighter option, use part-skim mozzarella or a reduced-fat Mexican blend, but melt it over low heat with the lid on to avoid rubbery texture. A sprinkle of cotija or feta on top after melting adds a salty, crumbly contrast that cuts through the richness.
- Make-ahead and meal prep: This skillet is a meal-prep champion. Cook the full recipe, cool it completely, and portion into airtight containers for up to 5 days in the refrigerator. To reheat, add a splash of broth or water, cover, and microwave in 1-minute bursts until steaming. The cheese will not be as stretchy after reheating, so if you plan to meal prep, hold back the final cheese topping and add it fresh after reheating. You can also freeze portions for up to 3 months; thaw overnight in the fridge before reheating. For a fresh weeknight shortcut, brown the beef and onions on Sunday, store them with the spices, and finish the skillet in 15 minutes on Wednesday.
- Troubleshooting texture: If your skillet turns out soupy, the rice may have been too wet or the tomatoes had extra juice. Uncover and simmer over medium-low heat for 3 to 5 minutes, stirring occasionally, until the liquid reduces. If it is too dry, add broth 2 tablespoons at a time. If the rice is mushy, you likely overcooked it; ready rice only needs to be heated through, not boiled. For a crispier bottom, after melting the cheese, let the skillet sit over medium heat for 2 minutes without stirring—this creates a golden, crunchy layer called socarrat that many people fight over.
- Flavor boosters: Taco seasoning packets vary wildly in sodium and spice, so taste before adding extra salt. For a fresher flavor, make your own blend: 2 teaspoons chili powder, 1 teaspoon ground cumin, 1 teaspoon smoked paprika, 1/2 teaspoon garlic powder, 1/2 teaspoon onion powder, 1/2 teaspoon dried oregano, 1/2 teaspoon kosher salt, and a pinch of cayenne. Add a teaspoon of cocoa powder or a splash of chipotle in adobo for smoky depth. A tablespoon of tomato paste, cooked with the garlic for 1 minute, adds a rich, concentrated tomato flavor that makes the dish taste like it simmered all day.
- Serving and pairing: This skillet is a full meal, but it loves company. Serve it with warm corn or flour tortillas, tortilla chips, or a simple cabbage slaw with lime and cilantro. For a high-protein plate, add a fried egg on top—the runny yolk creates a silky sauce. A side of Mexican street corn salad, sliced avocado, and pickled red onions turns it into a party. To drink, pair with a light lager, a citrusy agua fresca, or a virgin michelada. Leftovers are fantastic stuffed into omelets, wrapped in burritos, or spooned over nachos.
Variations
- High-Protein Ground Beef Taco Bowl: Turn the skillet into a bowl by serving it over shredded romaine or butter lettuce instead of extra rice. Add a scoop of nonfat Greek yogurt instead of sour cream, a quarter cup of fresh pico de gallo, and a sprinkle of cotija. This version boosts protein to nearly 45 grams per serving and keeps carbs lower. For meal prep, pack the lettuce separately and reheat the beef-rice mixture before adding the cold toppings.
- Green Chile Chicken Taco Rice Skillet: Swap the ground beef for 1 pound of boneless, skinless chicken thighs cut into bite-size pieces. Brown the chicken in olive oil for 5 minutes, then proceed with the recipe, adding 1/4 cup of chopped roasted Hatch green chiles with the beans. The chicken stays juicy, and the green chiles add a tangy, mild heat. Use pepper Jack cheese for extra kick and finish with lime and cilantro.
- Vegetarian Black Bean and Sweet Potato Skillet: Replace the beef with 2 cups of diced roasted sweet potato and an extra can of black beans. Sauté the sweet potato in olive oil until tender, about 8 minutes, then add the garlic, spices, corn, tomatoes, rice, and broth. The sweet potato adds natural sweetness and fiber, while the beans keep it hearty. Top with feta or vegan cheese and avocado.
- Chipotle Ranch Taco Rice Skillet: Stir 2 tablespoons of chipotle in adobo, minced, and 1/4 cup of ranch dressing into the beef mixture before adding the cheese. The smoky heat and creamy tang create a flavor that tastes like a loaded taco salad. Finish with crushed tortilla chips and diced tomatoes. This version is less traditional but wildly popular with kids and picky eaters.
- Low-Carb Cauliflower Rice Skillet: Substitute 4 cups of frozen riced cauliflower for the ready rice. Cook the beef and vegetables as directed, then add the cauliflower and simmer for only 3 to 4 minutes. Drain the canned tomatoes well and reduce the broth to 1/4 cup. The result is a lighter, keto-friendly skillet that still delivers taco flavor and melty cheese. Serve with extra lettuce and avocado.
Nutrition
- Calories520 kcal
- Total Fat22g
- Saturated Fat8g
- Cholesterol85mg
- Sodium720mg
- Total Carbohydrates45g
- Dietary Fiber6g
- Sugars4g
- Protein36g