
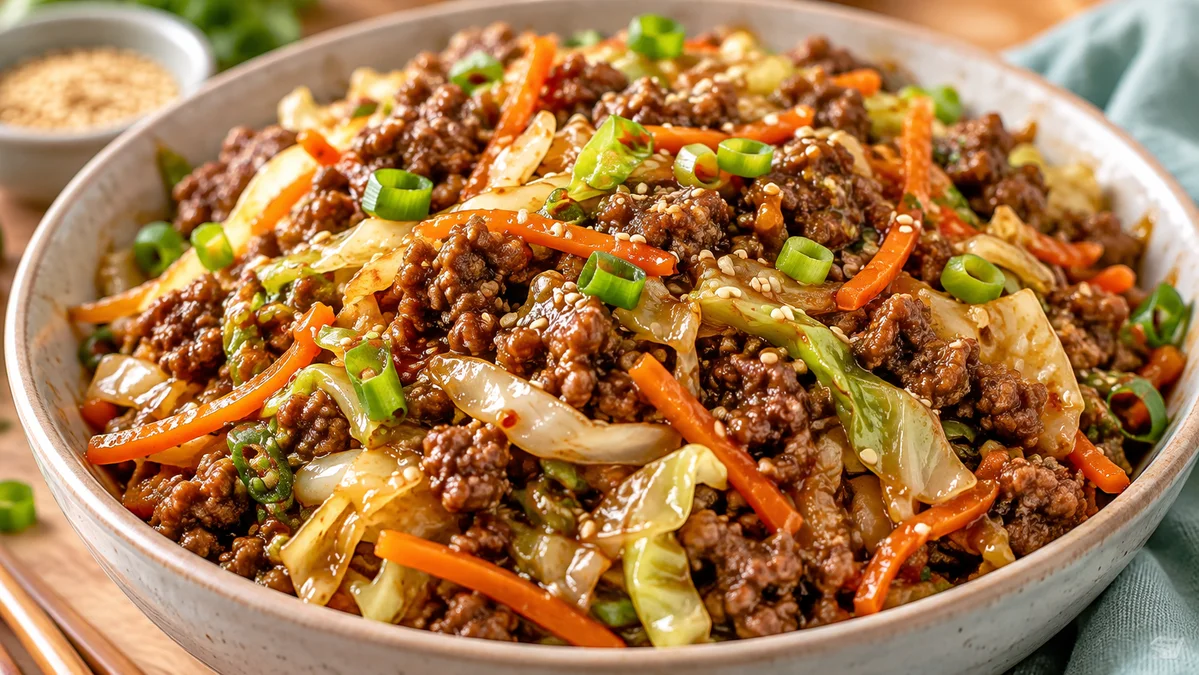
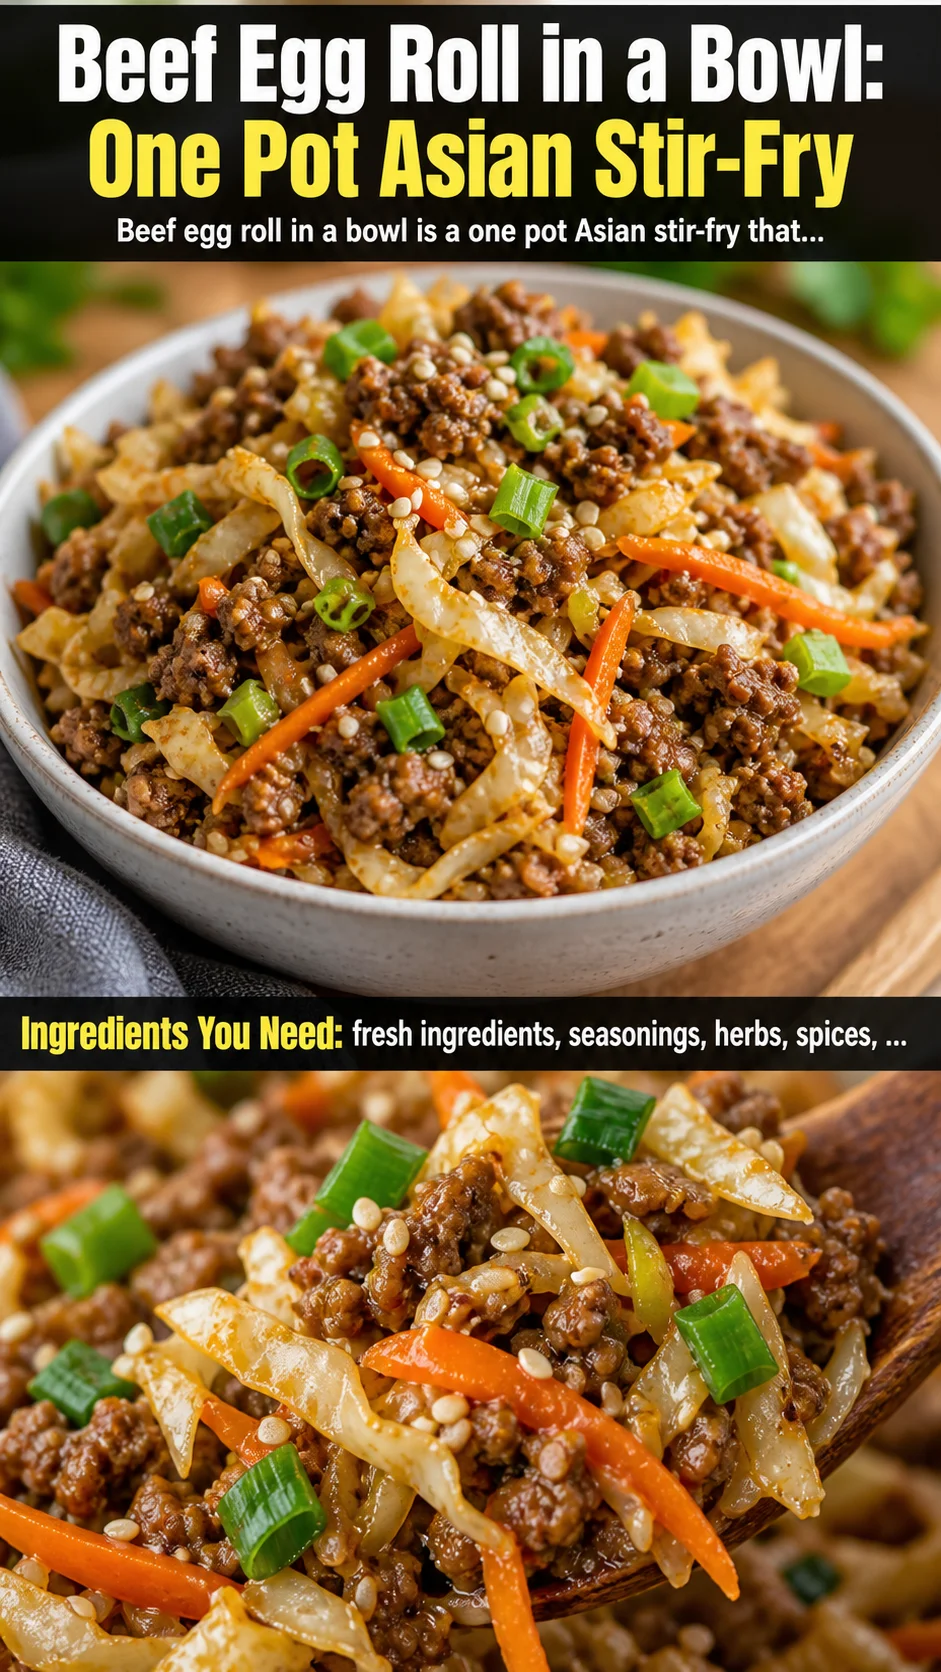
Beef egg roll in a bowl is a quick one pot Asian stir-fry ready in under 30 minutes. Juicy ground beef, crisp cabbage, and a savory sauce make a high-protein…
Ingredients
Instructions
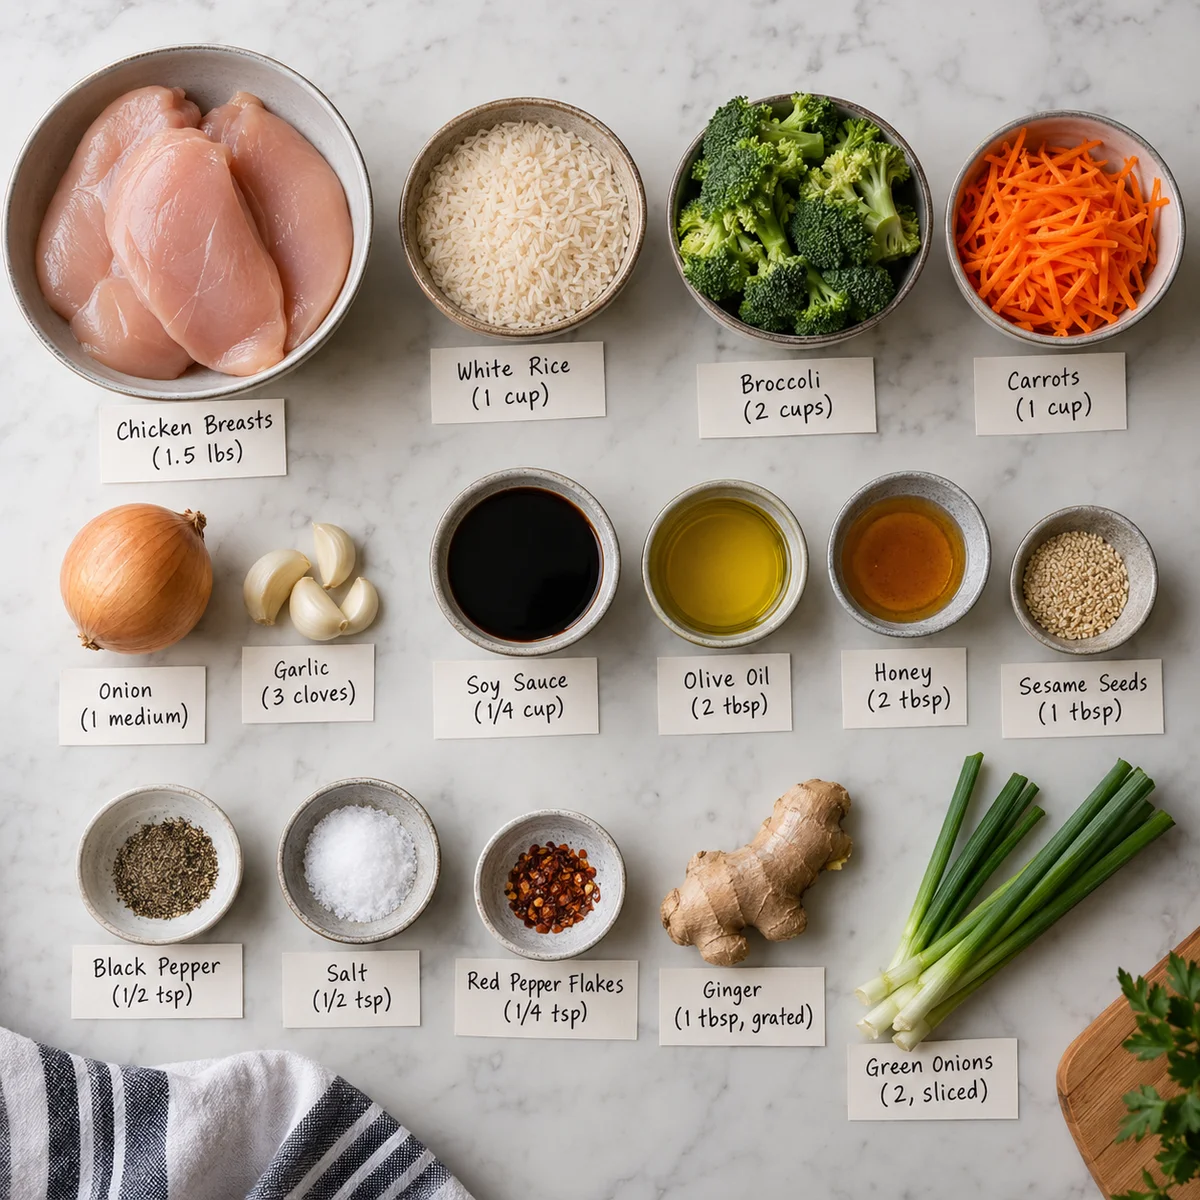
Begin by gathering and prepping every ingredient before the wok or skillet hits the heat. This is the single most important habit for a true 30-minute stir-fry: once the cooking starts, the window for chopping disappears. Thinly slice the onion, mince the garlic, grate the ginger, shred the cabbage, julienne the carrots, and slice the scallions, keeping the white and green parts separate because they go into the pan at different times. In a small bowl, whisk together the soy sauce, rice vinegar, brown sugar or honey, black pepper, and crushed red pepper flakes. If you want a glossier, restaurant-style sauce that clings to every strand of cabbage, whisk the cornstarch with cold water in a separate tiny bowl and set it nearby. Have the sesame oil, finishing sesame oil, and sesame seeds within arm’s reach. This setup—often called mise en place—prevents burning, ensures even cooking, and lets you move through the recipe with calm confidence instead of scrambling while the garlic scorches.
Place a large 12-inch skillet or wok over medium-high heat and let it get properly hot for 2 to 3 minutes. Add the toasted sesame oil or avocado oil and swirl it around the pan. The oil should shimmer but not smoke; if it starts smoking aggressively, lower the heat slightly. Add the ground beef and press it into an even layer. Let it sear undisturbed for 2 minutes, then break it into small, juicy crumbles with a wooden spoon or spatula. You are looking for a deep brown crust in spots—those browned bits are pure flavor. Continue cooking for 4 to 5 minutes, until the beef is mostly cooked through but still glossy. If your beef releases a lot of fat, carefully spoon off all but about 1 tablespoon so the final dish tastes rich, not greasy. If you are using 93/7 or leaner beef, add an extra teaspoon of oil to keep the vegetables from sticking.
Push the browned beef to the outer edge of the skillet, creating a hot clearing in the center. Add the sliced onion and cook for 1 minute, stirring just the onion in the open space so it begins to soften and turn translucent. Add the minced garlic and grated ginger directly into the center and stir constantly for 30 to 45 seconds. The garlic should smell sweet and nutty, never sharp or bitter; if it starts to brown too quickly, immediately add a splash of soy sauce or a tablespoon of water to stop the cooking. Once the aroma is intensely fragrant, toss the aromatics together with the beef. This step builds the foundational flavor of the entire bowl, so take the extra 30 seconds to bloom the ginger and garlic in the hot fat rather than dumping them in with the cabbage.
Add the shredded green cabbage and julienned carrots to the skillet. The pan will look wildly full at first—do not panic. Use tongs or two spatulas to toss the vegetables with the beef, lifting from the bottom and folding over the top. If your skillet is crowded, cook the cabbage in two batches or use a very large wok; overcrowding steams the vegetables instead of searing them, which makes them soggy. Cook for 3 to 4 minutes, tossing every 30 seconds. You want the cabbage to wilt slightly but retain a tender-crisp bite, and the carrots to brighten in color and soften just a touch. The cabbage should shrink by about half. If you see liquid pooling at the bottom, increase the heat to high for 30 seconds to evaporate it.
Pour the whisked soy sauce mixture evenly over the beef and vegetables. Toss thoroughly so every piece is coated in the savory, tangy sauce. Let the mixture come to a gentle simmer for 1 to 2 minutes. This brief simmer melds the flavors and reduces the sauce slightly so it becomes more concentrated. Taste a piece of cabbage and a crumble of beef. The sauce should taste savory, lightly sweet, and aromatic. If it tastes flat, add a teaspoon more soy sauce or a pinch of salt. If it tastes too salty, add a tiny splash of rice vinegar or a pinch of brown sugar. If you are using the cornstarch slurry, give it a quick stir and drizzle it in now, tossing constantly; the sauce will visibly thicken and turn glossy within 30 seconds.
Turn off the heat and stir in the white parts of the scallions and the finishing teaspoon of toasted sesame oil. The residual heat will soften the scallions just enough while keeping their mild onion bite. Add the bean sprouts or purple cabbage now if you are using them, tossing just until warmed through—they should keep their crunch. The final texture should be a harmonious mix of juicy beef, silky sauce, and crisp-tender vegetables. Let the dish rest in the skillet for 2 minutes so the sauce settles into every crevice. This short rest makes the bowl taste more cohesive and prevents the sauce from running to the bottom of the plate.
Serve the beef egg roll in a bowl immediately in shallow bowls so the sauce stays evenly distributed. Spoon it over steamed jasmine rice, cauliflower rice, or shredded lettuce for a low-carb lettuce-cup situation. Garnish generously with the reserved green scallions and a sprinkle of toasted sesame seeds. For extra heat, offer sriracha, chili crisp, or a drizzle of chili garlic sauce on the side. If you are meal prepping, divide the mixture into four airtight containers and let it cool completely before sealing. It refrigerates beautifully for up to 4 days and reheats gently in a skillet or microwave with a splash of water to keep the sauce loose. The flavors actually deepen overnight, making it a fantastic next-day lunch.
For best results
- Choose the right ground beef for the juiciest result. I prefer 85/15 because it has enough fat to create flavorful browned bits and keep the lean meat moist, but not so much that the final bowl turns greasy. If you only have 93/7 or 90/10, add an extra teaspoon of oil to the pan and be careful not to overcook the beef, since leaner meat dries out faster. For a splurge, 80/20 is incredibly juicy and restaurant-like, but you will need to drain off more fat after browning. Grass-fed beef works beautifully too; just watch it closely because it can cook a bit faster and has a slightly mineral, beefier flavor that stands up well to the ginger and soy.
- The secret to tender-crisp cabbage is high heat, a dry surface, and no overcrowding. Shred the cabbage and pat it dry if it feels wet, because excess moisture will steam the vegetables instead of searing them. Use the largest skillet or wok you own—12 inches minimum—and cook in two batches if needed. The cabbage should hit the pan and sizzle, not sit in a puddle. Toss frequently but not constantly; allowing brief contact with the hot pan creates those lightly caramelized edges that mimic the crispy bits inside a fried egg roll. If you want an even more authentic egg-roll texture, add a handful of shredded carrot and cabbage that you have very lightly salted and squeezed dry.
- Build the sauce in a bowl before you start cooking, and taste it with your finger or a spoon. The perfect egg-roll sauce balances salty, tangy, sweet, and aromatic. Low-sodium soy sauce or tamari gives depth without overwhelming saltiness. Rice vinegar adds the bright tang you taste in traditional egg roll dipping sauce. Brown sugar or honey rounds out the edges and helps the sauce caramelize slightly. Toasted sesame oil is not optional in my kitchen—it is the unmistakable aroma that makes the dish taste like takeout. If you are gluten-free, use tamari or coconut aminos and adjust the sugar because coconut aminos are sweeter and less salty. If you are watching sodium, start with 3 tablespoons of soy sauce and add more only after tasting.
- To make the sauce glossy and clingy, use the optional cornstarch slurry. Without it, the sauce is delicious but thin and tends to pool at the bottom of the bowl. With it, every piece of cabbage and beef gets a velvety coating that looks like it came from a restaurant wok. The key is to mix cornstarch with cold water first—never add dry cornstarch directly to hot liquid, or it will clump into unpleasant globs. Add the slurry at the very end, while the pan is still on the heat, and toss constantly for 30 seconds. The sauce will visibly thicken. If you are avoiding corn, arrowroot starch or tapioca starch works the same way, though arrowroot thickens at a slightly lower temperature.
- Meal prep magic: this recipe doubles beautifully and actually tastes better the next day. Cook the full recipe, cool it completely uncovered on a sheet pan for 15 minutes, then portion into glass containers. Store the green scallions and sesame seeds separately so they stay fresh and crunchy. When reheating, add a teaspoon of water per serving and warm gently in a skillet over medium-low heat or in the microwave covered with a damp paper towel. The cabbage will soften slightly, but the flavor deepens and the beef stays juicy. It is one of my favorite high-protein lunches to pack for work because it holds up well and does not need to be reheated to taste good—it is excellent cold or at room temperature, almost like an Asian-inspired salad.
- Troubleshooting common issues: If your dish turns out watery, the cabbage released too much moisture. Next time, cook it in a hotter pan, in smaller batches, and drain the beef fat before adding the vegetables. If it is too salty, add a squeeze of lime or rice vinegar, a pinch of sugar, and more plain cabbage or cauliflower rice to absorb the salt. If the garlic burned and tastes bitter, start over with fresh aromatics—there is no fixing burnt garlic. If the beef is tough, you likely overcooked it; next time remove it from the pan as soon as it is no longer pink and add it back at the end. If the cabbage is mushy, you cooked it too long or crowded the pan; aim for 3 to 4 minutes of fierce heat.
- Ingredient sourcing and substitutions: Fresh ginger and garlic make a noticeable difference, but in a pinch, jarred minced garlic and ginger paste work fine—use 1 teaspoon of paste for the ginger and 1 teaspoon of jarred garlic. For the cabbage, a coleslaw mix with shredded carrots is a brilliant shortcut that saves 10 minutes of prep. Look for bags that contain only cabbage and carrots, without dressing. If you cannot find green cabbage, Savoy cabbage or Napa cabbage works well; Napa is more tender and cooks faster, so reduce the cook time by 1 minute. For the protein, ground chicken, turkey, pork, or even crumbled tofu can replace the beef. If using tofu, press it for 15 minutes, crumble it, and add an extra tablespoon of oil to the pan.
Variations
- Spicy Sriracha Beef Egg Roll Bowl: Whisk 1 to 2 tablespoons of sriracha or chili garlic sauce into the soy sauce mixture, and finish the dish with a drizzle of chili crisp and thinly sliced fresh jalapeño. This version has a fiery, garlicky kick that pairs beautifully with the sweet cabbage and savory beef. If you want to keep the heat mild but still add complexity, use 1 teaspoon of sambal oelek and a pinch of red pepper flakes. The residual heat from the sauce will mellow the raw jalapeño slightly, so it stays crunchy and bright. Serve with extra sriracha on the side for heat lovers.
- Low-Carb Cauliflower Rice Bowl: Swap the steamed jasmine rice for cauliflower rice, either homemade or frozen. To keep it from getting watery, sauté the cauliflower rice in a separate dry skillet over medium-high heat for 3 to 4 minutes until lightly toasted and moisture-free, then season with a pinch of salt and a drop of sesame oil. Spoon the beef and cabbage mixture over the top. This variation cuts the net carbs dramatically and keeps the meal high-protein and keto-friendly. It is also a great way to sneak extra vegetables into a picky eater's dinner without any complaints.
- Ground Chicken or Turkey Version: Replace the ground beef with 1 pound of ground chicken or 93/7 ground turkey. Because these meats are leaner, add an extra tablespoon of avocado oil to the pan and cook them the same way, breaking them into small crumbles. To keep the flavor bold, add an extra teaspoon of soy sauce and a teaspoon of oyster sauce or hoisin sauce to the sauce mixture. The result is a lighter, slightly sweeter bowl that still tastes like an egg roll. This is my go-to when I want a very lean, high-protein meal that still feels satisfying and takeout-inspired.
- Vegetarian Tofu and Mushroom Egg Roll Bowl: Crumble 14 ounces of extra-firm tofu that has been pressed for at least 15 minutes, or use 8 ounces of finely chopped mushrooms plus 1 cup of cooked lentils. Sauté the tofu or mushrooms in sesame oil until deeply golden, then proceed with the aromatics and cabbage. Add 1 tablespoon of hoisin sauce and 1 teaspoon of rice vinegar to the sauce to mimic the savory depth of beef. For a vegan version, use maple syrup instead of honey and tamari instead of soy sauce. The mushrooms add an earthy, meaty texture, while the tofu soaks up the sauce like a sponge.
- Egg Roll in a Bowl with Crispy Wonton Strips: For a fun, crunchy twist that mimics the fried wrapper of a classic egg roll, thinly slice 6 wonton wrappers into strips and fry them in 1/2 inch of neutral oil until golden and crispy, about 45 seconds. Drain on paper towels and sprinkle with salt. Scatter the crispy strips over the finished bowls just before serving. This adds a satisfying crunch and makes the dish feel festive enough for a weekend dinner. If you prefer a lighter option, toast panko breadcrumbs in a dry skillet with a teaspoon of sesame oil and sprinkle those on top instead.
Nutrition
- Calories410 kcal
- Total Fat24g
- Saturated Fat8g
- Cholesterol85mg
- Sodium780mg
- Total Carbohydrates18g
- Dietary Fiber5g
- Sugars9g
- Protein32g