
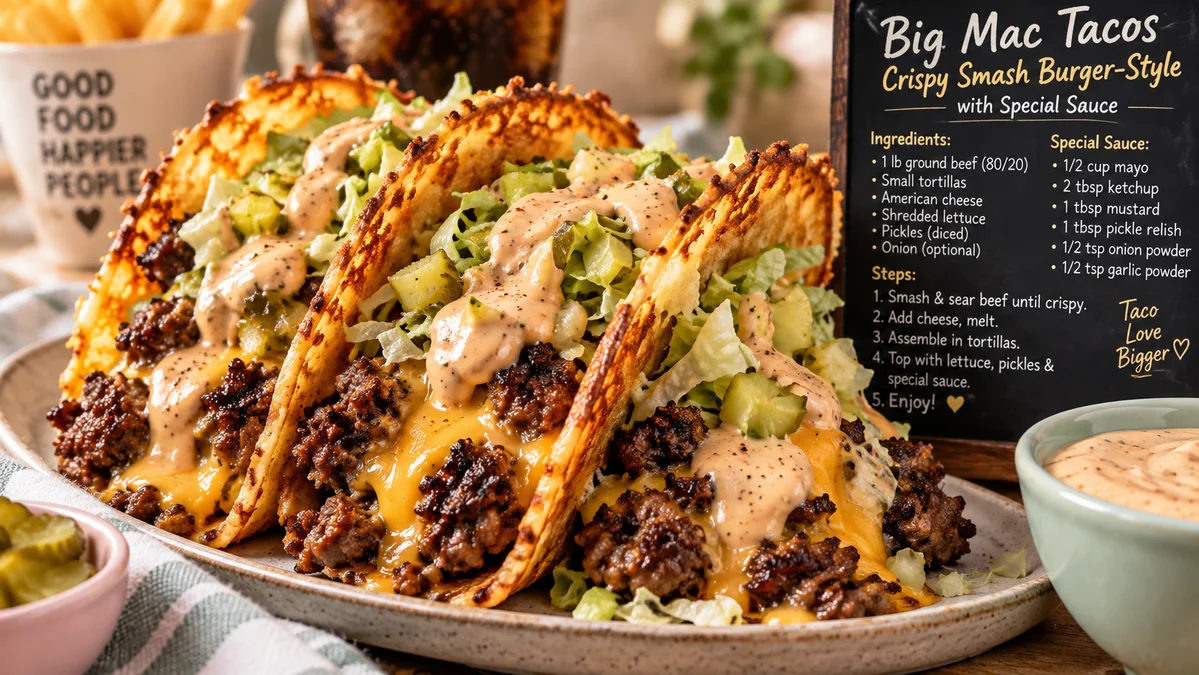
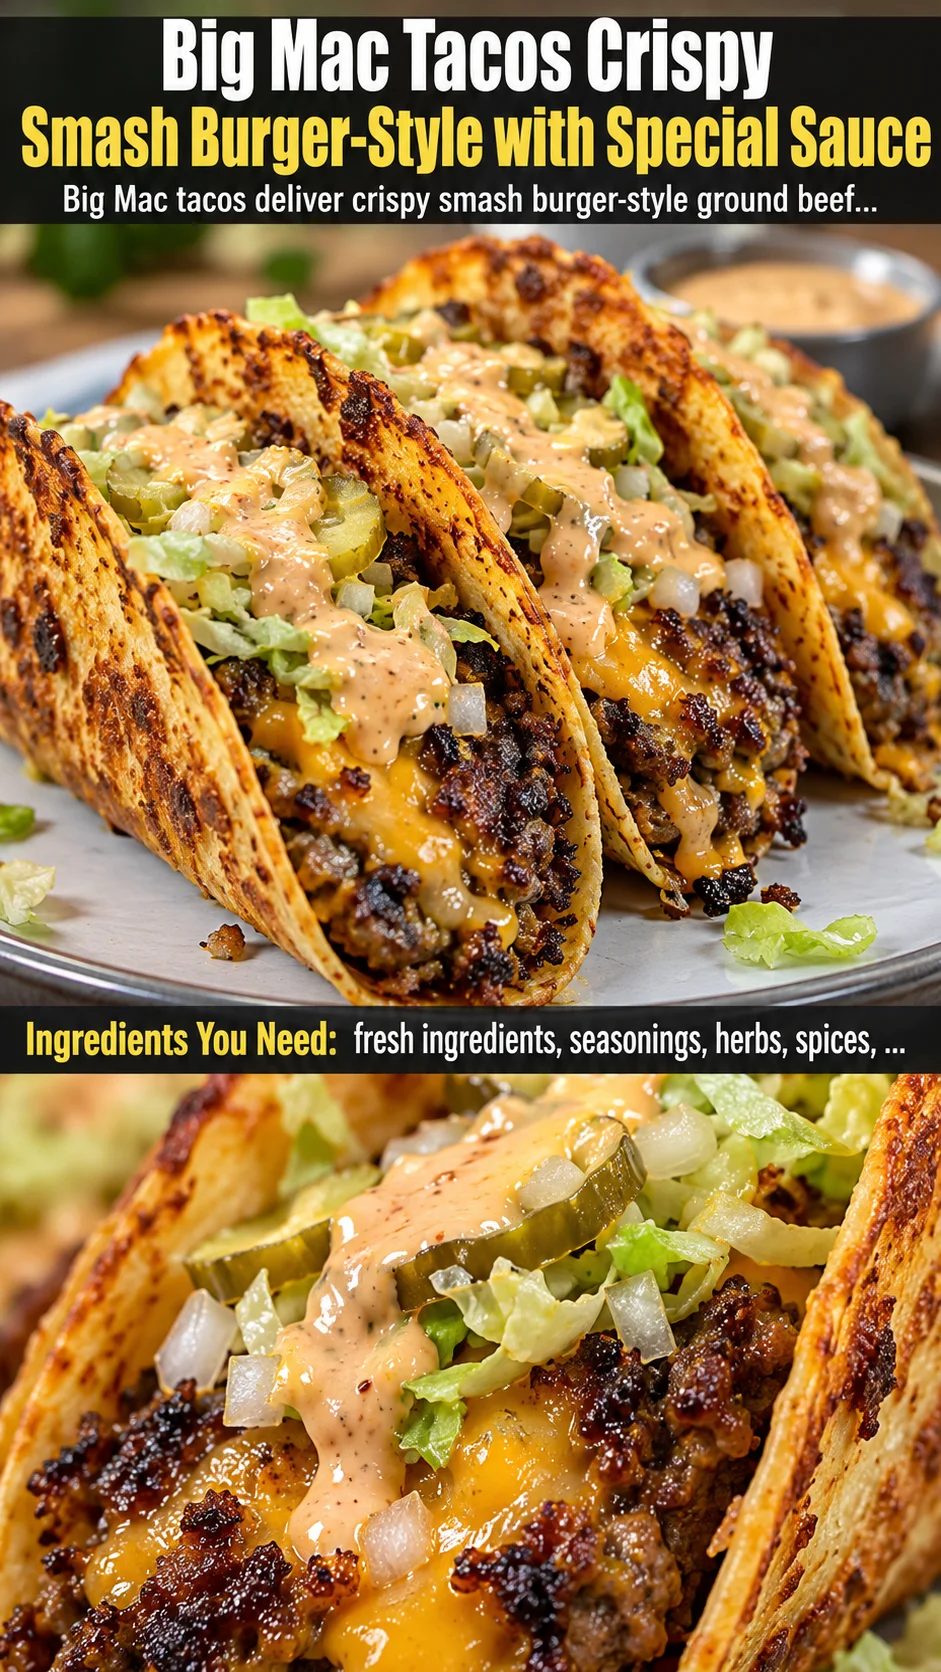
Big Mac tacos pack crispy smash burger-style ground beef and creamy special sauce into a 20-minute taco. An easy weeknight dinner and high-protein family meal.
Ingredients
Instructions
Start by gathering every ingredient and laying it out on the counter, because this recipe moves fast once the skillet is hot and there is no time to hunt for the relish in the back of the fridge. Pull your ground beef out of the refrigerator about ten minutes ahead so it loses its chill, but keep it cold enough that the fat is still firm. Divide the beef into eight equal portions of roughly 2 ounces (57 g) each and roll them into loose balls. Do not overwork or compact the meat; loose, shaggy balls smash into craggy patties with far more crispy surface area. Set out your eight tortillas, four slices of cheese, shredded lettuce, diced onion, and chopped pickles in small bowls so assembly becomes a two-minute sprint at the end.
Whisk together the special sauce in a small bowl: mayonnaise, ketchup, yellow mustard, sweet pickle relish, white vinegar, onion powder, garlic powder, smoked paprika, salt, and pepper. Whisk vigorously for about 30 seconds until the sauce turns a uniform pale pink-orange and no streaks of mayonnaise remain. The vinegar and relish are the secret weapons here; the vinegar cuts through the richness of the mayo while the relish delivers those sweet-tart pops that make a Big Mac taste like a Big Mac. Taste it now and adjust: if it feels flat, add a few more drops of vinegar; if it is too tangy, a pinch more ketchup. Cover and refrigerate while you cook, because a cold sauce against hot beef creates the temperature contrast that makes these tacos so satisfying.
Prep your toppings into small bowls so they are ready to fly onto the tacos the second the cheese melts. Shred the iceberg lettuce as thinly as you can with a sharp knife, then pat it dry with a paper towel; wet lettuce will steam the crispy beef and turn your taco soggy within minutes. Dice the white onion finely so no single bite overpowers the rest, and slice the pickles into thin coins rather than chunks so they distribute evenly. If you are feeding kids or picky eaters, keep each topping in its own bowl and let everyone build their own. This is also the moment to warm your tortillas: stack them on a microwave-safe plate, cover with a damp paper towel, and zap for 30 to 45 seconds until pliable and steamy. Warm tortillas fold without cracking and hold up to the smash technique far better than cold ones.
Heat a large cast-iron or heavy nonstick skillet over medium-high heat for a full two to three minutes, then add just a thin film of neutral oil. You want the pan genuinely hot before the beef touches it, because a hot pan is what creates the Maillard reaction, the browning that builds that deep, savory crust. Working in batches of two or three so the pan never crowds, place a beef ball directly onto the hot surface and immediately press a tortilla firmly on top, flat side down. Using a sturdy spatula or the bottom of a small saucepan, press hard for about 10 seconds, smashing the beef into a thin, even layer that fuses right onto the tortilla. You should hear a loud, aggressive sizzle; if you hear nothing, the pan is not hot enough.
Let the beef-tortilla stack cook undisturbed for 2 to 3 minutes. Resist the urge to peek or poke. During this time the beef will turn from pink to gray-brown and then develop lacy, dark brown crispy edges, which is exactly what you are looking for. You will see the edges of the tortilla begin to toast and puff slightly. Once the meat is cooked through and the crust has formed, season the beef lightly with salt and pepper, then slide your spatula underneath the tortilla and flip the whole stack in one confident motion so the tortilla side is now facing down and the beef is on top. Cook for 30 to 60 seconds more so the tortilla crisps and the beef finishes cooking through.
While the beef side is facing up, immediately drape half a slice of American cheese over the hot meat. American cheese is the classic choice because its emulsifying salts make it melt into an oozy, glossy blanket rather than separating into greasy pools. Let it sit for 20 to 30 seconds off the direct heat or cover the pan briefly with a lid so the cheese melts fully and droops over the crispy edges. If you are cooking in batches, transfer finished tacos to a sheet pan in a 200F (95C) oven to stay warm and melty while you finish the rest. For a smokier, sharper flavor, swap in sharp cheddar, but grate it first so it melts evenly.
Now build the taco fast, because everything is at peak texture for only about a minute. Spoon or squeeze a generous ribbon of the chilled special sauce down the center of the melted cheese, then pile on shredded lettuce, diced onion, and pickle coins. Sprinkle sesame seeds over the top, which is a small touch that dramatically boosts the burger-shop aroma. Fold or leave it open-faced depending on how much filling you piled on. Serve immediately on a plate with extra special sauce on the side for dipping. These are best eaten with your hands and a napkin nearby.
Serve these Big Mac tacos the moment they are built, ideally with a side of crispy air-fryer fries, a simple shredded cabbage slaw, or a pile of dill pickle spears. Leftover components keep beautifully if stored separately: the cooked beef patties and tortillas can be refrigerated in an airtight container for up to 3 days and reheated in a dry skillet over medium heat for 2 to 3 minutes per side to bring back some crisp. The special sauce lasts up to 5 days refrigerated, and the shredded lettuce and diced onion should be stored separately and used within 2 days for the freshest crunch. Never refrigerate a fully assembled taco, as the sauce and lettuce will break down the crispy crust and leave you with a soggy, disappointing bite.
For best results
- Choose your beef with intention. An 80/20 lean-to-fat ratio is the sweet spot for smash tacos because the fat renders out during the sear and essentially fries the beef into that shatteringly crispy lace-edged crust. Leaner 90/10 beef works but stays drier and browns more reluctantly, so add a teaspoon of oil to the pan and press a little harder. Never use extra-lean beef for this recipe unless you are willing to sacrifice the signature crunch that makes it taste like a burger-shop smash patty rather than a plain taco filling.
- Get your pan genuinely hot before the beef goes in, and give it time to recover between batches. Cast iron is ideal because it holds heat and delivers an even, aggressive sear, but a heavy nonstick or carbon steel skillet works too. The number one reason home cooks end up with gray, steamed beef instead of a crispy crust is a lukewarm pan or an overcrowded batch. Cook two to three tacos at a time maximum, and let the pan sit for a minute to reheat before the next round.
- Dry your lettuce thoroughly because water is the enemy of crunch. Wash the iceberg, then spin it in a salad spinner or wrap it in a clean kitchen towel and press gently before shredding. Sturdy, crisp iceberg or romaine holds up best; delicate spring mix wilts under the weight of the hot beef and sauce. If you are making these for a crowd, keep the shredded lettuce in an ice bath until the very last second so it stays icy and snappy.
- Make the special sauce at least 20 minutes ahead, and honestly, a few hours is better. The relish, vinegar, and spices need time to bloom and marry with the mayonnaise, and the sauce thickens slightly as it chills, which helps it cling to the beef instead of sliding off. It also keeps for five days in an airtight jar, so double or triple the batch and use it all week on burgers, sandwiches, wraps, and even as a fry dip.
- Smash with the right tool for control. A flat-bottomed metal spatula or the base of a small heavy saucepan gives you leverage to press the beef thin and even in one motion. Press with steady downward force for about ten seconds rather than repeatedly poking at it; repeated smashing pushes juices out and leaves you with dry, crumbly meat. If the beef sticks to your spatula, the pan is not hot enough or the meat is too warm.
- Watch your salt timing. Salt the beef after it hits the pan rather than mixing it into the raw meat ahead of time. Salt draws moisture to the surface, and moisture is the enemy of a good sear; pre-salting can leave you with a gray, watery patty. A light sprinkle immediately after the flip seasons the meat perfectly while preserving that golden-brown crust.
- Batch strategically for a family on a budget. This recipe feeds four generously for under ten dollars, especially if you buy ground beef on sale and freeze in one-pound portions, use store-brand tortillas, and make the sauce from pantry condiments you already own. To stretch it further, add a can of drained black beans mashed into the beef, which bulks up the filling without sacrificing flavor or protein.
- Handle cheese like a pro. American cheese melts best because of its emulsifying salts, but if you prefer sharp cheddar, white American, or pepper jack, grate or slice it thinly and add it while the beef is still sizzling so it has a chance to melt. Cold cheese dropped onto a cooled taco will just sit there stubbornly. If you are dairy-free, a good vegan melting cheese or a spoonful of nutritional yeast sauce works surprisingly well.
Variations
- Big Mac Taco Bowl (High-Protein Version): Skip the tortilla entirely and spoon the crispy smashed beef over a base of cauliflower rice, shredded romaine, or riced broccoli. Add a scoop of cooked quinoa or a half cup of black beans for extra fiber and complex carbs, then drizzle generously with the special sauce and finish with sesame seeds. This version clocks in around 40 grams of protein per bowl while cutting the carbs dramatically, making it a perfect fit for anyone building a high-protein ground beef taco bowl for meal prep. Portion it into four containers with the sauce in a separate small cup so it stays crisp until lunch the next day.
- Turkey or Chicken Smash Tacos: Ground turkey or ground chicken works beautifully here, but because both are much leaner than beef, they benefit from a little help. Mix a tablespoon of olive oil and a teaspoon of Worcestershire sauce into the raw meat, and grease your skillet a touch more generously than you would for beef. The cook time stays nearly identical, but expect a lighter color and a slightly less pronounced crust. For the biggest flavor boost, use ground chicken thighs rather than breast if you can find them, and season the patties with an extra pinch of smoked paprika before flipping.
- Taco Bell Crunchwrap Style: Take this concept to its logical extreme by wrapping a finished Big Mac taco inside a large burrito-size flour tortilla along with a tostada shell for crunch, then searing the whole bundle seam-side down in the skillet for 2 minutes until golden. The result is a portable, handheld meal with a crispy tostada core, molten cheese, and that creamy special sauce, all sealed inside a toasted outer shell. It is a fantastic option for lunchboxes, road trips, or game-day spreads because it holds heat and structure far better than an open taco.
- Spicy Jalapeno Bacon Version: Crisp four slices of bacon, crumble them, and set aside, then use a teaspoon of the rendered bacon fat to sear the beef for an unmistakable smoky depth. Add pickled jalapeno slices to the special sauce along with a quarter teaspoon of cayenne, and finish each taco with the bacon crumbles and a few fresh jalapeno rings. The combination of cool creamy sauce, salty bacon, and sharp jalapeno heat turns this weeknight dinner into something restaurant-worthy. For a vegetarians swap, use crispy crumbled tempeh or plant-based ground with the same bacon-free seasoning blend.
- Lighter Greek-Style Remix: Swap the American cheese for crumbled feta, replace the lettuce with a quick cucumber and tomato salad tossed in lemon juice, and build the sauce on Greek yogurt instead of mayonnaise with a hit of dill and garlic. The smashed beef method stays exactly the same, so you still get that irresistible crispy edge, but the overall plate feels brighter and fresher. Serve it in a warm pita or on a bed of orzo for a Mediterranean-inspired twist that still comes together in under 25 minutes on a busy weeknight.
Nutrition
- Calories520 kcal
- Total Fat34g
- Saturated Fat10g
- Cholesterol85mg
- Sodium780mg
- Total Carbohydrates28g
- Dietary Fiber2g
- Sugars5g
- Protein26g