
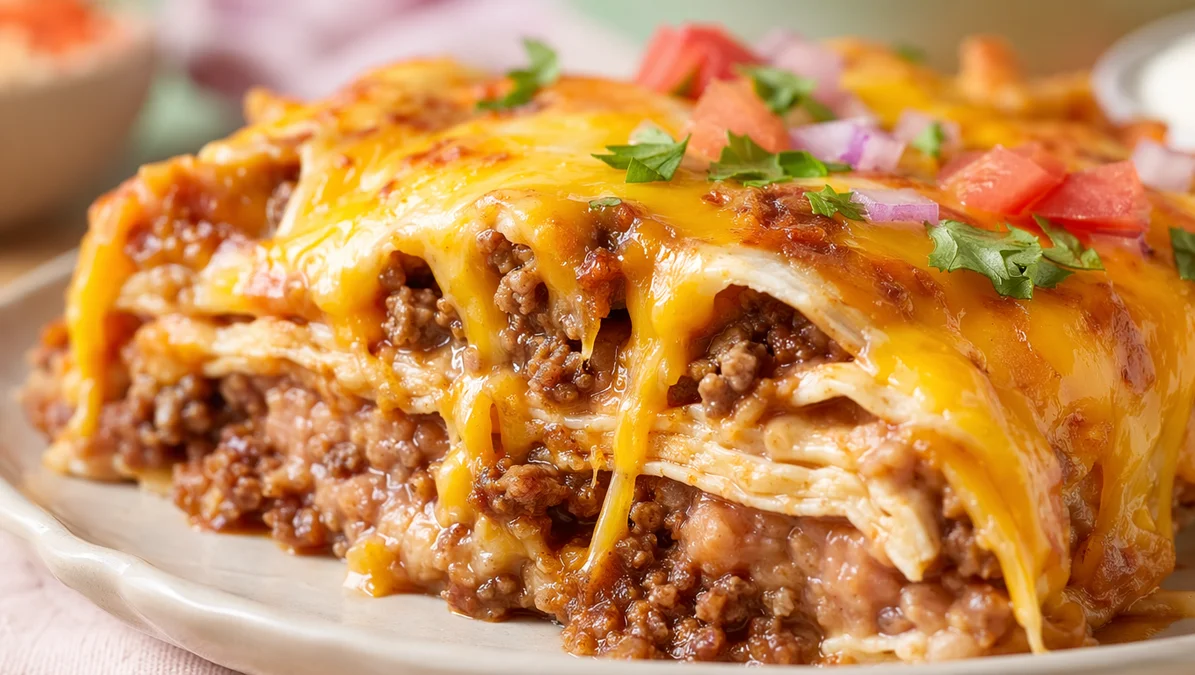
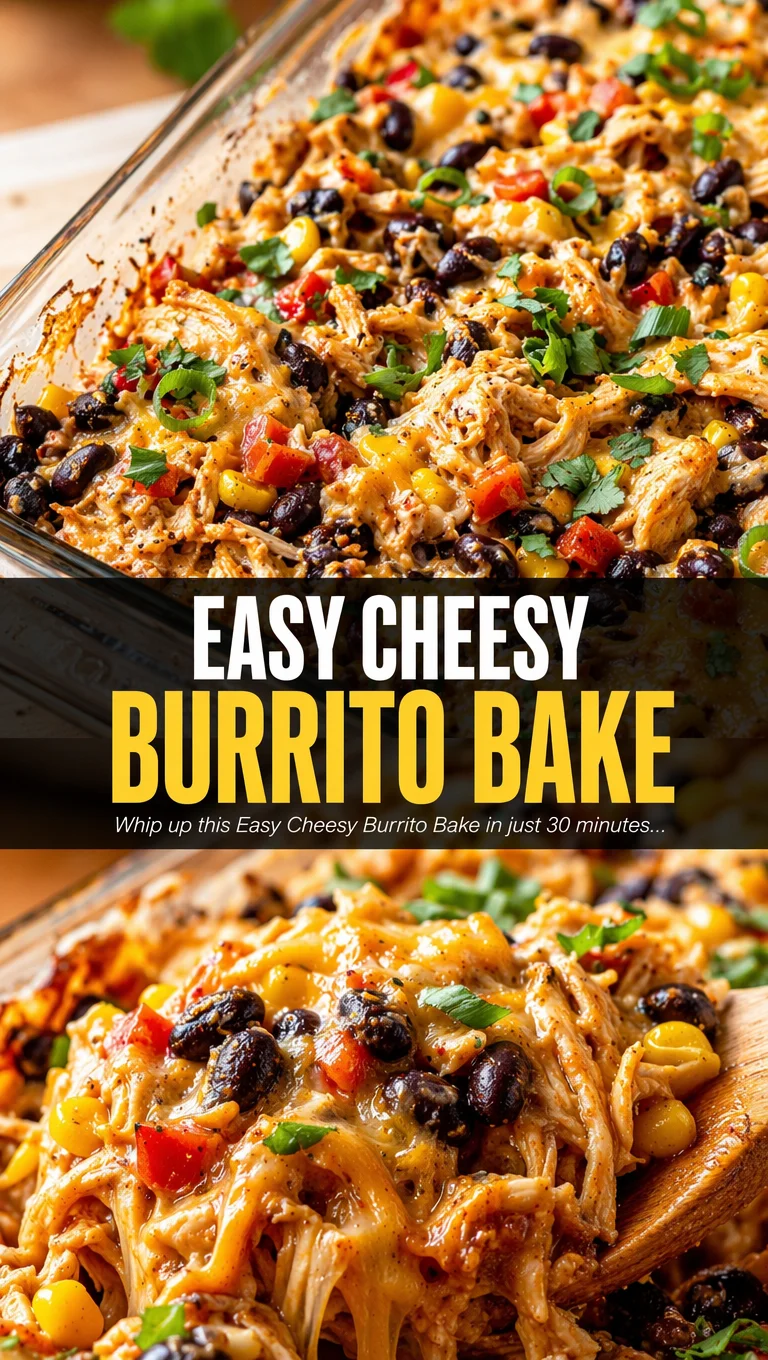
This Easy Cheesy Burrito Bake layers seasoned ground beef, refried beans, and tortillas under a blanket of melted cheddar. Ready in 30 minutes, it's a high-protein, budget-friendly family dinner.
Ingredients
Instructions
Preheat your oven to 375°F (190°C). While the oven heats, place a large (12-inch) oven-safe skillet or sauté pan over medium-high heat. Add the ground beef and cook, breaking it apart with a wooden spoon, until browned and no longer pink—about 5 to 7 minutes. You want a deep brown color for maximum flavor, so resist the urge to stir constantly; let the meat sear in spots. If there’s excess fat (more than 1 tablespoon), carefully spoon it out or tilt the pan and blot with paper towels. Reduce heat to medium, then add the diced onion and minced garlic. Cook for 2 to 3 minutes, stirring occasionally, until the onion softens and becomes translucent. The garlic should be fragrant but not burnt—if it browns too quickly, lower the heat. Sprinkle the taco seasoning over the meat mixture and stir to coat evenly. Pour in the ½ cup of water and the drained green chiles. Bring to a simmer and cook for 2 to 3 minutes, stirring occasionally, until the liquid thickens slightly and coats the meat. Remove from heat. This step builds the savory, spiced base that will flavor every layer.
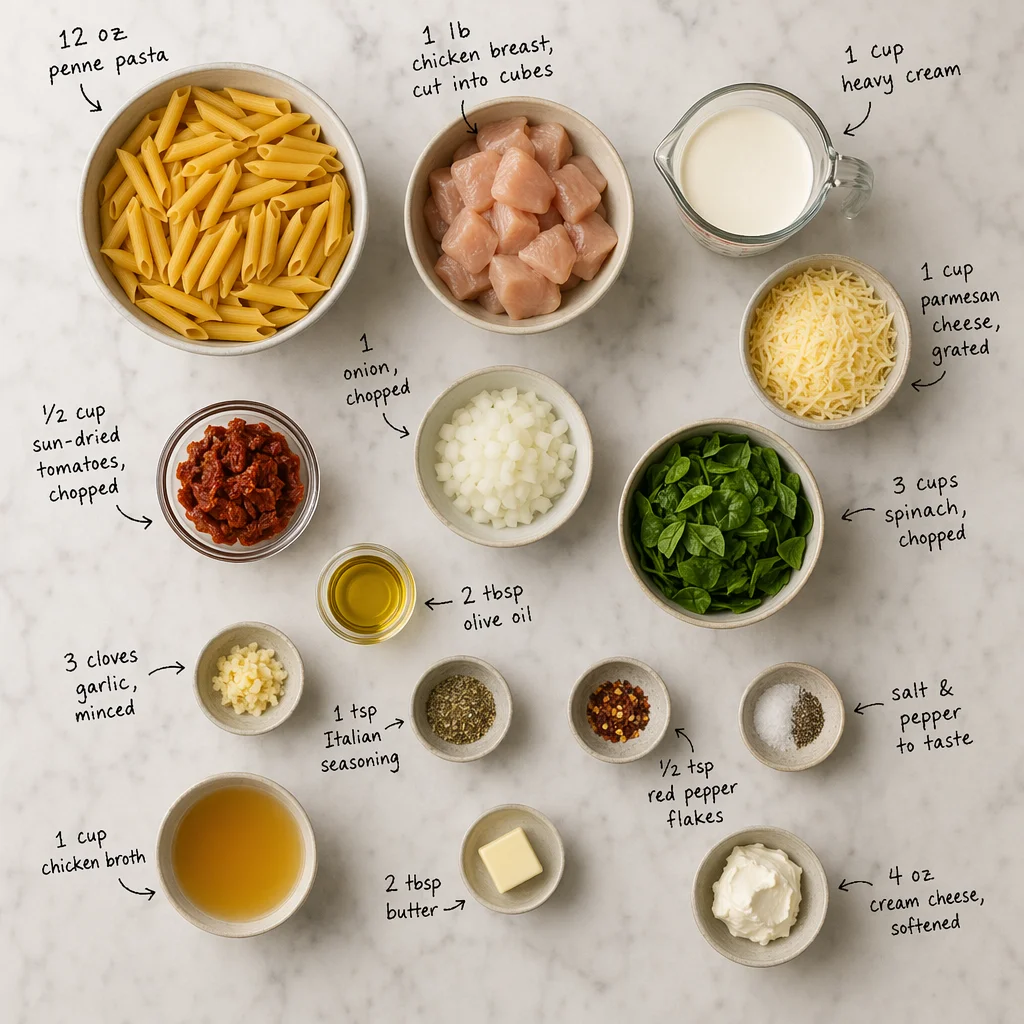
Now it’s time to layer. If you’re using the same oven-safe skillet, spread about ⅓ cup of the refried beans directly onto the bottom of the skillet to create a thin, even layer. If you’re using a separate 9×13-inch baking dish, lightly grease it with nonstick spray or a dab of oil. Place two tortillas in the bottom, overlapping slightly to cover the surface. Spoon half of the seasoned beef mixture over the tortillas and spread evenly. Drop spoonfuls of half the remaining refried beans over the beef (about ½ cup) and gently spread. Sprinkle one-third of the shredded cheddar cheese over the beans. Repeat with two more tortillas, the rest of the beef, the remaining refried beans, and another third of the cheese. Top with the final two tortillas and finish with the remaining cheese. Press down gently with a spatula to compact the layers—this helps the casserole hold together when sliced.
Transfer the skillet or baking dish to the preheated oven. Bake uncovered for 15 to 18 minutes, or until the cheese is fully melted, bubbly, and starting to turn golden brown in spots. For a deeper golden crust, switch the oven to broil for the last 1 to 2 minutes—watch closely to avoid burning. The internal temperature should reach 165°F (74°C) if you’re using a food thermometer. Let the casserole rest on a wire rack for 5 minutes before cutting. This resting period allows the layers to set, so your slices come out clean rather than sliding apart. Use a sharp chef’s knife or a bench scraper to cut into 6 squares. Serve hot with your favorite toppings: a dollop of sour cream, a spoonful of salsa, fresh cilantro, or diced avocado. The contrast of cool, creamy toppings with the warm, cheesy casserole is absolutely irresistible.
For best results
- For the best flavor, use freshly shredded sharp cheddar cheese. Pre-shredded cheese often contains anti-caking agents like cellulose or potato starch, which prevent it from melting smoothly into a creamy, cohesive layer. Shredding a block of cheddar yourself takes just a few minutes and yields a much silkier melt that clings beautifully to the tortillas and beef. If you're short on time, look for 'artisan shreds' in the deli section, which typically have fewer additives.
- Don't skip the step of draining the green chiles. The liquid in the can is mostly water and can make your casserole soggy. Simply empty the chiles into a fine-mesh strainer and press gently with a spoon to remove excess moisture. If you prefer a milder heat, use mild green chiles; for more kick, opt for hot Hatch chiles or add a minced jalapeño to the beef mixture.
- To prevent the tortillas from becoming mushy, make sure your beef mixture is not overly wet. After adding the water and taco seasoning, let it simmer until the liquid reduces and thickens slightly—about 2 to 3 minutes. The mixture should look like a thick, saucy ground beef, not soupy. Also, avoid overloading the casserole with extra liquid ingredients like enchilada sauce; this recipe's beauty lies in its concentrated flavors.
- If you don't have an oven-safe skillet, use a 9×13-inch baking dish. To save time, you can cook the beef mixture in any skillet, then transfer it to the baking dish for layering. If using a glass dish, reduce the oven temperature to 350°F (175°C) to avoid thermal shock and ensure even baking. Glass retains heat well, so your casserole will still become bubbly and golden.
- Make this casserole ahead of time for busy weeknights. Assemble the entire dish (without baking) up to 24 hours in advance, cover tightly with plastic wrap or aluminum foil, and refrigerate. When ready to bake, remove the casserole from the fridge while the oven preheats (about 15 minutes) to take the chill off, then bake as directed, adding 5 to 10 extra minutes since it starts cold. You can also freeze the unbaked casserole for up to 3 months: wrap tightly in foil, then place in a freezer bag. Thaw overnight in the fridge before baking.
Variations
- For a vegetarian version, replace the ground beef with two cans of black beans (rinsed and drained) or a 12-ounce package of plant-based crumbles. Sauté the onion and garlic as directed, then stir in the beans or crumbles along with the taco seasoning and water. The rest of the assembly remains the same. You can also add a cup of corn kernels (fresh, frozen, or canned) for extra sweetness and texture.
- Swap the protein to make this a chicken burrito casserole: use 2 cups of cooked, shredded rotisserie chicken (or leftover grilled chicken) instead of ground beef. Reduce the water to ¼ cup since the chicken is already moist. Stir the chicken into the taco seasoning mixture and proceed. This variation is especially quick if you use pre-cooked chicken, cutting prep time to just 5 minutes.
- For a low-carb or keto-friendly option, replace the flour tortillas with low-carb tortillas (look for ones with 5g net carbs or less) or use a layer of thinly sliced zucchini or yellow squash. If using zucchini, salt the slices lightly and let them sit for 10 minutes, then pat dry to remove excess moisture before layering. You can also skip the tortillas entirely and make a deconstructed burrito bowl-style casserole: layer the beef, beans, and cheese in a dish without tortillas, and serve over cauliflower rice.
- Turn up the heat with a spicy version: add 1 teaspoon of chipotle powder or ancho chili powder to the taco seasoning, and use pepper jack cheese instead of cheddar. For an extra layer of smokiness, stir in ½ cup of fire-roasted diced tomatoes (drained) along with the green chiles. Top with pickled jalapeños before serving for a tangy, spicy kick that cuts through the richness.
Nutrition
- Calories385 kcal
- Total Fat18g
- Saturated Fat9g
- Cholesterol75mg
- Sodium890mg
- Total Carbohydrates31g
- Dietary Fiber5g
- Sugars3g
- Protein28g