
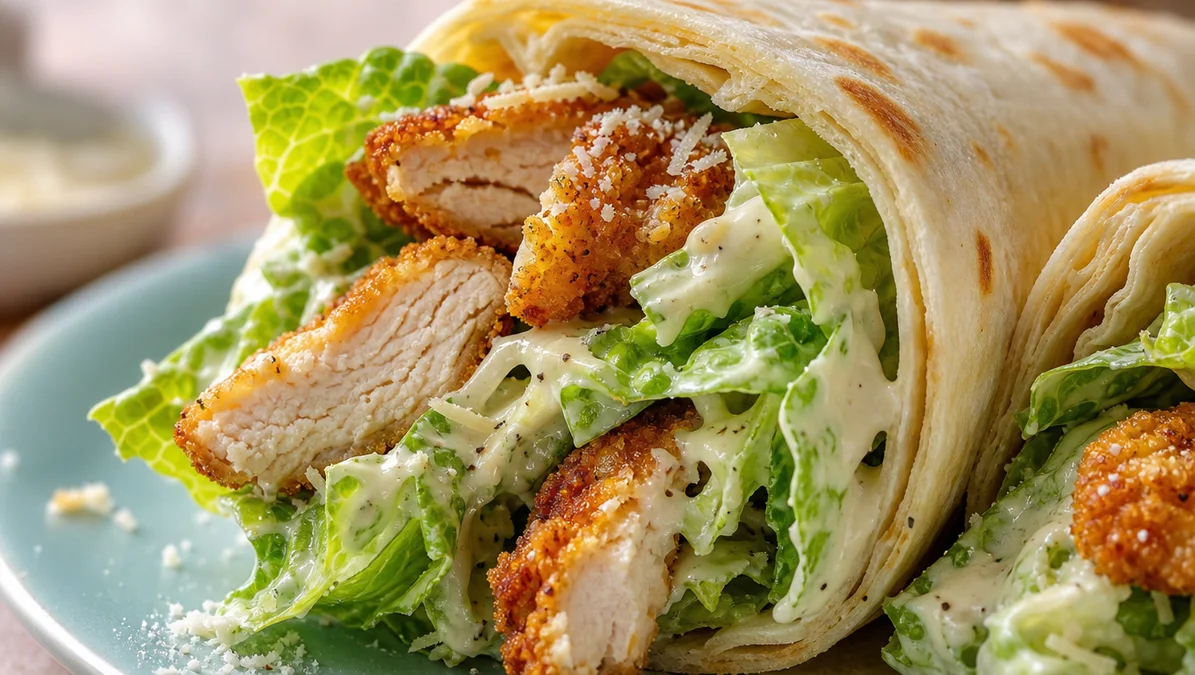
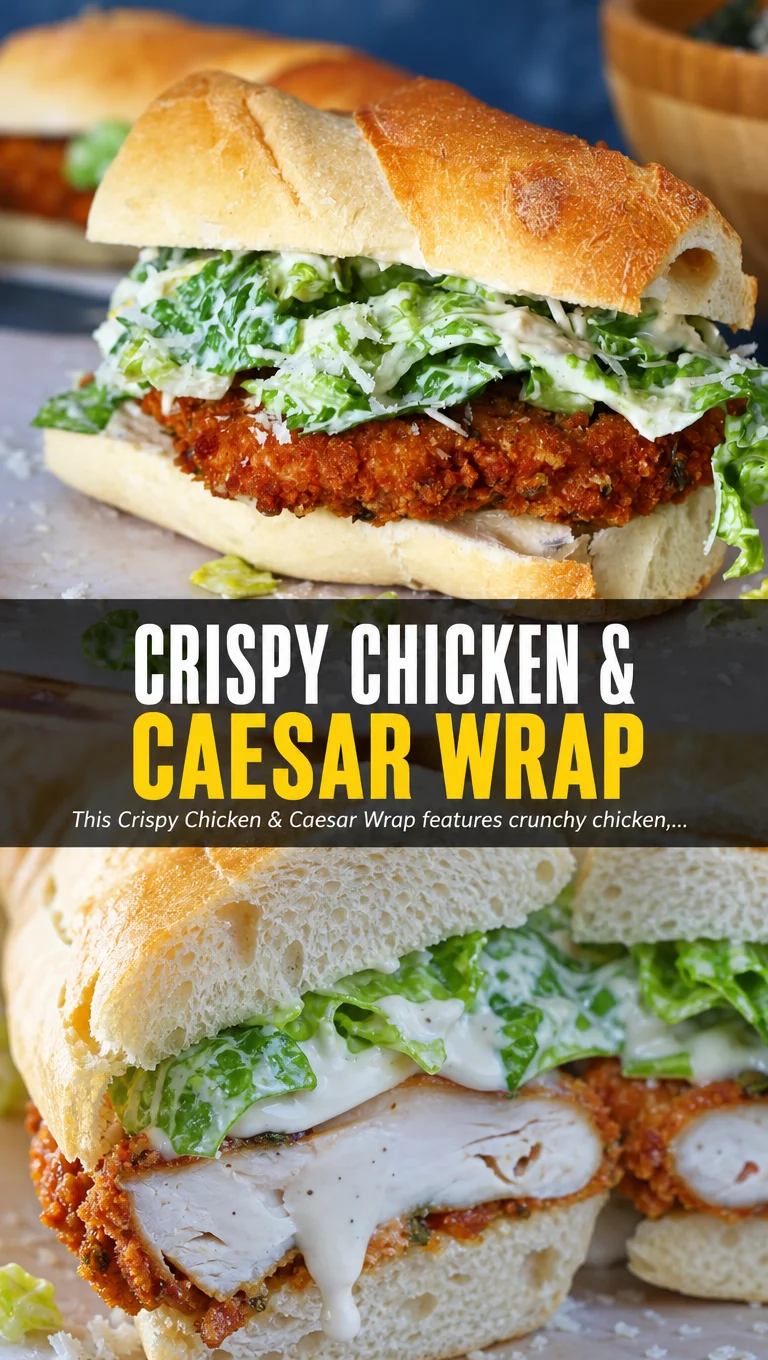
This Crispy Chicken & Caesar Wrap delivers crunchy chicken, crisp romaine, and creamy Caesar dressing in a soft tortilla. An easy 30-minute dinner idea perfect for busy weeknights.
Ingredients
Instructions
Prepare the chicken: Place the chicken breasts on a cutting board and cover with plastic wrap. Use a meat mallet or rolling pin to gently pound them to an even thickness of about ½ inch (1.25 cm). This ensures uniform cooking and tender results. Season both sides generously with salt, pepper, garlic powder, onion powder, and smoked paprika. The paprika adds a subtle smoky depth that complements the Caesar dressing beautifully. Set aside while you set up the breading station.
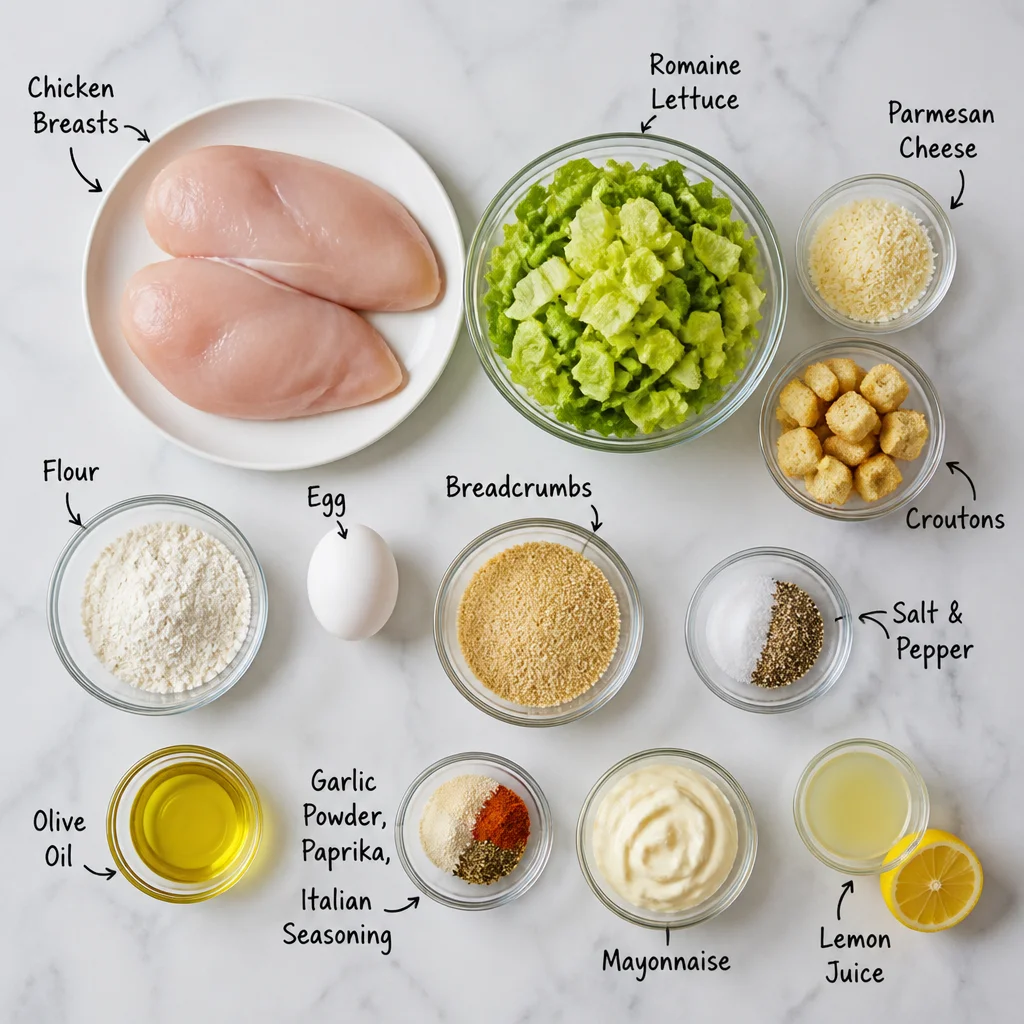
Set up the breading station: In three shallow bowls, place the flour in the first, the beaten eggs in the second, and the panko breadcrumbs mixed with grated Parmesan cheese in the third. The Parmesan not only adds flavor but also helps the crust brown beautifully and become extra crispy. Working one piece at a time, dredge the chicken in flour, shaking off excess. Then dip into the egg, letting any excess drip off. Finally, coat thoroughly with the panko-Parmesan mixture, pressing gently to adhere. Place breaded chicken on a plate.
Cook the chicken: Heat about ½ inch of vegetable oil in a large skillet over medium-high heat until shimmering (about 350°F/175°C). Carefully place the breaded chicken in the hot oil, being careful not to overcrowd the pan. Cook for 4-5 minutes per side, until golden brown and crispy, and the internal temperature reaches 165°F (74°C). The crust should be deep golden and sound crunchy when tapped. Transfer to a wire rack set over a baking sheet to drain and stay crispy. Do not place on paper towels as they will make the crust soggy.
Assemble the wraps: Warm the tortillas briefly in a dry skillet or microwave (about 20 seconds) to make them pliable. Lay a tortilla flat and spread about 2 tablespoons of Caesar dressing down the center. Top with a generous handful of chopped romaine lettuce, then place one cooked chicken breast (sliced if desired) on top. Sprinkle with shaved Parmesan cheese and a squeeze of lemon juice if using. Fold in the sides of the tortilla, then roll tightly from the bottom, tucking as you go to create a secure wrap. Repeat with remaining ingredients.
Serve immediately: For the best texture, enjoy the wraps right away while the chicken is still crispy. You can also slice each wrap in half diagonally for a beautiful presentation. Serve with extra Caesar dressing for dipping and lemon wedges on the side. If meal prepping, store the components separately and assemble just before eating to maintain crunch.
For best results
- Pounding the chicken to an even thickness is crucial for even cooking. If you don't have a meat mallet, use a rolling pin or even a heavy skillet. Aim for about ½ inch (1.25 cm) thickness. This not only ensures the chicken cooks through without drying out but also creates a larger surface area for the crispy coating, giving you more crunch in every bite.
- For the crispiest crust, use panko breadcrumbs instead of regular breadcrumbs. Panko are larger and flakier, creating a light, airy texture that stays crunchy longer. Toasting the panko in a dry skillet for 2-3 minutes before breading can add even more crunch and a nutty flavor. Just watch carefully to avoid burning.
- Let the breaded chicken rest for 10 minutes before frying. This allows the coating to adhere better and prevents it from falling off during cooking. Place the breaded chicken on a wire rack and refrigerate if time permits. The cold chicken hitting hot oil creates an even crispier crust.
- Use a thermometer to check oil temperature. If the oil is too cool, the coating will absorb grease and become soggy. If too hot, the outside will burn before the inside cooks. Maintain a steady 350°F (175°C) and adjust the heat as needed between batches. A deep-fry thermometer is your best friend here.
- To keep the wraps from getting soggy, assemble them just before serving. If you need to prep ahead, store the crispy chicken, washed and dried romaine, dressing, and tortillas separately. When ready to eat, quickly reheat the chicken in a 400°F (200°C) oven for 5 minutes to restore crispiness, then assemble.
- For a lighter version, you can air fry the chicken instead of deep-frying. Preheat the air fryer to 400°F (200°C), spray the breaded chicken with cooking spray, and cook for 10-12 minutes, flipping halfway, until golden and cooked through. The result is still crispy but with significantly less oil.
Variations
- Grilled Chicken Caesar Wrap: For a healthier twist, skip the breading and grill the seasoned chicken breasts over medium-high heat for 6-7 minutes per side until charred and cooked through. Slice thinly and assemble as directed. This variation reduces calories and fat while still delivering great flavor.
- Spicy Buffalo Caesar Wrap: Add 2 tablespoons of hot sauce to the beaten eggs before breading, or toss the cooked crispy chicken in buffalo sauce. Replace the Caesar dressing with ranch or blue cheese dressing for a spicy kick. Top with crumbled blue cheese and extra celery slices for crunch.
- Vegetarian Caesar Wrap: Substitute the chicken with crispy breaded tofu or tempeh. Press extra-firm tofu for 30 minutes to remove moisture, then slice into cutlets, season, and bread using the same method. Bake or fry until golden. Alternatively, use roasted chickpeas for a protein-packed, crunchy filling.
- Low-Carb/Keto Wrap: Replace the flour tortilla with large lettuce leaves (like romaine or butter lettuce) or low-carb tortillas. Use almond flour or crushed pork rinds instead of panko for the breading. The filling remains the same, but the wrap becomes significantly lower in carbs while still satisfying.
- Mediterranean Caesar Wrap: Add sun-dried tomatoes, kalamata olives, and crumbled feta cheese to the wrap. Swap the Caesar dressing for a lemon-herb vinaigrette or tzatziki sauce. The briny flavors complement the crispy chicken beautifully and offer a refreshing change.
Nutrition
- Calories585 kcal
- Total Fat28g
- Saturated Fat8g
- Cholesterol145mg
- Sodium980mg
- Total Carbohydrates48g
- Dietary Fiber3g
- Sugars4g
- Protein38g