
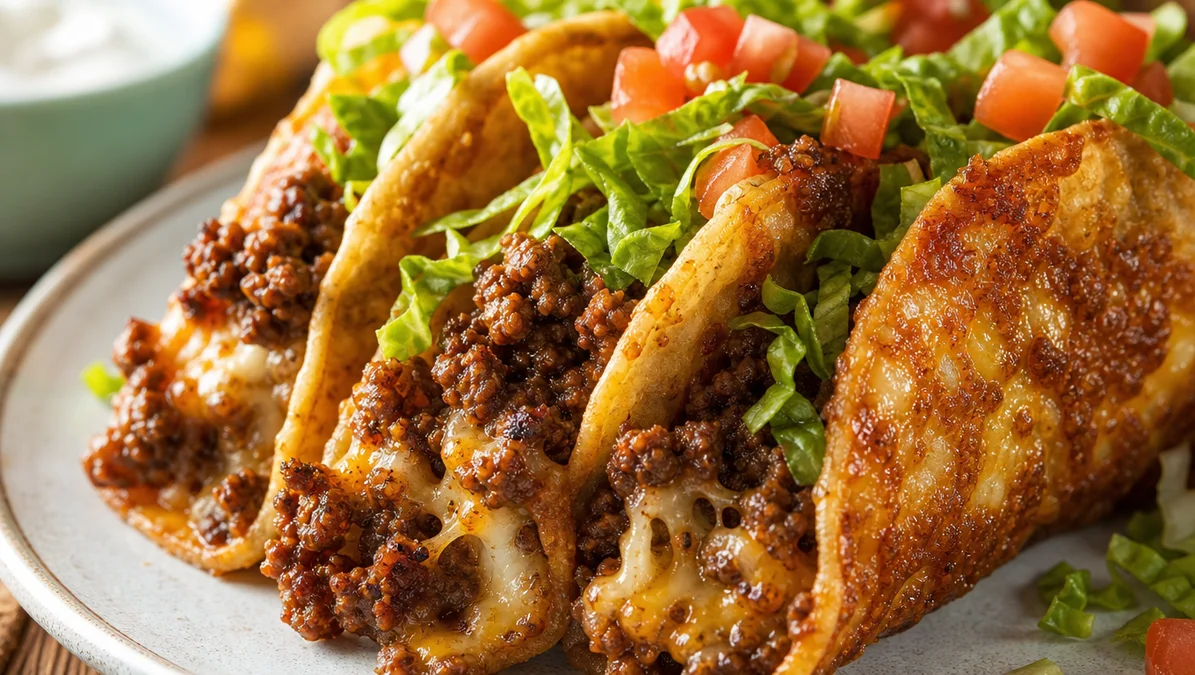
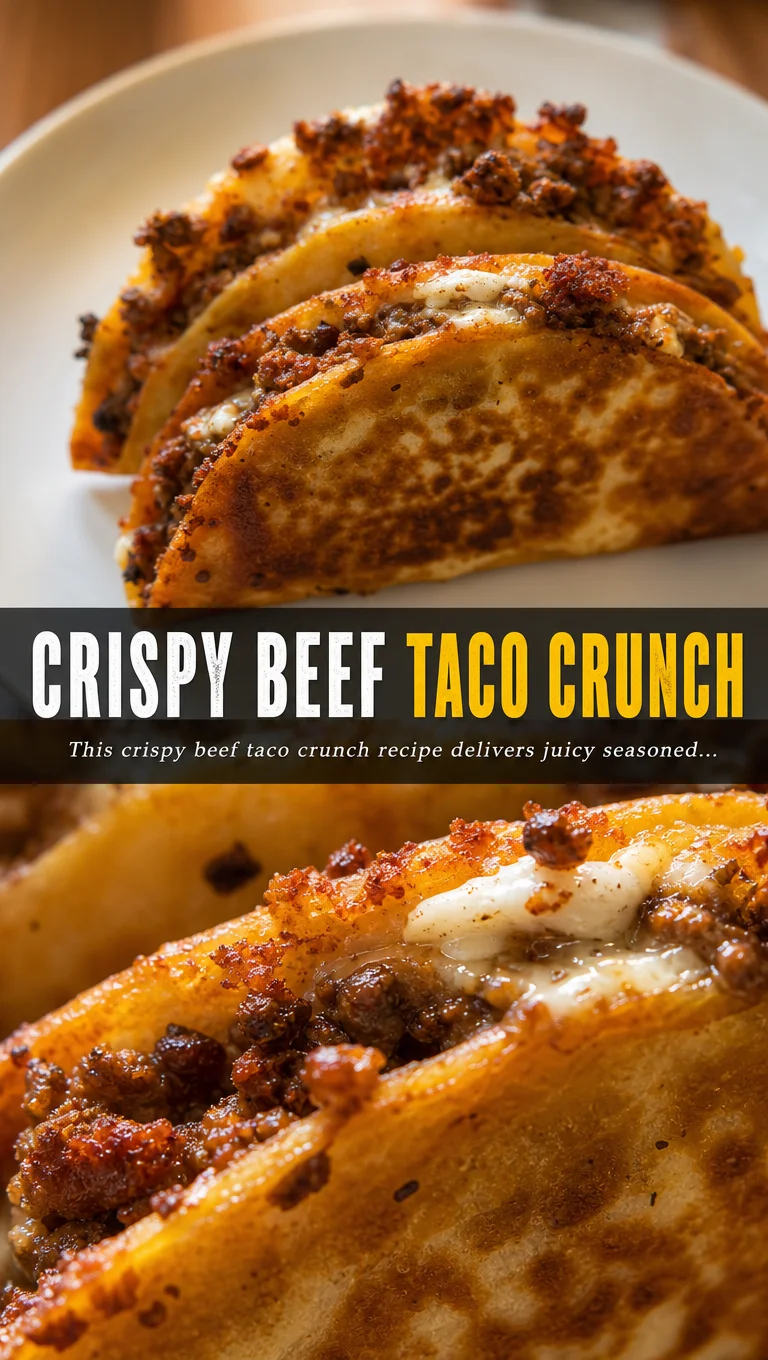
This crispy beef taco crunch recipe delivers juicy seasoned ground beef with melty cheese in every bite. A quick dinner idea perfect for busy weeknights or game day gatherings.
Ingredients
Instructions
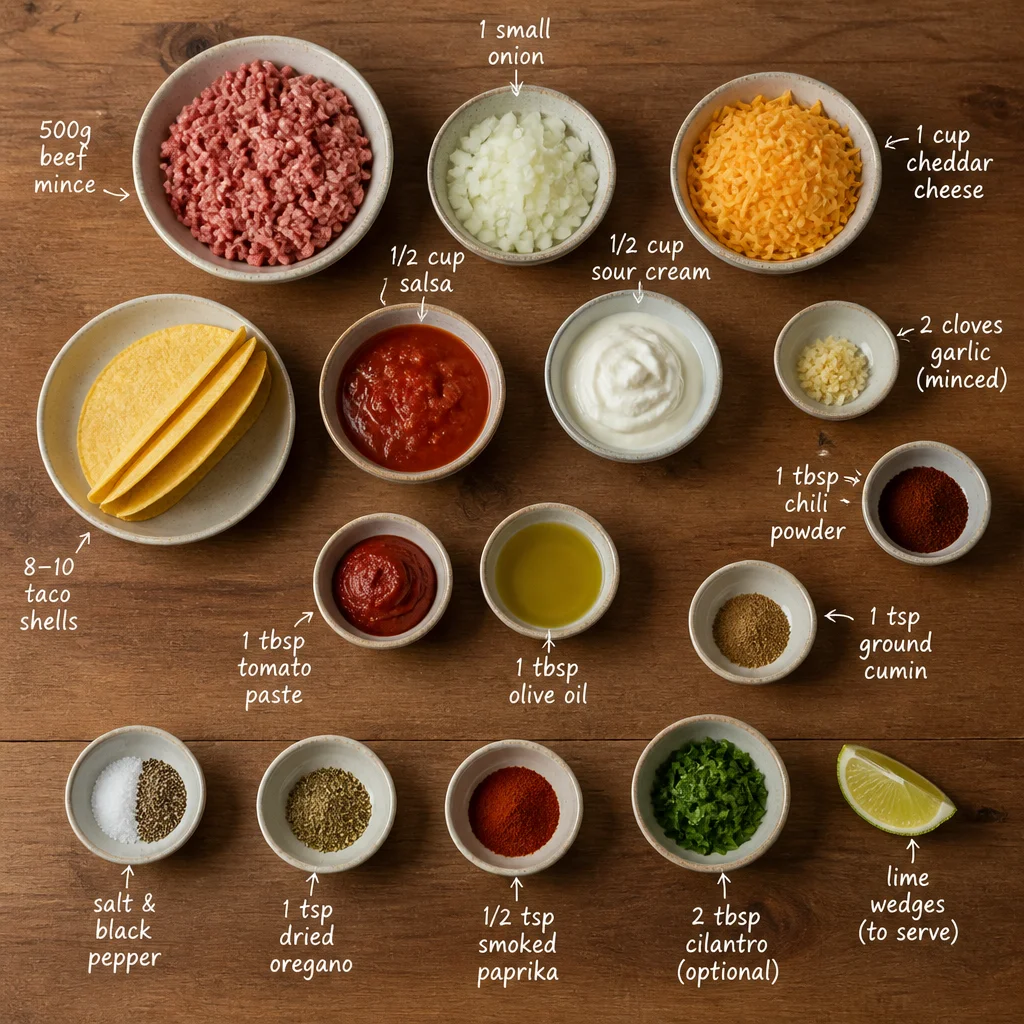
Begin by gathering all your ingredients: ground beef, taco seasoning, water, taco shells, cheese, lettuce, and tomato. Having everything prepped and within reach makes the cooking process seamless. For the best flavor, choose a taco seasoning that is low in salt so you can control the sodium, or make your own with chili powder, cumin, paprika, garlic powder, onion powder, and a pinch of cayenne. If using store-bought shells, check the expiry date and ensure they are crisp and not stale.

Place a large non-stick skillet over medium-high heat. Add the ground beef and break it apart with a wooden spoon or spatula. Cook for about 5-7 minutes, stirring occasionally, until the beef is browned and no longer pink. You want to achieve a deep golden-brown color, which adds rich flavor through the Maillard reaction. Do not overcrowd the pan; if necessary, cook in batches. Drain any excess fat, leaving about 1 tablespoon in the pan for moisture and flavor.
Reduce heat to low. Sprinkle the taco seasoning evenly over the cooked beef, then pour in the water. Stir well to combine. Let the mixture simmer for 2-3 minutes, stirring occasionally, until the liquid has mostly evaporated and the seasoning coats the meat thickly. The mixture should be moist but not watery. Taste and adjust seasoning if needed – you can add a pinch of salt or a dash of hot sauce for extra kick.
While the beef simmers, preheat your oven to 375°F (190°C). Arrange the taco shells upright on a baking sheet, ensuring they are stable. If they tend to tip, you can place crumpled foil between them for support. Warm the shells in the oven for 5-7 minutes until they are fragrant and slightly crisp. Alternatively, you can crisp them in a dry skillet for 1-2 minutes per side. This step ensures the shells remain crunchy even after adding the toppings.
Spoon the seasoned beef evenly into the warmed taco shells. Fill each shell generously, but avoid overstuffing to prevent breaking. Immediately sprinkle the shredded cheese over the hot beef so it begins to melt. The residual heat from the beef will soften the cheese, creating a gooey, irresistible layer. For extra melted cheese, you can return the filled shells to the oven for 2-3 minutes until bubbly.
Top each taco with a handful of shredded lettuce and a spoonful of diced tomato. Add any additional toppings you desire – a dollop of sour cream, a drizzle of salsa, or slices of avocado. Serve immediately while the shells are still crunchy and the cheese is melted. For a finishing touch, garnish with fresh cilantro or a squeeze of lime. These tacos are best enjoyed fresh, but any leftovers can be stored and reheated (see tips for best results).
For best results
- For the juiciest taco meat, choose ground beef with an 80/20 lean-to-fat ratio. The fat renders during cooking, keeping the meat moist and flavorful. If using leaner beef (like 93/7), add a tablespoon of olive oil or a splash of beef broth to prevent dryness. Also, avoid overcooking the meat – once it's browned and the seasoning is incorporated, remove it from heat to keep it tender.
- To prevent taco shells from cracking, warm them gently and handle with care. If using hard corn shells, heating them in the oven at 350°F for 5 minutes makes them more pliable and less likely to shatter. For an extra-crunchy texture, you can also lightly brush the shells with oil before baking. Never microwave hard shells as they become rubbery.
- Make your own taco seasoning to control salt and spice levels. Combine 1 tablespoon chili powder, 1 teaspoon cumin, 1 teaspoon paprika, 1/2 teaspoon garlic powder, 1/2 teaspoon onion powder, 1/4 teaspoon cayenne (optional), and 1/2 teaspoon salt. This blend is enough for 1 pound of meat and keeps well in an airtight jar for months. Adjust the cayenne to suit your heat preference.
- If you have leftovers, store the components separately. Keep the seasoned beef in an airtight container in the fridge for up to 4 days. Reheat it in a skillet with a splash of water to restore moisture. Taco shells should be stored in a cool, dry place and re-crisped in the oven before serving. Lettuce and tomato are best fresh, so only prep what you'll eat immediately.
- For a lower-carb version, skip the taco shells and serve the beef over lettuce wraps or in a bowl with cauliflower rice. You can also use cheese shells (baked shredded cheese rounds) for a keto-friendly crunch. The beef itself is very versatile and can be used in salads, nachos, or burrito bowls.
Variations
- Chicken Taco Crunch: Substitute ground chicken or turkey for the beef. Cook the poultry thoroughly, and consider adding a tablespoon of oil if using extra-lean ground chicken. The same taco seasoning works beautifully, but you might want to add a squeeze of lime at the end for brightness. Chicken tacos are lighter but still packed with flavor.
- Vegetarian Black Bean Tacos: Replace the meat with two cans of black beans (drained and rinsed). Mash half the beans with a fork, then combine with the whole beans and taco seasoning. Cook in a skillet with a little oil until heated through and slightly thickened. The mashed beans create a meaty texture while the whole beans add bite. Top with avocado for creaminess.
- Spicy Chorizo Tacos: Use ground Mexican chorizo instead of beef. Chorizo is already seasoned, so skip the taco seasoning or use half to avoid over-spicing. Cook the chorizo until browned and crispy, then drain excess fat. The spicy, smoky flavor pairs perfectly with cool sour cream and fresh pico de gallo. This variation is ideal for those who love heat.
- Fish Taco Crunch: Swap beef for flaky white fish like cod or tilapia. Cut the fish into strips, season with chili powder and cumin, and pan-sear until golden. Use a creamy chipotle sauce (mix sour cream, mayo, and chipotle in adobo) instead of traditional toppings. The contrast of crispy shell, tender fish, and creamy sauce is a coastal favorite.
- Breakfast Taco Crunch: For a morning twist, use scrambled eggs and breakfast sausage instead of beef. Cook the sausage, then scramble eggs in the same pan. Season with a bit of taco seasoning or just salt and pepper. Fill shells with eggs, sausage, cheese, and salsa. These are great for brunch or a hearty breakfast on the go.
Nutrition
- Calories350 kcal
- Total Fat22g
- Saturated Fat9g
- Cholesterol65mg
- Sodium580mg
- Total Carbohydrates18g
- Dietary Fiber2g
- Sugars3g
- Protein22g