
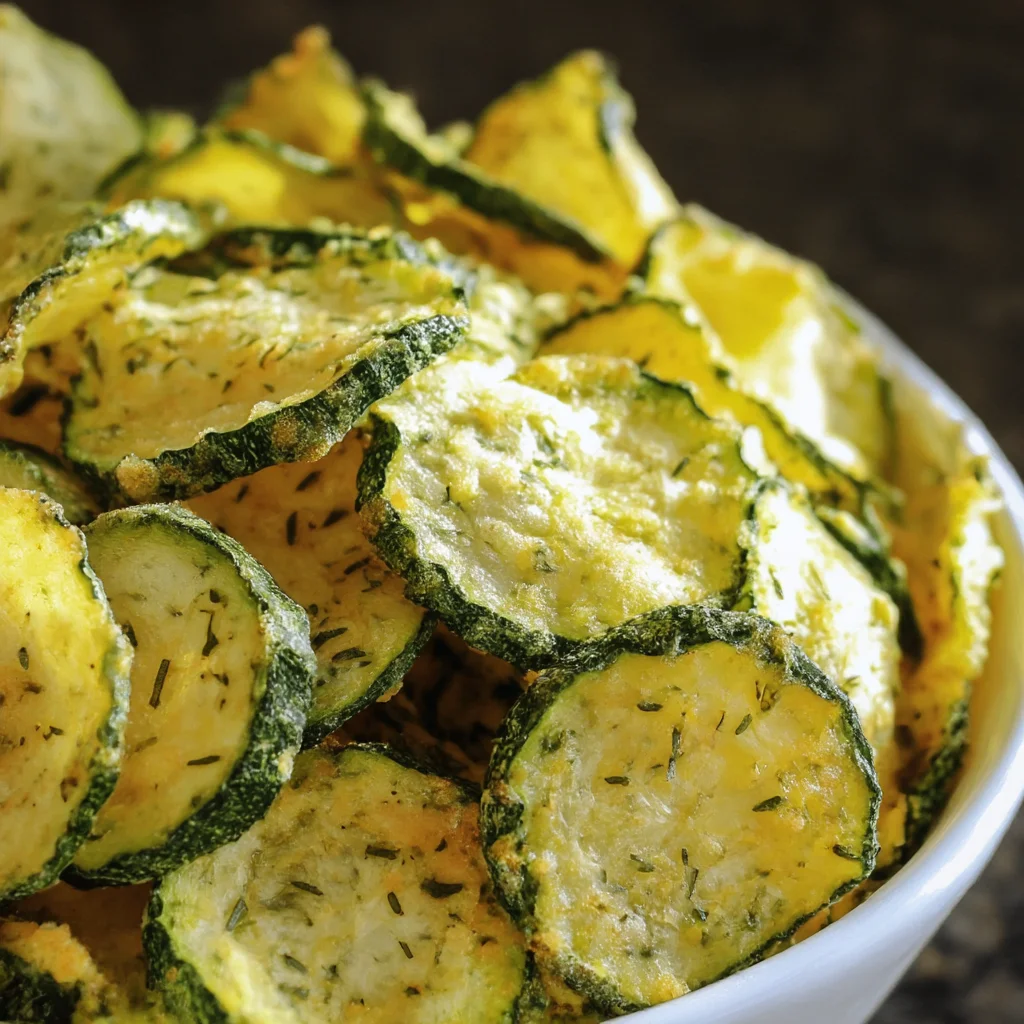
These crunchy ranch cucumber chips are a healthy, light snack made with fresh cucumbers and ranch seasoning. Perfect for picnics, lunchboxes, and summer parties.
Ingredients
Instructions
Gather all your ingredients and equipment before you start. You’ll need two large English cucumbers, olive oil, dry ranch seasoning, garlic powder, fine sea salt, parchment paper, a large rimmed baking sheet, a sharp knife or mandoline, and paper towels. Wash the cucumbers under cool water and dry them thoroughly. Set up a clean workspace so everything is within reach. The key to perfect cucumber chips is patient, even slicing, so don’t rush this step. Using a mandoline will make the job easier and more precise, but a sharp chef’s knife works beautifully too.
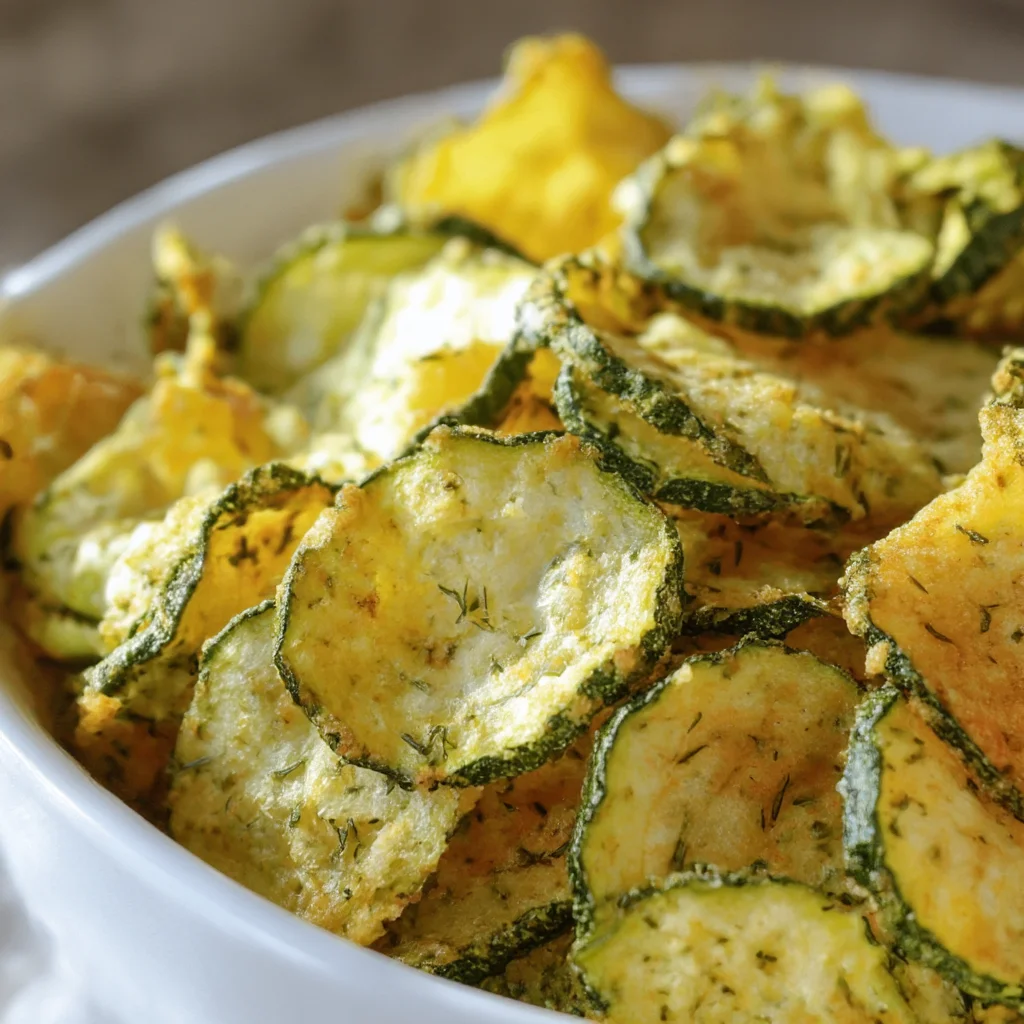
Slice the cucumbers crosswise into very thin rounds, about 1/8-inch (3 mm) thick. A mandoline slicer is ideal for getting perfectly uniform thickness, but if you’re using a knife, try to keep the slices as even as possible. Thicker slices take longer to dehydrate, and thinner slices can burn before they crisp. For a more rustic look, leave the peel on. Discard the ends and any soft or spotty slices. Spread the rounds in a single layer on a clean kitchen towel or a few layers of paper towels.

Sprinkle the cucumber slices lightly with about 1/4 teaspoon of fine sea salt. The salt draws out excess moisture through osmosis, which is essential for creating crispy chips. Let them rest for 10 to 15 minutes; you’ll see water droplets forming on the surface. After resting, place another layer of paper towels on top and press gently to blot away all the liquid. This critical step transforms watery cucumbers into crunchy chips. If you skip it, your chips will end up limp and soggy no matter how long you bake them.
Transfer the dried cucumber slices to a large mixing bowl. Drizzle with olive oil and sprinkle with the dry ranch seasoning and garlic powder. Toss gently with your hands or a silicone spatula until every slice is lightly and evenly coated. Try not to oversaturate them with oil, because too much oil will make them soft and significantly increase the baking time. For a lighter snack, you can use a cooking spray or a pastry brush to apply a very thin layer of oil. The goal is just enough to help the seasoning adhere and encourage golden edges.
Preheat your oven to 225°F (110°C). Line two large rimmed baking sheets with parchment paper. Arrange the seasoned cucumber slices in a single, non-overlapping layer, leaving a little space between each slice so air can circulate. If you have a wire cooling rack, place it on top of the baking sheet and lay the slices on the rack; this improves airflow and yields an even crispier result. Overlapping slices trap steam and stick together, so take the time to arrange them properly. A little patience now pays off with perfect chips later.
Place the baking sheets in the preheated oven and bake for 1 hour. After the first hour, rotate the pans and carefully flip each slice using a thin spatula or tongs. Continue baking for another 45 minutes to 1 hour, or until the edges are lightly golden, the centers look dry, and the chips feel firm and crisp. Baking time varies depending on humidity, slice thickness, and your individual oven. Look for the chips to curl slightly at the edges and release easily from the parchment. Some may still feel a tiny bit pliable, but they will harden as they cool.
If you want extra-crispy chips, turn off the oven and leave the chips inside with the door cracked open for 15 minutes. Then remove the baking sheets and let the chips cool completely on the trays or on a wire rack for at least 20 minutes. Do not rush this cooling period. The residual heat completes the dehydration and locks in that satisfying crunch. It is tempting to taste one right away, but the final texture won’t be set until the chips have fully cooled.
Once completely cool, serve the crunchy ranch cucumber chips in a large bowl or alongside sandwiches, burgers, dips, or a fresh summer salad. They are fantastic at picnics, in lunchboxes, or as a guilt-free evening snack. Store any leftovers in an airtight container at room temperature for up to 3 days. If the chips soften after a day or two, spread them back on a baking sheet and warm them in a 225°F (110°C) oven for 8 to 10 minutes to re-crisp. Keep the container sealed to protect them from humidity.
For best results
- Choose English cucumbers for the best chips. English cucumbers, also called hothouse cucumbers, have thinner skin and fewer seeds than standard grocery-store cucumbers. That means less moisture and a cleaner, crunchier result. Garden cucumbers or pickling cucumbers can be used, but be sure to scrape out some of the seed cavity with a spoon before slicing, and cut them a little thicker so they don't fall apart.
- Don't skip the salting step. Salt draws out the water that would otherwise create steam in the oven and leave you with soggy chips. Let the slices rest for at least 10 minutes, then blot them dry with a paper towel. You'll be amazed at how much liquid comes out. Just remember to account for that salt in your seasoning; if you use a salty ranch mix, consider reducing the additional salt.
- Use a mandoline for evenly thin slices. A mandoline gives you restaurant-style uniform disks in seconds. If using a knife, aim for 1/8-inch thickness. Thicker chips are chewy and take longer to crisp; thinner chips burn quickly. If you're making chips for kids, slightly thicker slices are easier to hold.
- Give your chips plenty of breathing room. Overlapping slices trap moisture and bake unevenly. If you need to make a big batch, rotate the pans halfway and switch the top and bottom racks. A wire cooling rack inside the baking sheet allows hot air to circulate underneath, making the chips crispier. This is a game-changer for home ovens.
- Let them cool completely before storing. Freshly baked cucumber chips are still releasing steam, and sealing them while warm will trap moisture and ruin their crunch. Spread them out on a cooling rack and wait at least 20 minutes. Then store in an airtight jar with a paper towel at the bottom to absorb any extra humidity.
- Refresh stale chips easily. If your chips soften after a day or two, spread them on a baking sheet and reheat at 225°F (110°C) for 8-10 minutes. Let them cool again, and they'll be just as crunchy. Avoid microwaving, which will make them chewy. These chips are best enjoyed fresh, but a quick oven refresh can bring them back to life.
Variations
- Spicy Buffalo Ranch Chips: For a kick of heat, add 1/2 teaspoon cayenne pepper or your favorite buffalo wing seasoning to the ranch blend. You can also drizzle a few drops of hot sauce mixed with olive oil over the slices after baking, but doing it before may make them too wet. If you love heat, this variation is perfect for game day or a summer BBQ.
- Cheesy Ranch Chips: For a dairy-forward twist, mix in 2 tablespoons of finely grated Parmesan cheese or nutritional yeast with the ranch seasoning. The cheese melts into the chips as they bake, creating a savory umami crust. If you're vegan, choose nutritional yeast for that cheesy flavor without dairy. The extra fat also helps the chips brown beautifully.
- Lemon Herb Chips: Swap the ranch seasoning for a blend of lemon zest, dried dill, dried parsley, garlic powder, and a pinch of black pepper. This gives a brighter, fresher flavor that pairs beautifully with seafood or a summer salad. You can also use lemon pepper seasoning for a citrusy kick.
- Air Fryer Cucumber Chips: To make air-fryer cucumber chips, set the air fryer to 250°F (120°C) and cook the seasoned slices in a single layer for 25-30 minutes, flipping halfway. You'll need to work in batches, but the results are just as crispy with less time. Keep an eye on them because air fryers run hot and burn easily.
Nutrition
- Calories65 kcal
- Total Fat4.5g
- Saturated Fat0.6g
- Cholesterol0mg
- Sodium430mg
- Total Carbohydrates6g
- Dietary Fiber1g
- Sugars2g
- Protein1g