
This healthy chicken pot pie casserole swaps heavy cream for yogurt and uses whole wheat biscuits for a lighter, protein-packed comfort dinner. Ready in under an hour!
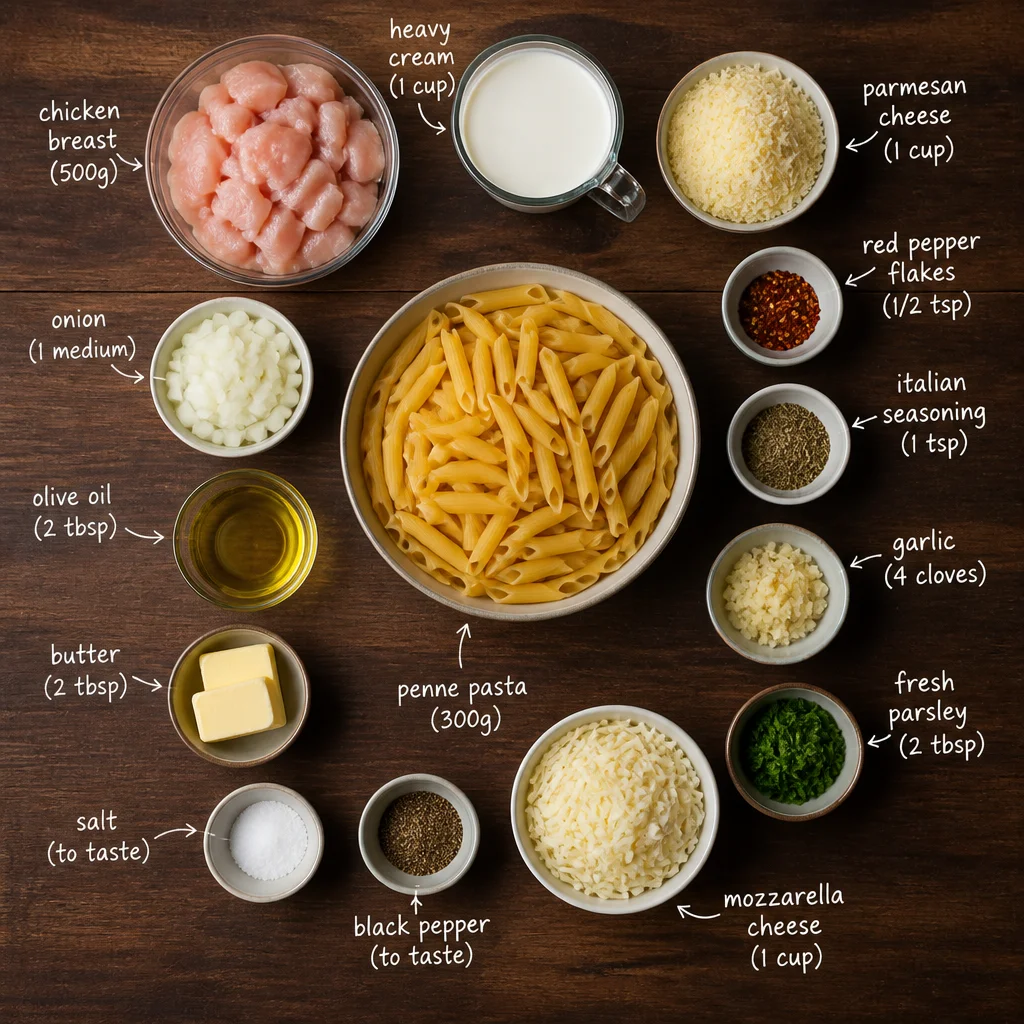
Ingredients
Instructions
Preheat your oven to 400°F (200°C). While the oven heats, prepare the chicken: pat the cubed chicken breasts dry with paper towels. This step is crucial because removing excess moisture allows the chicken to sear beautifully rather than steam. Season the chicken lightly with salt and pepper. In a large oven-safe skillet (12-inch cast iron or stainless steel works best), heat 1 tablespoon of olive oil over medium-high heat until shimmering. Add the chicken in a single layer—do not overcrowd the pan; cook in batches if needed. Sear for 3-4 minutes per side until golden brown. The chicken doesn’t need to be fully cooked through at this point because it will continue cooking in the oven. Use a slotted spoon to transfer the chicken to a plate and set aside. The browned bits left in the pan are packed with flavor and will form the base of your sauce.
Reduce the heat to medium and add the remaining 1 tablespoon of olive oil to the same skillet. Add the diced onion and cook, stirring occasionally, for 3-4 minutes until softened and translucent. The onions will absorb the fond from the pan, adding sweetness and depth. Add the minced garlic and cook for 30 seconds until fragrant—be careful not to burn the garlic, as it turns bitter quickly. Next, add the sliced carrots and broccoli florets. Cook for 2-3 minutes, stirring frequently, until the broccoli turns bright green and the carrots begin to soften. The vibrant colors indicate that the vegetables are still crisp-tender, which is ideal for a casserole that will bake further.

Sprinkle the flour over the vegetables and stir constantly for 1 minute. Cooking the flour eliminates the raw taste and helps thicken the sauce. Slowly pour in the chicken broth while whisking vigorously to prevent lumps. Continue whisking until the mixture comes to a simmer and thickens, about 2-3 minutes. The sauce should coat the back of a spoon. Remove the skillet from the heat and stir in the Greek yogurt, dried thyme, rosemary, salt, and pepper. The yogurt adds creaminess without the heaviness of heavy cream, and its tanginess brightens the dish. Gently fold in the seared chicken and thawed peas. Taste and adjust seasoning if needed. The filling should be thick but still pourable; if it seems too thick, add a splash of broth.
In a separate mixing bowl, prepare the biscuit topping. Whisk together the whole wheat pastry flour, baking powder, baking soda, and salt. Using a pastry cutter or your fingertips, work the cold butter cubes into the flour mixture until it resembles coarse meal with some pea-sized butter pieces remaining. The cold butter is essential for creating flaky layers as it melts in the oven, releasing steam. Make a well in the center and pour in the buttermilk and honey (if using). Stir with a fork just until a shaggy dough forms; overmixing will develop gluten and make the biscuits tough. Drop spoonfuls of the dough evenly over the chicken and vegetable filling. You should have about 8-10 biscuit dollops. They will spread and puff up during baking.
Place the skillet in the preheated oven and bake for 20-25 minutes, until the biscuit topping is golden brown and a toothpick inserted into a biscuit comes out clean. The filling should be bubbling around the edges, indicating it’s hot throughout. If the biscuits brown too quickly, tent loosely with foil for the last 5 minutes. Let the casserole rest for 5-10 minutes before serving. This resting period allows the sauce to thicken further and the biscuits to set, making it easier to scoop. Serve warm, garnished with fresh parsley if desired. The contrast between the creamy, savory filling and the fluffy, slightly sweet biscuit topping is pure comfort.
For best results
- Choosing the right chicken: For the juiciest results, use boneless skinless chicken thighs instead of breasts. Thighs have a higher fat content, which keeps them moist during the longer bake time. If using breasts, be careful not to overcook them; searing them first locks in moisture. You can also use leftover rotisserie chicken—just skip the searing step and add the shredded chicken with the peas. This cuts prep time significantly.
- Yogurt substitution: Greek yogurt is key to the lightened sauce, but it can curdle if added to a boiling hot pan. Always remove the skillet from heat before stirring in the yogurt, and make sure the yogurt is at room temperature. If you prefer a dairy-free version, use a thick coconut yogurt (unsweetened) or a cashew cream. Avoid non-fat yogurt as it may separate more easily.
- Vegetable variations: Feel free to swap broccoli and peas with any vegetables you have on hand. Cauliflower, green beans, corn, or diced bell peppers work beautifully. Root vegetables like parsnips or sweet potatoes add natural sweetness. To ensure even cooking, cut all vegetables into similar-sized pieces. If using frozen vegetables, add them directly without thawing (except peas, which are best thawed to avoid excess moisture).
- Biscuit topping tips: For the flakiest biscuits, keep all ingredients cold. Cut the butter into small cubes and refrigerate them for 10 minutes before mixing. Use buttermilk for tenderness; if you don't have buttermilk, make a quick substitute by adding 1 tablespoon of lemon juice or vinegar to 3/4 cup milk and letting it sit for 5 minutes. The dough should be wet and shaggy—do not knead. Drop it onto the filling rather than rolling it out; this rustic method ensures tender, craggy biscuits.
- Make-ahead instructions: You can assemble the entire casserole (without the biscuit topping) up to 24 hours in advance. Prepare the filling, let it cool completely, then cover and refrigerate. When ready to bake, bring the filling to room temperature for 30 minutes, then prepare the biscuit topping and bake as directed. You may need to add 5-10 minutes to the baking time if starting from cold. The biscuits are best baked fresh.
- Storage and reheating: Leftovers can be stored in an airtight container in the refrigerator for up to 4 days. The biscuits will soften over time, but that's part of the charm. To reheat, place a portion in a microwave-safe dish and microwave on medium power for 2-3 minutes, or reheat in a 350°F oven for 10-15 minutes. For a crispier biscuit, reheat in a toaster oven. Freezing is not recommended for the assembled casserole, as the yogurt sauce may separate upon thawing.
Variations
- Gluten-free adaptation: Replace the all-purpose flour with a gluten-free all-purpose blend that contains xanthan gum (like Bob's Red Mill 1-to-1). For the biscuit topping, use a gluten-free baking mix or a combination of almond flour and tapioca starch. Note that the biscuits will be denser and more crumbly, but still delicious. Ensure your chicken broth is gluten-free as well.
- Vegetarian version: Omit the chicken and double the vegetables. Add 1 can (15 oz) of drained and rinsed chickpeas or white beans for protein. For extra umami, stir in 1/4 cup of nutritional yeast or a splash of tamari. You can also add sautéed mushrooms for a meaty texture. The cooking time remains the same.
- Dairy-free option: Use a high-quality dairy-free butter (like Miyoko's) and substitute the Greek yogurt with a thick unsweetened coconut yogurt or a silken tofu blended until smooth. For the buttermilk, mix 3/4 cup unsweetened almond milk with 1 tablespoon apple cider vinegar. The biscuits will be slightly less tender but still tasty.
- Spicy twist: Add 1/2 teaspoon of smoked paprika and a pinch of cayenne pepper to the filling. For the biscuit topping, incorporate 1/4 cup of shredded sharp cheddar cheese and a pinch of red pepper flakes. The heat balances the creamy yogurt sauce beautifully.
- Herb and lemon variation: Stir in 2 tablespoons of chopped fresh dill or parsley and the zest of one lemon into the filling just before baking. The bright citrus and fresh herbs elevate the dish, making it feel lighter and more spring-like. Serve with a squeeze of lemon juice on top.
Nutrition
- Calories385 kcal
- Total Fat14g
- Saturated Fat6g
- Cholesterol85mg
- Sodium620mg
- Total Carbohydrates32g
- Dietary Fiber5g
- Sugars8g
- Protein32g