
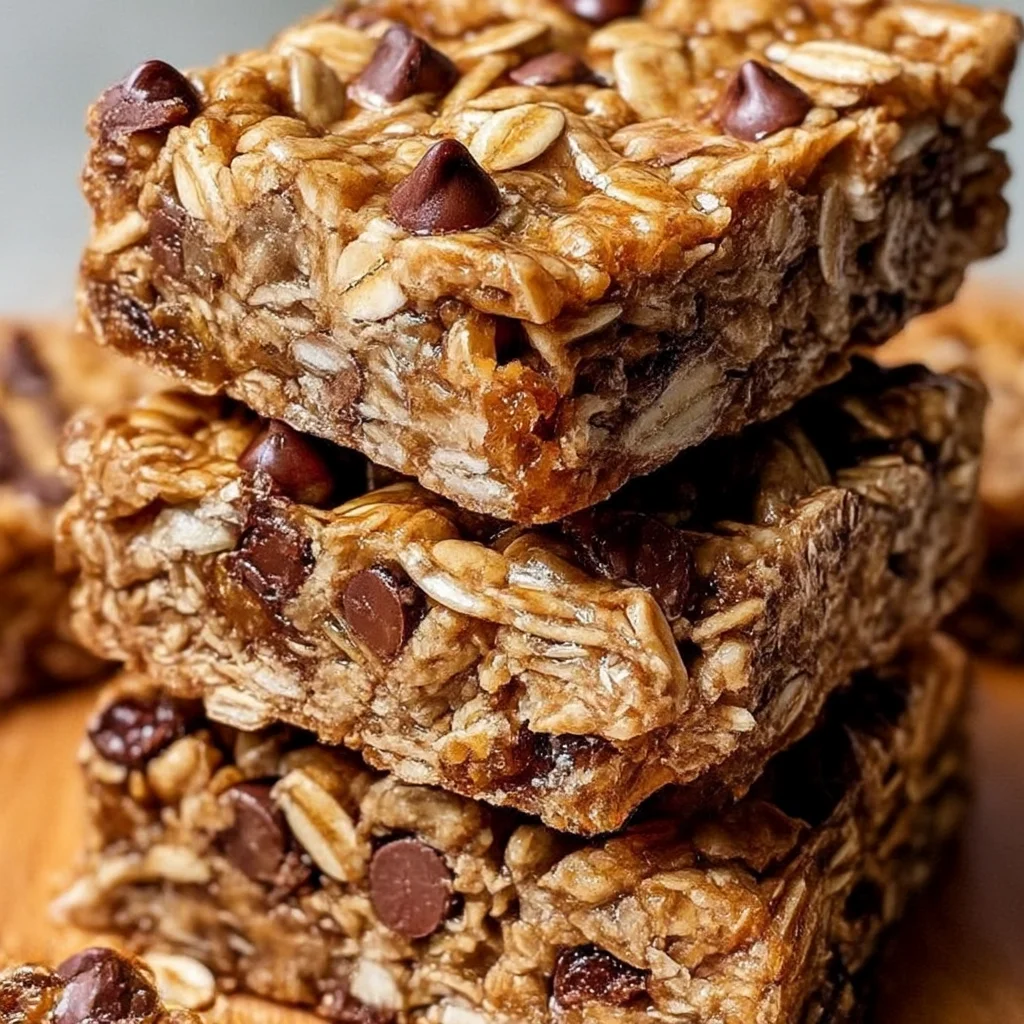
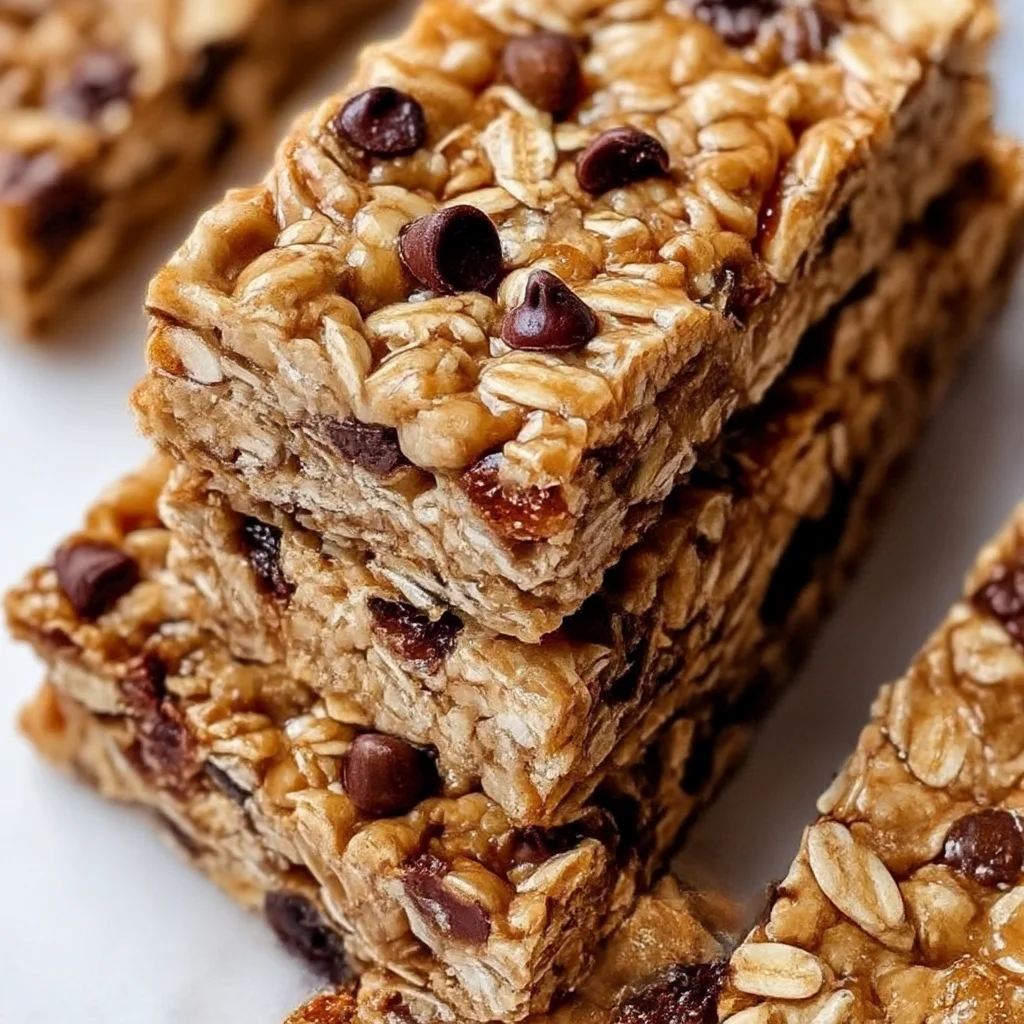
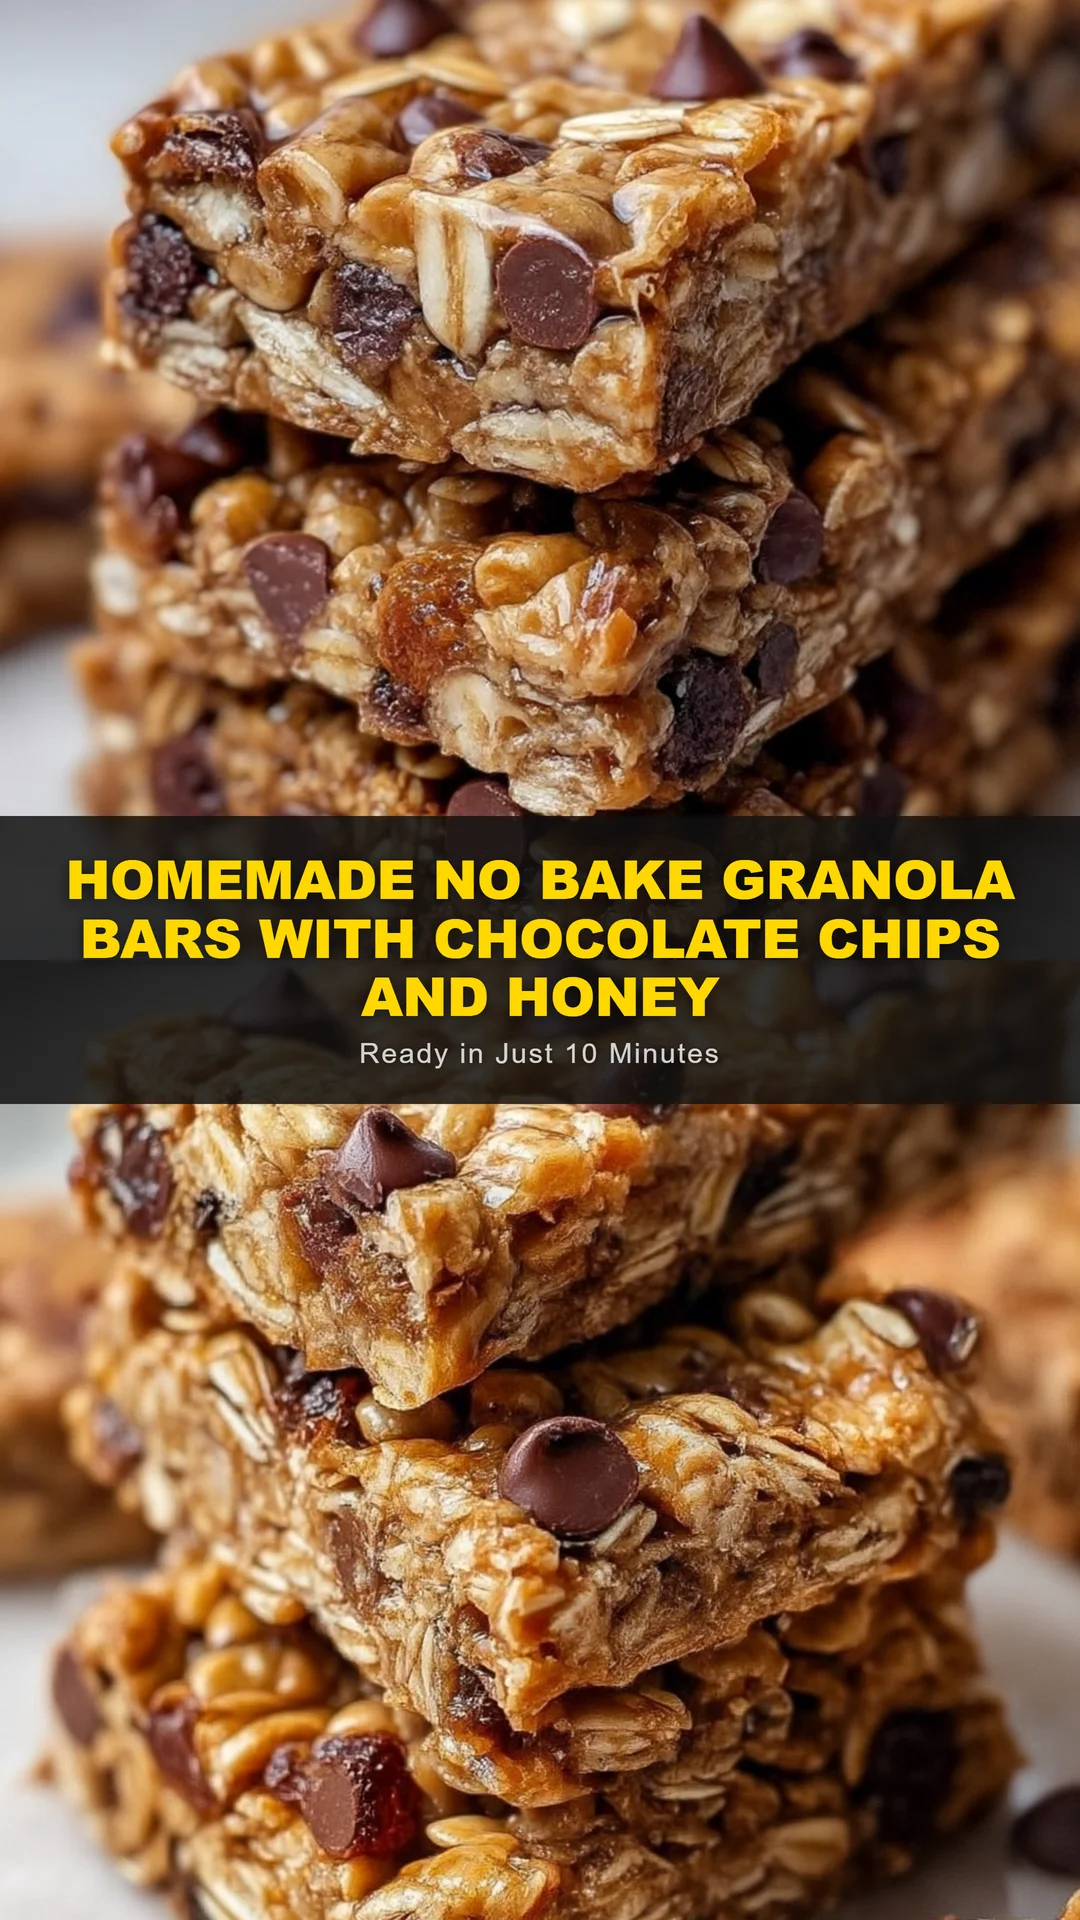
Easy no bake granola bars with chocolate chips and honey come together in 10 minutes. A healthy homemade snack perfect for lunchboxes, road trips, and busy weeknights.
Ingredients
Instructions
Line an 8-inch square baking pan with parchment paper, leaving a generous overhang on two opposite sides. This is not just for easy cleanup—the parchment acts like a built-in handle, allowing you to lift the entire slab out cleanly without breaking the bars. Take a moment to gather all your ingredients: rolled oats, peanut butter, honey, chocolate chips, dried cranberries, sunflower seeds, vanilla, and salt. Having everything measured and within arm’s reach before you start makes the 10-minute assembly stress-free and prevents the warm sticky mixture from cooling and seizing while you scramble to find the vanilla.
Combine the peanut butter and honey in a small saucepan and place over low heat. Stir frequently with a spatula or wooden spoon, scraping the sides and bottom to prevent scorching. Warm the mixture just until it becomes smooth, glossy, and slightly runny—this usually takes 1 to 2 minutes. Do not let it bubble aggressively or come to a rolling boil. High heat can cause the honey to caramelize and the natural oils in the peanut butter to separate, which results in a greasy, brittle bar instead of a chewy one. The goal is to loosen the sticky ingredients just enough so they can evenly coat every oat. Once melted, remove the pan from the heat and stir in the vanilla extract and fine sea salt. You should notice the aroma shift to a warm, peanut-butter-honey candy scent.
In a large mixing bowl, combine the old-fashioned rolled oats, chocolate chips, dried cranberries, and sunflower seeds. Give the dry ingredients a few quick stirs so the add-ins are evenly distributed throughout the oats. Do not skip this step, because all the chocolate chips can sink to one side if you pour the wet mixture in first. The chocolate chips will soften and partially melt when the warm peanut butter mixture hits them, which is actually a beautiful thing—those melted bits create pockets of fudge throughout the finished bars. If you want picture-perfect pools of chocolate on top, reserve a small handful of chocolate chips to press onto the surface after mixing.
Pour the warm peanut butter-honey mixture over the dry oat mixture. Using a sturdy rubber spatula, fold everything together until no dry oats remain. This is a little bit of an arm workout, but it is very important: every single oat needs to be coated in the sticky binder or the bars will not hold together. The mixture will look like loose granola at first, then become shaggy and thick. Keep folding until it starts clumping together into a cohesive mass. You should be able to squeeze a small amount in your palm and have it hold its shape. Do not overmix, but do make sure to scrape the bottom of the bowl thoroughly, because the peanut butter mixture can hide there.
Transfer the entire mixture to the parchment-lined pan. Use the flat bottom of a measuring cup, a small offset spatula, or your hands to press it down as firmly and evenly as possible. This is the most critical step in the entire recipe. If the mixture is packed loosely, the bars will crumble into a pile of granola when you slice them. Apply steady, firm pressure across the whole surface, especially in the corners, and make sure the top is level. For an even smoother finish, place a piece of parchment paper over the mixture and press down through the parchment—this prevents the mixture from sticking to your hands and gives you a perfectly compact slab.
Refrigerate the pan for at least 1 hour, or freeze it for 20 to 30 minutes if you are in a hurry. This chilling time is what allows the peanut butter and honey to firm up and cement the oats together into a stable sliceable block. The bars are ready when the slab feels firm to the touch and cannot be easily bent. If you gently lift the parchment overhang, the whole slab should come out as one solid piece. Be sure to place the pan on a flat, level shelf in the refrigerator, not in the door, so the mixture sets evenly without being jostled.
Once the slab is fully chilled and firm, lift it out of the pan using the parchment overhang and transfer it to a cutting board. Use a sharp chef’s knife to slice the slab into 12 even bars, cutting straight down with confidence. For clean, neat edges, wipe the blade with a damp paper towel between each cut to remove the sticky residue. The finished bars will be chewy, slightly crunchy from the oats, and studded with dark chocolate and bright dried fruit. Serve them immediately at room temperature, pack them into lunchboxes, or wrap them individually for an on-the-go snack. Store any leftovers in an airtight container at room temperature for up to 5 days, or in the refrigerator for up to 2 weeks.
For best results
- Use old-fashioned rolled oats, not instant oats and not steel-cut oats. Old-fashioned oats give the bars a satisfying chewy texture and absorb the honey-peanut butter mixture perfectly. Instant oats turn into mush and create a dense, pasty bar. Steel-cut oats stay too crunchy and won't soften enough to bind, leaving you with crumbly mess. Certified gluten-free rolled oats are a great swap if you need gluten-free snacks.
- Warm the honey and peanut butter gently, whether on the stovetop or in the microwave. If using the microwave, heat in 20-second bursts, stirring between each, until you see the mixture become glossy and loose. Never let it bubble hard. If your mixture seems too thick to pour, add 1 teaspoon of coconut oil or water to loosen it. A slightly warm liquid creates a more fluid coating and also helps the chocolate chips soften into little fudge pockets throughout the bars.
- Pressing the mixture into the pan with firm, even pressure is the secret to bars that hold together. The mixture will be sticky, so use the flat bottom of a measuring cup, a heavy glass, or your hands protected by a sheet of parchment. Press hard into the corners and along the edges. A good test: squeeze a small fistful of the mixed ingredients together. If it holds its shape before you even put it in the pan, your final bars will hold too. If it crumbles, add an extra tablespoon of warm honey or peanut butter, mix well, and try again.
- Do not skip the chilling time. At least 1 hour in the refrigerator is essential for the ingredients to set. If you are truly short on time, 20 to 30 minutes in the freezer works in a pinch, but the bars will be slightly softer. Cutting too early, before the slab is completely firm, will cause the bars to crumble along the edges. Use a sharp chef's knife and wipe the blade with a damp paper towel between cuts for picture-perfect slices.
- Store the bars properly to extend their freshness. Layer them with parchment paper in an airtight container to keep them from sticking together. At room temperature, they'll stay chewy for up to 5 days; in the refrigerator, they will keep for about 2 weeks. These bars also freeze beautifully. Wrap each individually in plastic wrap and store in a freezer-safe bag for up to 3 months. Let frozen bars thaw at room temperature for about 10 minutes, or enjoy them straight from the freezer for a firmer, colder snack.
- Keep your total add-ins to about 1 cup. Chocolate chips, dried fruit, seeds, and nuts are all delicious, but if you overload the mixture with too many dry add-ins, there won't be enough binder to hold everything together. If you love a crunchy texture, toast the oats in a dry skillet or a 350°F oven for 8-10 minutes before mixing. Let them cool completely, then proceed with the recipe. Toasted oats add a deeper, nuttier flavor and a little extra crunch without changing the no-bake concept.
Variations
- For a peanut-free, school-safe version, replace the peanut butter with sunflower seed butter or tahini. Sunflower seed butter has a slightly different consistency, so you may need to add an extra tablespoon of honey to help it bind. Add 1/4 cup of sunflower seeds alongside the oats for extra texture and protein. This version is completely nut-free, making it a wonderful option for classrooms, daycare, and anywhere peanut allergies are a concern. Just be sure to check that all other ingredients, like chocolate chips, are processed in a nut-free facility if needed.
- Try a tropical twist with almond butter and white chocolate. Use almond butter instead of peanut butter, swap the dried cranberries for diced dried pineapple or mango, replace the chocolate chips with white chocolate chips, and add 1/4 cup unsweetened shredded coconut. Reduce the oats to 1 3/4 cups to compensate for the coconut. The white chocolate chips will melt slightly from the warm nut butter mixture, creating creamy sweet pockets that pair beautifully with the tropical fruit. This version tastes like a vacation in every bite.
- To make this recipe vegan, simply replace the honey with maple syrup or agave nectar. Use your favorite dairy-free chocolate chips, most semi-sweet chocolate chips are already dairy-free, and choose a plant-based nut or seed butter. Maple syrup is slightly thinner than honey, so the bars may need a few extra minutes in the refrigerator to set firmly. The flavor will be a little less floral and more caramel-like, but the bars are just as delicious and still hold together perfectly.
- For an extra protein boost, mix in 2 tablespoons of vanilla or chocolate protein powder and reduce the oats to 1 3/4 cups to keep the texture right. If the mixture feels too dry, add a tablespoon of milk or melted coconut oil to restore the binding. You can also add 1/4 cup of collagen peptides without changing the liquid ratio—they dissolve easily and boost protein to about 10 grams per bar. This makes these no bake granola bars an excellent post-workout snack or afternoon pick-me-up.
Nutrition
- Calories230 kcal
- Total Fat13g
- Saturated Fat3g
- Cholesterol0mg
- Sodium85mg
- Total Carbohydrates24g
- Dietary Fiber3g
- Sugars12g
- Protein6g