
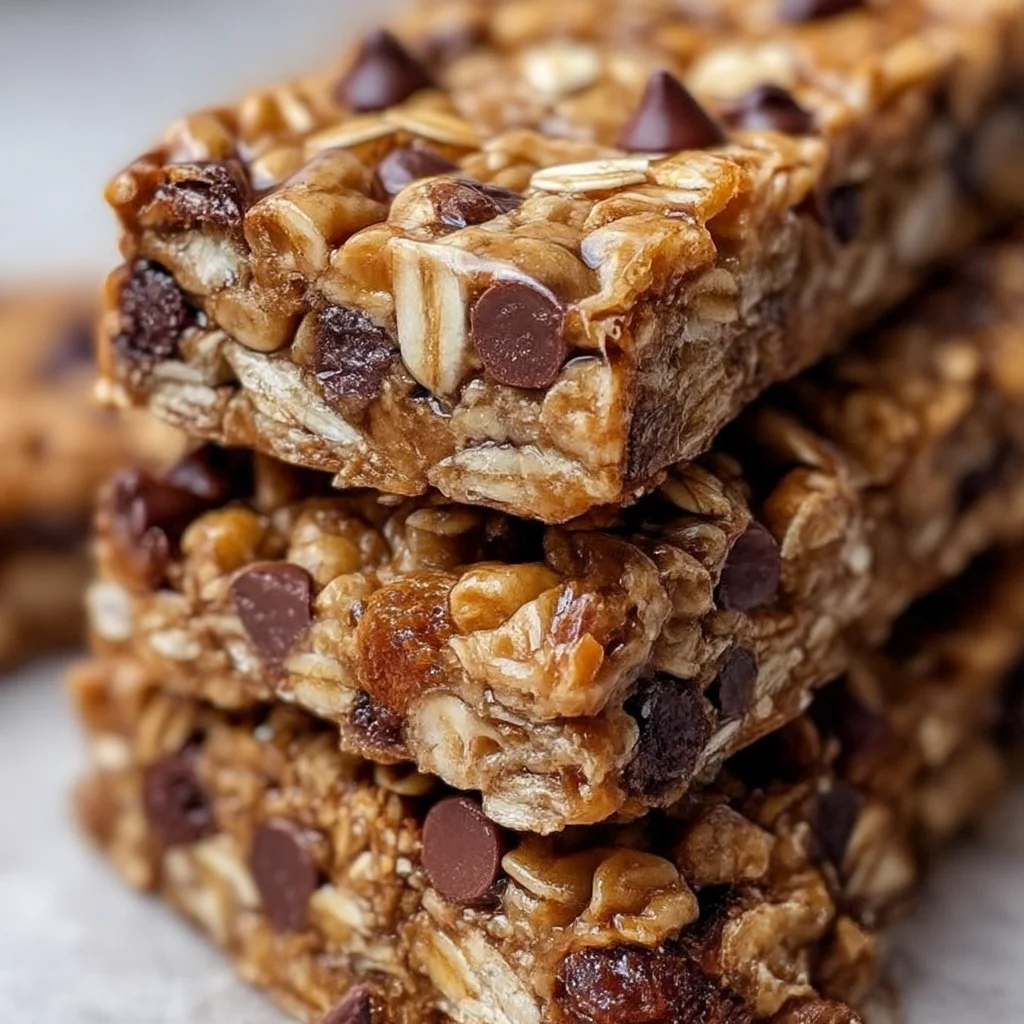
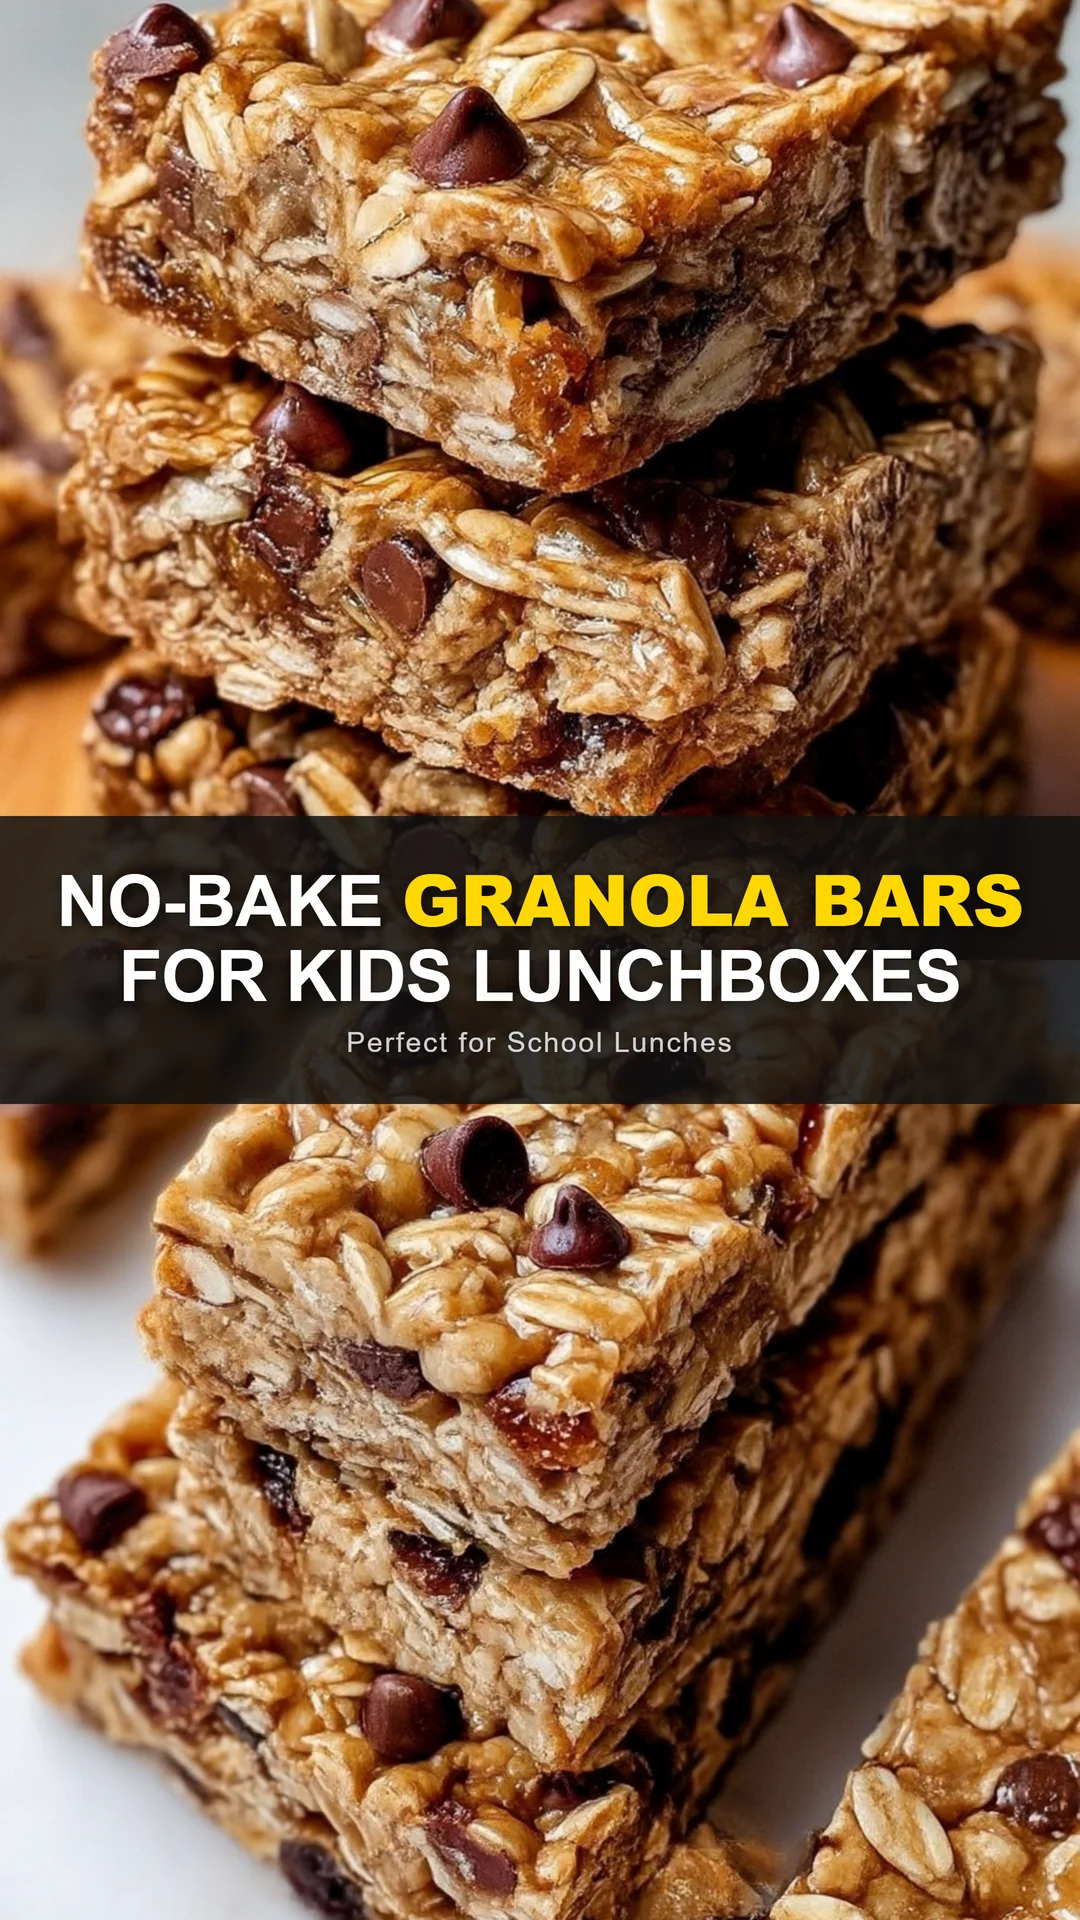
Make healthy no-bake granola bars for kids lunchboxes in minutes. This easy high-protein snack uses oats, nut butter & honey—perfect school lunch idea!
Ingredients
Instructions
Line an 8-inch square baking pan with a long sheet of parchment paper, leaving overhang on two opposite sides. The overhang becomes your handles—this simple step is the secret to lifting the entire batch out in one clean piece without any crumbly broken edges. Choose old-fashioned rolled oats rather than quick oats; their hearty texture and slower starch release create a satisfyingly chewy bar that holds its shape. Set out all your ingredients before starting. This recipe comes together so quickly that having everything measured and ready makes the process smoother and more fun if you’re cooking with kids. You will know the pan is ready when the parchment lies flush against the corners and the paper hangs a good two inches over the rim.
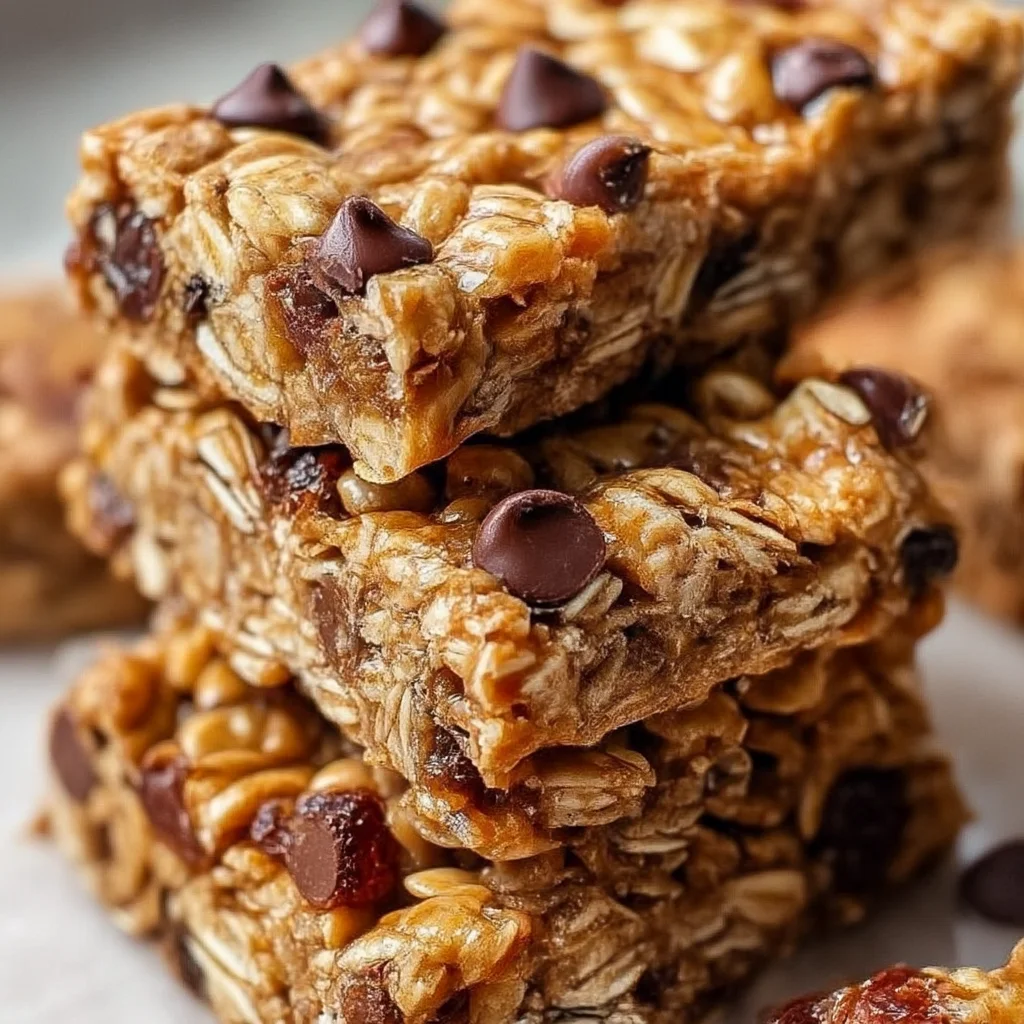
In a large mixing bowl, combine the old-fashioned rolled oats, dried cranberries, and mixed seeds. Toss them together with a spatula so the fruit doesn’t clump and the seeds are evenly distributed. Using seeds such as sunflower and pumpkin adds protein, healthy fats, and a gentle crunch that contrasts perfectly with the chewy oats. Push the dry mixture to one side of the bowl; you’ll need a nice dry base waiting when the wet ingredients join. At this stage the aroma is still neutral and earthy, which is completely normal. The magic happens in the next step when warm peanut butter and honey transform everything into a sticky, irresistible dough.
In a small saucepan over medium-low heat, warm the peanut butter and honey together with the vanilla extract and fine sea salt. Whisk gently as the mixture warms; it should become glossy, pourable, and wonderfully fragrant. Do not let it bubble aggressively—if honey gets too hot, it can seize and create a gritty texture, and the natural flavor of the nut butter will turn bitter. You are looking for a temperature that’s just warm enough to thin the nut butter and let it coat every oat in the bowl. This normally takes only 1 to 2 minutes. The sauce will smell like salted caramel and toasted nuts. If you’re using a thick natural peanut butter that has separated, stir the jar well before measuring, then warm the mixture a bit longer until fully smooth.
Pour the warm peanut butter-honey mixture over the dry ingredients. Use a silicone spatula to fold, starting from the bottom of the bowl, making sure no oat is left dry. The mixture will look crumbly at first, then suddenly come together into a wet, sticky dough. It should hold together if you squeeze a small amount in your fist. If your bowl still has dry spots, drizzle in a tiny bit of warm water, one teaspoon at a time, but only if absolutely necessary. The goal is a mixture that clumps easily and glistens with honey. Fold in the mini chocolate chips now. Because the peanut butter is still slightly warm, the chips will soften just enough to create little pockets of melty chocolate without smearing through the whole batch.
Transfer the granola bar mixture into your prepared pan. Spread it into an even layer with the spatula. Lay a square of parchment paper or wax paper over the top and press down firmly with your hands or the flat bottom of a measuring cup. Pressing is the most important step in this entire recipe! If you don’t press hard enough, the bars will be loose and crumble when cut. Work your way from the center to the corners, applying even weight, until the surface is smooth and level. You should feel the mixture compact and firm under your palms. The top will look dense and slightly shiny from the honey. Don’t worry if it feels sticky; the parchment protects your hands and helps you apply pressure without everything sticking to you.
Refrigerate the pan for at least 30 minutes, but ideally 45 minutes to a full hour. The chill time allows the honey and nut butter to set into a firm, sliceable matrix. This recipe is called no-bake for a reason—the oven never turns on, but the fridge absolutely does the work. If you try to cut before chilling, the bars will be soft and messy. After 30 minutes, they should feel firm but not rock-hard. When you lift the parchment corners, the entire slab should come out in one piece without drooping. For extra tidy squares, chill for the full 60 minutes, especially in warm summer months or if your kitchen tends to be hot.
Lift the chilled slab out of the pan using the parchment overhang and place it on a cutting board. Use a sharp chef’s knife to trim the edges if you want a bakery-perfect look—those scraps are the cook’s reward! To cut into 12 bars, first cut the slab in half lengthwise. Then cut each half into three even strips, and finally rotate the board and cut crosswise to make 12 rectangles. Wipe the knife clean between cuts with a damp towel; this prevents chocolate chips from leaving streaky marks on the following bars. Each bar should have a slight crunch at the edges and a chewy, dense center. If the knife drags, warm it in a glass of hot water, dry it off, and continue cutting.
Transfer the finished no-bake granola bars to an airtight container, placing a sheet of parchment between the layers so they don’t stick together. They will keep at room temperature for up to a week, but stored in the fridge they’ll stay firm for nearly two weeks. For kids lunchboxes, pack them straight from the fridge into a bento or paper snack bag; by lunchtime they’ll soften just slightly, which actually makes them even more deliciously chewy. This final step is when you can admire the golden oats, the freckles of chocolate, and the perfect handheld size. These bars are ready to conquer school lunch hour.
For best results
- Use old-fashioned rolled oats, not quick oats or instant oats. Old-fashioned oats have a hearty, chewy texture and absorb the honey-nut butter mixture slowly, holding their shape beautifully in a no-bake bar. Quick oats turn into a mushy paste and make the bars dense and pasty, while steel-cut oats don't soften enough and cause the bars to crack. If you're serving people with gluten sensitivities, look for certified gluten-free rolled oats, as many conventional oats are processed in facilities that also handle wheat.
- Measure your nut butter by weight for the most consistent results. Nut butters vary wildly in oil content, and too much oil can make the bars greasy while too little leaves them crumbly. If using natural peanut butter, stir the jar thoroughly before measuring because the oil separates at the top. If your nut butter is as stiff as a brick, microwave it for 10 to 15 seconds to loosen it. Peanut butter gives the firmest bars, almond butter gives a slightly softer texture, and sunflower seed butter makes a completely nut-free version with a delightful earthy flavor.
- Do not let the honey mixture boil. Gently warming the honey and nut butter together should take just a minute or two on medium-low heat. If it starts simmering or bubbling, pull it off the heat immediately. Overheating honey can cause it to caramelize and turn brittle once chilled, giving the bars an unpleasant hard crunch and muting the natural sweetness. The perfect consistency is a warm, glossy sauce that flows off the whisk in a thick ribbon. If you're using maple syrup instead of honey, know that it has more moisture, so add 2 extra tablespoons of oats or chill the bars for an additional 15 minutes to compensate.
- Pressing the mixture into the pan is non-negotiable. If you don't pack the bars tightly, they will fall apart when you try to cut or eat them. Use a piece of parchment paper on top so your hands don't get sticky, then press with your palms or the flat bottom of a measuring cup. Spend 30 seconds really compacting the mixture, paying special attention to the corners and edges. You should feel the mixture become dense and solid. This compacting step ensures that every bite sticks together and has that satisfying, crunchy-chewy granola bar texture.
- Customize your add-ins, but keep the total around 1/2 cup. Dried fruit, seeds, chocolate chips, shredded coconut, and chopped nuts are all wonderful, but too many add-ins can prevent the oats from binding into a cohesive bar. If you want to add shredded coconut, use unsweetened shredded coconut and reduce the dried fruit by half. Mini chocolate chips are better than larger chunks because they distribute evenly and don't create weak spots that cause the bars to break. Chop larger nuts or dried apricots into small pieces before mixing.
- These granola bars freeze exceptionally well. After cutting, wrap individual bars in plastic wrap and place them in a freezer-safe bag. They'll keep in the freezer for up to 3 months. For busy school mornings, you can drop a frozen bar straight into the lunchbox; it will thaw by lunchtime and taste just as fresh. To enjoy at home, let it sit at room temperature for 10 minutes or pop it in the microwave for 10 seconds. Freezing also makes the bars even easier to pack neatly in a bento box without crumbling.
Variations
- For a nut-free school-safe version, swap the peanut butter for sunbutter or tahini. Sunflower seed butter is a wonderful 1:1 replacement, but keep in mind it reacts with baking soda in baked goods; since this is a no-bake recipe, you don't have to worry about that. Just make sure your sunflower seed butter is well-stirred and creamy. Tahini, made from sesame seeds, gives a slightly more savory, sophisticated flavor that pairs beautifully with honey and dried fruit. Always double-check labels if you're packing for a school with nut-free policies, and choose certified gluten-free oats if needed as well.
- To boost the protein even more, add 2 tablespoons of unflavored collagen peptides or vanilla protein powder to the dry oat mixture. Because protein powder absorbs liquid, you'll need to increase the nut butter by 1 tablespoon and the honey by 1 tablespoon to keep the bars from becoming dry and crumbly. This is an easy way to turn these lunchbox snacks into a true high-protein snack for growing kids or active teens. You can also add a couple of tablespoons of hemp hearts, which are packed with protein and Omega-3s without changing the flavor.
- For a tropical-inspired variation, substitute the dried cranberries with chopped dried pineapple, mango, or banana chips, and swap the chocolate chips for white chocolate chips or butterscotch chips. Add 2 tablespoons of toasted shredded coconut to the dry mix for extra texture. The honey and nut butter base pairs surprisingly well with tangy tropical fruit, and the white chocolate adds a creamy sweetness that kids love. Press and chill as directed, then cut into small bars or squares for a fun after-school treat.
- If you want a quick 'energy ball' version, skip the pan and line a small baking sheet instead. After mixing all the ingredients, roll the dough into 12 to 16 balls using your hands. Because the mixture is sticky, lightly wet your hands with water to make rolling easier. Place the balls on the prepared sheet and chill for 20 minutes. These energy balls are perfect for toddlers, preschool snacks, and on-the-go mornings. You can also roll them in cocoa powder, shredded coconut, or finely crushed freeze-dried strawberries for a pretty finish.
Nutrition
- Calories240 kcal
- Total Fat14g
- Saturated Fat2.5g
- Cholesterol0mg
- Sodium80mg
- Total Carbohydrates28g
- Dietary Fiber3g
- Sugars14g
- Protein7g