
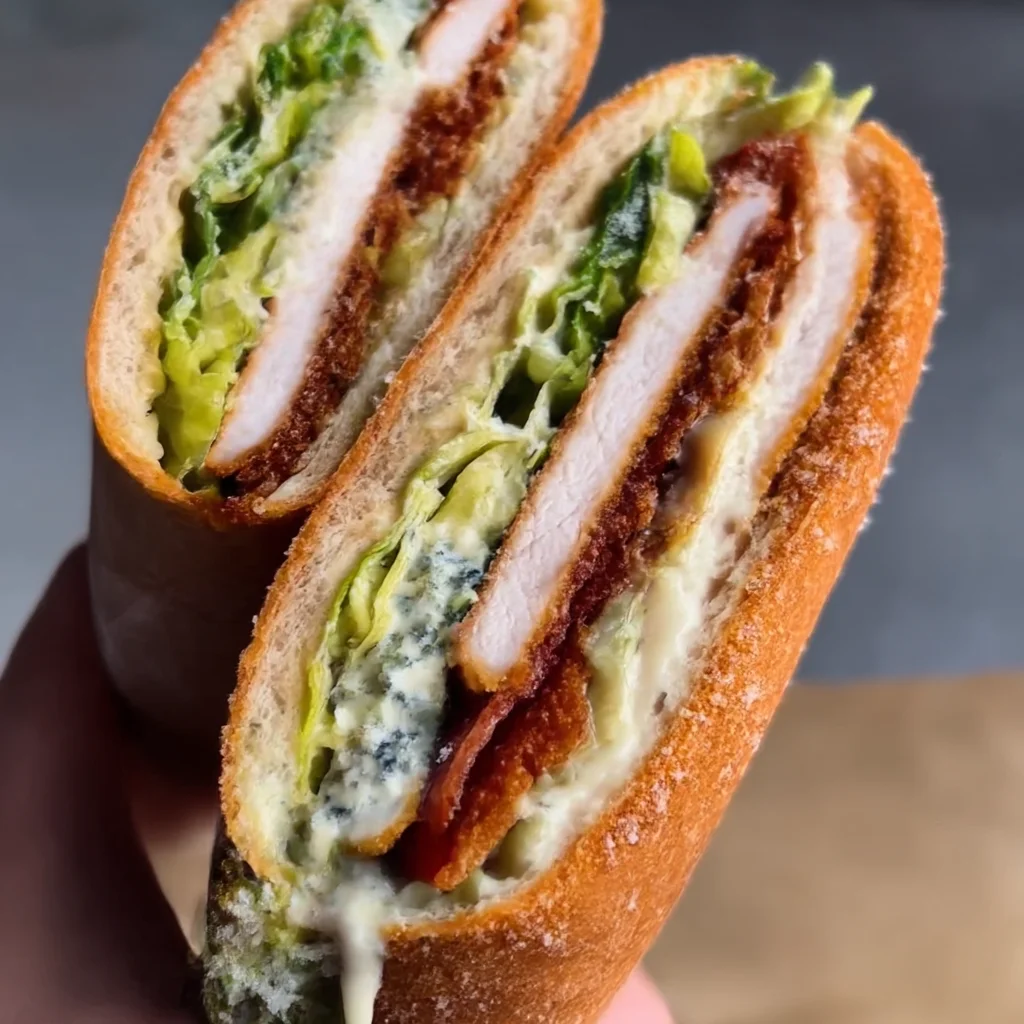
Easy dinner recipes and quick lunch ideas collide in this Cali Turkey Club Wrap—a simple family meal ready in 15 minutes. Perfect weeknight friendly!
Ingredients
Instructions
Before you start assembling, set up a clean work station and gather every ingredient: large flour tortillas, sliced roasted turkey, crispy bacon, ripe avocados, ripe but still slightly firm tomatoes, crisp lettuce, and your favorite spread. If you are cooking the bacon fresh, place the strips in a cold skillet over medium heat and cook for 4–5 minutes per side until deeply browned and craggy, then drain on paper towels. Alternatively, microwave bacon between paper towels for 60–90 seconds for an even speedier prep. Wash and thoroughly dry the lettuce and tomatoes—moisture is the enemy of a sturdy wrap. Slice the avocado just before assembly to prevent browning. Having everything ready to go will make the last-minute rolling fast and clean, and this step is the real secret behind a wrap that holds together beautifully instead of spilling out at the first bite.
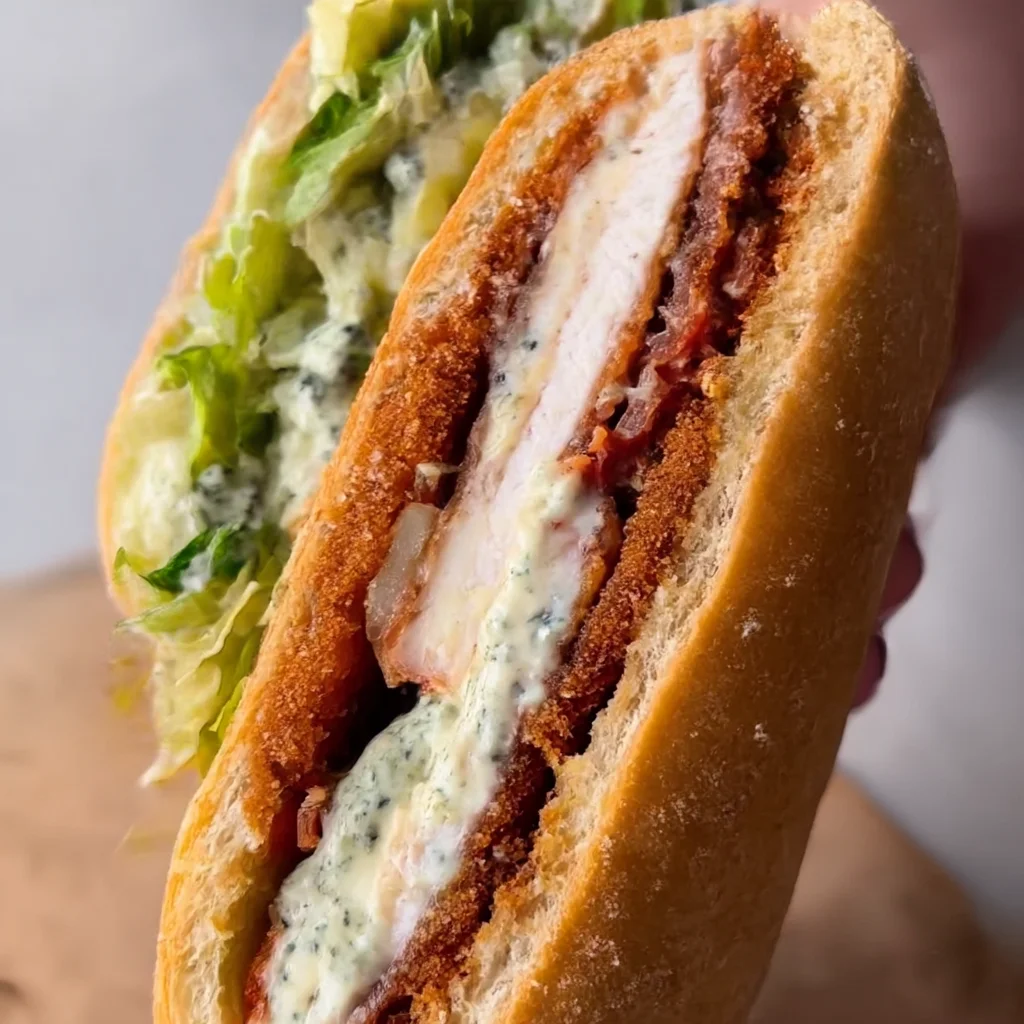
Warm the tortillas one at a time in a dry cast-iron skillet over medium heat for about 20 seconds per side, or stack them on a microwave-safe plate covered with a damp paper towel and heat for 30 seconds. Warming does not just improve flavor—it relaxes the gluten in the flour, making the tortilla flexible and far less likely to crack when you fold and roll. Steam from the damp towel adds a little moisture, but be careful not to overheat them, because the tortillas will become too soft and tear easily. If you skip this step with cold tortillas, you will end up with cracks along the seams, and the fillings will push out from both ends as you roll. Keep the warmed tortillas stacked and covered with a clean kitchen towel while you prepare the remaining ingredients.
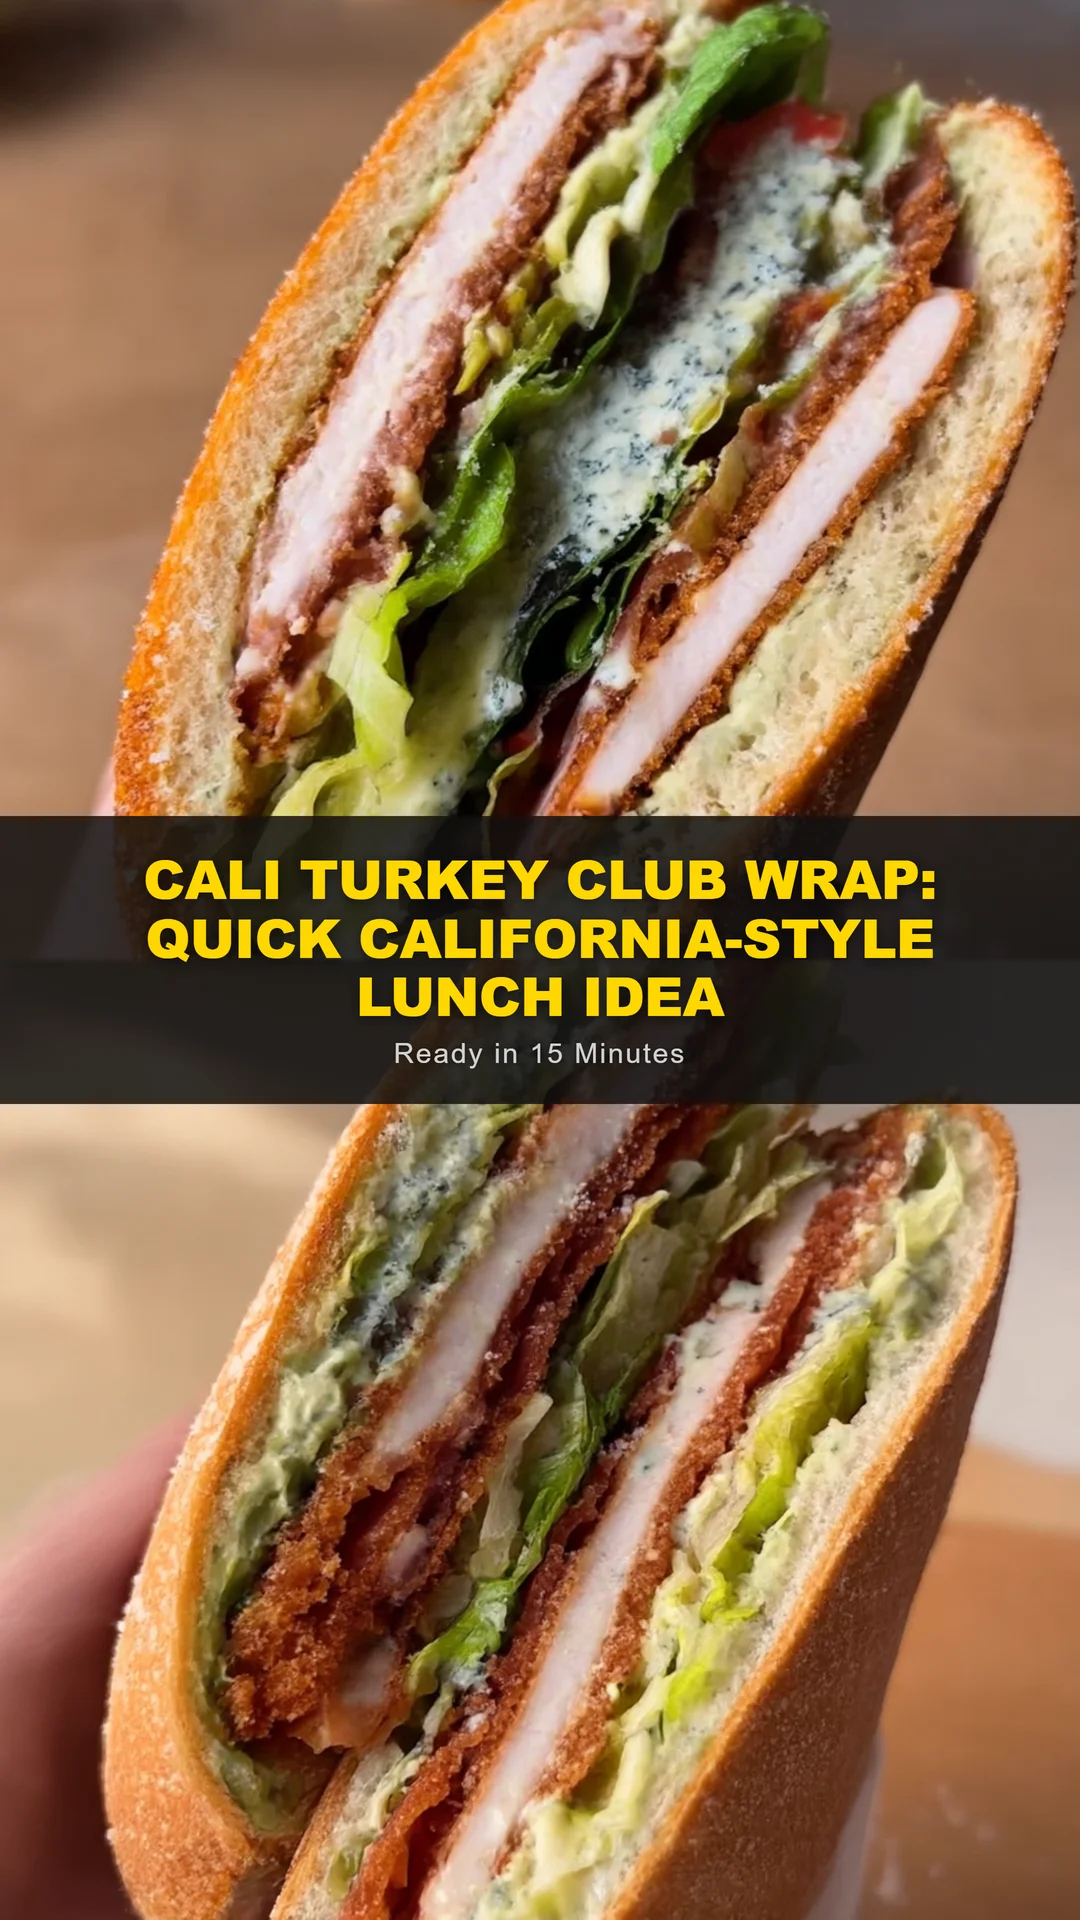
Place one warm tortilla flat on a cutting board or a large sheet of parchment paper. Spread about 1 tablespoon of mayonnaise, plain Greek yogurt, or a blend of both evenly over the center portion, leaving a 1-inch border around the edges. This layer not only adds a tangy, creamy counterpoint to the salty turkey and bacon but also acts as a protective moisture barrier that keeps the tortilla from becoming soggy when the juicy tomatoes and avocado release their liquid. If you prefer a lighter version, skip the spread and instead pat the tomato slices and avocado dry with a paper towel. For extra flavor, you can stir a pinch of smoked paprika, garlic powder, or lemon zest into the spread before applying it.
Layer the ingredients in the center of the tortilla in a careful order: place a stack of sliced turkey down first, then crispy bacon, then avocado slices, then tomato slices, and finally the lettuce leaves. The turkey and bacon form a solid base that absorbs any initial moisture, while the lettuce on top cushions the rest and helps keep everything centered. Season lightly with salt and pepper between the layers—especially on the avocado and tomato, which benefit from a little seasoning. Do not overfill: for a 10-inch tortilla, you need about 1/4 of the filling per wrap. A messy, overstuffed wrap is the number one reason wraps fail; the ingredients should mound to no more than 1½ inches high in the center.
To roll the wrap, fold the left and right sides of the tortilla inward over the filling, using gentle pressure to tuck them snugly against the stack. Then, starting from the bottom edge nearest you, roll the tortilla upward away from you, using your fingers to keep the filling compact and even. As you roll, pull the tortilla slightly toward yourself to create tension; this makes the finished wrap tight and neat. When you reach the end, lay the wrap seam-side down on the parchment. If any filling tries to escape, adjust it with your fingers before completing the roll. For extra security, you can brush the top edge of the tortilla with a little spread or water before sealing, which acts like an edible glue.
Use a sharp serrated knife to cut the wrap in half on a diagonal into two tidy pieces. A clean cut is important both for presentation and for keeping the ingredients intact. Wipe the knife blade with a damp paper towel between cuts if it picks up avocado or tomato. Serve immediately while the bacon is still crisp and the avocado is fresh. If you plan to take the wrap to work or on a picnic, wrap each half in parchment paper and then in a resealable bag or an airtight container. Do not slice until just before eating if you are packing ahead—whole wraps stay fresher longer because there is less exposed surface area for moisture to escape.
Store leftover wraps in the refrigerator for up to 24 hours, but know that sooner is always better—crispy bacon and fresh avocado lose their magic quickly. To revive a refrigerated wrap, take off the plastic wrap and gently toast it in a dry skillet for 1–2 minutes per side or pop it into an air fryer at 350°F for 3 minutes. If you are assembling wraps for meal prep, store the filling components separately and assemble in the morning. Lettuce and avocado should be added last to avoid wilting and browning. This method keeps the wrap truly ‘California fresh’ every day of the week.
For best results
- Choose the Right Avocado: For a wrap, you want an avocado that is ripe but still firm enough to hold its shape in a slice. Press gently near the stem—if it gives slightly and feels like the palm of your hand, it’s ready. If the avocado is too soft, it will turn into a mushy guacamole that makes the wrap soggy and hard to roll. If it’s too hard, it will taste bitter and have no creaminess. Store ripe avocados in the fridge to slow down further ripening for a day or two, and slice them right before assembly. Toss the slices with a squeeze of lime juice to prevent browning without making the wrap watery—just use a fresh, dry paper towel to pat them before placing them in the tortilla.
- Perfect Crispy Bacon Every Time: The easiest and most consistent method for crispy bacon is to bake it in a 400°F oven on a wire rack set over a baking sheet for 15–18 minutes. The rack allows hot air to circulate, so the fat renders evenly and the strips come out super crisp without curling. For an even quicker option, microwave the bacon between two layers of paper towels for 60 to 90 seconds, checking every 15 seconds after the first minute. The paper towels absorb the rendered fat, leaving you with clean, shatteringly crisp strips. Whichever method you choose, let the bacon drain on a fresh paper towel and pat the top gently before adding it to the wrap so excess grease doesn’t make the tortilla oily.
- Prevent a Soggy Wrap: Moisture is the biggest enemy of any sandwich wrap. Start with completely dry lettuce: wash your leaves well and spin them in a salad spinner, then pat them with a clean towel. Use paper towels to blot the tomato slices and avocado slices just before layering. Spread a thin layer of mayonnaise, cream cheese, or hummus on the tortilla—this creates a waterproof barrier that keeps moisture from soaking into the bread. Also, avoid overfilling with high-moisture vegetables. If you are making these ahead for lunch, store the filling and tortilla separately, and assemble no more than a couple of hours before eating.
- Warm Tortillas for Flexibility: Cold tortillas crack and tear the moment you try to roll them. Warm them in a dry pan over medium heat for 15–20 seconds per side, or wrap them in a damp paper towel and microwave for 20–30 seconds. The heat relaxes the flour starches and makes the tortillas pliable and almost elastic, so you can roll a tighter, neater wrap with less risk of breakage. Keep the warmed tortillas stacked and wrapped in a clean towel while you work so they stay supple. If you use whole-wheat or corn tortillas, they are even more delicate, so this step is absolutely essential.
- Master the Roll: Lay the tortilla on a flat surface and put the filling slightly off-center toward the bottom third. Fold in the sides first, about 1 inch from the edge, then use your thumbs to hold those folds in place as you roll from the bottom. Tuck your fingers over the filling as you roll to keep it compact, and apply firm but gentle pressure along the whole length. The finished seam should be on the bottom. If your wrap still opens, brush the edge with a little water or spread before sealing. Practicing this technique will give you restaurant-quality wraps that hold together through every bite.
- Meal Prep Like a Pro: This Cali Turkey Club Wrap is a fantastic meal-prep recipe, but the key is to store the components correctly. Cook the bacon ahead and keep it in a sealed container with paper towels to maintain crunch. Slice the turkey and keep it separate. Store the tomatoes, lettuce, and avocado individually—avocado should be coated with lime juice and wrapped tightly. When you are ready to eat, warm the tortilla for a few seconds, spread on your condiment, and assemble fresh. This approach means every bite tastes just as vibrant as if it were made right before serving, even on the third day.
Variations
- Low-Carb / Keto Cali Turkey Club Wrap: Swap the flour tortilla for a large low-carb tortilla, a butter lettuce leaf wrap, or even a thinly sliced cucumber wrap if you want a completely grain-free option. Keep the turkey and bacon, but double the avocado to make up the fat and volume. Add a sprinkle of crispy onions or crushed pork rinds in place of croutons if you miss the crunch of bread. This version still hits all the California notes—creamy, savory, fresh—while fitting into a keto or low-carb meal plan. Serve with a side of celery sticks and a smear of blue cheese dressing for extra indulgence.
- Spicy Southwest Turkey Club Wrap: Give the wrap a kick by adding 2 to 3 tablespoons of canned black beans, a handful of roasted corn, and a few slices of jalapeño (fresh or pickled). Swap the plain mayonnaise for chipotle mayo by whisking 1 teaspoon of adobo sauce into 1/4 cup of mayonnaise. Add a squeeze of lime juice over the avocado and top with fresh cilantro. The smoky, slightly sweet heat takes the classic turkey club into Southwestern territory while keeping the prep time under 20 minutes. This is a great way to use up leftover grilled corn from a summer barbecue.
- Mediterranean Turkey Wrap: Instead of mayonnaise, spread 2 tablespoons of hummus or tzatziki on the tortilla. Replace the lettuce with baby spinach and add crumbled feta cheese, sliced cucumbers, and Kalamata olives. Use oven-roasted turkey breast, but also consider adding a few slices of roasted red pepper for sweetness. Season with a pinch of dried oregano and a drizzle of olive oil. This version is lighter, tangier, and absolutely bursting with Mediterranean flavors. It pairs beautifully with a side of grape leaves or a small Greek salad for a satisfying lunch.
- Breakfast Turkey Club Wrap: Turn this into the ultimate breakfast-on-the-go by adding a soft-scrambled egg or a fried egg to the filling. The runny yolk from a fried egg acts as a luxurious sauce that brings all the ingredients together. Use breakfast turkey sausage or deli turkey, and swap the lettuce for a handful of arugula to avoid sogginess. A smear of spicy mustard or sriracha adds a nice morning wake-up call. Wrap it in foil and eat on your commute, or serve it on a plate with a side of crispy hash browns for a weekend brunch.
Nutrition
- Calories350 kcal
- Total Fat18g
- Saturated Fat4.5g
- Cholesterol40mg
- Sodium780mg
- Total Carbohydrates32g
- Dietary Fiber6g
- Sugars3g
- Protein20g