
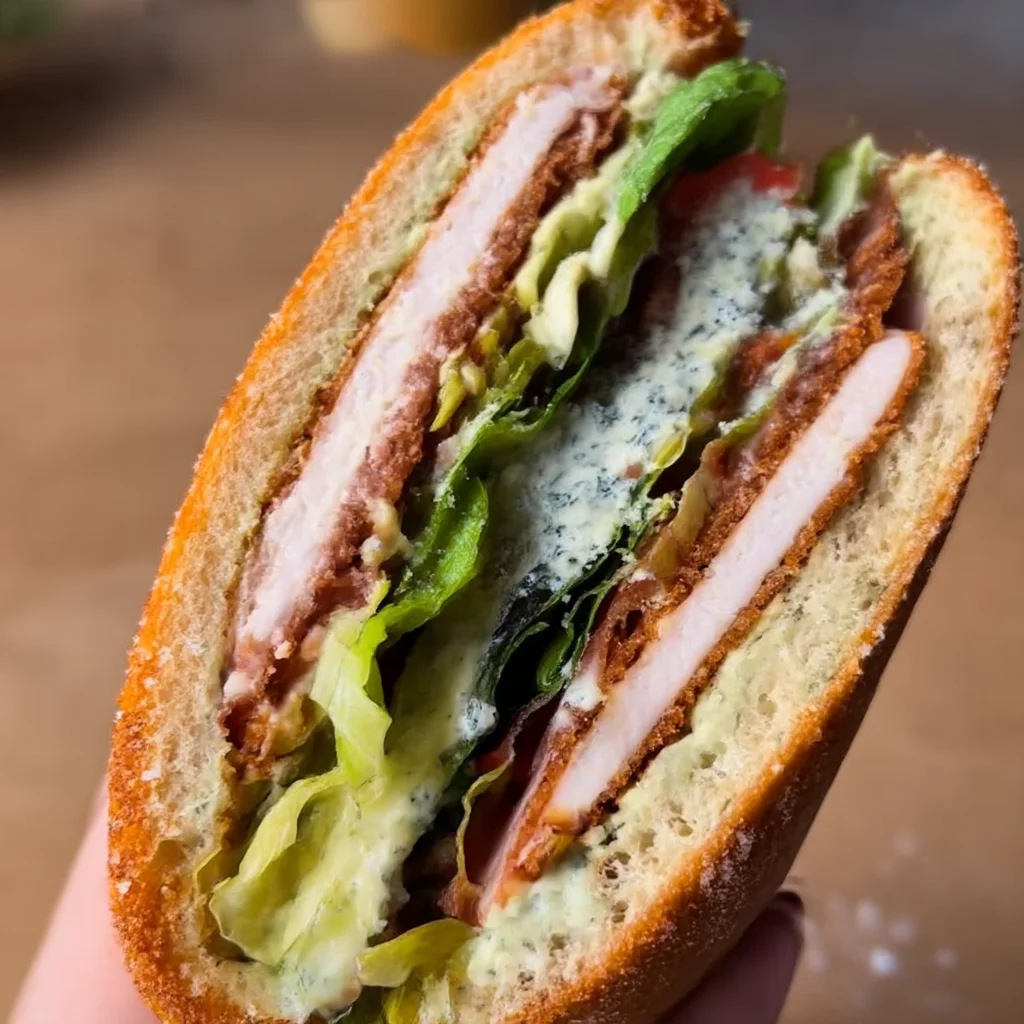
Make a quick Cali Turkey Club Wrap with tender turkey, crispy bacon, avocado, and fresh veggies. This high-protein lunch is perfect for busy weekdays and meal prep.
Ingredients
Instructions
Before you begin, pull all the ingredients out of the fridge and arrange them on your countertop. This mise en place approach not only makes assembly faster but also ensures you don’t forget any key component while the bacon is sizzling. For the best texture and flavor, let the turkey and avocado sit at room temperature for about 10 minutes—cold turkey can make the wrap feel clammy, and cold avocado is less creamy. If you are using a whole romaine heart or iceberg lettuce, rinse the leaves and spin them completely dry in a salad spinner. Wet lettuce is the number one enemy of a crisp wrap; moisture makes the tortilla soggy quickly. Take a sharp chef’s knife and slice the tomatoes into thin, even rounds, then lay them on a paper towel to absorb excess juice. Do the same with the avocado: wait until just before assembly to slice it so it doesn’t brown, and give it a squeeze of lemon or lime if you need to buy yourself a few extra minutes. Finally, line a plate with paper towels for the bacon and clear a large cutting board where you have plenty of room to roll each wrap.
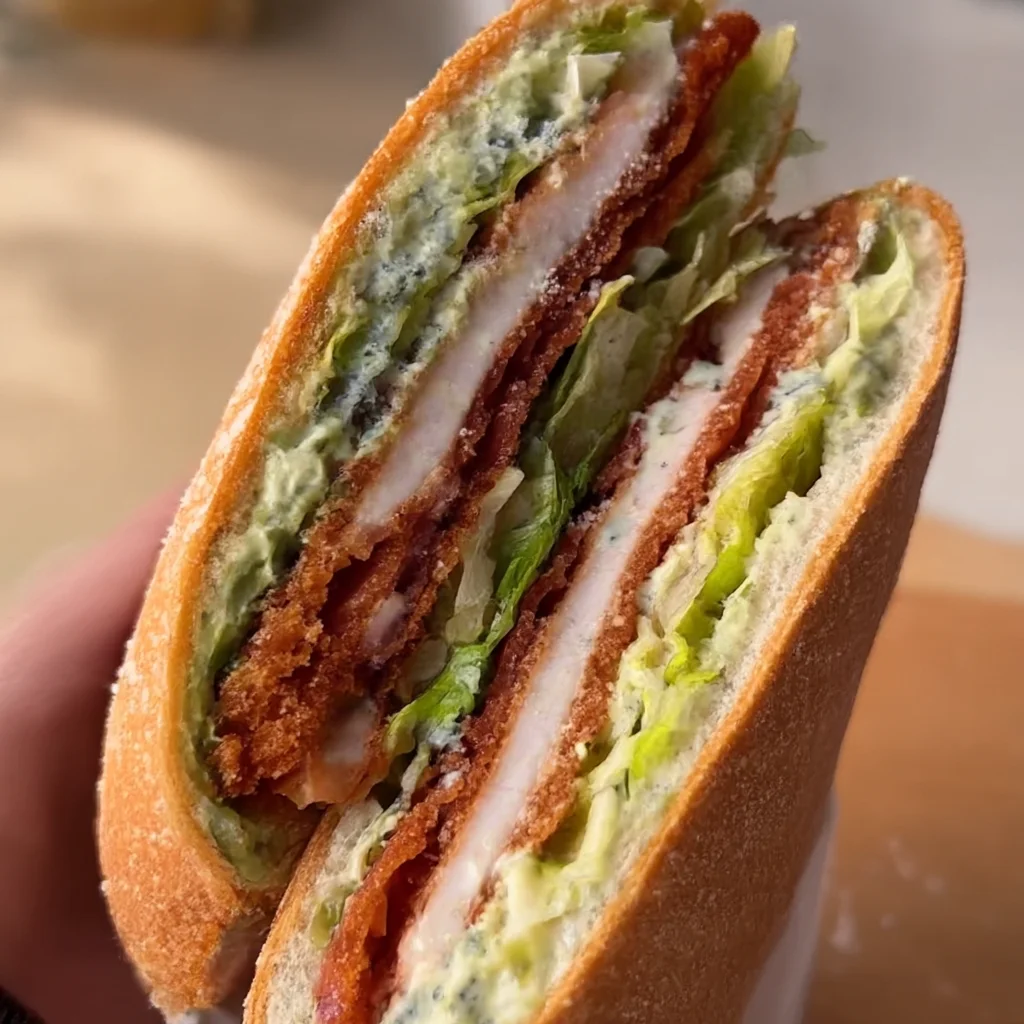
In a large skillet (preferably cast iron), lay the bacon slices flat in a single layer. Turn the heat to medium and cook for 6-8 minutes, flipping occasionally with tongs, until the fat renders and the strips are deeply golden and crisp. The sound should go from a high-pitched sputter to a quieter sizzle as the fat minimizes. If you prefer a chewier texture, cook for just 4-5 minutes; for very crispy bacon, continue until the color is mahogany brown but not burnt. Transfer the bacon to the paper-towel-lined plate to drain. Do not discard the rendered bacon fat—you can brush a little onto the tortillas later for an extra smoky flavor, or save it for another use. If you want to save time, microwave the bacon on a paper-towel-topped plate for 4-6 minutes; it won’t be quite as crackly, but it works well for meal prep. Let the bacon cool for at least a minute so it doesn’t steam and wilt the lettuce when you assemble.
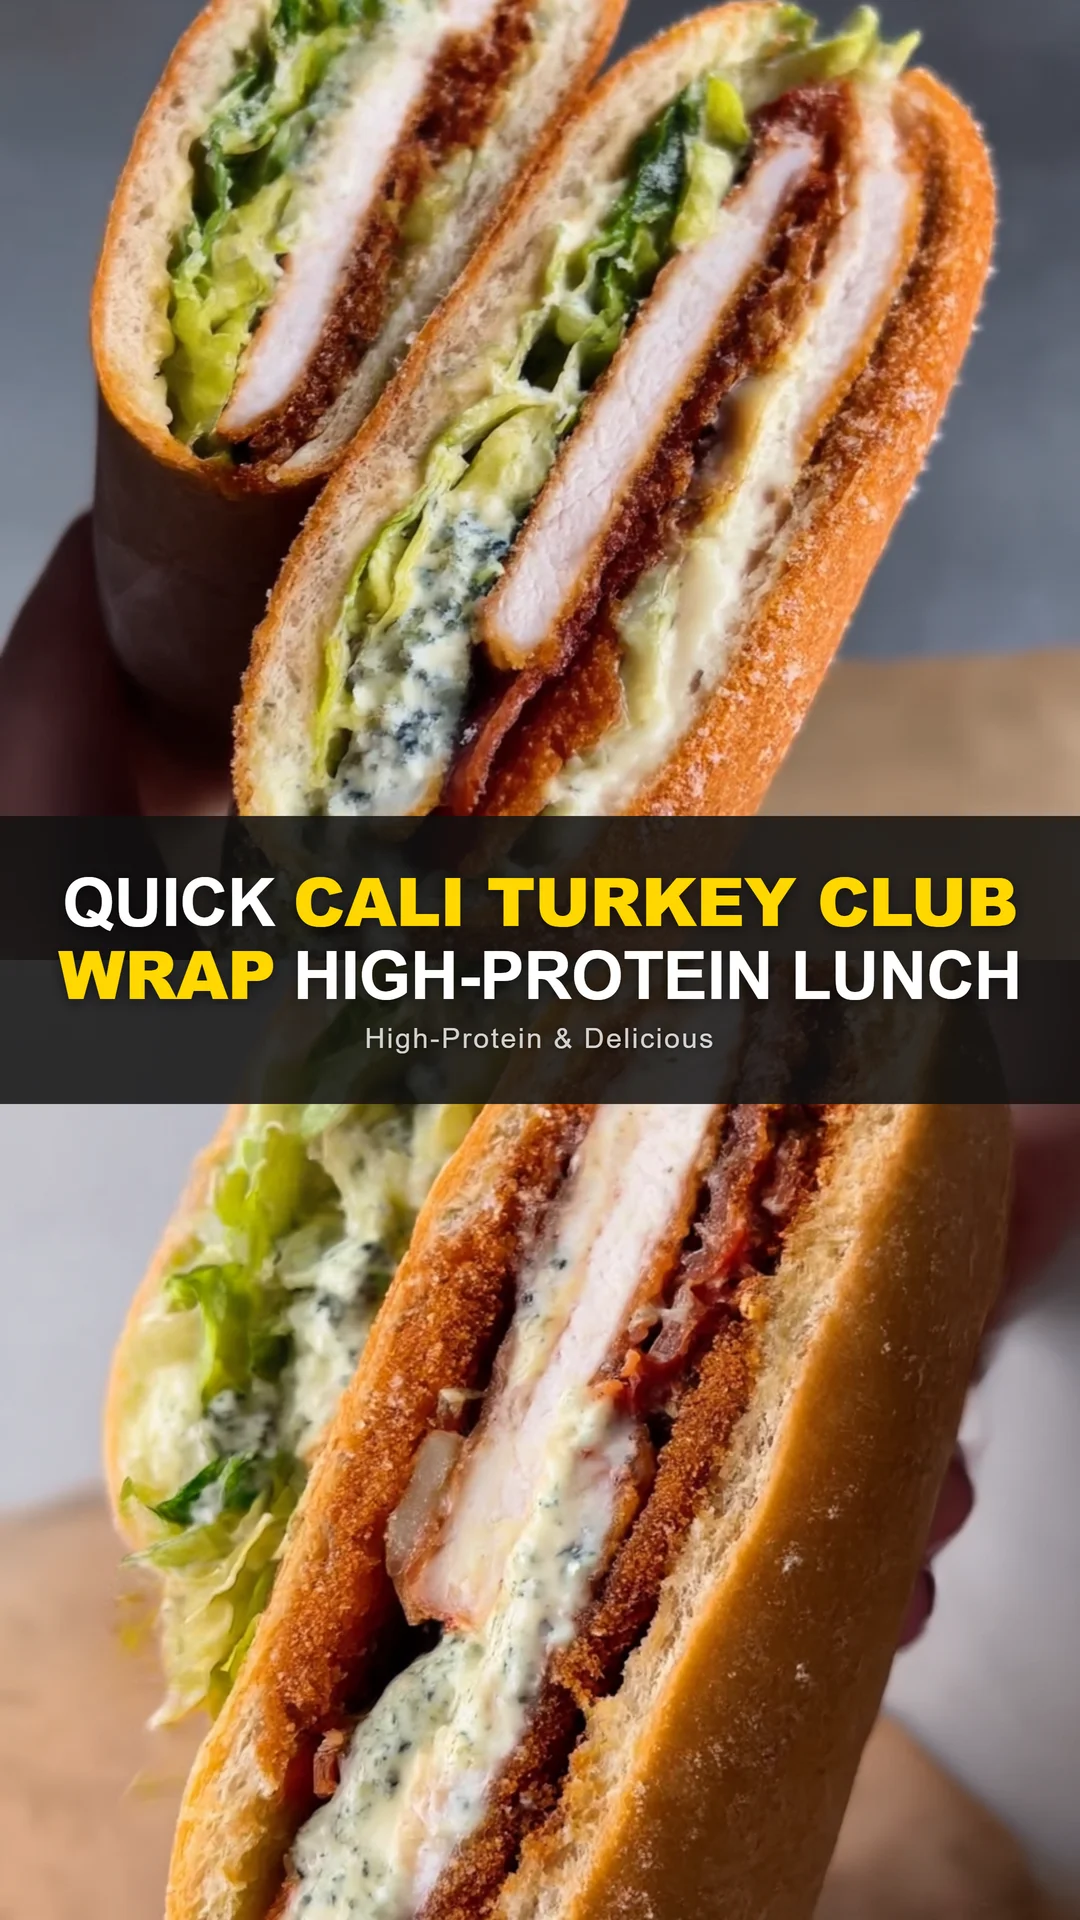
Warm the tortillas one at a time in the same dry skillet over medium heat for 15-20 seconds per side, or until they are soft, pliable, and have a few light golden spots. Heating the tortillas is a crucial step because it relaxes the gluten and makes them easier to roll without cracking or breaking. Alternatively, wrap the stack in a clean kitchen towel and microwave for 20 seconds. Keep them covered so they stay warm. Spread a generous 1 heaping tablespoon of mayonnaise (about 15 g) over the center of each tortilla, leaving a 2-inch bare border at the bottom edge and a 1-inch border at the top. Add a thin smear of Dijon mustard on top of the mayonnaise. The mayonnaise and mustard act as a moisture barrier, but they also help the fillings adhere to the tortilla, which prevents the turkey and avocado from sliding out when you bite into the wrap. For an even better flavor, you can sprinkle a pinch of smoked paprika or garlic powder onto the spread.
Place a quarter of the deli turkey slices in a single layer over the middle of the tortilla, slightly overlapping the slices. You want to cover about 50% of the tortilla—not all the way to the edges. If you pile the turkey too high, you’ll have difficulty closing the wrap; if you spread it too thin, you’ll end up with a mouthful of bread and very little filling. Try to create an even, rounded mound that’s thicker in the center and tapers toward the edges. Using good-quality oven-roasted or smoked turkey breast is the easiest way to elevate this wrap. Ask the deli counter to slice it thinly—about 1/8 inch—so it feels tender and easy to bite through. If you are using leftover roasted turkey, pull it into bite-size chunks and season with a pinch of salt and pepper. If you want extra heat, this is a great place to dot on some hot sauce or sliced pepperoncini.
Now, layer the remaining ingredients in a balanced order. Arrange the avocado slices in a horizontal line down the center of the turkey. The avocado acts as a creamy binding agent, so you don’t need to use too much. Next, place two or three tomato slices on top of the avocado, pressing them gently so they nestle into the avocado. Sprinkle the shredded lettuce over the whole assembly, keeping the leaves light and ruffly. Place two pieces of crispy bacon on top of the lettuce. The bacon should be well-drained and slightly crumbled so it distributes evenly. Season everything with a pinch of salt and a few turns of freshly cracked black pepper. This step is all about textural contrast: creamy avocado, juicy tomato, crisp lettuce, and crunchy bacon. If you are making the wrap ahead of time, consider placing the lettuce between the turkey and the fillings, or vice versa, to create a barrier against moisture.
This is the most important step to ensure you get a clean, neat wrap. First, fold the two sides of the tortilla inward over the filling so they overlap by about a half inch. The sides need to be folded so the filling stays inside while you roll. Then, take the bottom edge of the tortilla (the edge closest to you) and begin rolling upward, tucking it firmly over the filling and pulling it back gently to tighten. Keep the roll as snug as possible without squeezing the filling out of the ends. Continue rolling all the way to the top, then press the seam down with your fingers. If the tortilla is warm, the seam will stick to itself. Place the rolled wrap seam-side down and let it rest for a minute. This brief resting time lets the tortilla ‘set’ and makes it much easier to slice. You can also place the wrap on a piece of parchment paper and roll it tightly in the paper, twisting the ends like a candy wrapper; this is the method I use for meal prep because it holds the shape beautifully.
Using a very sharp serrated knife, cut the wrap in half either straight across or on a diagonal. Diagonal cuts create larger cross-sections and expose more of the pretty layers, making the wrap look more appetizing on a plate. Use a gentle sawing motion, rather than pressing down, to keep the avocado and tomato from sliding. Serve immediately with extra hot sauce, a side of fruit, or a handful of chips. For meal prep, wrap each portion tightly in parchment paper or foil, label with the date, and store in the refrigerator for up to 2 days. Do not freeze the wraps, as the lettuce and tomato will become watery and the tortilla will turn mushy. If you are storing them, I recommend adding the salt and pepper after you reheat (or keep them at room temperature—there’s no need to heat a wrap). To take the wrap on the go, simply leave it in the parchment and cut it open when you’re ready to eat.
For best results
- Always warm your tortillas before assembly, even if the package says they are 'ready to use.' Cold store-bought tortillas are stiff and will crack the moment you try to roll them. Heat them in a dry cast-iron skillet for 15 seconds per side, or wrap them in a damp paper towel and microwave for 20 seconds. The heat renders the corn or wheat starch flexible, and the slight char adds a toasty flavor you can't get from a cold wrap. This simple step takes less than a minute and will dramatically improve your final roll.
- Wet lettuce and watery tomatoes are the leading cause of soggy wraps, especially if you're preparing these ahead of time. After washing lettuce, spin it in a salad spinner, then pat it dry with a clean towel. Similarly, after slicing tomatoes, lay them on a paper towel and let them sit for a few minutes; the paper absorbs the juice. If you're using avocado, add a squeeze of citrus to keep it from browning and to boost flavor. A dry wrap can last hours, a soggy one falls apart in minutes.
- The correct rolling technique involves using your fingers to tuck and pull the tortilla under, while your palm applies gentle pressure to keep the filling compact. Start from the side closest to you and roll away, applying even tension. When you fold the sides in, make sure the fold line is perpendicular to the filling logs. If you try to roll with flat palms, you'll press the filling out both ends. Practice makes perfect—the first wrap may not be perfect, but the second one will be.
- A dull or non-serrated knife squashes the wrap and pushes the avocado out, resulting in a messy cross-section. A serrated knife is designed to cut through the tough tortilla without crushing the soft interior. Use a long, gentle sawing motion, and don't apply heavy pressure. If you have a very sharp chef's knife, it can work too, but for the picture-perfect layered look, serrated wins every time.
- While the assembled wrap is best eaten immediately, you can easily prep the components in advance. Cook the bacon and store it in an airtight container for up to 5 days. Wash and slice the veggies, storing them separately in containers lined with paper towels. Slice the avocado only when you're ready to build, or keep it in a container with an avocado stone to delay browning. Then, when you need lunch, assembly takes less than 2 minutes. This 'deconstructed' method preserves the wrap's texture and flavor far better than pre-assembled wraps.
- For a truly macro-friendly meal, swap the regular flour tortilla for a low-carb, high-fiber tortilla that contains around 5 grams of net carbs and 10 grams of protein. These tortillas are available from brands like Mission, La Tortilla Factory, and Siete. They are slightly drier than traditional flour tortillas, so be extra generous with the mayonnaise or add a tablespoon of plain Greek yogurt to the spread. This simple swap turns your wrap into a balanced lunch that will keep you full for hours.
- It's tempting to pile on avocado and bacon, but overstuffing is the quickest way to create a wrap that bursts open while you roll. Use approximately one heaping cup of filling per wrap, and make sure the filling is arranged in a compact log—not a mountain. If you find yourself with too much filling, tuck the excess into the side folds instead of the center. A tightly rolled, medium-size wrap is far more enjoyable than a fat, impossible-to-eat roll.
- If your tortilla becomes too brittle to roll or the filling is too wet, don't stress. Ditch the tortilla and create a 'Cali Turkey Bowl' by adding the filling over a bed of romaine lettuce, quinoa, or brown rice. Drizzle with a simple vinaigrette—olive oil, lemon, and Dijon mustard. It's the same delicious flavors, but in a fork-friendly format. This is also a great way to use up leftover turkey or bacon after the holidays.
Variations
- Make this wrap keto-friendly by using a cheese-wrapped or almond-flour tortilla. The famous zero-carb tortilla from brands like Folios (made with parmesan) adds a savory, crispy texture. For a quick substitute, lay two slices of provolone cheese overlapping, microwave for 30 seconds, and let it crisp into a pliable cheese wrap. Fill with turkey, bacon, and a spoonful of guacamole instead of mayonnaise to keep the macros in line.
- Omit the turkey and bacon and use a hearty slice of grilled or pan-seared tofu (about 1/2 inch thick) marinated in tamari and smoked paprika. Or make a 'BLT' packed with crispy roasted chickpeas for crunch. Smear the tortilla with hummus and add cucumber ribbons and sprouts for extra freshness. You'll still get a protein boost from the chickpeas or tofu, making it a filling plant-based meal.
- Swap the turkey for shredded rotisserie chicken tossed in buffalo sauce. You can also drizzle the turkey directly with buffalo sauce if you want to avoid extra prep. Add crumbled gorgonzola or blue cheese to the mayonnaise spread, and finish with a handful of celery leaves for that restaurant-style crunch. If you love heat, add a few slices of jalapeño before rolling.
- Replace the bacon with 4 to 6 slices of crispy salami or prosciutto, and switch the mayonnaise for a tahini-lemon dressing. Instead of turkey, use sliced grilled chicken breast or lamb. Add crumbled feta, sliced kalamata olives, cucumber, and a pinch of oregano. This variation is fantastic served warm in a pita-style tortilla.
- If you have a rotisserie chicken on hand, you can shred 1 1/2 cups of the breast meat and use it instead of the turkey. The leftover dark meat works well too; just pull it into bite-size chunks. You can also add an extra slice of bacon and a boiled egg for an even higher-protein power lunch, perfect for post-gym.
Nutrition
- Calories530 kcal
- Total Fat30g
- Saturated Fat7g
- Cholesterol35mg
- Sodium1150mg
- Total Carbohydrates40g
- Dietary Fiber7g
- Sugars4g
- Protein28g