
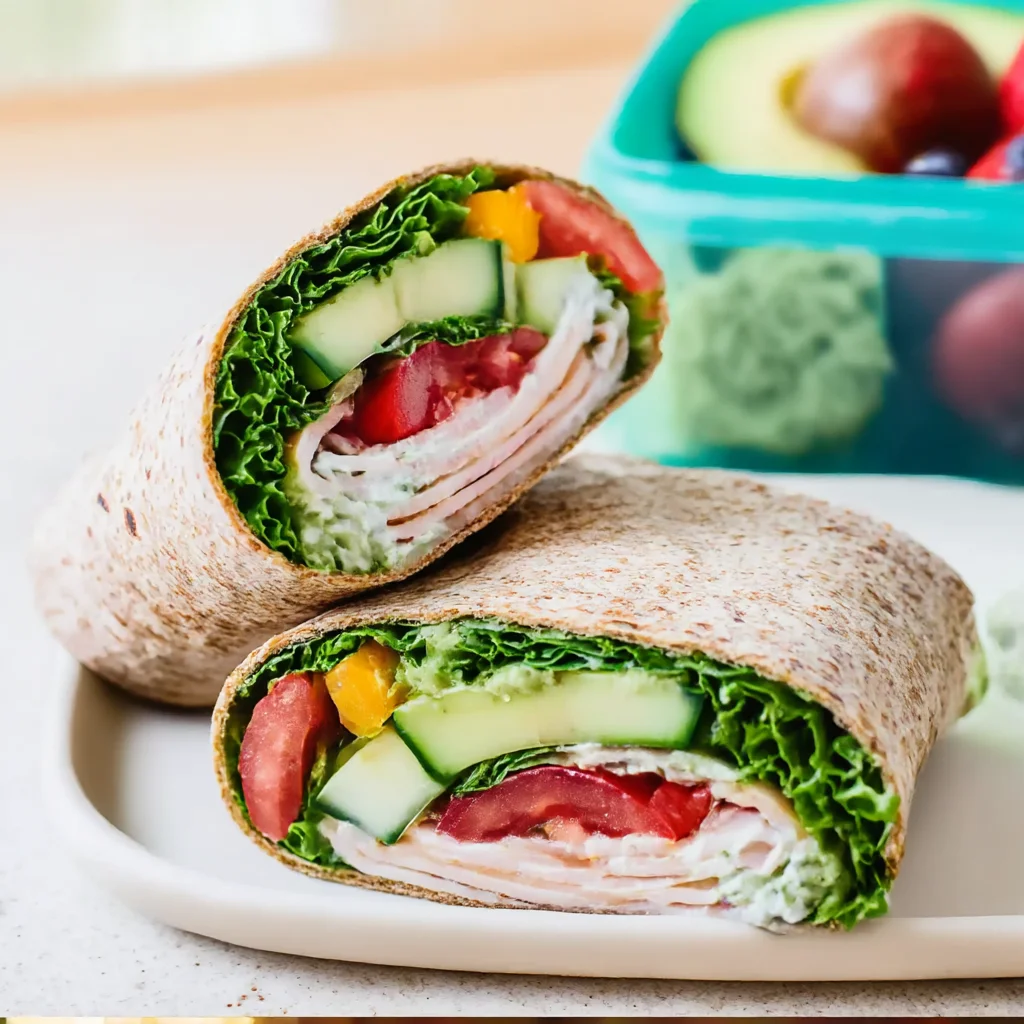
Easy healthy lunch ideas for kids perfect for summertime and homeschool meals. These quick preschool and elementary lunches use simple, real ingredients for simple family meals that are ready in…
Ingredients
Instructions
Start by pulling out a large cutting board and gathering every ingredient on your list. Wash all fresh produce under cool running water, scrubbing carrots and cucumbers and patting berries dry with a clean kitchen towel—this removes dirt and any lingering residue. Set up small bowls or a sheet pan to organize your components: protein, bread, veggies, fruit, and dips. Prepping ahead in this ‘mise en place’ style makes the whole lunch assembly take less than 10 minutes, and it is the secret to getting a colorful, balanced plate on the table when you are juggling homeschool mornings or summer camps. Let the kids help by measuring the hummus and rolling the tortillas; even preschoolers can tear lettuce with their hands.
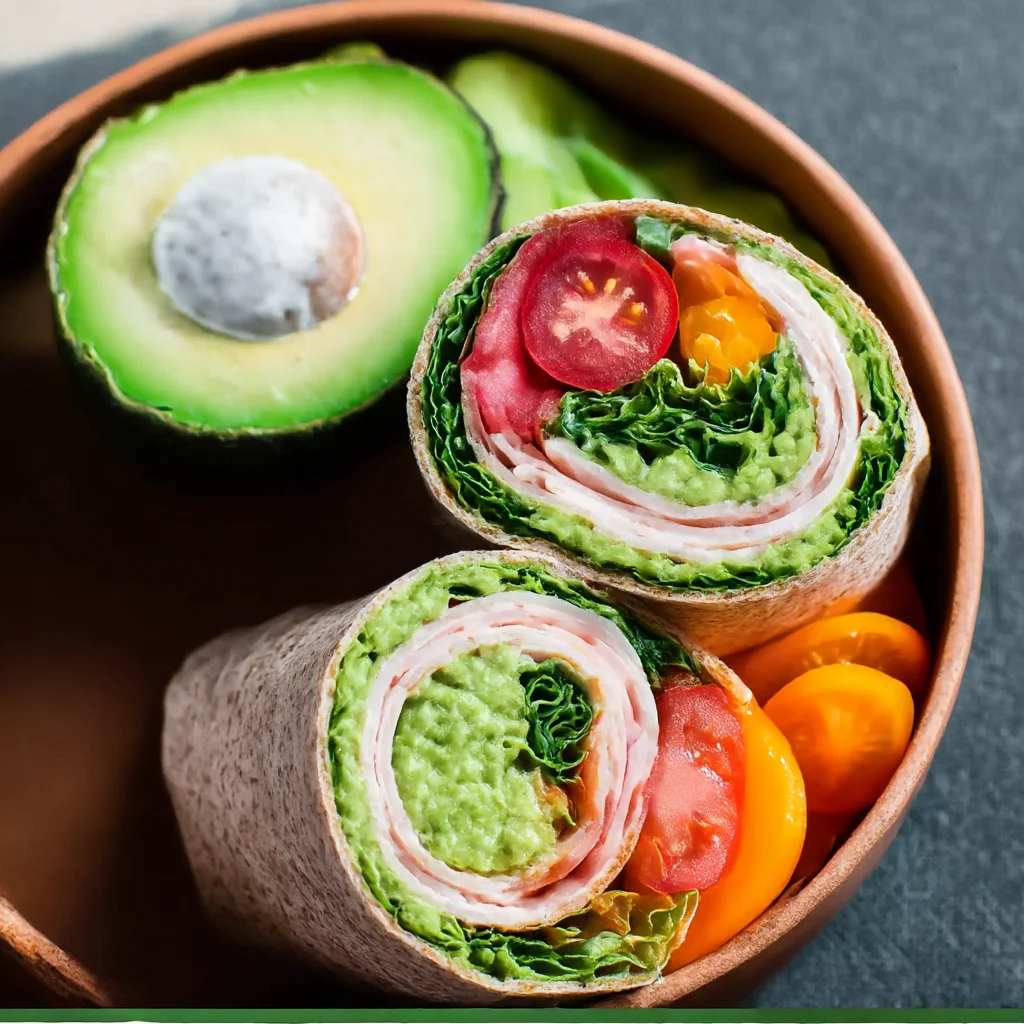
In a small bowl, combine the shredded turkey or rotisserie chicken with the cream cheese (or hummus) and shredded cheddar. Add a tiny pinch of salt and black pepper if you like. Stir until everything is well coated. This creamy protein spread acts like a glue for your sandwich fillings while adding calcium and protein. The mixture should look thick and spreadable—if it’s too stiff, add a teaspoon of milk or pickle juice. Taste it! Kid taste testers are the best judges. This no-cook filling is also perfect for leaving out allergens because you can swap the cream cheese for dairy-free hummus or smashed avocado.
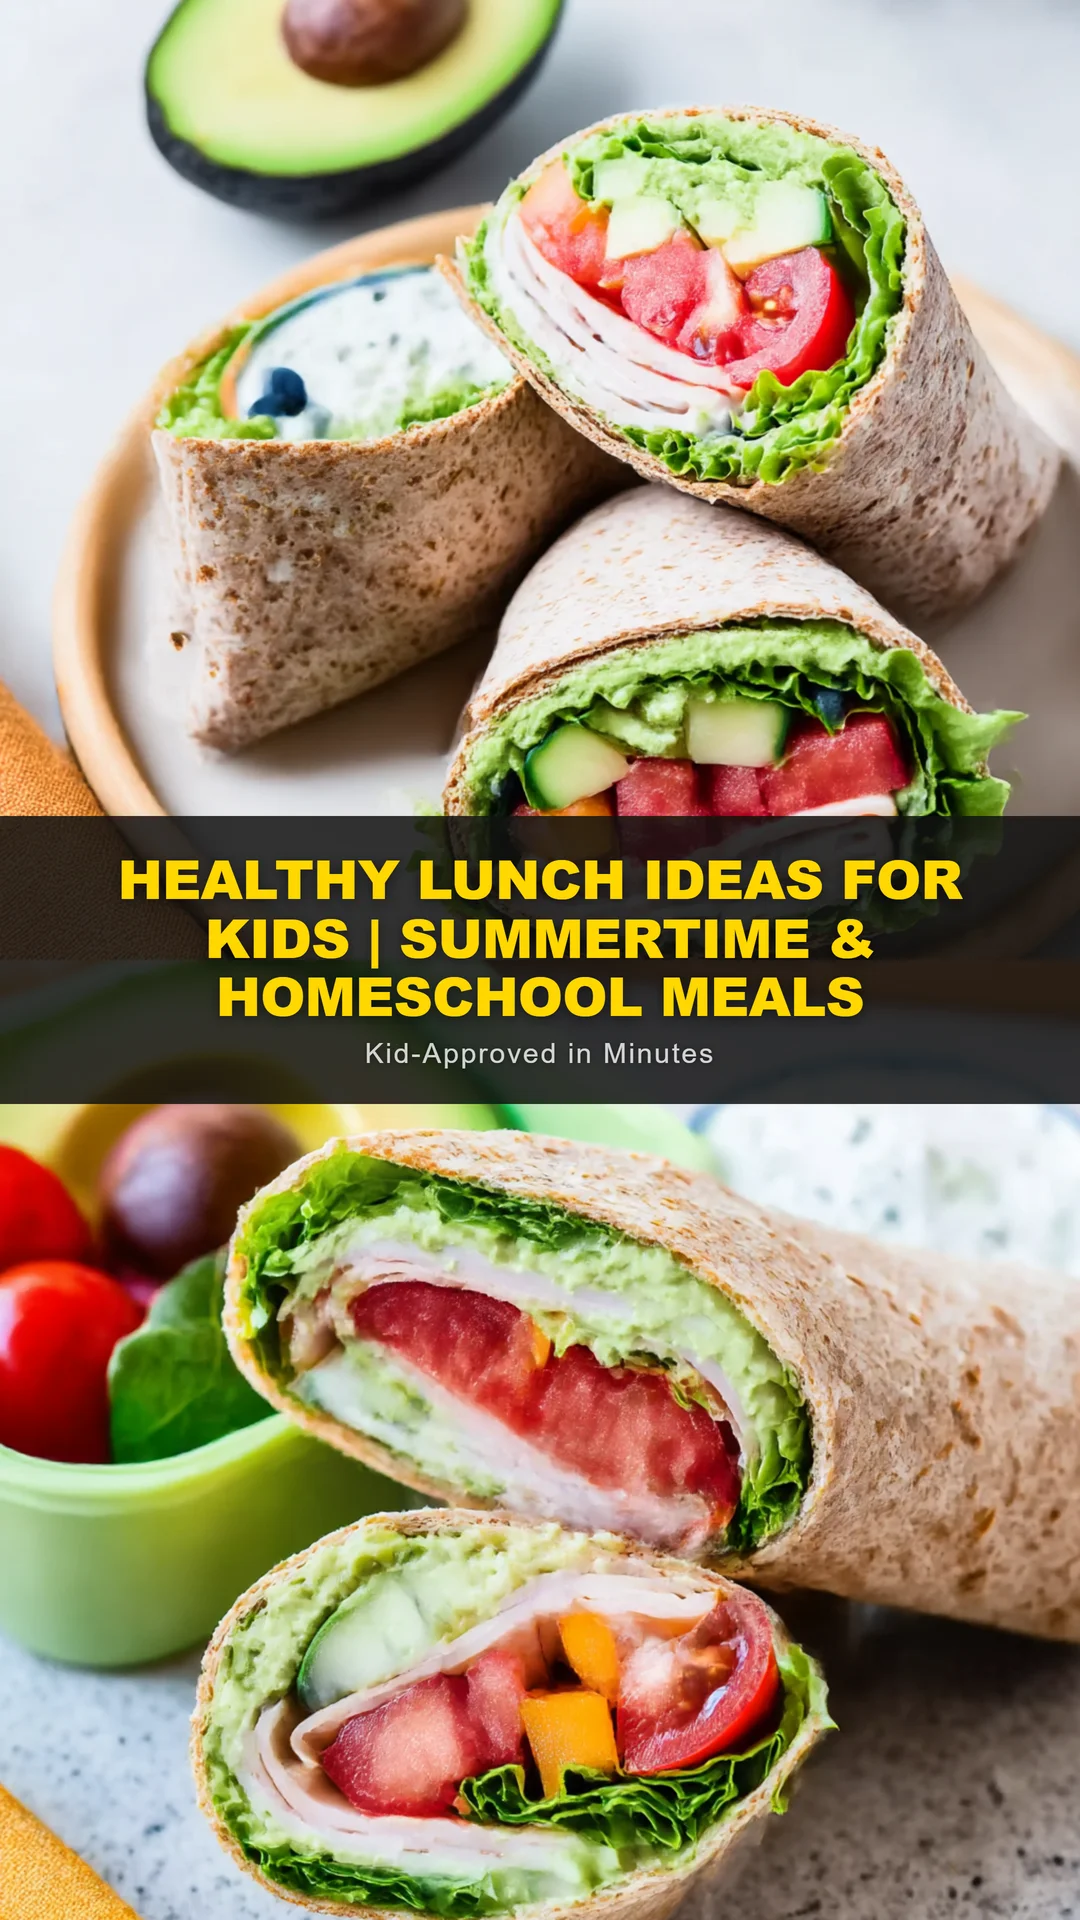
Lay your bread slices or tortillas flat on a clean board. Using a butter knife or offset spatula, spread a generous layer of the protein mixture evenly to the edges. Add a few cucumber slices and maybe some thin apple slices if your kids like the crunch. For bread, top with the second slice and gently press. For tortillas, roll tightly and slice into 1-inch pinwheels. To make sandwiches extra fun, use a large cookie cutter to stamp out star, heart, or dinosaur shapes. Kids eat with their eyes first, and shaped sandwiches are proven to be more exciting—plus, the crustless scraps can be toasted into croutons later, so nothing goes to waste.
Now prep the produce. Peel the carrot, if desired, and cut into thin sticks about 2 to 3 inches long. Slice the bell pepper into strips and halve the cherry tomatoes. Use a crinkle cutter to give carrots and cucumbers wavy edges — that little extra texture makes vegetables feel like a treat rather than homework. Pat the veggies dry after washing; wet veggies can make the box soggy. Arrange the veggies into small airtight containers or silicone muffin cups. You can also blanch the carrots for 30 seconds in boiling water if your kids prefer them softer, but raw crunch works better for a grab-and-go lunchbox and keeps the prep to almost zero.
For the fruit, slice the apples into thin wedges and toss with a squeeze of lemon or lime juice to stop browning. Halve strawberries and rinse blueberries, letting them dry on a paper towel. Fruit should be sweet and juicy but not overly ripe, or it will leak and turn the rest of the box messy. If you are packing the night before, keep fruit in a separate container and assemble in the morning so it stays vibrant. In the summertime, frozen grapes are a wonderful swap—they thaw by lunch and act like tiny edible ice cubes that keep the rest of the meal cool.
Now the fun part: assembly. Open your lunch boxes and place a small silicone cup in each corner. Fill one cup with the ranch or Greek yogurt dip, another with the fruit, and one with the veggies. Put the sandwiches or pinwheels in the largest compartment. Arrange the colors like a rainbow—red tomatoes and strawberries, orange carrots and peppers, green cucumber, purple blueberries. Creating a balanced bento box is about color, texture, and portion size. Fill every nook and cranny; a box that looks packed is more appealing than one with lonely food rolling around. Add a few pretzels or cheese cubes if you need to fill space.
Add any last-minute extras: a hard-boiled egg for extra protein, a few sunflower seeds or a tiny note tucked under the napkin. Dips go in the small container to avoid sogginess. For younger preschool children, quarter the cherry tomatoes and slice grapes lengthwise to prevent choking. For older elementary kids, let them build their own box buffet-style; they are more likely to eat what they choose. If you’re packing for an all-day summer camp or a long homeschool day, include an ice pack or freeze half a carton of yogurt and place it on top. The goal is a lunch that can sit in a backpack for a few hours and still feel fresh.
Serve immediately if eating at home, or chill in the fridge until you’re ready to pack. These lunch boxes keep well in the refrigerator for up to 24 hours if ingredients are stored separately and assembled fresh. When you’re headed out, pop in an ice pack and close the lid firmly. At lunchtime, let kids peel away the silicone cups and dip away. This meal is also great for backyard picnics, road trips, or even quick work lunches — double the batch and use the same formula for grown-ups, adding a drizzle of hot sauce or sriracha mayo to the filling. Clean-up is easy because there are no sauté pans or baking sheets to scrub. Enjoy the quiet hum of happy kids eating their vegetables!
For best results
- Make it a sandwich bar: Instead of assembling individual boxes, lay out all the fillings and let kids choose their own adventure. This turns lunch prep into an activity. Set up bowls of shredded chicken, hummus, cheese, sliced cucumbers, and berries on a low table. Give each child a tortilla or a slice of bread. Kids old enough to use a butter knife can spread their own filling; even toddlers can use a pastry brush to ‘paint’ on hummus. The novelty of building their own sandwich means they are far less likely to reject it. Plus, you’ll spend less time catering to individual preferences.
- Use the freezer to buy you time: Freeze whole-wheat tortillas, shredded cheese, and even hummus in ice cube trays. On a busy Sunday evening, you can prep a big batch of turkey pinwheels, wrap them individually, and freeze them. Freeze grapes, blueberries, and sliced banana on a baking sheet, then transfer to a zip-top bag. Add these frozen fruits to the lunchbox in the morning; they act as edible ice packs and thaw perfectly by lunch. Frozen bread? Yes! Freeze individual slices and pop them directly into the toaster or let them thaw while you prep the fillings.
- Invest in a few quality containers: Bentgo-style compartment boxes or a simple set of 3-cup silicone baking cups will make your lunch look like a professionally packed bento. Leakproof dips are a game-changer. Look for small containers with tight silicone seals. If you don’t have a bento box, use a regular plate or a muffin tin at home. You can create a very appealing lunch board on a cookie sheet with sections. The visual separation of foods is key for picky eaters; many kids simply don’t like their foods touching, so compartments and muffin cups solve that instantly.
- The 20-minute rule: Keep any perishable lunch with your child’s cold pack for no more than two hours at room temperature. To be safe, pack the lunch in an insulated bag with two ice packs if you’re going on a field trip or a park day. Freeze a small water bottle and place it upright—as it melts, it keeps the food chilled and provides water to drink. In the summer heat, don’t leave lunch boxes in the car; those temperatures climb rapidly and can turn a safe lunch into a food-safety risk.
- Sneak in extra nutrition: Grate a carrot and add it to the sandwich filling along with a spoonful of Greek yogurt. Add ground flaxseed to the hummus. Use whole-grain bread with at least 3 grams of fiber per slice. You can also make ‘green’ pinwheels by mixing chopped spinach leaves into the cream cheese filling. The veggies add moisture and a tiny bit of crunch without overpowering the flavor. For extra omega-3s, sprinkle a pinch of chia seeds over the peanut butter or sun butter before rolling.
- Let kids do the cleanup: If you’re homeschooling, lunch prep can double as a practical life lesson. Give children a damp sponge and assign them a tray to wipe. Have them sort leftover scraps into a compost bowl. This builds independence and reduces your workload. You might even create a simple chart of ‘lunch helper’ tasks—washing berries, filling water bottles, counting out carrot sticks. Involving kids in making their own lunches is healthy for their self-esteem and reduces mealtime battles.
- Batch-prep your components each Sunday: Spend 30 minutes on Sunday washing and slicing everything. Store washed cucumber coins, carrot sticks, and bell pepper strips in individual glass containers filled with a little water to keep them crisp. Portion dips into small jars. Hard-boil eggs for the week. Shred chicken from a rotisserie bird and store it in an airtight container. On weekday mornings, all you have to do is grab and pack. This simple weekly ritual can save you hours and eliminate the 5 p.m. ‘what’s for lunch?’ panic.
Variations
- Vegetarian and Vegan: Swap the turkey and cream cheese for mashed chickpeas mashed with a fork, a spoonful of Dijon mustard, and some diced celery. Or use a 1/2 cup of hummus in place of the cream cheese and add sliced avocado. For a vegan lunchbox, make sure the bread is vegan, use coconut yogurt-based dip, and pack extra fruits and nuts. Tofu ‘egg salad’ made with crumbled firm tofu, nutritional yeast, and vegan mayo is surprisingly close to the original—kids love it in pinwheel form.
- PB&J Roll-Up Variation: Spread a thin layer of sunflower seed butter or almond butter onto a tortilla, leaving a one-inch border. Add a few drops of honey or a spoonful of your favorite low-sugar jam. Sprinkle with a pinch of cinnamon, then roll tightly and slice into 1/2-inch rounds. These are no-mess and perfect for field trips. The protein and healthy fats keep kids full longer than a plain jelly sandwich, and they’re ready in two minutes.
- Breakfast-for-Lunch: Use mini bagels or a whole-grain waffle as the sandwich base. Fill with scrambled eggs, shredded cheese, and a little spinach. Instead of fruit, pack a small container of yogurt and granola. This variation packs well in an insulated thermos if you want it warm, or serve it cold—frittata strips are delicious at room temperature. It’s a fun twist that works for picky eaters and adds extra protein to power an afternoon of learning.
- Allergen-Free / School-Safe: If your school is nut-free, use sunflower seed butter, pumpkin seed butter, or soy-based cheese alternatives. Replace the bread with gluten-free tortillas or a crunchy rice cake if needed. Use a seed-based ‘mayo’ and make sure all packaged foods are certified gluten-free if that’s a concern. You can make the entire recipe without any of the top 9 allergens by choosing certified nut-free, soy-free, and gluten-free products. This variation is a lifesaver for packable lunches.
- Mexican-Style Lunch Box: Spread a layer of refried beans on a tortilla, add shredded salsa chicken, corn, and a sprinkle of Mexican cheese. Roll and slice. Pack salsa instead of ranch and add a few baked tortilla chips. This variation is high in protein and fiber and brings a fun, bold taste. The beans are naturally creamy and pair wonderfully with the crunch of peppers. Add a small container of guacamole for extra healthy fats.
- Grown-Up & Big-Kid Bento: Double the recipe and use a grown-up version with spiced turkey, whole-grain pita, and a spread of hummus mixed with hot sauce. Use the same methods but scale up the veggies with dark leafy greens, roasted chickpeas, and sliced cucumbers. This same recipe works perfectly for lunch ideas for work, road trips, and picnics. Keep a jar of sriracha on the side to appease the grown-ups. The beauty is that everything is no-cook, so you can pack them in minutes.
Nutrition
- Calories345 kcal
- Total Fat14g
- Saturated Fat7g
- Cholesterol45mg
- Sodium420mg
- Total Carbohydrates38g
- Dietary Fiber6g
- Sugars14g
- Protein18g