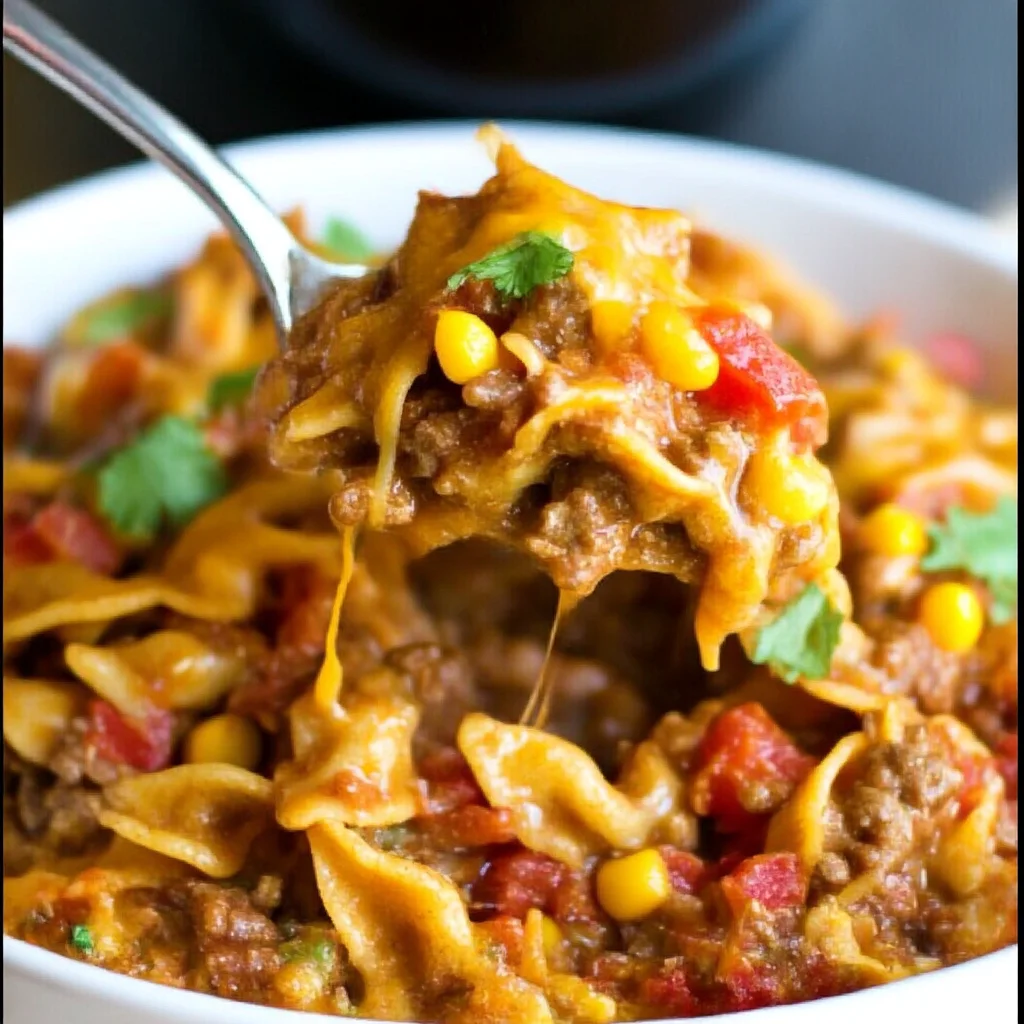
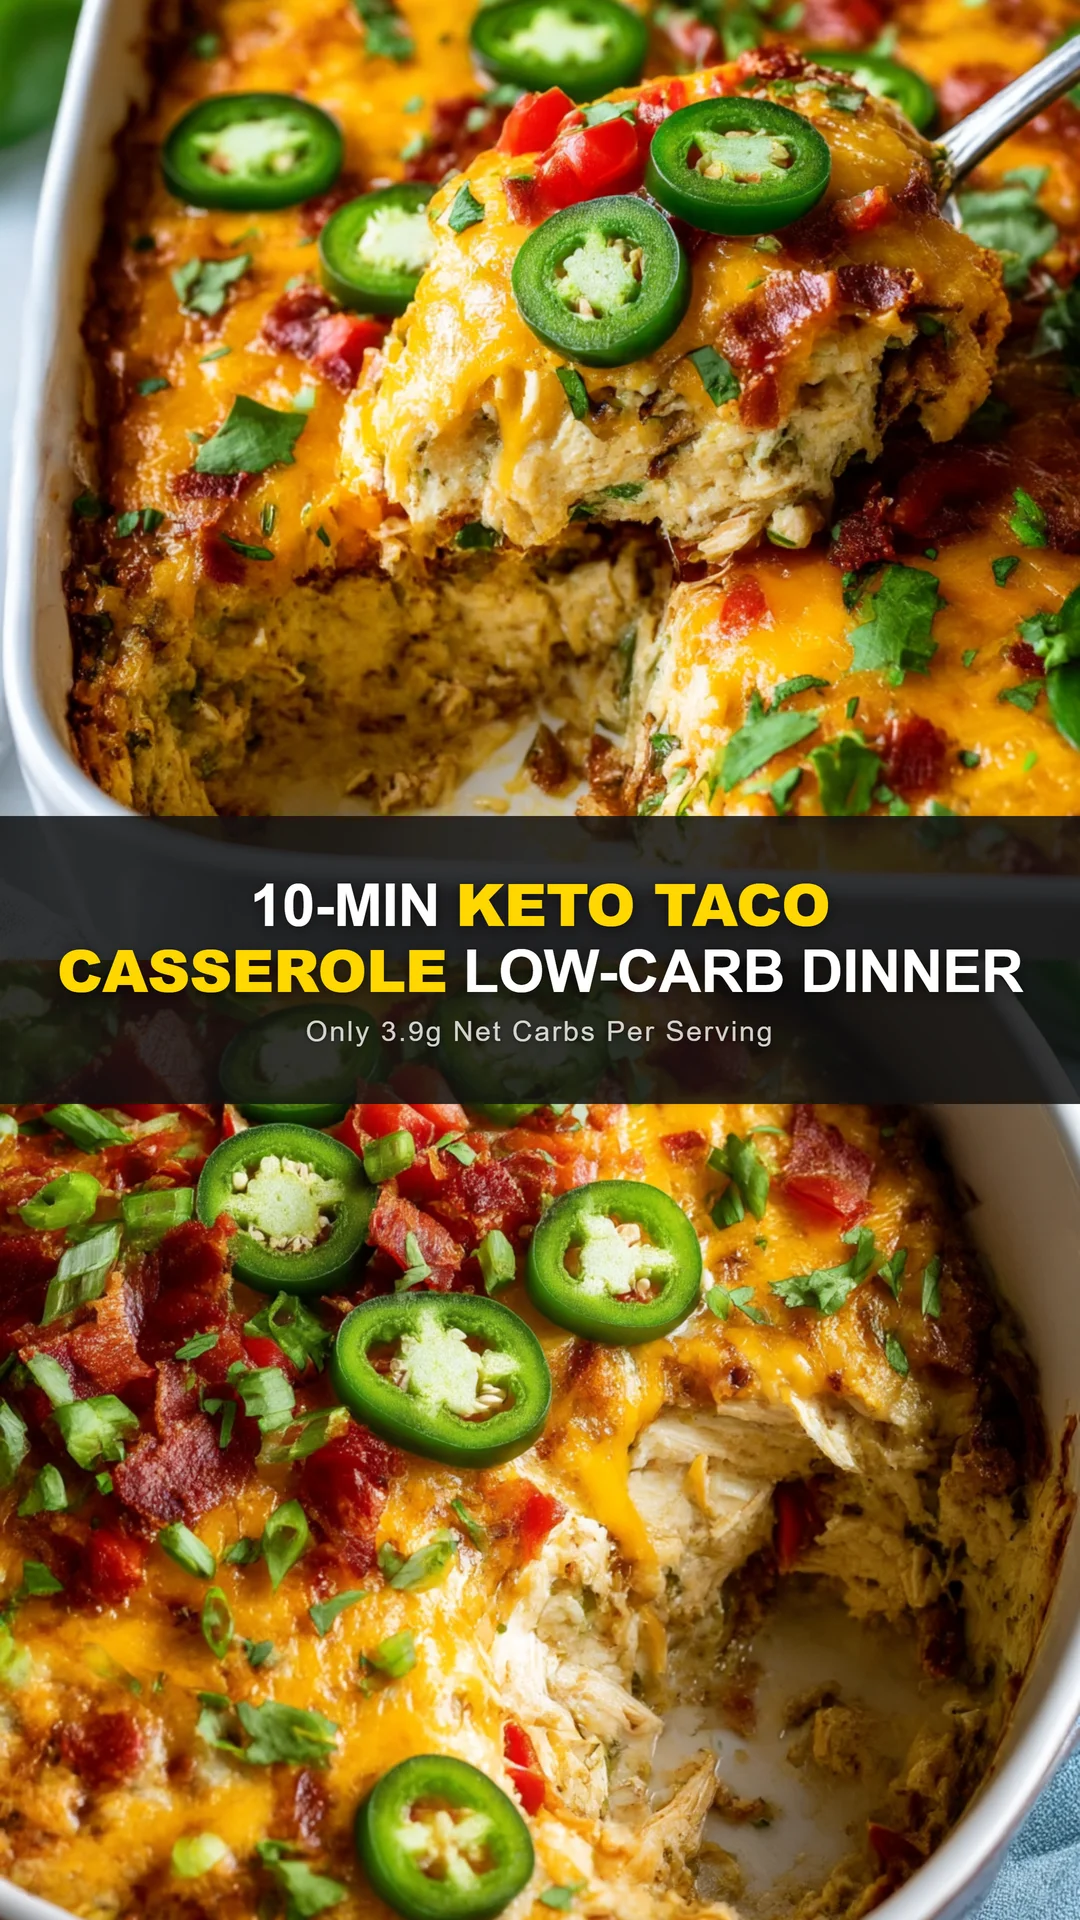
This cheesy keto taco casserole is ready in just 25 minutes with only 3.9g net carbs per serving. A quick, low-carb dinner perfect for busy weeknights. Loaded with seasoned ground…
Ingredients
Instructions
Preheat your oven to 375°F (190°C). Grease a 9×13-inch casserole dish or an 8×8-inch square dish for a thicker casserole. Using butter or non-stick spray ensures the casserole won’t stick, making serving and cleanup a breeze. While the oven heats, gather all ingredients. This 10-minute prep window is perfect for cooking the beef and mixing the creamy base.

In a large skillet over medium-high heat, brown the ground beef. Use a wooden spoon or spatula to break the meat into crumbles as it cooks. Cook until no longer pink, about 5-7 minutes. Drain any excess fat if you used a fatty grind (80/20 is ideal for flavor, but if you use 93/7, you may not need to drain). The sizzling sound and rich beefy aroma signal it’s ready. Do not overcook or the beef will become dry.

Reduce heat to low. Sprinkle the taco seasoning over the beef and add 1/2 cup water. Stir well to combine. Let it simmer for 2-3 minutes until the sauce thickens slightly. This allows the spices to bloom and infuse into the meat. You’ll notice the mixture becoming cohesive and deeply fragrant. If you prefer a spicier kick, add a pinch of cayenne or use hot taco seasoning.
While the beef simmers, prepare the creamy cheese layer. In a medium bowl, combine the softened cream cheese, sour cream, and eggs. Whisk until smooth and lump-free. The softened cream cheese is crucial; if it’s too cold, it will create lumps. Use room-temperature ingredients for a silky texture. Fold in half of the shredded cheese and the optional diced green chiles. This mixture will bind the casserole and keep it low-carb.
Spread the seasoned beef evenly in the prepared casserole dish. Pour the creamy cheese mixture over the beef and gently spread it to cover. Top with the remaining shredded cheese. The cheese should blanket the entire surface to create a golden, bubbly crust. Bake uncovered for 12-15 minutes, or until the edges are bubbly and the center is set. A knife inserted in the center should come out clean. If you like a darker top, broil for 1-2 minutes at the end, watching carefully to avoid burning.
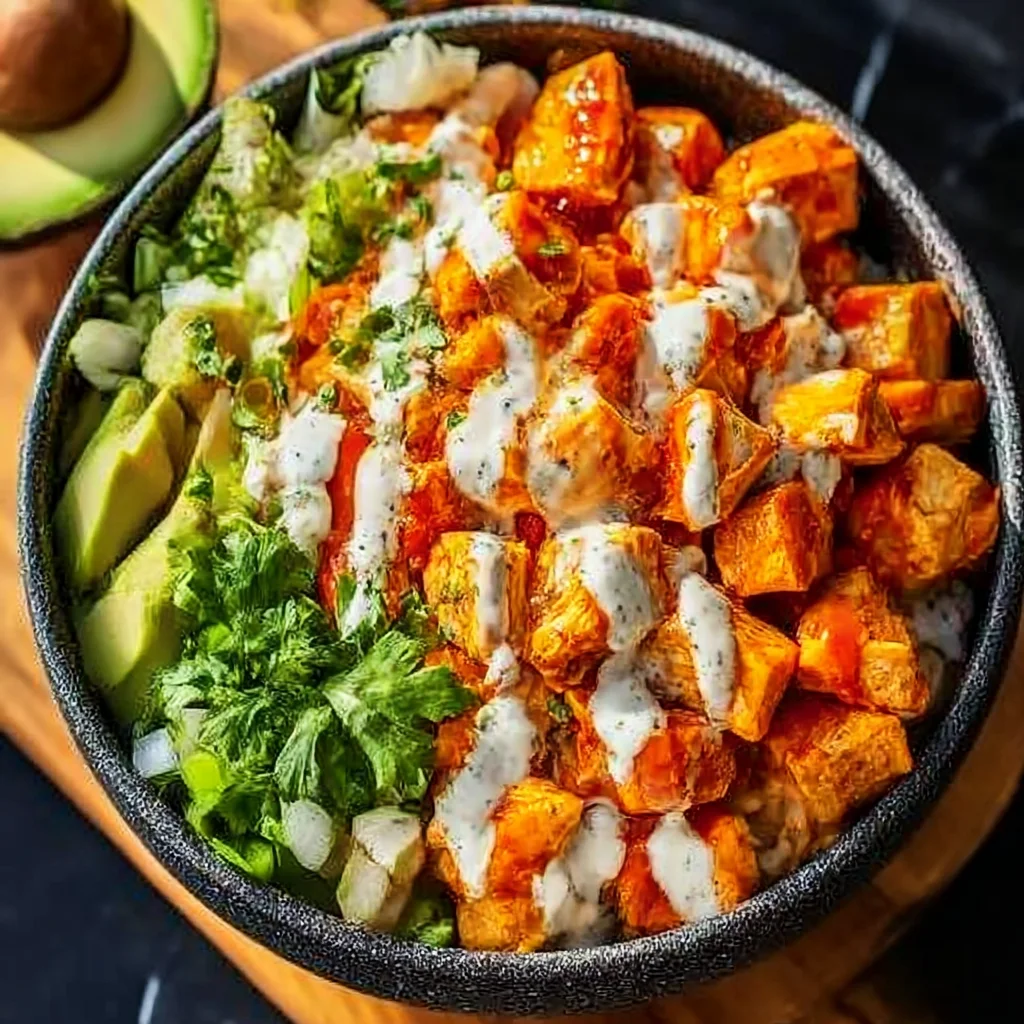
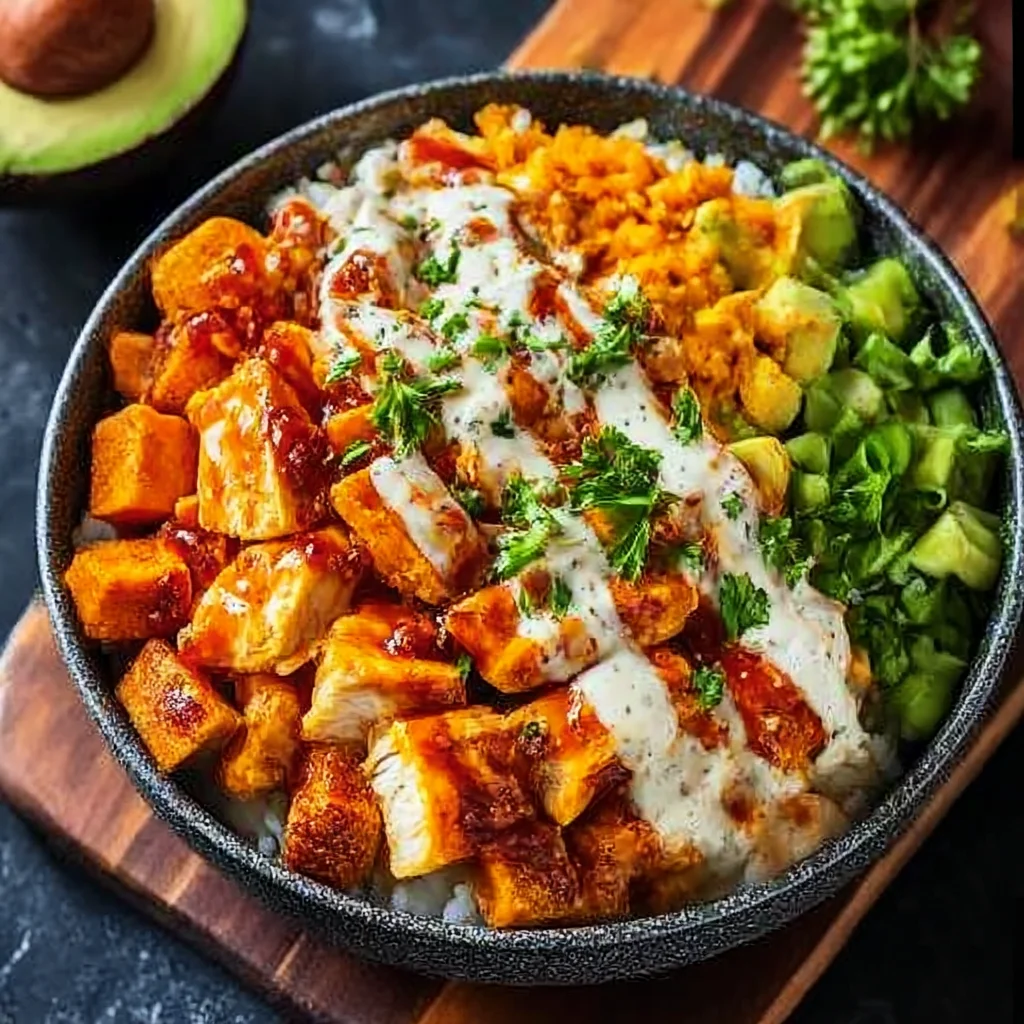
Let the casserole rest for 5 minutes after removing from the oven. This allows the custard to set, making slices neat. Garnish with shredded lettuce, diced tomatoes, sliced avocado, a dollop of sour cream, and your favorite salsa. For a keto-friendly topping, use fresh guacamole or avocado creams. Serve warm and enjoy the melty, cheesy layers with a crunchy fresh topping. Leftovers can be stored in the fridge for up to 4 days.

For best results
- To keep net carbs as low as 3.9g per serving, use a taco seasoning mix that does not contain added sugar or fillers. You can make your own with chili powder, cumin, garlic powder, onion powder, paprika, oregano, salt, and pepper. This gives you full control over the carb count and flavor profile. Store the homemade blend in an airtight jar for future use.
- For the creamiest texture, ensure the cream cheese is fully softened to room temperature. If you're short on time, microwave it in 10-second bursts, but be careful not to melt it. Cold cream cheese will result in a lumpy batter. Similarly, let the eggs come to room temperature by submerging them in warm water for 5 minutes.
- Choose a good melting cheese like Monterey Jack, cheddar, or a Mexican blend. Pre-shredded cheese often contains anti-caking agents that can prevent smooth melting. For best results, shred your own block cheese. The extra effort pays off in a gooey, stretchy casserole that doesn't turn grainy.
- If you prefer a firmer casserole that holds its shape better, add an extra egg to the creamy base. The eggs act as a binder. For a fluffier texture, separate the eggs and whip the whites to soft peaks before folding in. This creates a soufflé-like lift, though it's more advanced.
- For meal prep, assemble the casserole completely but do not bake. Cover and refrigerate for up to 24 hours. When ready to eat, add 5-10 minutes to the baking time since the dish starts cold. You can also freeze the unbaked casserole for up to 3 months. Thaw overnight in the fridge before baking. The topping should be added fresh after reheating to maintain crunch.
- To avoid a watery casserole, drain the beef well after browning and do not add extra water beyond the taco seasoning instructions. If you include toppings like diced tomatoes, pat them dry with paper towels to remove excess moisture. This prevents the casserole from becoming soggy and diluting the flavors.
Variations
- Chicken Taco Casserole: Substitute ground beef with shredded cooked chicken (rotisserie works great). Use the same seasoning and cheese mixture. The chicken will be lighter in fat, so consider adding a tablespoon of butter to the cream cheese mixture for richness. Bake as directed. This variation has similar net carbs but different macros.
- Vegetarian Keto Casserole: Replace meat with 1 lb of crumbled firm tofu or tempeh, browned in oil with taco seasoning. Or use a mix of sautéed mushrooms and cauliflower rice. The creamy base remains the same. Add a can of black soybeans (low-carb) if desired. This version drops the protein a bit but is still satisfying.
- Spicy Chorizo Casserole: Swap ground beef for Mexican chorizo (uncased and crumbled). Chorizo is fatty and flavorful; reduce added salt in the seasoning. The casserole will have a vibrant red hue and a kick. For extra heat, top with sliced jalapeños before baking. Adjust baking time slightly if chorizo releases more oil – drain excess before layering.
- Dairy-Free / Paleo Adaptation: Use coconut cream instead of cream cheese and sour cream, and choose a dairy-free shredded cheese (or omit the cheese layer and top with nutritional yeast and avocado). For binding, use 3 eggs instead of 2. The casserole will be less cheesy but still delicious and keto-friendly with similar net carbs.
Nutrition
- Calories420 kcal
- Total Fat32g
- Saturated Fat16g
- Cholesterol165mg
- Sodium890mg
- Total Carbohydrates8g
- Dietary Fiber2.1g
- Sugars3g
- Protein28g