
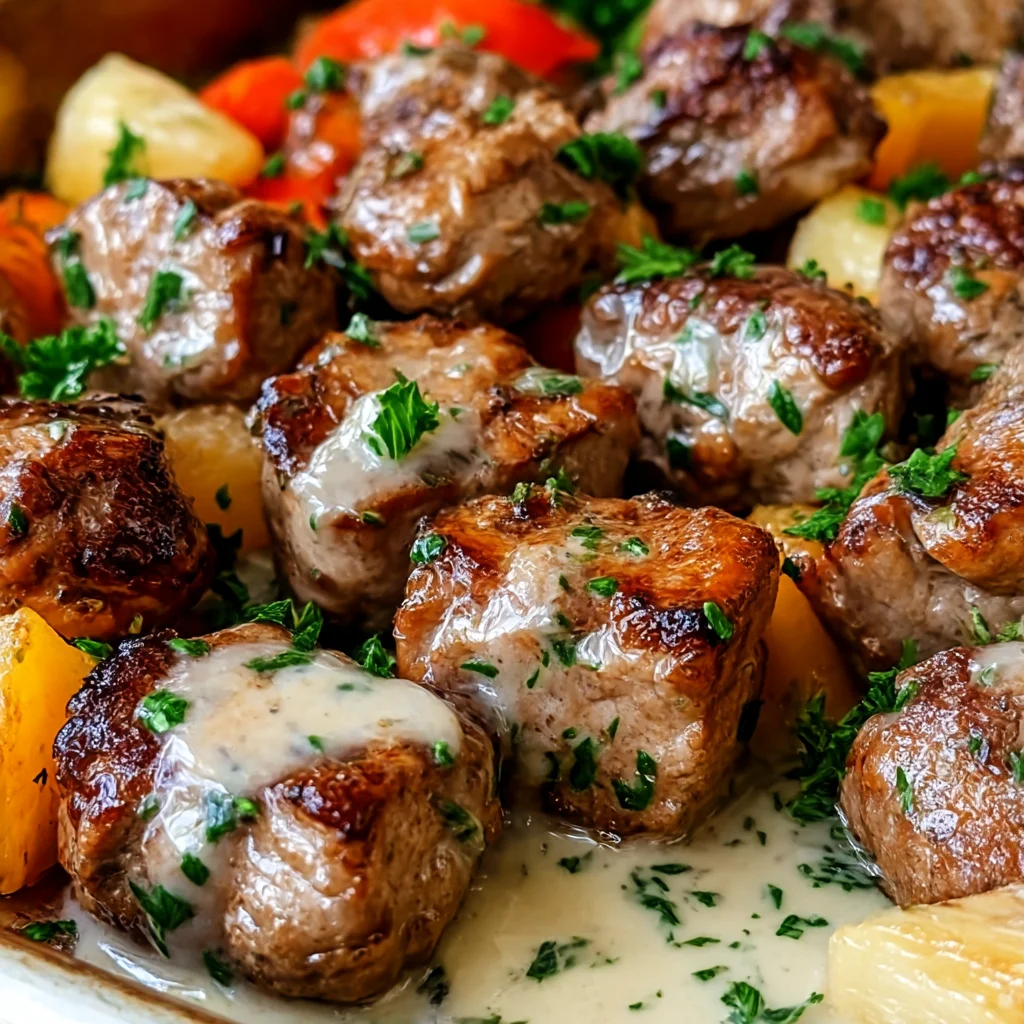
Juicy Hawaiian chicken thighs roasted with sweet pineapple and colorful bell peppers on one sheet pan. A quick 30-minute dinner the whole family will love!
Ingredients
Instructions
Step 1 – Preheat and Prep Your Pan: Position a rack in the middle of your oven and preheat it to 425°F (220°C). Line a large rimmed baking sheet with aluminum foil or parchment paper for easy cleanup. Pat the chicken thighs dry with paper towels—this is crucial because moisture on the surface will steam the meat instead of allowing it to brown. Season both sides generously with salt and pepper, and set them on the prepared pan. Meanwhile, place the pineapple chunks and sliced bell peppers in a large bowl. Drizzle with a teaspoon of sesame oil and a pinch of salt; toss to coat. Set aside while you make the glaze.
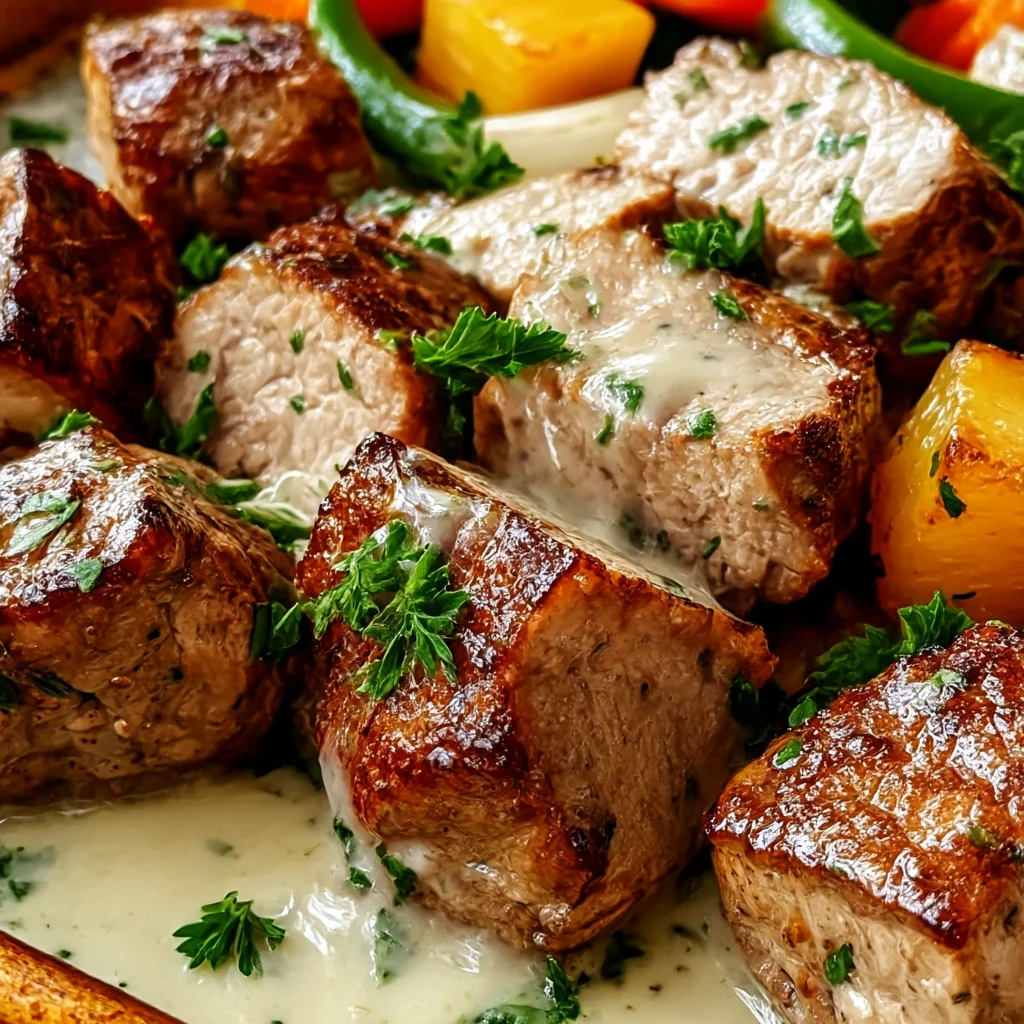
Step 2 – Make the Hawaiian Glaze: In a small saucepan over medium heat, combine the soy sauce, honey, rice vinegar, sesame oil, grated ginger, and minced garlic. Whisk continuously until the honey dissolves and the mixture is fragrant, about 2 minutes. If you prefer a glossy, thicker glaze, whisk together the cornstarch with 2 tablespoons of cold water to create a slurry, then pour it into the saucepan. Let the mixture simmer for 1 minute, stirring constantly, until it thickens just enough to coat the back of a spoon. Remove the pan from the heat and taste the sauce: it should be salty-sweet, tangy, and deeply aromatic. Remember that the sauce will reduce and concentrate further as the chicken roasts, so avoid adding extra salt at this stage.

Step 3 – Coat and Arrange Everything: Pour two-thirds of the sauce over the seasoned chicken thighs, using tongs to turn each thigh so every surface is coated. Arrange the thighs smooth side up in a single layer on the prepared sheet pan, leaving a little space between each piece so the hot air can circulate and create golden, crispy edges. Tuck the pineapple chunks and bell pepper strips around the chicken, nestling them into the gaps so they catch the drippings and soak up the glaze as they roast. Drizzle the remaining sauce over the pineapple and peppers. At this point, the pan will look very saucy—that is perfectly fine. As the oven works its magic, the sugars will caramelize and the sauce will transform into a sticky, savory-sweet coating.
Step 4 – Roast, Then Baste for Extra Flavor: Slide the sheet pan onto the middle rack and roast for 15 minutes. Pull the pan out carefully—the juices will be bubbling and the kitchen will smell like a tropical barbecue. Tilt the pan slightly so the accumulated juices pool at one corner, then use a basting brush or spoon to generously coat the chicken thighs and pineapple with those amber pan drippings. This basting step is what gives the finished dish its lacquered appearance and packs every bite with flavor. Return the pan to the oven and continue roasting for 5 to 10 more minutes, or until the thickest part of a chicken thigh registers 165°F (74°C) on an instant-read thermometer. The pineapple should have deeply golden, slightly charred edges, and the peppers should be tender-crisp with a hint of sweetness.
Step 5 – Broil for a Caramelized Finish: For that restaurant-quality char, switch your oven to high broil and move the rack to the upper third. Broil the sheet pan for 2 to 4 minutes, watching it closely the entire time. The broiler can turn a perfect dinner into burnt regret in seconds, so do not wander away. You are looking for dark caramelized spots on the chicken, sticky browning on the pineapple edges, and a few blistering marks on the peppers. This quick blast of intense heat mimics the smoky, sweet char you get from an outdoor grill and elevates the dish from simple sheet-pan supper to a weeknight showstopper. If you prefer not to use the broiler, simply roast for 3 to 5 minutes longer at the same temperature.
Step 6 – Let It Rest for Juicy Chicken: Remove the sheet pan from the oven and immediately scatter a few extra green onion whites over the hot chicken if you like. Allow the chicken to rest for 5 minutes before serving. This step is non-negotiable for juicy meat: as it rests, the muscle fibers relax and the flavorful juices redistribute back through the chicken thighs, so every bite stays moist and tender. While you wait, use a wooden spoon to scrape up any browned bits from the bottom of the pan and stir them into the surrounding pineapple and peppers. Those caramelized bits are pure flavor gold—do not leave them behind. If the sauce seems too thin, gently transfer the liquid to a small saucepan and simmer for a minute or two until it reduces to a syrupy consistency.
Step 7 – Garnish and Serve: Just before serving, sprinkle the entire sheet pan with sliced green onions and sesame seeds. The fresh green onions add a sharp, oniony pop that cuts through the sweet glaze, while the toasted sesame seeds bring a delicate nuttiness. Serve the chicken, pineapple, and peppers over fluffy steamed jasmine rice, spooning extra pan sauce over everything. The combination of tender, juicy chicken, caramelized pineapple, and smoky bell peppers is pure island-inspired comfort. This one-pan wonder is hearty enough to stand alone, but the rice turns it into a satisfying, complete meal that will have everyone asking for seconds. Dig in while it is hot!
For best results
- Pat the chicken thighs completely dry with paper towels before seasoning. Excess moisture is the enemy of browning—if the chicken is wet, it will steam in the oven and the skin (or surface) will stay pale and soggy instead of developing those beautiful golden caramelized edges. Drying the chicken and making sure the baking sheet is not overcrowded are two of the most important steps for sheet-pan success.
- Always choose low-sodium soy sauce for this recipe, and taste your sauce before pouring it over the chicken. Low-sodium soy sauce lets you control the salt level, and since the glaze reduces during roasting, you can easily end up with an overly salty dinner if you use the regular stuff. If you only have regular soy sauce, use 1/4 cup instead of 1/3 cup and add a splash of water to balance the intensity.
- Use fresh pineapple if you can—it has a brighter, more complex sweetness that canned pineapple just cannot match. If you do use canned pineapple chunks, drain them very well and pat them dry, because the extra syrup will make the pan sauce too sweet and prevent the edges from caramelizing. Look for pineapple chunks rather than crushed, and try to pick pieces that are all similar in size so they roast evenly.
- Arrange the chicken and vegetables in a single, uncrowded layer on the sheet pan. If the pan is packed too tightly, the chicken will steam and release juices, which lowers the oven temperature and prevents browning. Give the chicken thighs at least half an inch of space on all sides. If your sheet pan is small, use two pans or split the recipe in half—the caramelized, slightly charred texture is worth the extra effort.
- The broiler step is where the magic happens, but do not leave the kitchen. Broilers vary wildly in intensity; some can char your dinner in under a minute, while others take a few minutes longer. Start checking at 2 minutes and rotate the pan if one side is browning faster. If you want even more char, you can skip the broiler and finish the chicken in a hot cast-iron skillet for a few minutes per side, but the sheet-pan broiler method is far easier and cleaner.
- Let the chicken rest for at least 5 minutes after roasting. This is not just an annoying wait—it is a scientific necessity. Resting allows the proteins in the chicken thighs to relax and reabsorb the juices that were squeezed out during high-heat cooking. If you cut into the chicken right away, those juices will run out onto the cutting board, leaving you with drier, less flavorful meat. A 5-minute rest also gives the glaze time to set and become beautifully sticky.
Variations
- Chicken Breast Version: If you prefer white meat, swap the chicken thighs for boneless, skinless chicken breasts. Cut the breasts into uniform chunks or pound them to an even thickness so they cook at the same rate as the pineapple and peppers. Reduce the oven time to 12 to 15 minutes, or until the internal temperature reaches 165°F (74°C). Keep a close eye on the breasts—they can go from juicy to dry in a flash. You may also want to brush them with extra sauce halfway through to keep them moist.
- Seafood Twist: Turn this into a Hawaiian shrimp or salmon sheet-pan dinner by swapping the chicken thighs for large peeled shrimp or salmon fillets. If using shrimp, use about 1.5 pounds and reduce the roasting time to 8 to 10 minutes, just until the shrimp curl and turn pink and opaque. For salmon, place fillets skin side down and roast for 12 to 15 minutes. You can keep the pineapple and bell pepper base the same, but reduce the soy sauce slightly to let the delicate seafood flavor shine.
- Vegetarian and Tofu Option: For a plant-based version, replace the chicken with 2 blocks of extra-firm tofu, pressed to remove excess water and then cut into cubes. Toss the tofu in a little cornstarch before coating with the sauce to achieve a crispier exterior. Roast the tofu alongside the pineapple and peppers for about 20 to 25 minutes, flipping halfway, until golden and sticky. The sweet-savory glaze is so robust that even dedicated meat-lovers will barely miss the chicken.
- Spicy Hawaiian Kick: Add a touch of heat to balance all that sweetness. Stir 1 to 2 teaspoons of sriracha, chili garlic sauce, or a minced fresh jalapeño into the glaze before tossing with the chicken. You can also sprinkle a pinch of crushed red pepper flakes over the sheet pan in the last 5 minutes of roasting. For an even more tropical twist, swap the pineapple for a mix of pineapple and mango chunks, and add some sliced red onion for extra savory contrast.
Nutrition
- Calories465 kcal
- Total Fat24g
- Saturated Fat6g
- Cholesterol180mg
- Sodium890mg
- Total Carbohydrates27g
- Dietary Fiber3g
- Sugars19g
- Protein38g