
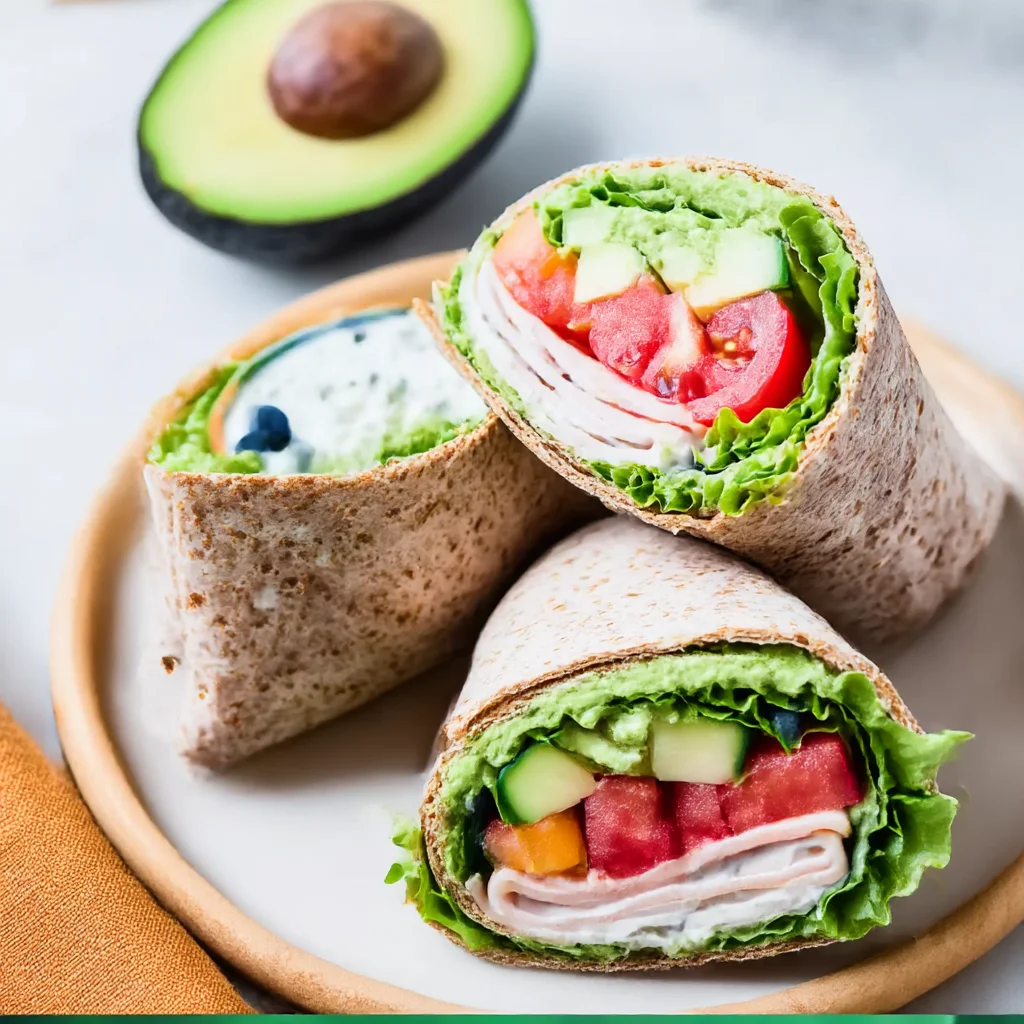
Easy healthy veggie cream cheese pinwheel sandwiches — quick homeschool lunch ideas for preschool kids with real ingredients.
Ingredients
Instructions
Before you start, pull the cream cheese and Greek yogurt out of the fridge and let them sit on the counter for 15 to 20 minutes. Softened dairy blends into a silky, lump-free spread, which makes the pinwheels easier to roll and keeps every bite perfectly creamy. If you are short on time, microwave the cream cheese in a small bowl for 10 seconds at 50% power — just until soft, not melted. Meanwhile, set out a large cutting board, a chef’s knife, and a box grater or food processor fitted with the shredding disc. This recipe comes together in minutes, but having your tools ready makes the whole process feel relaxed, even with a preschooler at your feet. You can also make the spread a day ahead and store it in an airtight container.
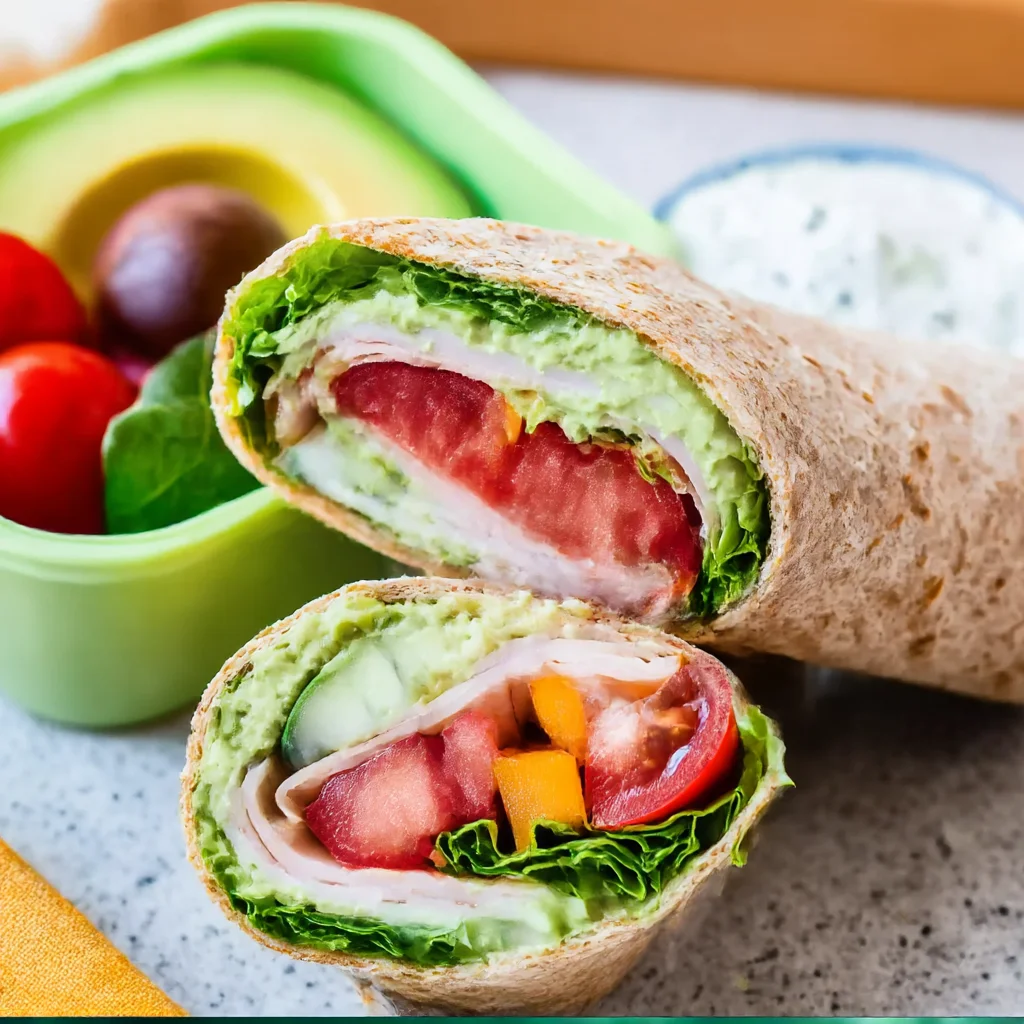
Gather all of your ingredients and prep the vegetables. Wash and peel the carrots, then finely shred them using the large holes of a box grater. Finely dice the red bell pepper into tiny pieces — about 1/4-inch — so the chunks are small enough for little eaters but still offer a satisfying crunch. For the cucumber, cut it in half lengthwise, scoop out the seeds with a small spoon, and dice it finely. Removing the watery seeds prevents the pinwheels from becoming soggy by lunchtime. If using spinach, stack the leaves, roll them into a tight log, and slice them into thin ribbons. Place all the chopped vegetables in a single layer on a clean kitchen towel or paper towel and pat them very dry. This step is non-negotiable for make-ahead lunches: the drier the veggies, the longer your pinwheels will hold their shape and texture.

In a medium mixing bowl, combine the softened cream cheese, Greek yogurt, garlic powder, onion powder, and salt. Use a rubber spatula or an electric hand mixer to beat until the mixture is completely smooth and fluffy, about 1 to 2 minutes. The Greek yogurt adds a subtle tang, a boost of protein, and a lighter texture that makes the spread feel more like a savory whipped cream cheese. Taste the spread and adjust the seasoning to your family’s preference — some kids prefer a very mild flavor, while others love a pinch of paprika or a squeeze of fresh lemon for brightness. If you are adding fresh herbs like chives or dill, fold them in now. The spread should be thick enough to hold its shape on a spoon but still easy to slather.
Lay one tortilla flat on a clean work surface. Using an offset spatula or the back of a spoon, spread a generous, even layer of the cream cheese mixture across the entire surface, leaving a 1/2-inch border around the edge. The layer should be about 1/8-inch thick — enough to hold the fillings in place but not so thick that it oozes out when rolled. Sprinkle a quarter of the shredded cheddar cheese over the cream cheese if using, then add a quarter of the shredded carrots, bell pepper, cucumber, and spinach. If you are including deli turkey, lay one slice flat on top of the vegetables and gently press it down. Press the fillings lightly with your hands so they adhere to the spread. Keeping the fillings evenly distributed and not overstuffed will make the rolling process much easier.
Starting at one edge closest to you, tightly roll the tortilla away from you like a jelly roll, using your fingertips to tuck the filling inward as you go. The key is to keep consistent, firm pressure along the roll without squeezing the filling out the ends. Once the tortilla is completely rolled, press the seam gently to seal it. If the edge doesn’t stick, dab a little extra cream cheese on the seam before pressing. Repeat with the remaining tortillas and filling. At this point you can wrap each roll tightly in plastic wrap or place them seam-side down in an airtight container and refrigerate for at least 30 minutes, or up to 24 hours. Chilling is what allows the flavors to meld and makes clean slices possible.
After the rolls have chilled, transfer one roll at a time to a cutting board. Using a very sharp serrated knife, trim off about 1/2 inch from each end — these ugly bits are the chef’s snack, or you can chop them into croutons for salads. Then slice the roll into 1-inch thick pinwheels. Use a gentle sawing motion instead of pressing straight down; this keeps the pinwheels round and prevents the filling from being squished out. Aim for about 6 pinwheels per tortilla, though the exact number will depend on the size of your tortillas and how thick you slice them. Wipe the knife clean with a damp cloth between cuts if the cream cheese starts to build up.
Arrange the pinwheels on a playful lunch plate or in a bento box with a few sides. They are wonderful served chilled or at room temperature, making them perfect for picnic lunches, lunchboxes, and easy homeschool lunches. For preschool kids, colorful toothpicks or small vegetable flowers on top can make the meal feel special. Pair them with cherry tomatoes, cucumber rounds, cheese cubes, grapes, or a small container of hummus for dipping. Store any leftovers in an airtight container in the refrigerator for up to 3 days; let them sit at room temperature for 5 minutes before serving to soften the tortillas. The pinwheels also freeze well — wrap them tightly in plastic wrap and freeze for up to 1 month, then thaw overnight in the fridge.
For best results
- The quality of tortillas matters more than you'd think. Look for soft, pliable 8-inch whole wheat or spinach tortillas made with just a few ingredients. If you can find uncooked flour tortillas, even better — the skillet method gives them a pliable, slightly chewy texture that wraps beautifully. Very thin tortillas can crack when rolled; if that happens, warm them between damp paper towels in the microwave for 15 seconds to make them more flexible. For a gluten-free option, look for almond flour or cassava flour wraps, but avoid using small corn tortillas because they are too fragile for rolling. Check the ingredient list for hydrogenated oils and unnecessary additives; your preschooler deserves the good stuff.
- It's tempting to add lots of vegetables to make the lunch more nutritious, but overfilling is the number one reason pinwheels fall apart. The tortilla should be able to close over the fillings without stretching. If you see the filling bulging out of the sides, you've added too much. Instead of adding more volume, focus on finely chopping your veggies so they distribute more evenly. This way each bite has a little of everything and the roll stays intact. You can always serve extra veggie sticks on the side for dipping.
- Preschoolers can be picky about texture, and soggy pinwheels are a recipe for rejection. Cucumbers and bell peppers release water as they sit; salt draws out moisture too. So pat them dry after chopping, and consider sprinkling them with a pinch of salt and letting them rest on paper towels for a few minutes, then blotting again. Another trick is to spread a thin layer of cream cheese all the way to the edge of the tortilla — the fat acts as a moisture barrier and prevents the tortilla from getting soaked. If you're making these ahead for a picnic, you can also use roasted red peppers from a jar if you blot them very well.
- These pinwheels are the ultimate make-ahead lunch. The full assembled rolls can be kept in the refrigerator for up to 24 hours before slicing, and the sliced pinwheels will stay fresh in an airtight container for about 3 days. To keep them from sticking, store the sliced pinwheels in a single layer or separate layers with parchment paper. Add an ice pack to the lunchbox on warm days, and avoid placing them next to wet fruits like watermelon or pineapple, which can make the tortillas soggy in a packed lunch.
- One of the best ways to get a picky eater to try new foods is to let them help make it. Preschoolers can wash vegetables, tear spinach, spread cream cheese with a butter knife, and place the colorful veggie strips onto the tortilla. The process of building a 'rainbow roll' gives them ownership and makes them more excited to eat their creation. Keep the tasks small and supervised, and don't worry about perfection — a slightly messy pinwheel still tastes amazing. Plus, you are teaching valuable kitchen confidence that will last a lifetime.
- If you want to make these pinwheels even more protein-packed, add scrambled egg strips, shredded rotisserie chicken, or smoked salmon in place of turkey for older kids. Cream cheese and Greek yogurt already provide some protein; adding a slice of turkey and a sprinkling of cheddar brings each pinwheel up to about 7 grams of protein. For a plant-based version, use mashed chickpeas or hummus as the spread instead of cream cheese and omit the turkey; add sunflower seeds or hemp hearts for crunch and protein. You can also use cottage cheese blended until smooth for a lower-fat, higher-protein swap.
Variations
- Veggie Lover Rainbow Pinwheels: Fill the tortillas with a colorful array of finely diced vegetables: red cabbage, yellow squash, zucchini, grated beets, and chopped kale. If you want to skip the dairy entirely, use a dairy-free cream cheese or a thick layer of hummus as the base. Add a few drops of lemon juice and a pinch of smoked paprika to the spread for a flavor boost. The beauty of this version is that it can use up any leftover vegetables in the fridge, making it a zero-waste hero.
- PB&J Sushi Rolls: For a nut-free lunchbox idea, spread a thin layer of sunflower seed butter (or almond butter if allowed) over a tortilla, add a layer of thinly sliced bananas or strawberries, and roll it up tightly. Slice into coin shapes to make 'fruit sushi' that feels like a special treat. You can also add a spoonful of chia seed jam. These are best eaten within a few hours because the moisture from the fruit can make the tortilla soggy overnight.
- Taco Tuesday Pinwheels: Blend cream cheese with a few spoonfuls of salsa and a pinch of taco seasoning, then layer with finely shredded lettuce, black beans, corn, and shredded Mexican cheese. Add a dollop of mashed avocado or sour cream before rolling. These high-protein pinwheels are a great picnic food and can be served with a small container of salsa for dipping. Using flour tortillas makes this version easy to roll and full of flavor.
- Cucumber Cream Cheese Tea Sandwiches: If you want to skip the tortillas, use soft white bread or whole wheat bread, remove the crusts, and roll the slices flat with a rolling pin. Spread the cream cheese mixture, place a few cucumber slices and fresh dill, then roll the bread up tightly. Slice into pinwheels. This is a classic tea-time sandwich that is also perfect for preschool lunchboxes.
- Breakfast for Lunch Pinwheels: Spread the cream cheese on a tortilla and layer a couple of slices of cooked bacon and a thin scrambled egg sheet, then roll. These also reheat well in the microwave for 20 seconds, but be careful not to overheat or they can become rubbery. Serve with a side of fruit for a well-rounded midday meal.
Nutrition
- Calories165 kcal
- Total Fat9g
- Saturated Fat5g
- Cholesterol25mg
- Sodium310mg
- Total Carbohydrates14g
- Dietary Fiber2g
- Sugars2g
- Protein6g