
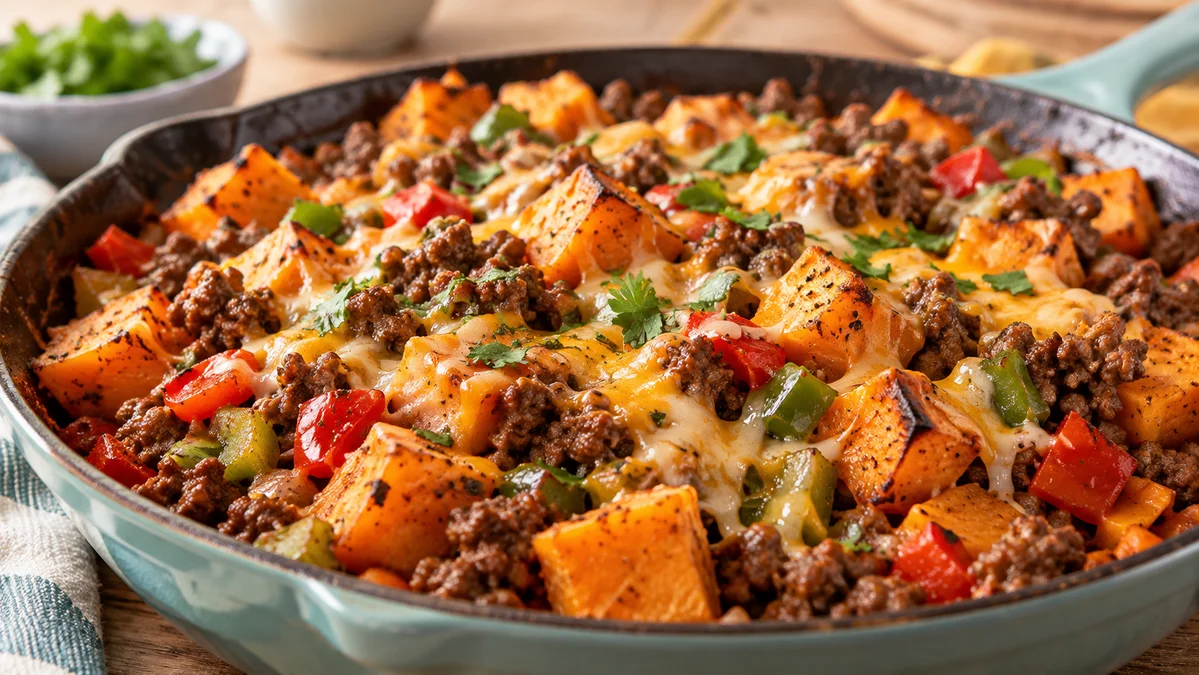
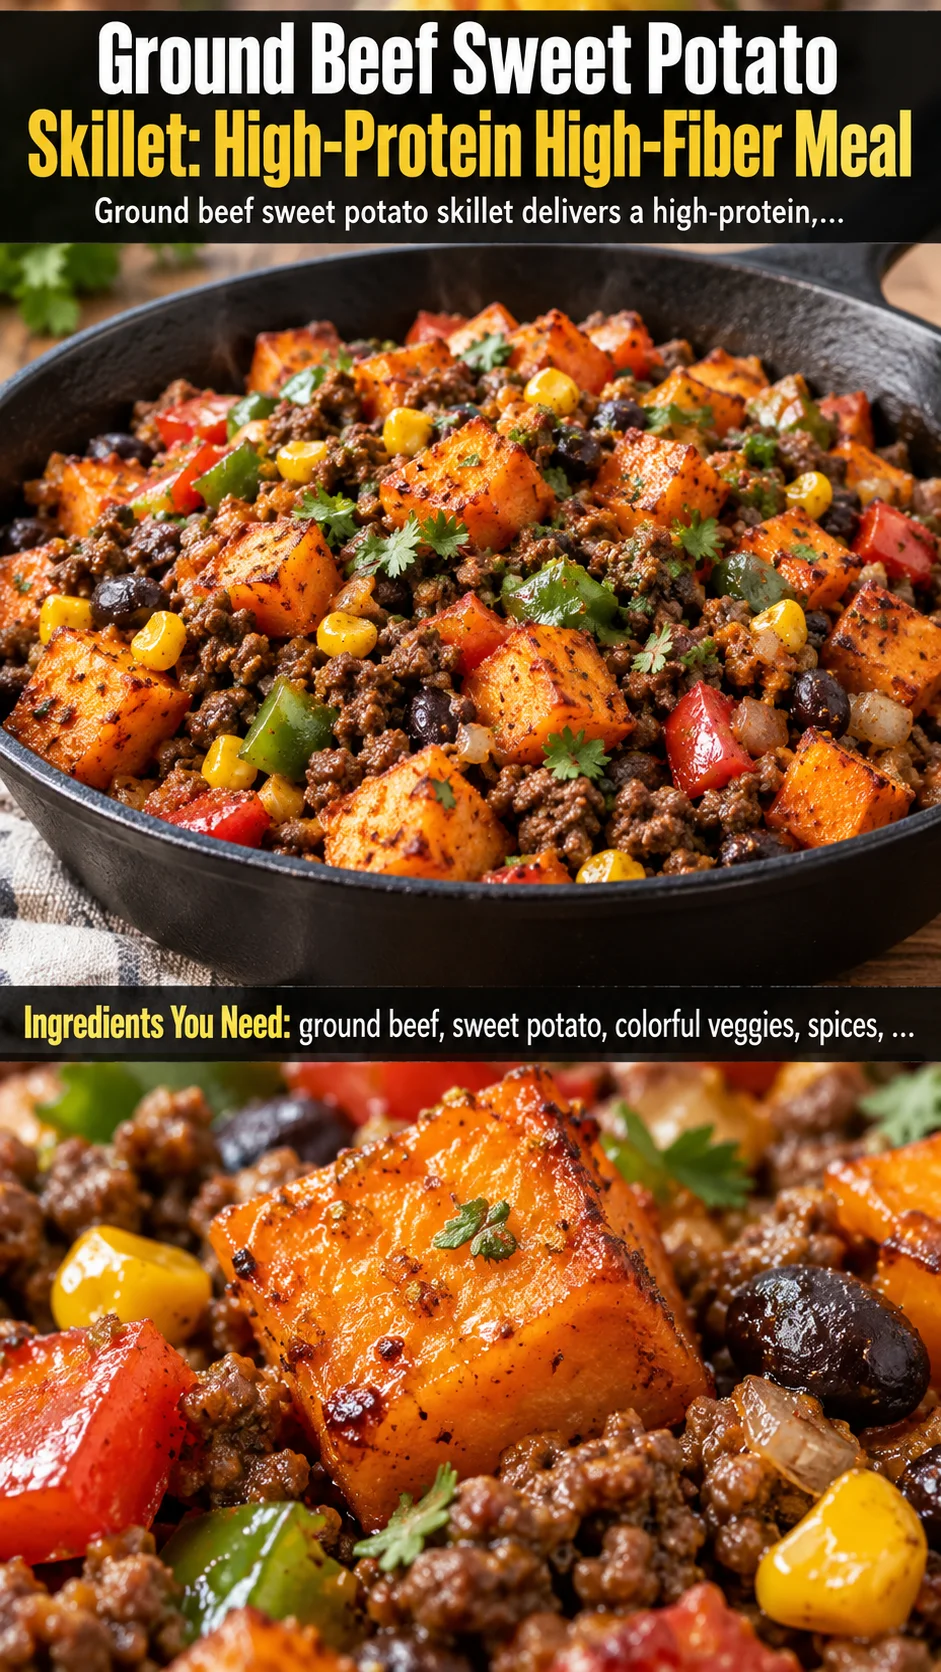
This ground beef sweet potato skillet is a high-protein, high-fiber one-pan dinner ready in 30 minutes. Juicy beef, tender sweet potatoes, melty cheese!
Ingredients
Instructions
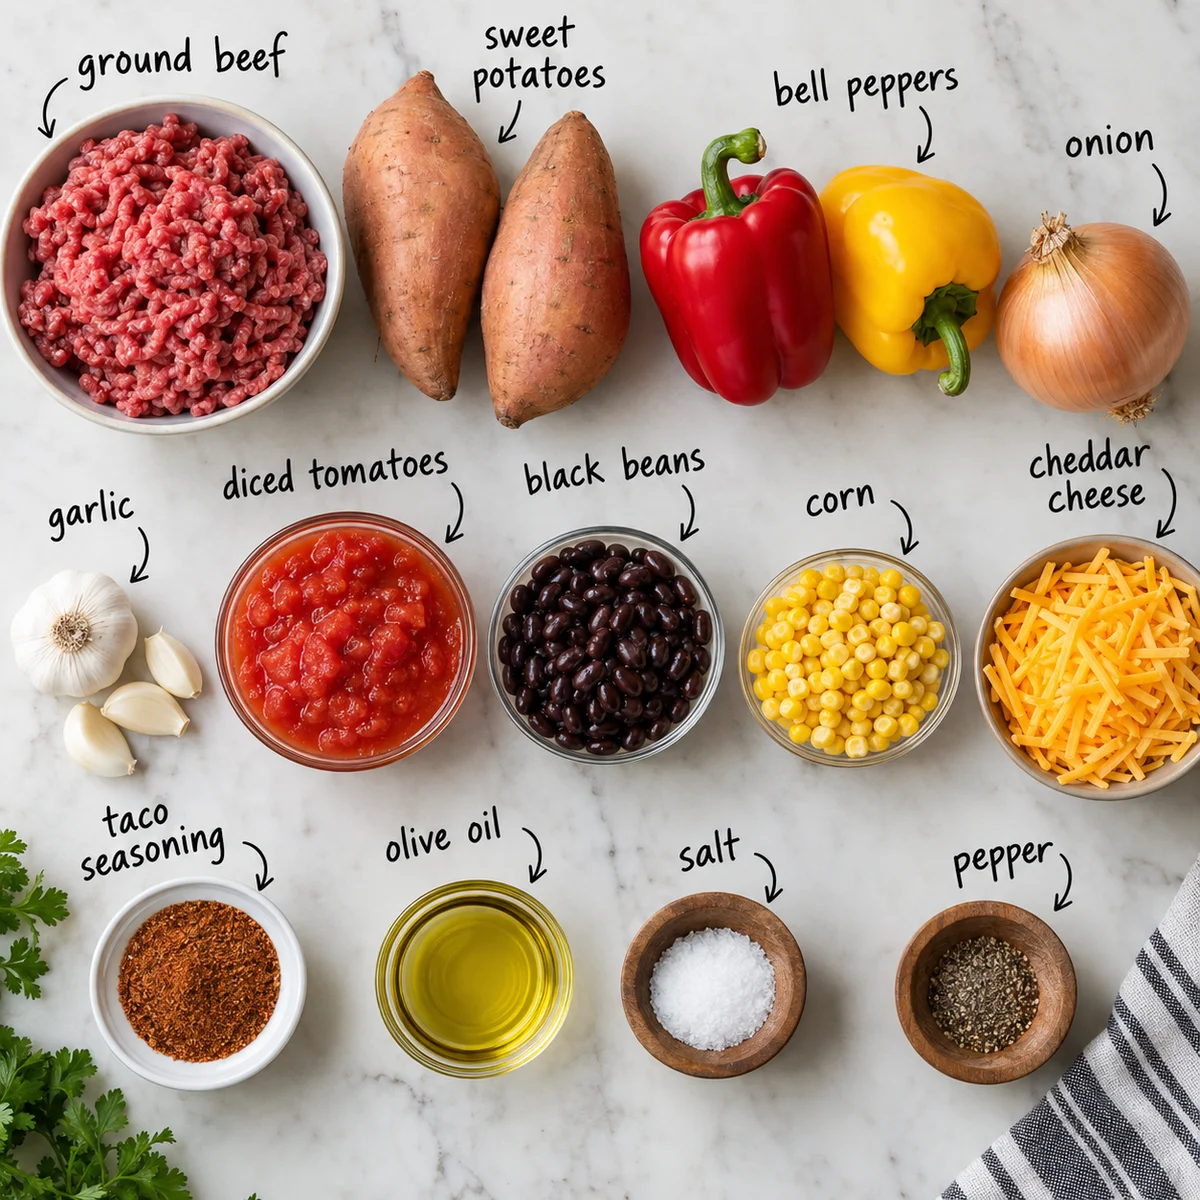
Begin by gathering and prepping every ingredient before you turn on the heat — this is the single most important habit for a genuinely 30-minute skillet dinner. Once ground beef hits a hot pan, it cooks fast, and the difference between a perfectly seasoned skillet and a rushed, uneven one often comes down to whether your garlic was minced and your spices were measured ahead of time. Peel the sweet potatoes and cut them into uniform 1/2-inch (1.3 cm) cubes, discarding any woody or bruised spots. Uniform cubes are non-negotiable here: sweet potatoes cook by conduction from the pan surface and by steam, so if you cut some pieces at 1/4 inch and others at 1 inch, the small ones will collapse into mush while the large ones stay crunchy in the middle. Aim for cubes roughly the size of a playing die. Dice the onion and both bell peppers into similar 1/2-inch pieces so they soften at the same rate, mince the garlic finely (it burns easily and you want it to disappear into the sauce rather than appear as bitter chunks), drain and rinse the black beans until the water runs clear (this rinses away the starchy canning liquid that would otherwise turn your skillet muddy), drain the corn, and measure out your taco seasoning, salt, and pepper into a small bowl. If you’re using a homemade taco seasoning blend, now is the moment to stir it together — a good blend typically includes chili powder, cumin, smoked paprika, garlic powder, onion powder, oregano, and a touch of cayenne. Open the diced tomatoes but do not drain them; that juice is liquid gold that will help the sweet potatoes steam while they sear. Set everything within arm’s reach of the stove, because once the pan is hot you won’t have time to rummage through the pantry.
Heat 1 tablespoon of olive oil in a large, heavy 12-inch skillet — cast iron is ideal, but a deep stainless or nonstick skillet works too — over medium-high heat until the oil shimmers and slides across the surface like a thin sheet of water. Add the cubed sweet potatoes in a single, snug layer and resist the urge to stir immediately. Let them sit undisturbed for 4 to 5 minutes. This contact time is everything: the natural sugars in sweet potatoes caramelize against the hot metal, creating those golden, slightly crispy edges that make this dish feel far more indulgent than its macros suggest. After 5 minutes, stir and continue cooking for another 4 to 5 minutes, until the cubes are fork-tender on the outside but still hold their shape and a knife slides in with just a whisper of resistance. If the pan looks dry or the potatoes are sticking, splash in 2 tablespoons of water — the steam helps them finish cooking through without burning. When they’re done, use a slotted spoon to transfer the sweet potatoes to a plate and set aside. You should see a faint golden-brown film on the pan bottom; that’s flavor, not a problem, and the beef will deglaze it.
Add the remaining 1 tablespoon of olive oil to the same skillet and add the ground beef. Break it into large chunks with a wooden spoon or spatula and let it sear without stirring for a full 2 minutes before you begin to break it apart. This initial undisturbed sear is what develops the deep, savory Maillard browning that gives the finished dish its meaty backbone, and it’s the step most home cooks skip. Once the bottom is browned, break the beef into small crumbles and continue cooking for 3 to 4 minutes until no pink remains and the crumbles are juicy but cooked through. As the beef releases its fat, the moisture will evaporate and the pan will start to sizzle again — that sizzle is your cue that the beef is ready. Carefully tilt the pan and spoon off any excess pooled fat if you’re using a fattier grind; with 90/10 or 93/7 you’ll have very little, so you can typically leave it in for flavor. Season the beef with a pinch of salt and pepper now, but remember that taco seasoning also contains salt, so season lightly at this stage.
Add the diced onion and both bell peppers directly into the browned beef and stir to combine. Cook over medium-high heat for 4 to 5 minutes, stirring occasionally, until the onions turn translucent and glossy and the peppers soften slightly but still retain a bit of snap. You’re looking for that moment when the raw, sharp bite of onion mellows into sweetness — if you can smell a sweet, savory aroma rising from the pan, you’re right on track. Push the vegetables and beef to one side of the skillet and add the minced garlic to the cleared spot. Let it sizzle for just 30 seconds, until fragrant but not browned, then stir it through everything. Garlic is unforgiving: 30 seconds too long and it turns acrid and bitter, so stay right at the stove for this step and trust your nose — the moment it smells warmly garlicky, it’s done.
Sprinkle the taco seasoning, remaining salt, and black pepper evenly over the beef and vegetable mixture, then stir constantly for about 60 seconds. This brief toast is a professional move that most recipes ignore: blooming dried spices in hot fat draws out their fat-soluble flavor compounds, transforming flat, dusty powder into a rounded, aromatic sauce base. You’ll notice the color deepen and the aroma intensify almost immediately. Pour in the diced tomatoes with all their juices, scraping the bottom of the pan with your spoon to lift up every bit of browned fond — those sticky caramelized bits are concentrated flavor, and deglazing them into the sauce is what makes this skillet taste like it simmered for an hour. Bring the mixture to a gentle simmer.
Fold the cooked sweet potatoes, rinsed black beans, and drained corn back into the skillet and stir gently to distribute everything evenly. Reduce the heat to medium-low, cover the pan with a lid (or a sheet pan if you don’t have a matching lid), and let everything simmer together for 4 to 6 minutes. This short covered braise is where the magic happens: the sweet potatoes soak up the spiced tomato juices, the beans plump slightly, and all the flavors marry into something greater than their parts. Peek underneath the lid at the 4-minute mark — you want a thick, glossy sauce that clings to the meat rather than a watery pool. If it looks soupy, remove the lid and simmer uncovered for 2 to 3 minutes; if it looks dry, add a splash of water or chicken broth. Taste and adjust: this is your final chance to balance the salt, add a squeeze of lime for brightness, or a pinch of cayenne if you want more heat.
Turn off the heat and scatter the shredded cheddar cheese in an even layer across the top of the skillet. Cover the pan again and let it sit off the heat for 2 minutes, until the cheese melts into a gooey, glossy blanket. The residual heat of the skillet plus the trapped steam is enough to melt cheddar perfectly without any risk of it breaking or turning greasy — direct high heat is what causes cheese to split and weep oil, so this off-heat method is a small but meaningful upgrade. If you want a browned, bubbly top, transfer the whole skillet to a preheated broiler for 60 to 90 seconds, watching it like a hawk. The finished skillet should look vibrant: deep red-orange from the tomatoes and spices, golden-orange sweet potatoes, black beans and yellow corn peeking through, and melted cheese draped over the top.
Spoon the skillet into shallow bowls or onto plates and serve immediately. Finish each portion with a shower of fresh chopped cilantro, a squeeze of lime juice, and any of your favorite cool, creamy toppings: a dollop of sour cream or Greek yogurt, sliced avocado, pickled jalapeños, or a spoonful of salsa. The acid from the lime and the cool creaminess of the toppings act as a counterweight to the warm, smoky spice, and this contrast is exactly what makes the dish taste complete rather than one-note. Any leftovers should be cooled to room temperature within two hours, then stored in an airtight container in the refrigerator for up to 4 days. To reheat, add a small splash of water or broth to loosen the sauce, cover, and warm gently on the stovetop or in the microwave until steaming. Leftovers actually taste even better on day two once the spices have fully permeated the sweet potatoes and beef.
For best results
- Cut your sweet potatoes into truly uniform 1/2-inch cubes, and don't be tempted to go bigger to save time. Sweet potatoes are dense and cook slowly relative to everything else in this skillet, so oversized chunks will still be firm when the beef is dry and the peppers are limp. A sharp chef's knife makes quick, clean work of the job — a dull blade slips on the sweet potato's firm flesh and gives you jagged, uneven pieces that cook at different rates. If you're really short on time, you can microwave the peeled, cubed sweet potatoes in a covered bowl with 2 tablespoons of water for 3 to 4 minutes before adding them to the pan, then reduce the stovetop sear to about 3 minutes per side. This shortcut keeps the caramelized edges because you're still finishing them in hot oil, but it shaves roughly 6 minutes off the total cook time.
- Use a lean grind of beef — 90/10 or 93/7 — for a high-protein dinner that doesn't turn greasy. Fattier grinds like 80/20 release a lot of liquid and fat, which steams the vegetables instead of searing them, leaving you with a soggy skillet and a pool of oil at the bottom. If lean beef is all you have, don't drain the fat before adding the vegetables; instead, spoon off all but about 1 tablespoon so the onions and peppers still have a little fat to sweat in. For an even leaner option, ground turkey (93/7) or ground chicken works beautifully and blends seamlessly with the taco seasoning, though you may want to add an extra tablespoon of olive oil since poultry is lower in fat.
- Bloom your spices — every single time. Dumping taco seasoning into a wet, tomato-heavy pan gives you a flat, one-dimensional result. Sprinkling the spices over the beef and vegetables and stirring them in hot fat for 60 seconds before any liquid goes in wakes up the volatile oils in the chili powder, cumin, and oregano. This is the same principle behind toasting whole spices before grinding them, and it's the single easiest upgrade you can make to any southwestern or Tex-Mex dish. If you're using a store-bought taco packet, check the sodium content — many brands pack 300mg or more per serving, so hold back on the added kosher salt until you've tasted the finished filling.
- Make your own taco seasoning and you'll never go back. Stir together 1 tablespoon chili powder, 1 1/2 teaspoons ground cumin, 1 teaspoon smoked paprika, 1/2 teaspoon garlic powder, 1/2 teaspoon onion powder, 1/2 teaspoon dried oregano, 1/4 teaspoon cayenne (more if you like heat), and 1 teaspoon kosher salt. This blend keeps for up to 6 months in an airtight jar in a cool, dark pantry and costs a fraction of the packaged version. It also lets you dial the heat and salt to your family's taste, which is a real advantage when cooking for kids. Doubling or tripling the batch means you always have it ready for skillet dinners, taco nights, and sheet-pan meals.
- For the creamiest, most even melt, grate your own cheddar from a block rather than buying pre-shredded. Bagged shredded cheese is coated in cellulose and potato starch to keep it from clumping, and those anti-caking agents prevent it from melting into that smooth, gooey blanket you want. A block of sharp cheddar grated on the large holes of a box grater takes two minutes and makes a visible difference. If you want a cheese-pull worthy of a food photo, combine cheddar with a handful of Monterey Jack or Oaxaca cheese, which melt with a longer, stretchier finish. Add the cheese off the heat and cover the pan — high heat is the enemy of smooth melting.
- Black beans and corn are flexible here, so use what you have. Canned black beans should be rinsed thoroughly until the water runs clear; that starchy liquid is what makes a skillet look muddy and taste slightly metallic. If you're using dried beans, cook them ahead and use about 1 1/2 cups. Frozen corn is actually preferable to canned in most seasons because it's flash-frozen at peak sweetness — no need to thaw it, just add it straight to the pan and let the residual heat warm it through. If you want to add extra fiber and bulk, a cup of cooked quinoa or riced cauliflower stirred in at the end soaks up the sauce beautifully and stretches the dish to feed five or six.
- Watch your pan size. A 12-inch skillet with deep sides gives you enough surface area for proper browning while still holding everything without spilling. If you crowd a smaller pan, the beef and vegetables will steam rather than sear, and you'll lose the browned, caramelized flavor that makes this dish so satisfying. If your only large pan is a Dutch oven, that works too — just expect slightly less browning and add a minute or two to the sweet potato searing stage. And if you're doubling the recipe, use two pans rather than one enormous one; overloading is the fastest way to turn a great skillet into a bland, watery one.
- Meal prep this skillet like a pro. It reheats exceptionally well and the flavors deepen overnight, making it a fantastic Sunday prep for the workweek. Portion it into five or six airtight glass containers and refrigerate for up to 4 days. To keep the cheese from getting rubbery, store the filling without cheese and add fresh shredded cheese when reheating. For freezer meals, cool completely, portion into freezer-safe bags or containers, and freeze for up to 3 months; thaw overnight in the refrigerator before reheating with a splash of water or broth. This skillet also makes an outstanding filling for tacos, burritos, stuffed peppers, and breakfast hash with a fried egg on top.
Variations
- Make it a low-carb or keto skillet by swapping the sweet potatoes for cubed cauliflower or a mix of cauliflower and diced zucchini. Roast or pan-sear the cauliflower first so it develops color and loses its raw edge, then proceed with the recipe as written. The sauce has plenty of body from the tomatoes and beef, so you won't miss the starch. Note that the fiber and carb counts will drop dramatically while the protein stays the same, making this an excellent option for macro tracking. You can also serve the filling over cauliflower rice or a bed of crispy romaine for a taco-salad style bowl.
- Turn it into a creamy, cheesy variation by stirring in 4 ounces of softened cream cheese or 1/2 cup of heavy cream during the final simmer, right before the cheddar goes on top. This transforms the texture from a bright, saucy skillet into something richer and more casserole-like. It's a great way to make the dish feel indulgent on a cold night, and kids tend to love it. Add a can of drained diced green chiles at the same time for a mild, roasted flavor that pairs beautifully with the creamy base.
- Swap the ground beef for ground turkey, ground chicken, or even ground bison for a different protein profile. Turkey and chicken are leaner and benefit from an extra tablespoon of oil and a slightly more generous hand with the salt and spices. Ground bison is leaner than beef but has a deep, slightly sweet flavor that works wonderfully with southwestern seasonings. For a plant-based version, use 1 lb of crumbled extra-firm tofu or a bag of meatless crumbles; press and drain the tofu well, then brown it in oil with a tablespoon of soy sauce or tamari for savory depth before adding the spices.
- Give it a smoky chipotle twist by adding 1 to 2 finely minced chipotle peppers in adobo sauce along with the garlic. This brings a smoky, slightly sweet heat that's completely different from plain cayenne. Start with one pepper, taste the sauce after it simmers, and add more if you want extra fire. A teaspoon of adobo sauce alone will add a lovely smoky undertone if you'd rather not use the whole pepper. This version is especially good with a squeeze of lime and a sprinkle of cotija cheese instead of cheddar.
- Make it a Tex-Mex breakfast hash by crisping the cooked sweet potatoes and beef mixture in a hot skillet until the edges are deeply browned, then making small wells in the mixture and cracking in four to six eggs. Cover and cook until the whites are set but the yolks are still runny. Top with cheese, cilantro, and hot sauce. This is a fantastic weekend brunch dish and a brilliant way to use up leftovers — the hash method actually improves the texture of day-old sweet potatoes by re-crisping them.
- For a vegetarian version, omit the beef entirely and add an extra can of black beans plus a cup of cooked lentils or quinoa. Brown the vegetables well in olive oil to build flavor, bloom the spices as directed, and finish with the tomatoes, beans, corn, and sweet potatoes. A tablespoon of soy sauce or a teaspoon of smoked paprika stirred in with the spices adds a meaty, savory quality that keeps the dish from tasting flat. The protein stays impressively high thanks to the beans, lentils, and cheese.
- Transform the filling into a casserole by transferring everything to a baking dish, topping with crushed tortilla chips, extra cheese, and a drizzle of enchilada sauce, then baking at 375°F (190°C) for 15 to 18 minutes until bubbly. This is a fantastic way to feed a crowd and it freezes well before baking. Bake from frozen, covered, at 375°F for about 45 minutes, then uncover for the final 10 minutes to crisp the top. Serve with sour cream, guacamole, and pickled jalapeños on the side.
- Add a grain to stretch the meal further and make it even more budget-friendly. Cooked rice, quinoa, farro, or even small pasta like orzo stirred in at the end transforms this skillet into a hearty, complete meal that easily feeds six. The grains soak up the spiced tomato sauce and make each portion more filling. This is a smart strategy for families on a budget: a single pound of beef becomes the flavor backbone for a much larger pot of food without anyone feeling shortchanged.
Nutrition
- Calories520 kcal
- Total Fat22g
- Saturated Fat8g
- Cholesterol85mg
- Sodium720mg
- Total Carbohydrates44g
- Dietary Fiber11g
- Sugars11g
- Protein38g